3 weeks in the Philippines gives you plenty of time to see this amazing country. With over 7,000 islands there are so many to choose from all that offer something different. In the Philippines you will be met with crystal clear water, soft sand and the friendliest people! Here is our 3 week Philippines itinerary including how to get around and what islands we loved the most!
*Disclosure: This post contains Amazon affiliate links. As an Amazon Associate we earn from qualifying purchases. This means at no additional cost to you, we will earn a commission if you click through a link and make a purchase. This post may also contain other affiliate links and non-affiliate links to products and websites.

3 weeks sounds like a lot of time but in a place with that many islands you have a lot to choose from! You can choose to spend a few days in each place and visit more islands or pick a few and spend longer on each one. We chose to traveler slower and picked 3 islands where we spent a full week on each.
- With about a week on each island we were able to explore a lot more than if we just had a few days. We also loved being able to take a few days to relax and move at a slower pace.
- If you’re looking to travel faster you can adapt this itinerary by taking a few days from each place and adding in a 4th or even 5th island.
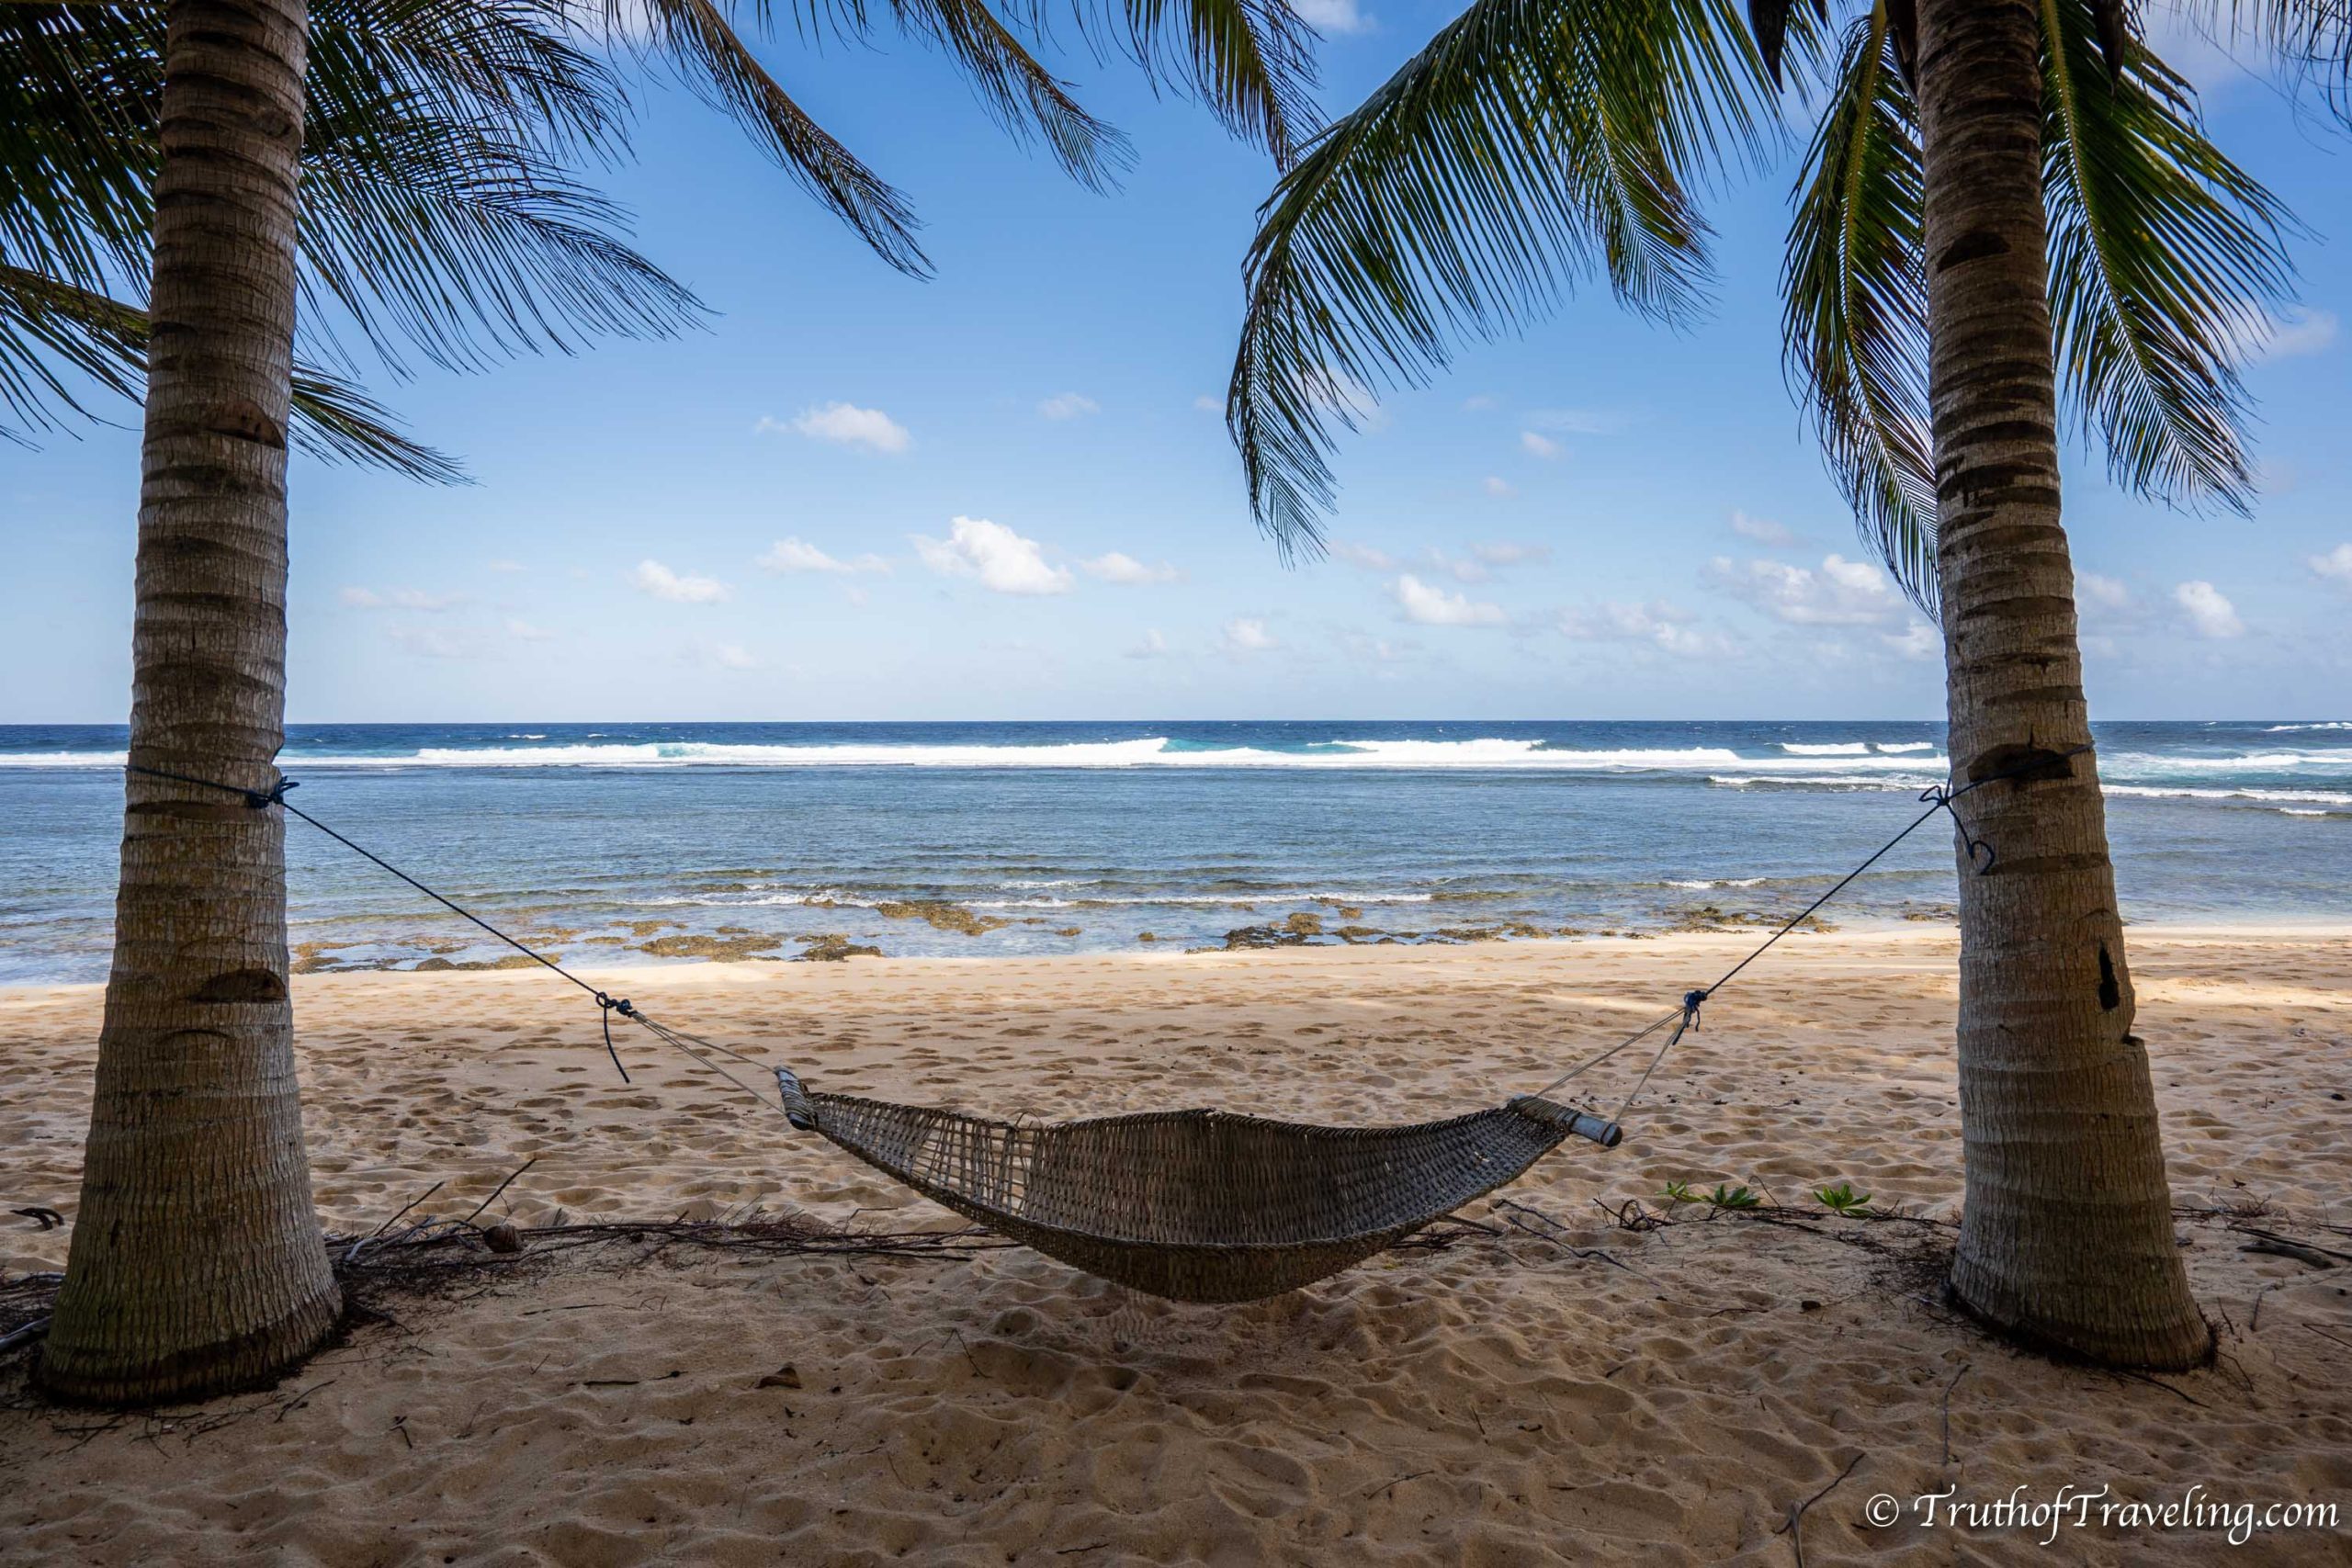
Getting between islands in the Philippines can be a little complicated. Because there are so many islands it can be quite a journey to get around especially if you’re going from islands that are far away from each other. Most times it will require flying and then might also include either a van ride, bus ride or ferry ride.
- It’s important when planning your Philippines itinerary to keep in mind travel days between islands can be long. You might have to spend a half or even full day traveling. Therefore you should build in travel days into your overall itinerary so you don’t have to cut your time short in each place!
Days 1-4: Manila
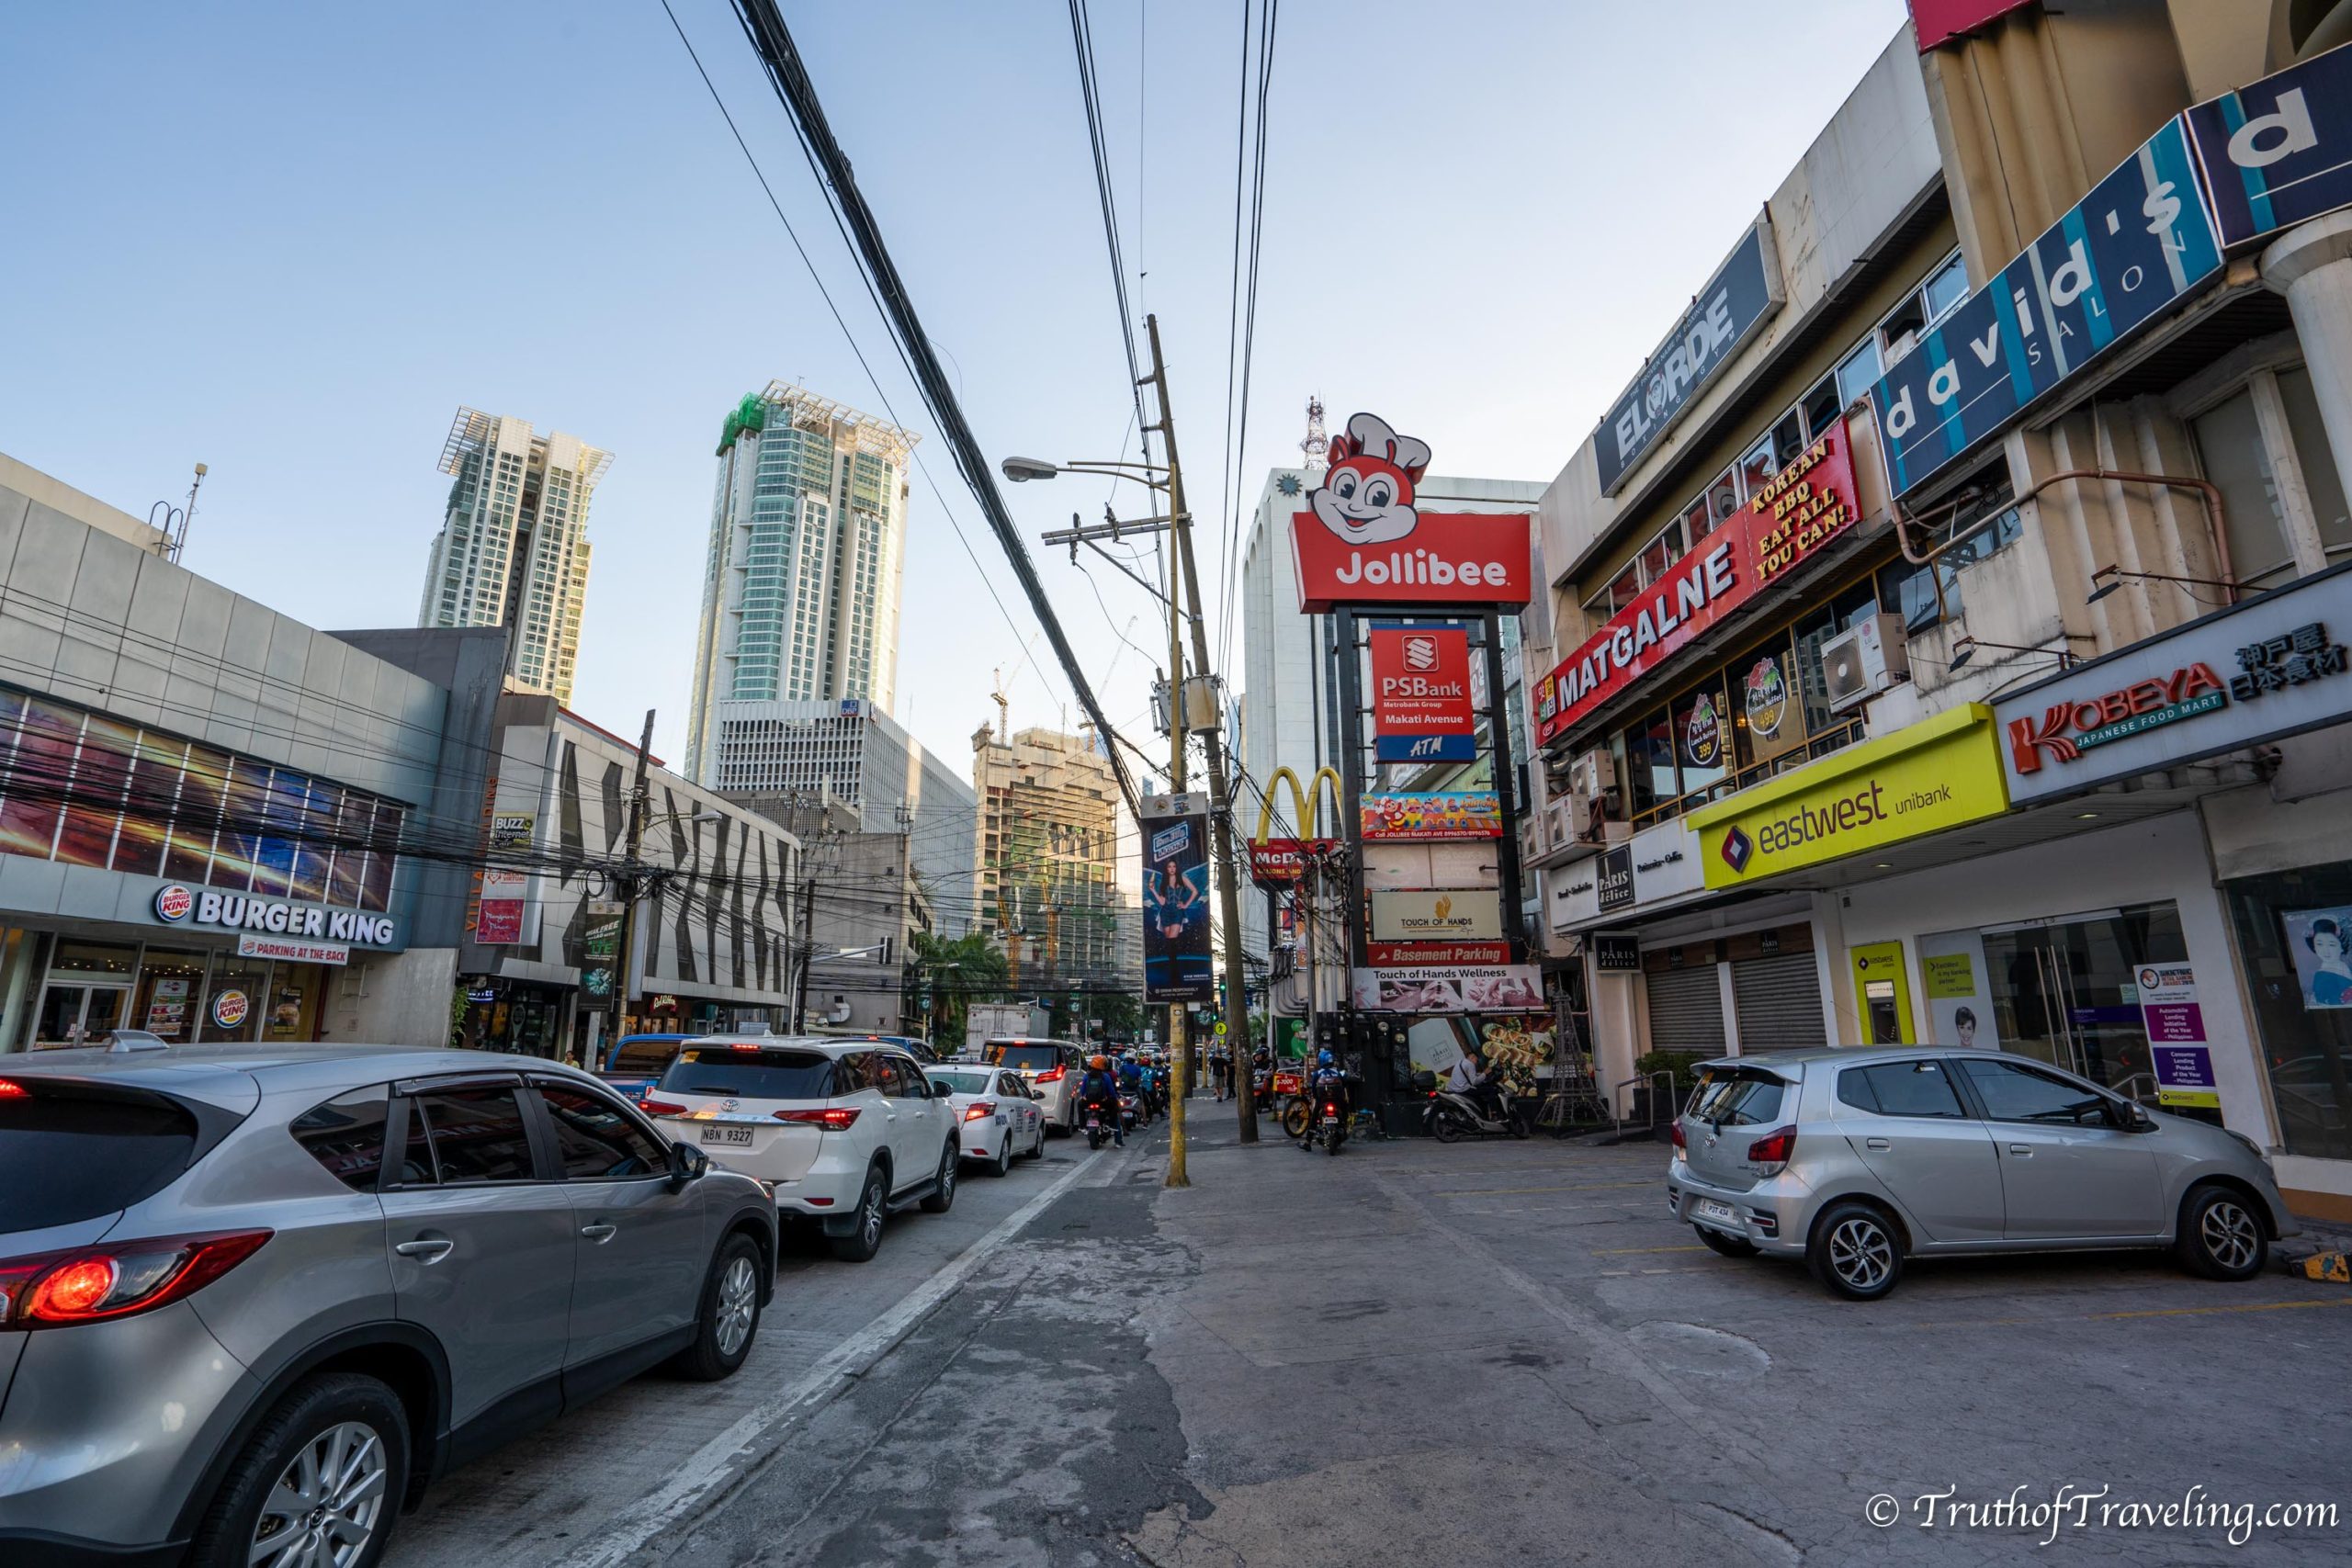
Manila is likely the place you will fly into when you first arrive to the Philippines and will also most likely be the place you leave out of as well. There are other options (the most common is Cebu City) but most international flight options will be out of Manila.
A lot of people arrive in Manila, spend a quick day and then jet off to the islands. Manila has a lot to offer visitors though! That’s why we would recommend spending at least 3 or 4 days exploring this capital city.
- Of course if you have less than 3 weeks cutting days from Manila is a way to make this itinerary fit your schedule!
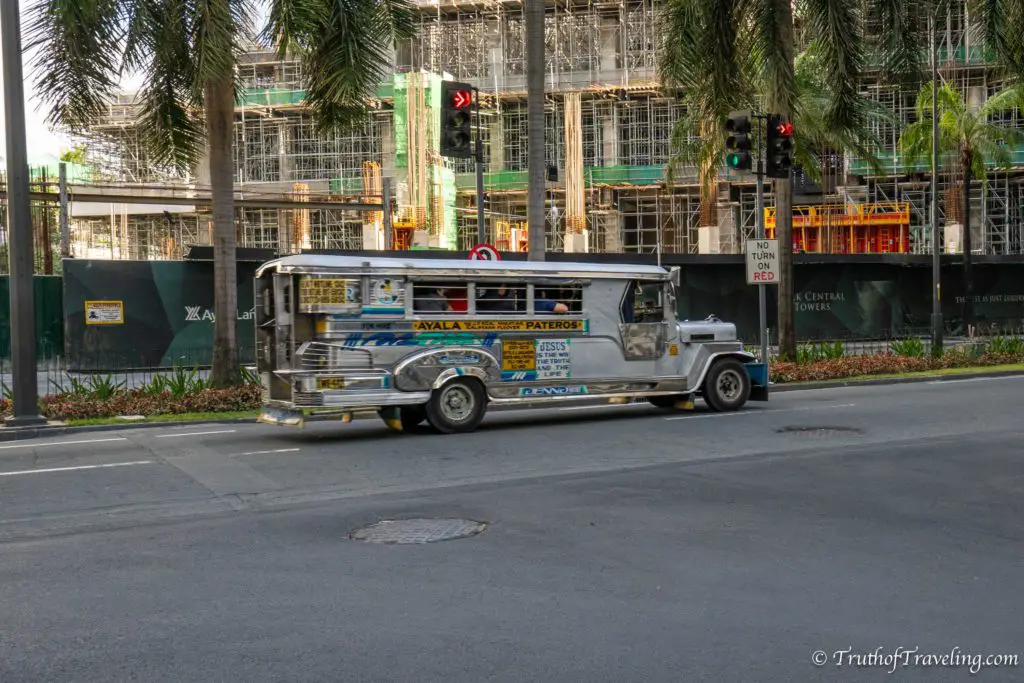

There are so many markets selling clothing items, accessories, electronics and food. Make sure to visit the Tutubon Night Market. It’s a large night market where you can literally buy anything you could think of. It was so much fun to just walk through and let us see a local market where so many people were coming to buy affordable items!
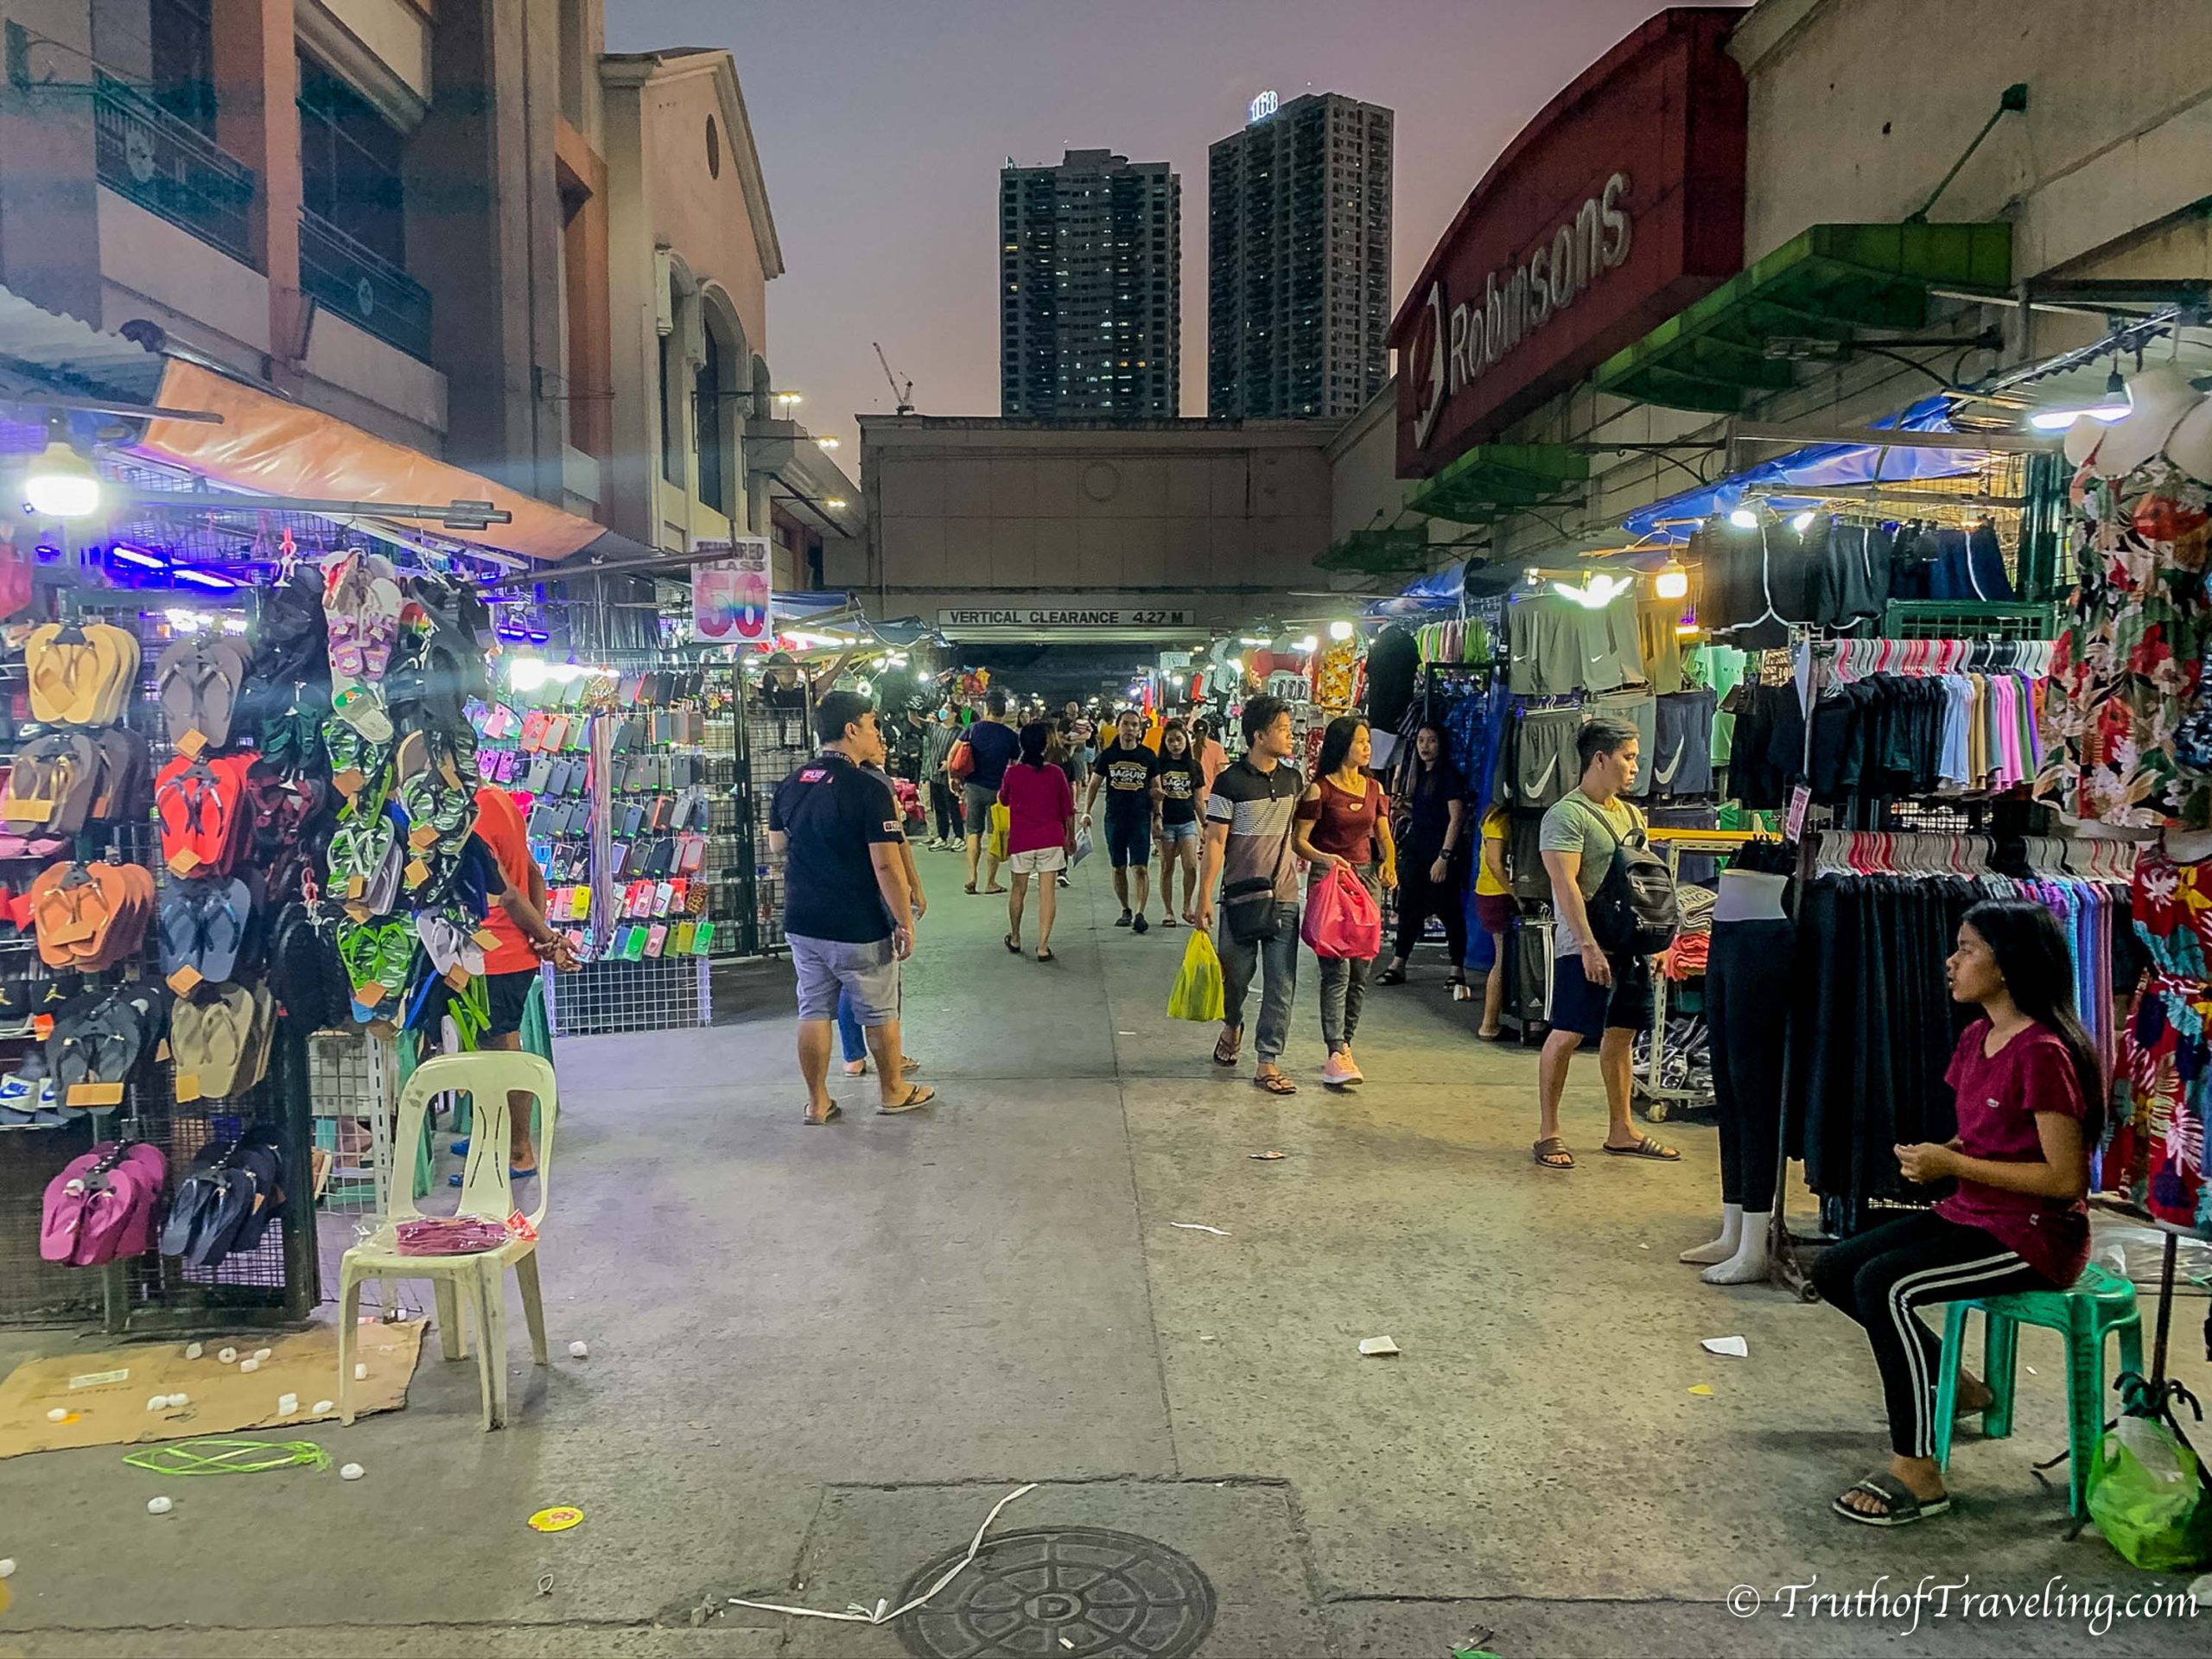
You can also find really inexpensive accommodation options right in the center of Manila close to everything. There are so many food options that if you’re traveling on a budget Manila is the place for you!
Read More: How Long Should I Spend in Manila, Philippines?
Days 5-11: Siargao

Siargao is located on the eastern edge of the Philippines and is an extremely beautiful island! This was our absolute favorite place we visited while in the Philippines! On Siargao you will find endless palm trees, amazing views and so many things to do. General Luna, the most popular place to stay on the island, has such a laid-back beach feel to it that is just so relaxed and enjoyable!
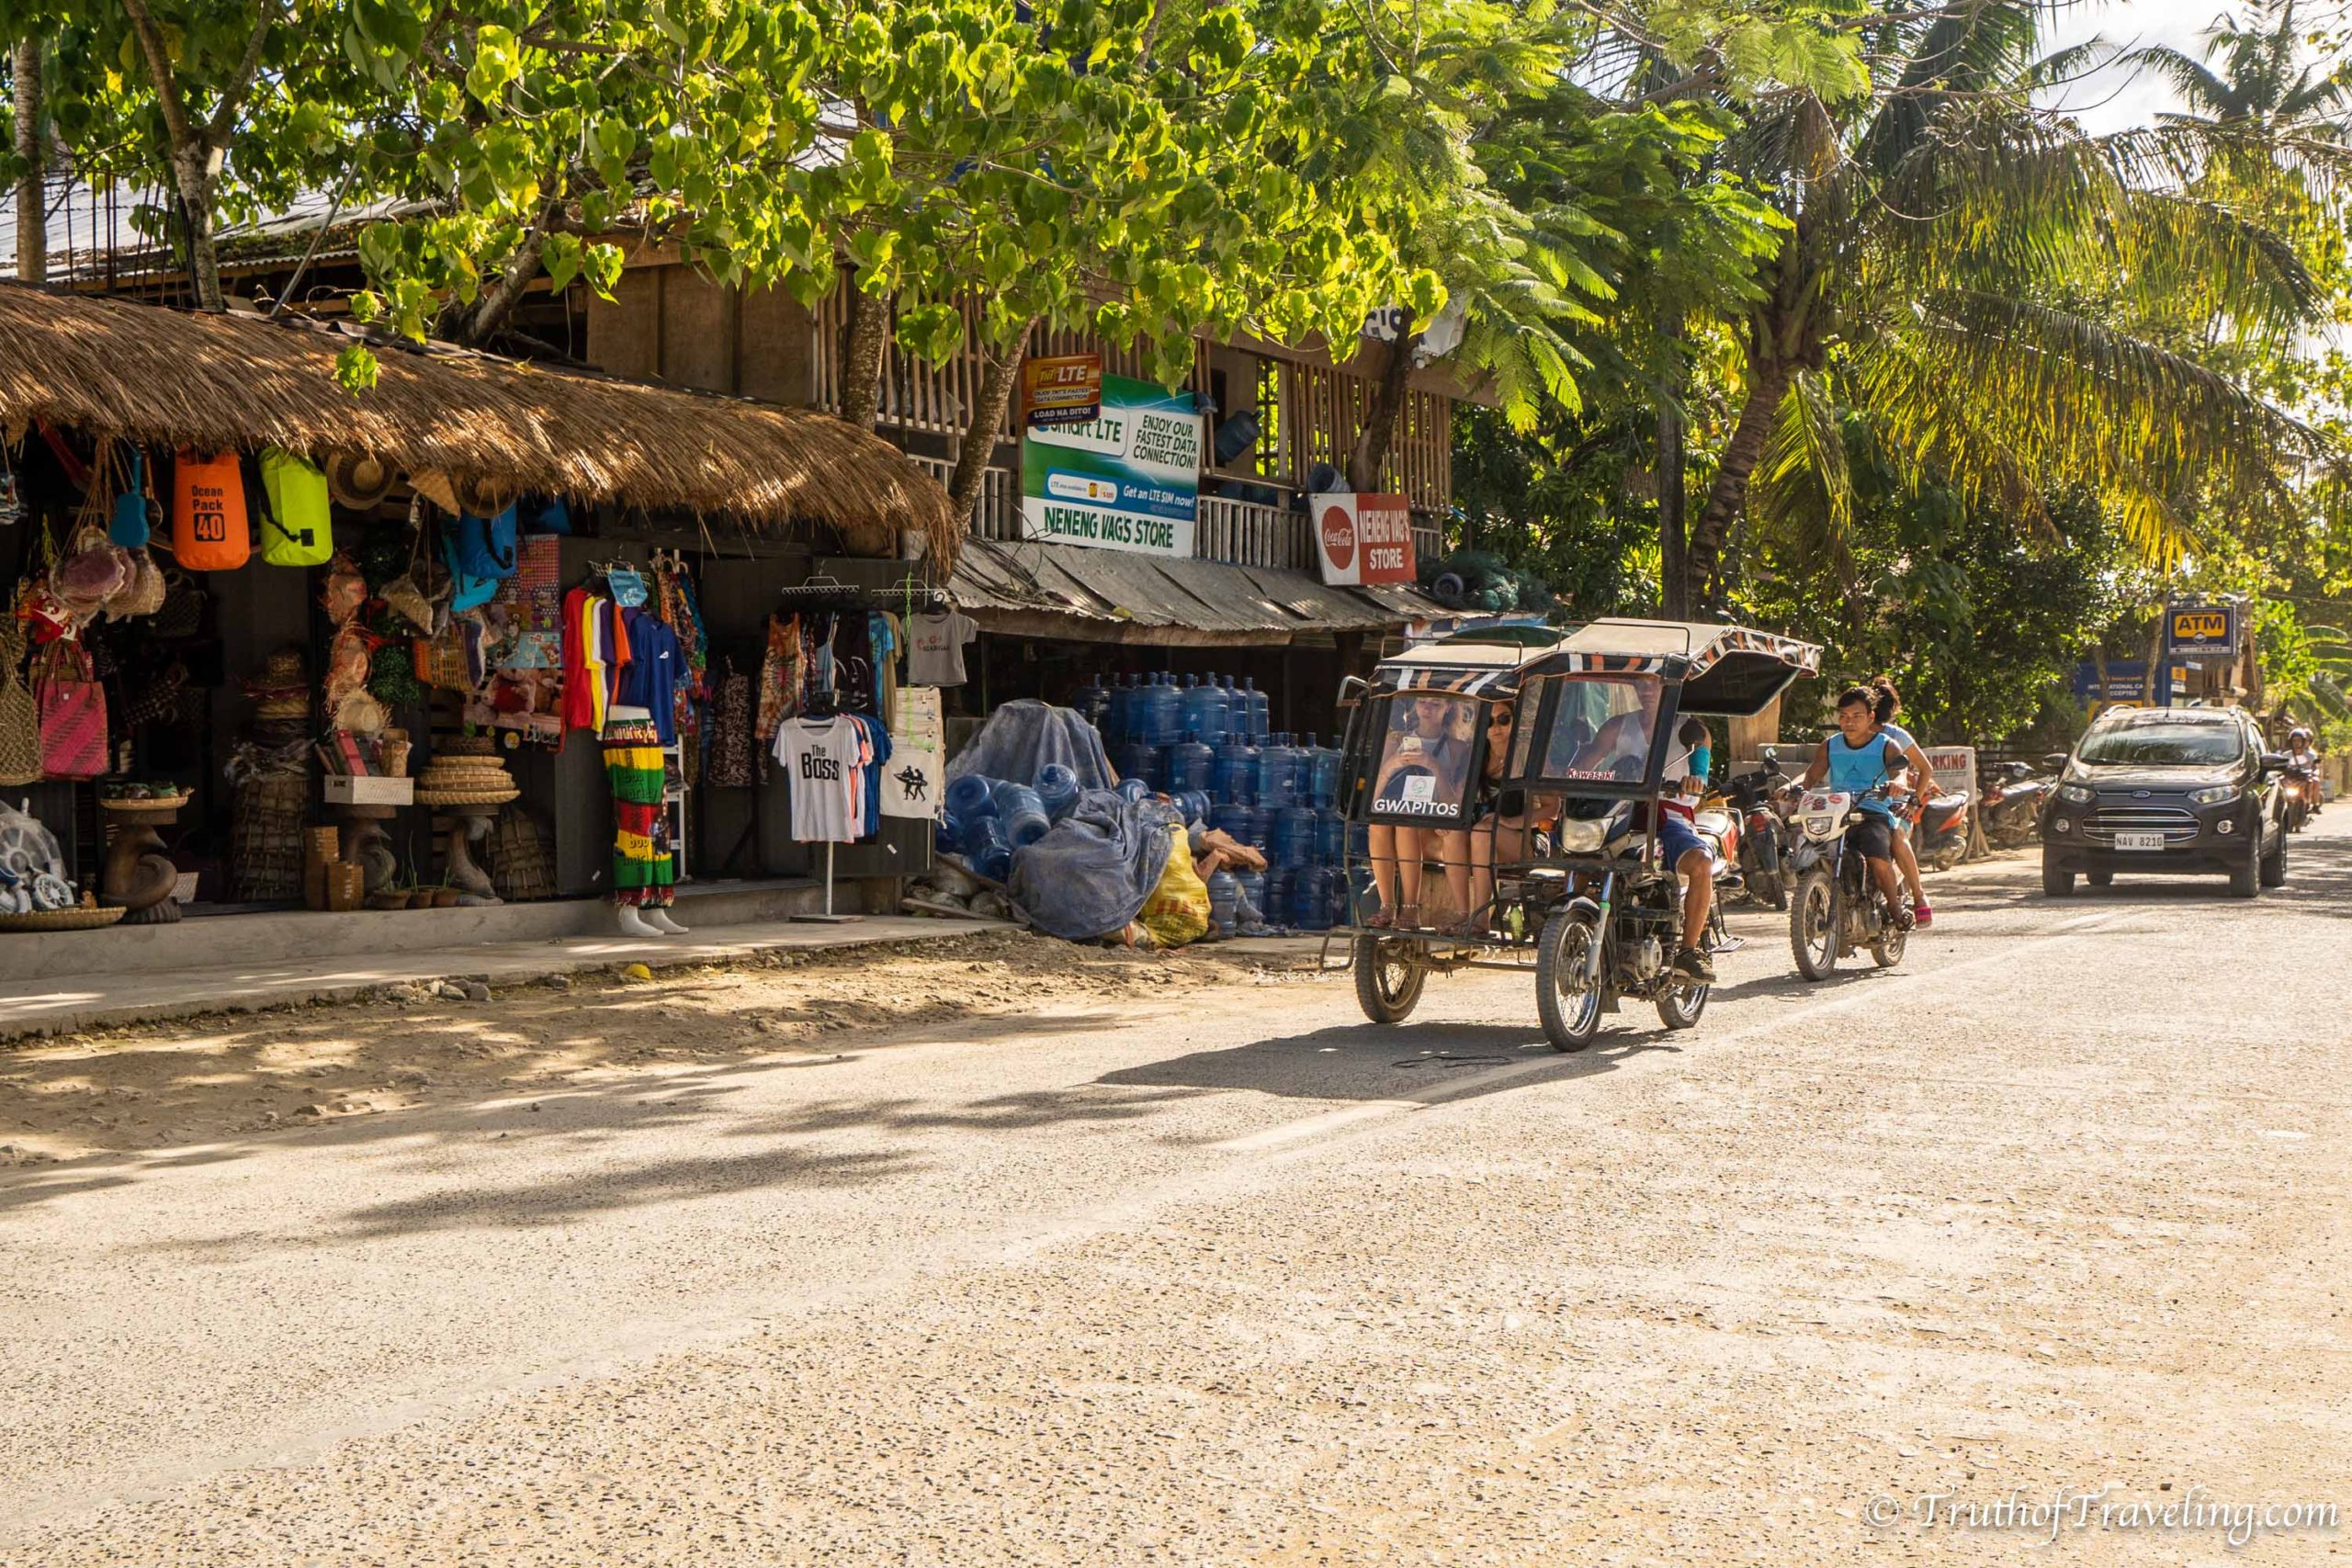
You can fly directly from Manila to Sayak Airport in Siargao which is why we chose to go there first. It’s a quick 2 hour flight and then you’re there. If you can make sure to get a window seat because the views when you’re coming in to land are incredible!
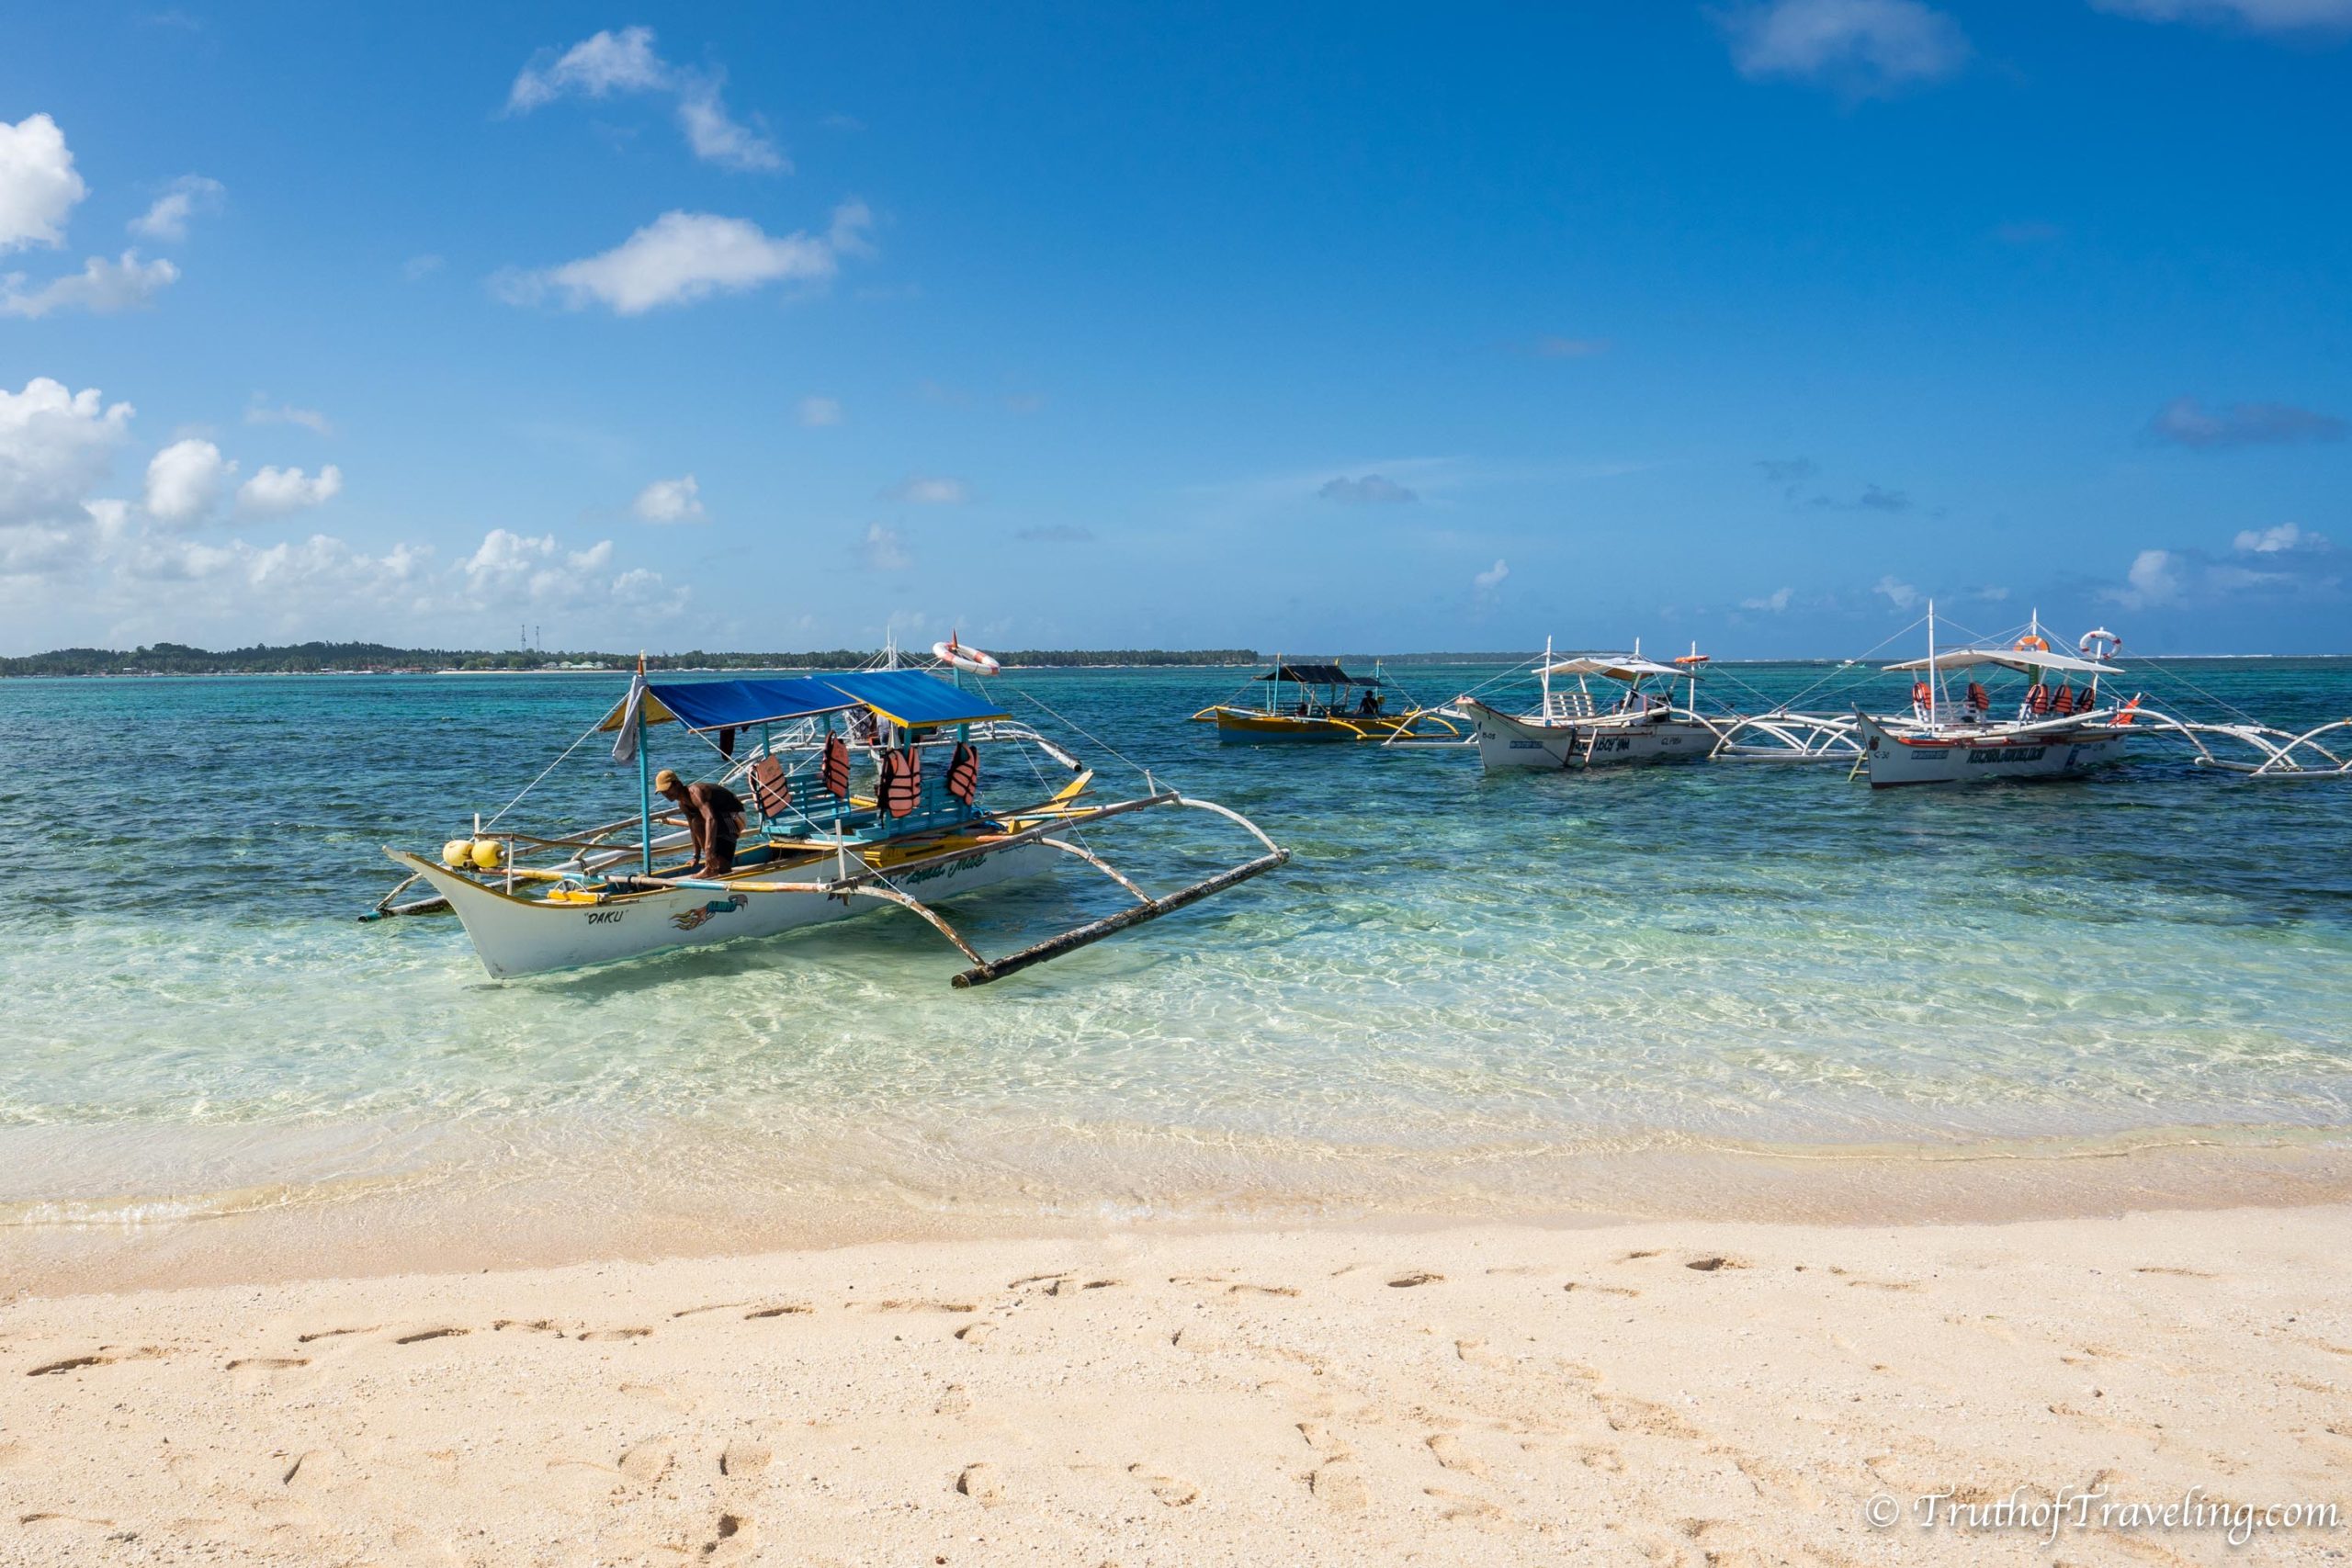
There is so much to do on Siargao that you definitely want to give yourself more than just a few days. We stayed for 6 nights in Siargao and thought it was the perfect amount of time. By the end of our time there we had such a good feel for General Luna. It was nice to know where things were and there are so many restaurants and food options to try we loved getting to go to so many of them!
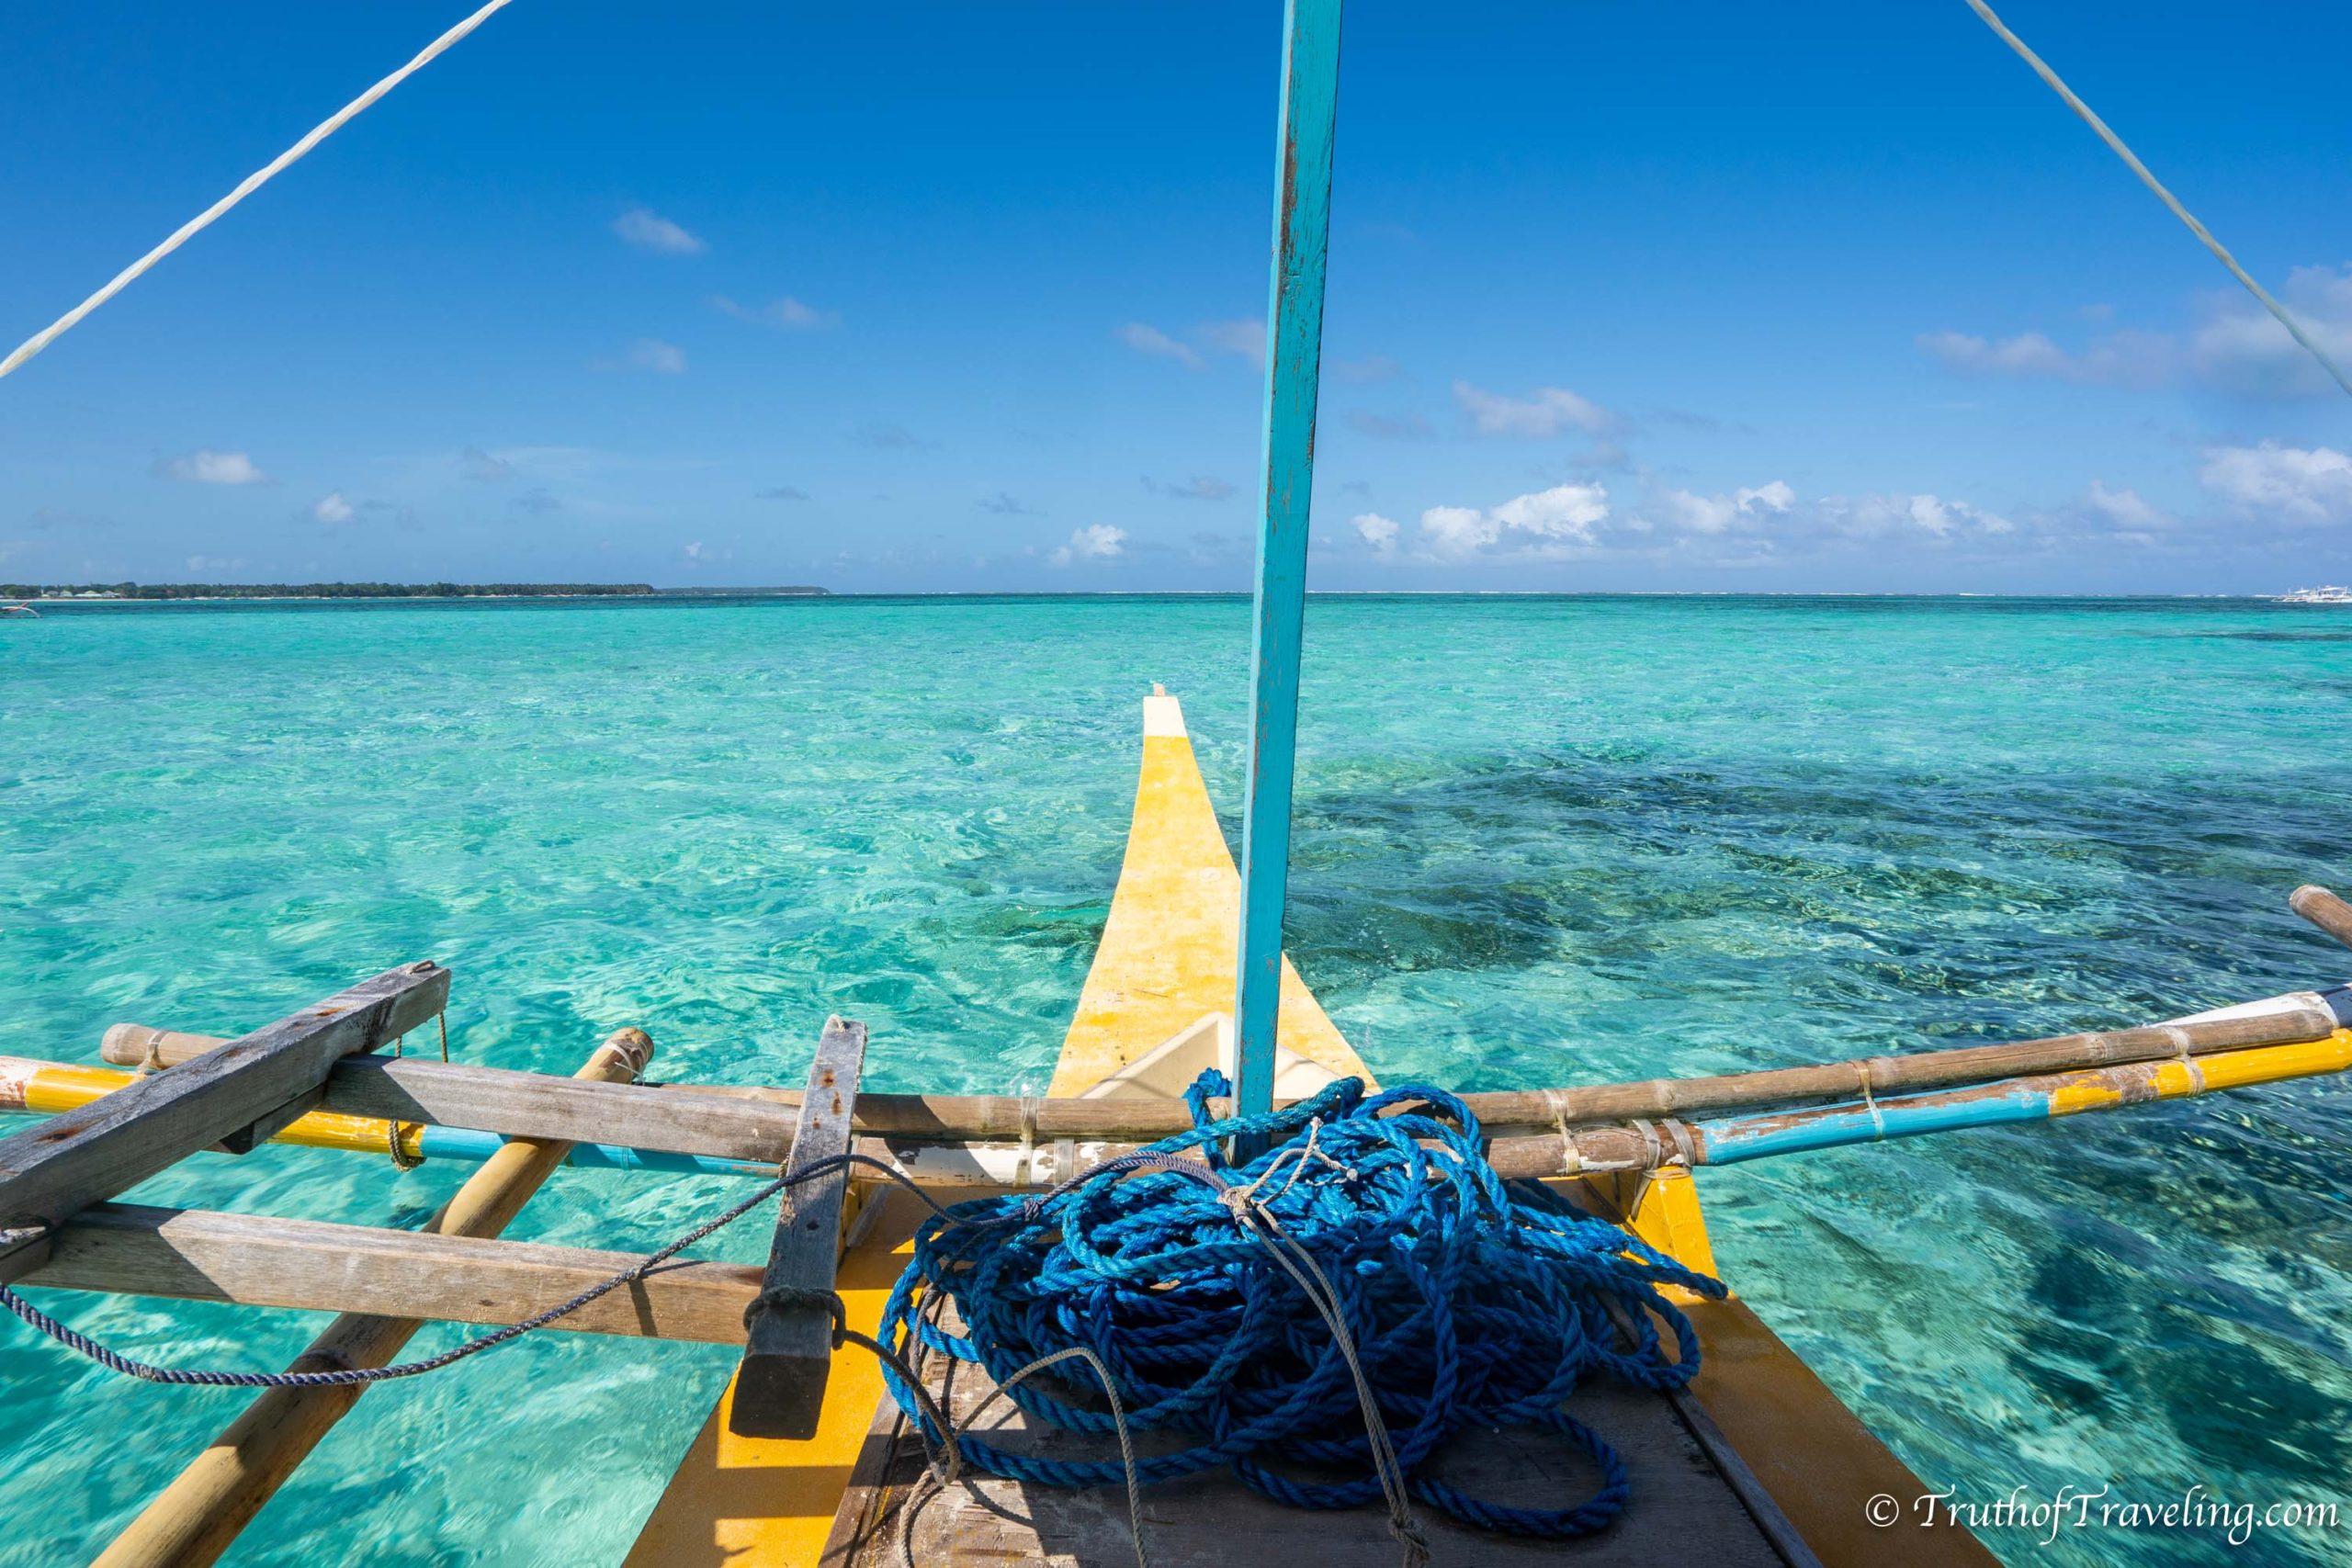
Make sure to do a Siargao 3 Island Tour before you leave to see some seriously incredible water and islands! Our Siargao island tour was so inexpensive too so it’s a must do while you’re visiting!
Read our Siargao 3 Island Tour: Everything You Need to Know Post
Other highlights on the island include renting a motorbike to see the Palm Tree View Point, Pacifico Beach and the famous Maasin River Swing!
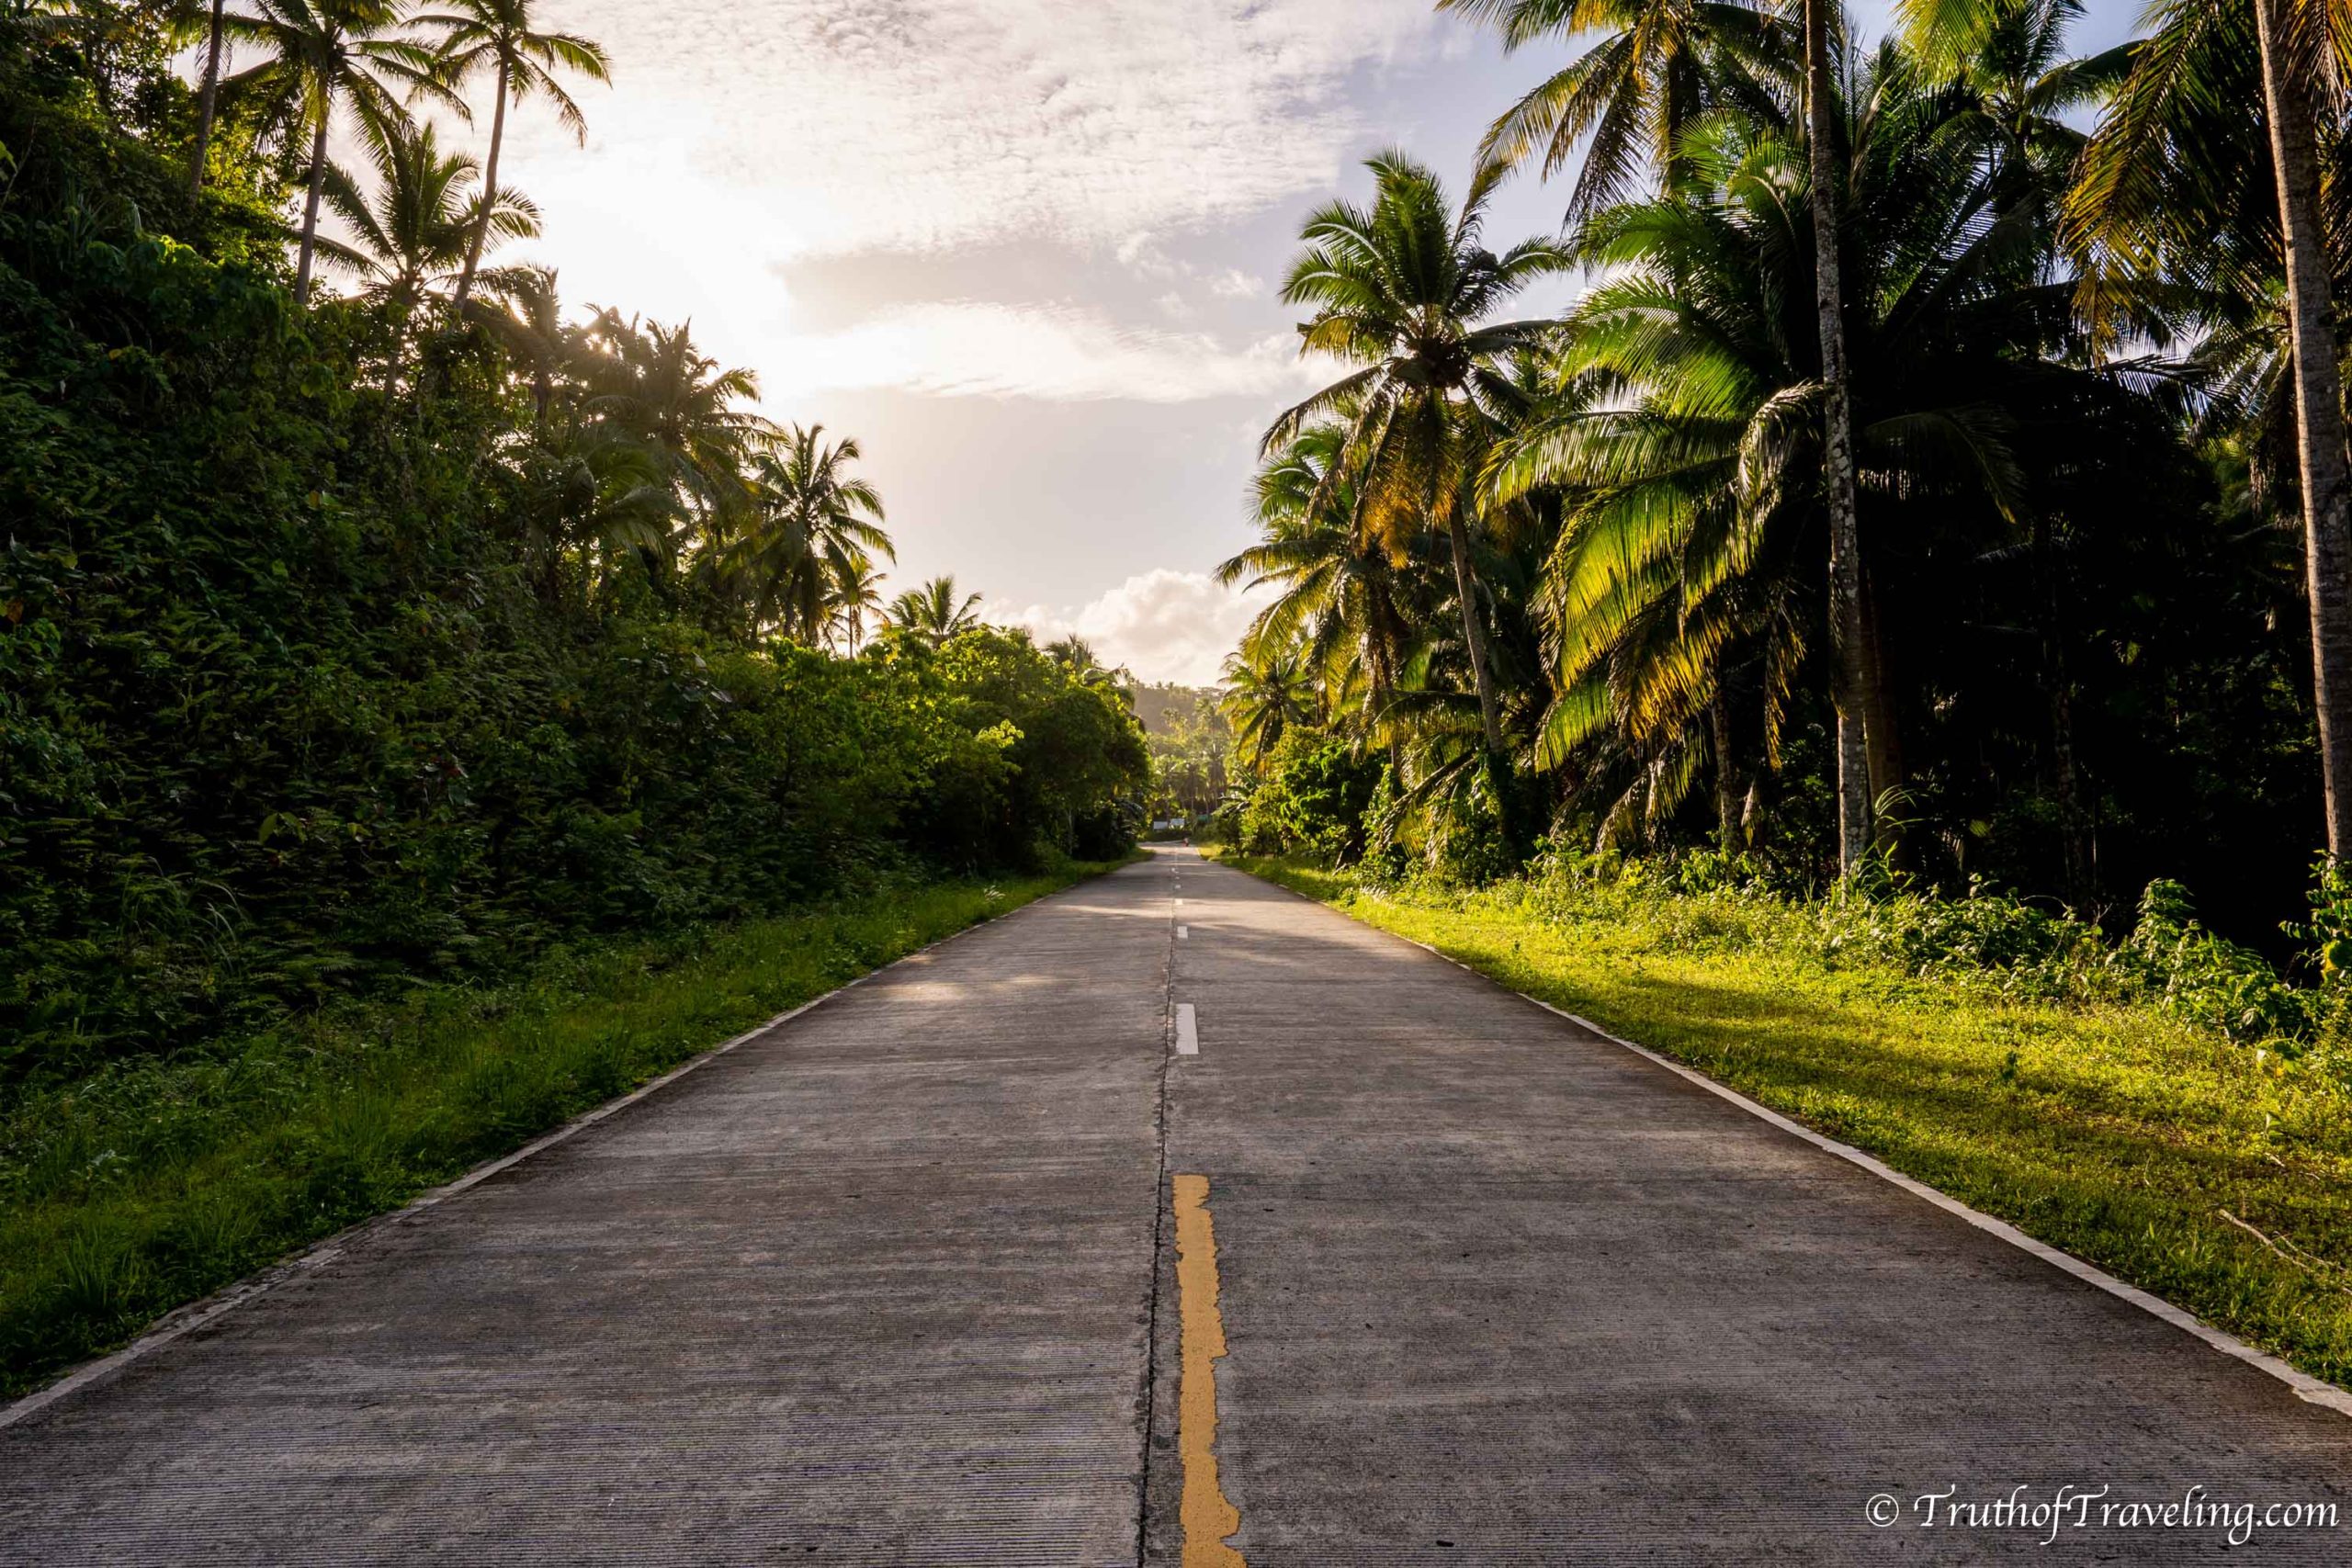
Travel Truth: If you’re limited on time and have to chose one island to visit we would 100% say to go to Siargao! We absolutely fell in love with this little island! It still feels so authentic and not overrun with tourists while also having so much to do and lots of good food!
Read More: Complete Guide to Visiting Siargao Island in the Philippines
Days 11-15: Moalboal
From Siargao we flew directly to the island of Cebu. This is another really quick and easy flight. Flights from Siargao go to either Manila or Cebu so this is another reason it makes sense to start there and then continue on to Moalboal.
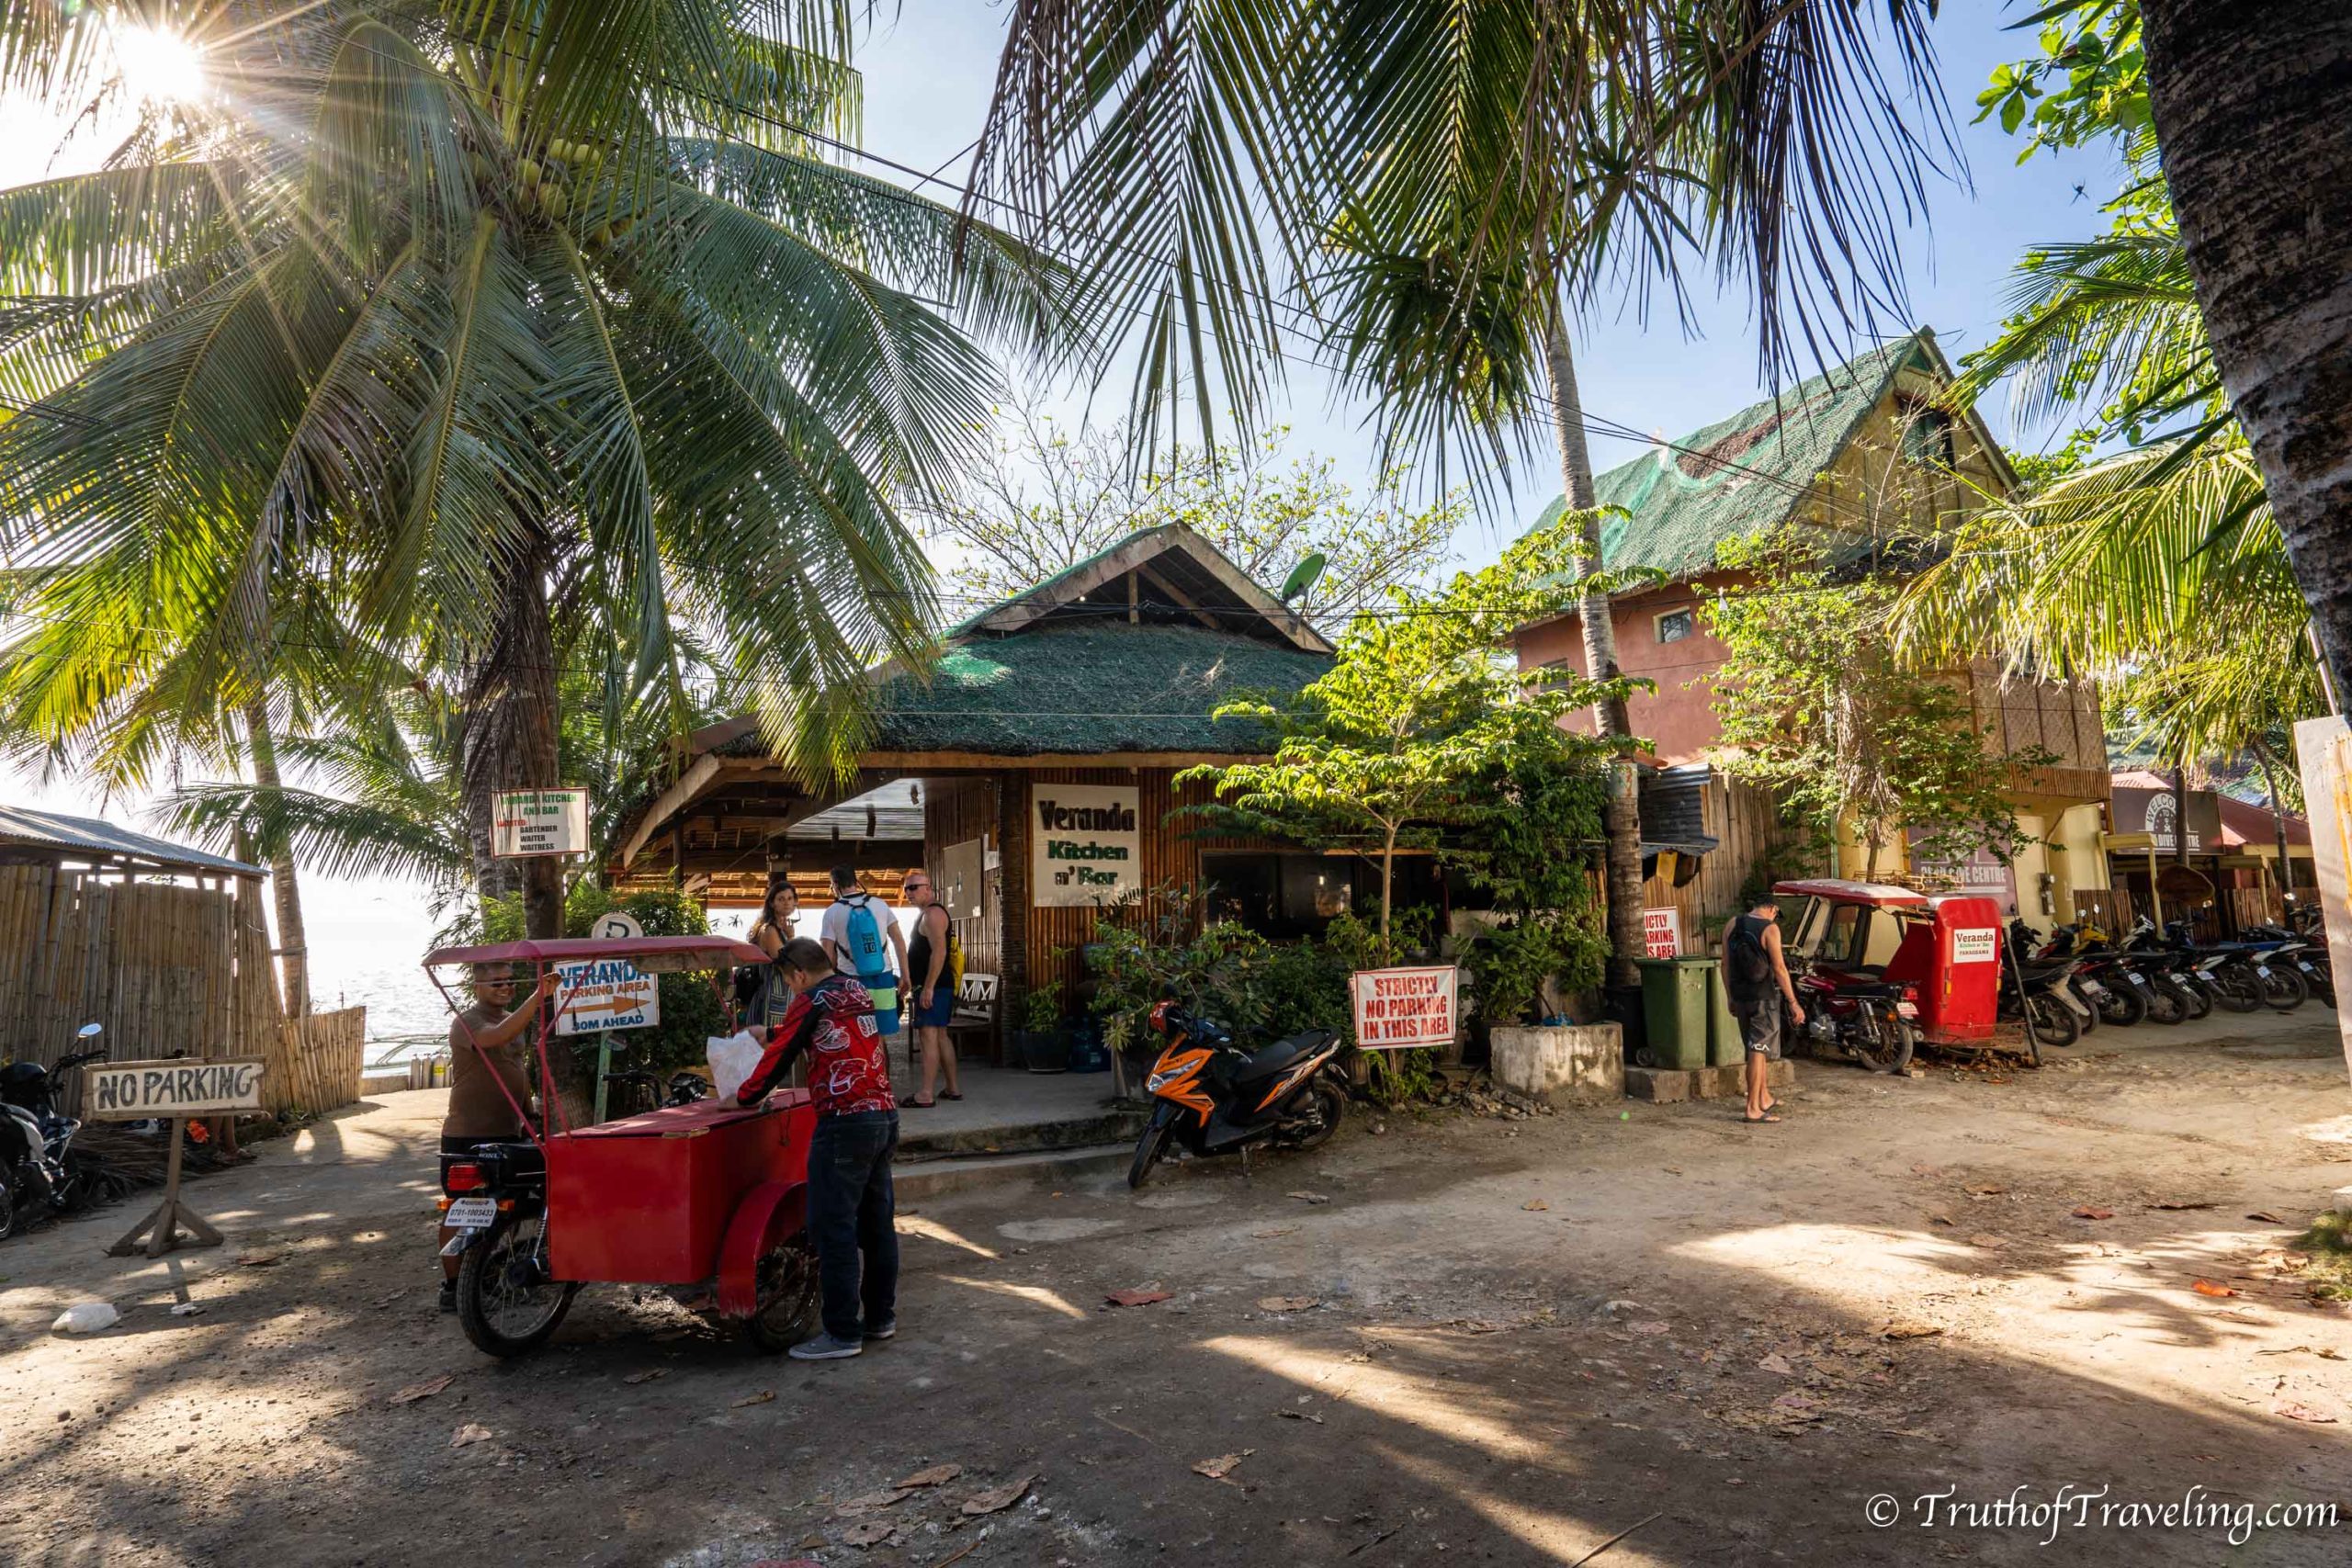
Moalboal is on the western coast of the island of Cebu. It’s about 100 kms from Cebu City where the airport is. Check out this post for How to Get from Cebu City to Moalboal and then back!
Moalboal is known for it’s diving, snorkeling and close proximity to some amazing waterfalls. If you’re looking to dive and get certified this is one of the cheapest places to do it! Even if you don’t dive you can snorkel right off Panagsama Beach and see sardines and turtles without swimming far!
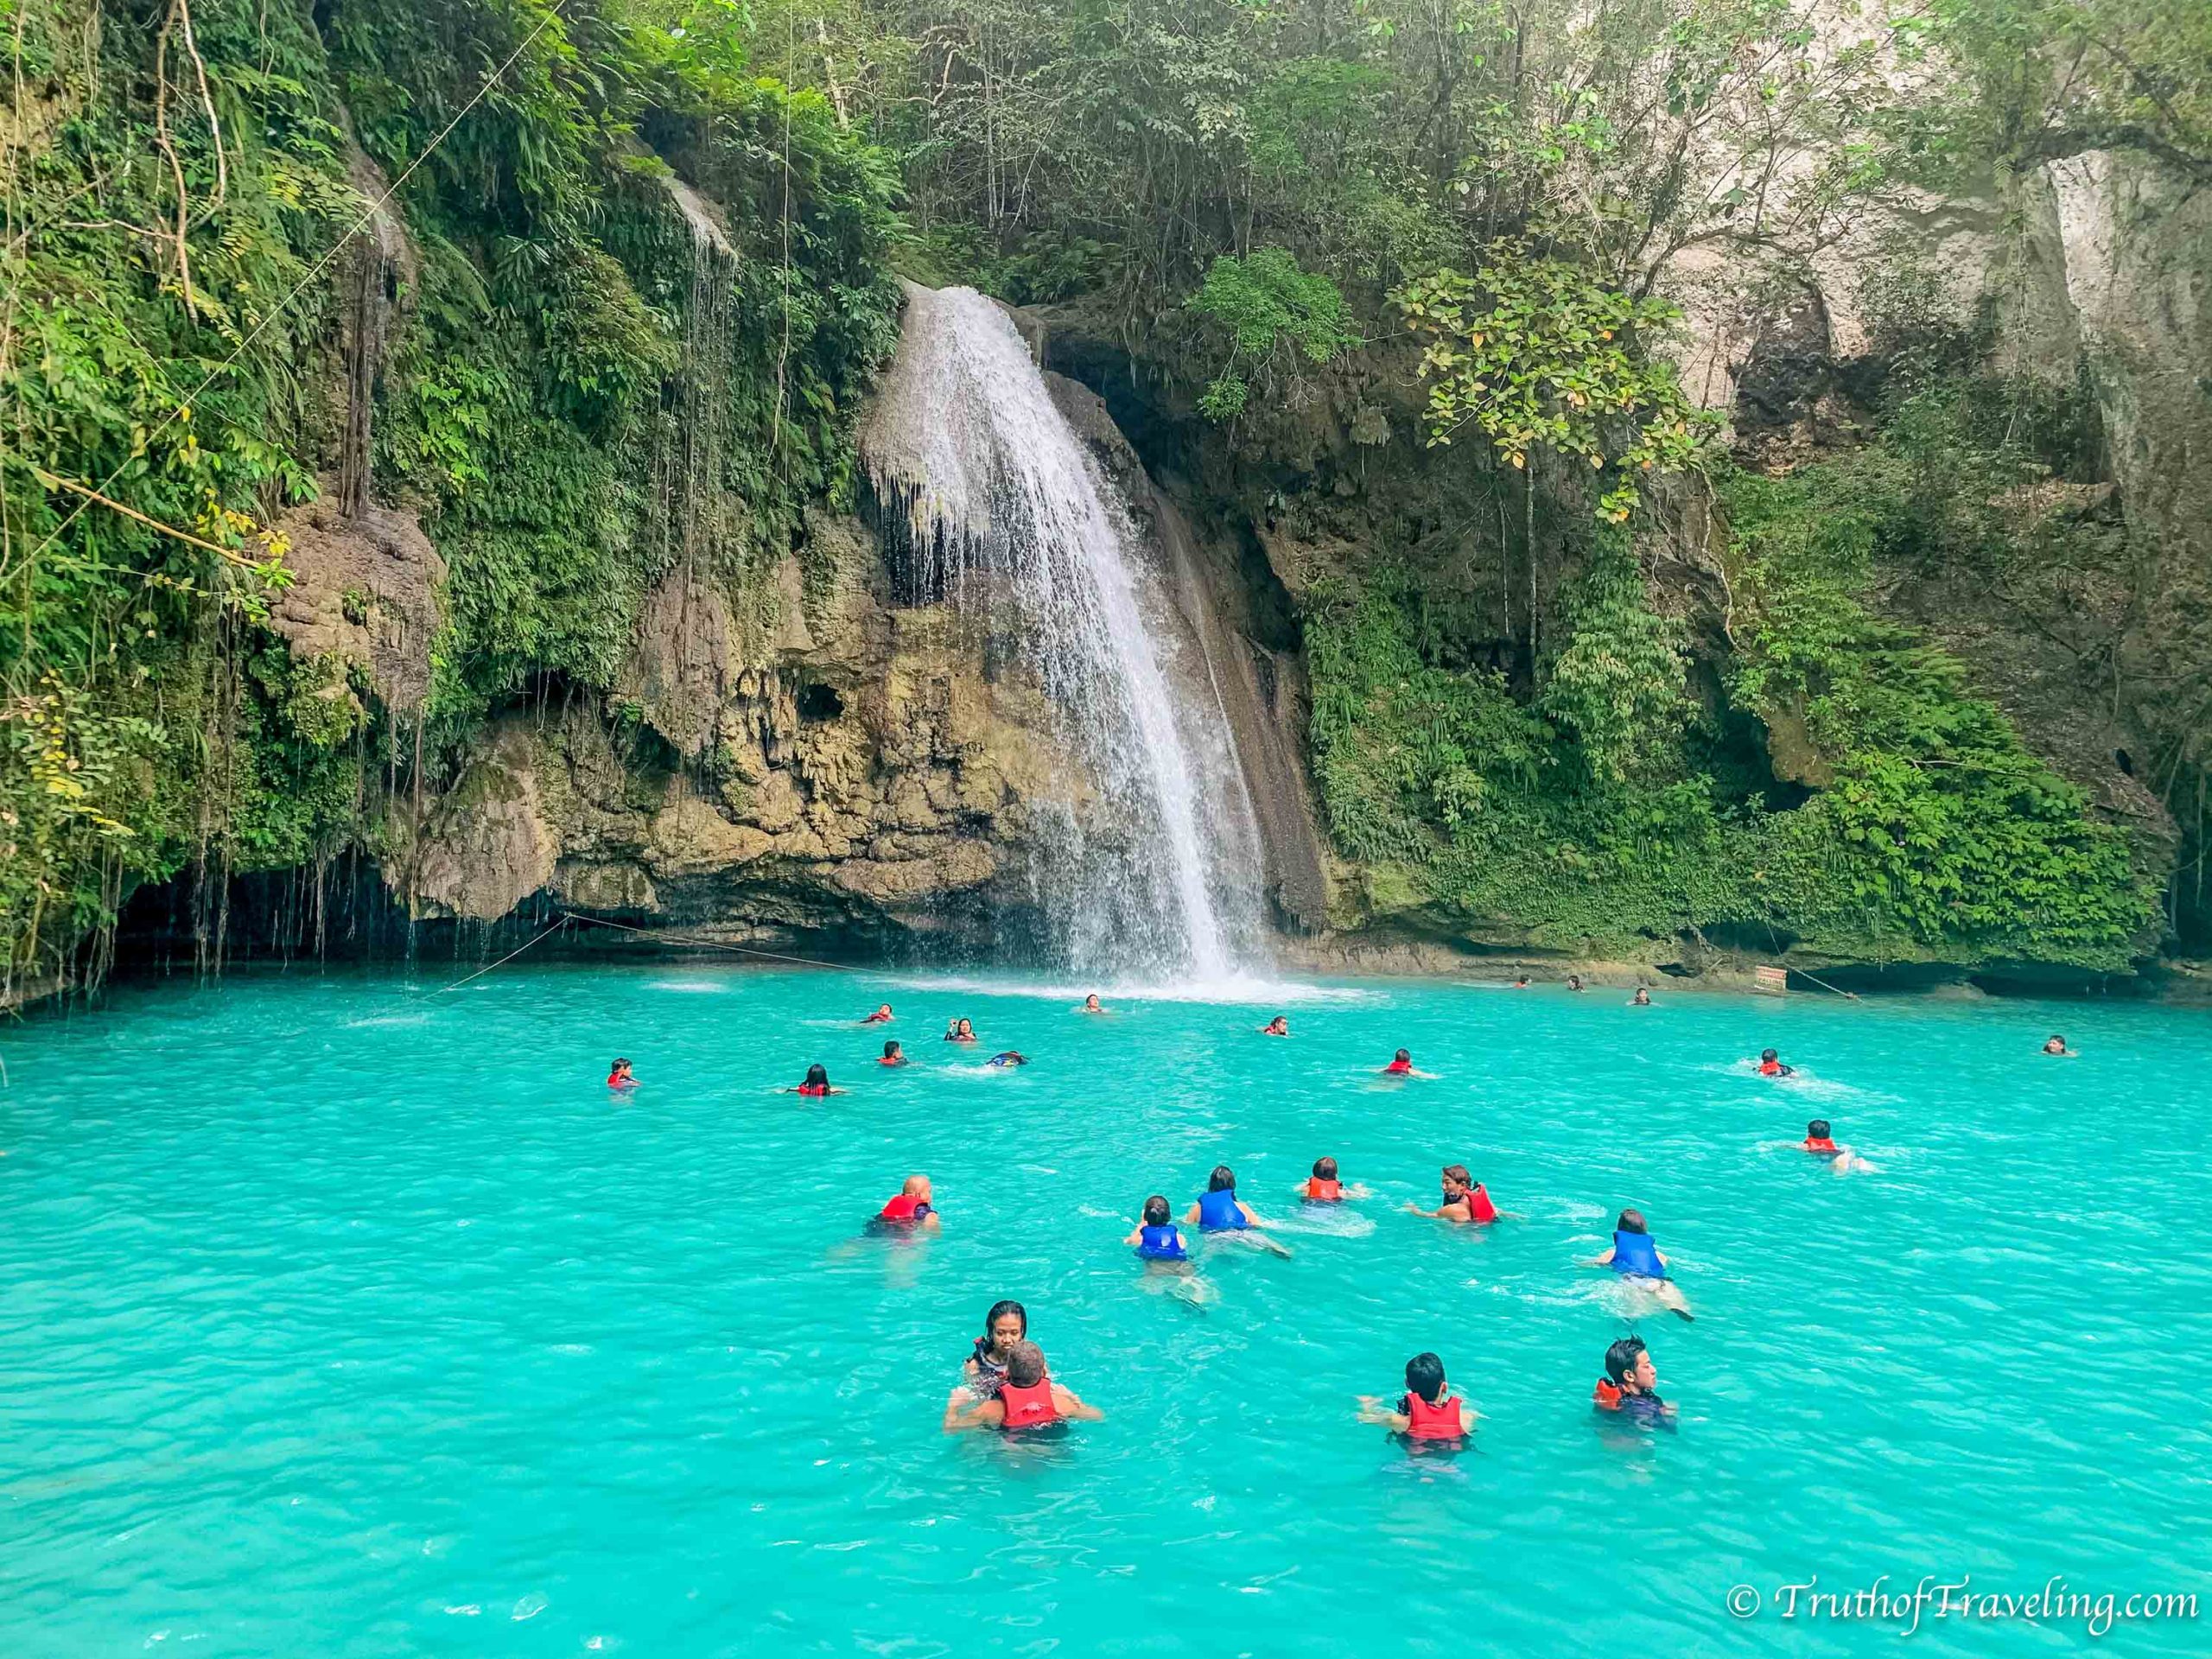
The highlight of our time in Moalboal was canyoneering Kawasan Falls! Kawasan Falls is the most famous waterfall in the Philippines so you’ve likely seen pictures of the beautiful blue waters. It’s a full day of jumping from cliffs ranging from 4-15 meters, climbing over rocks and swimming. We had the best time and would definitely recommend it!
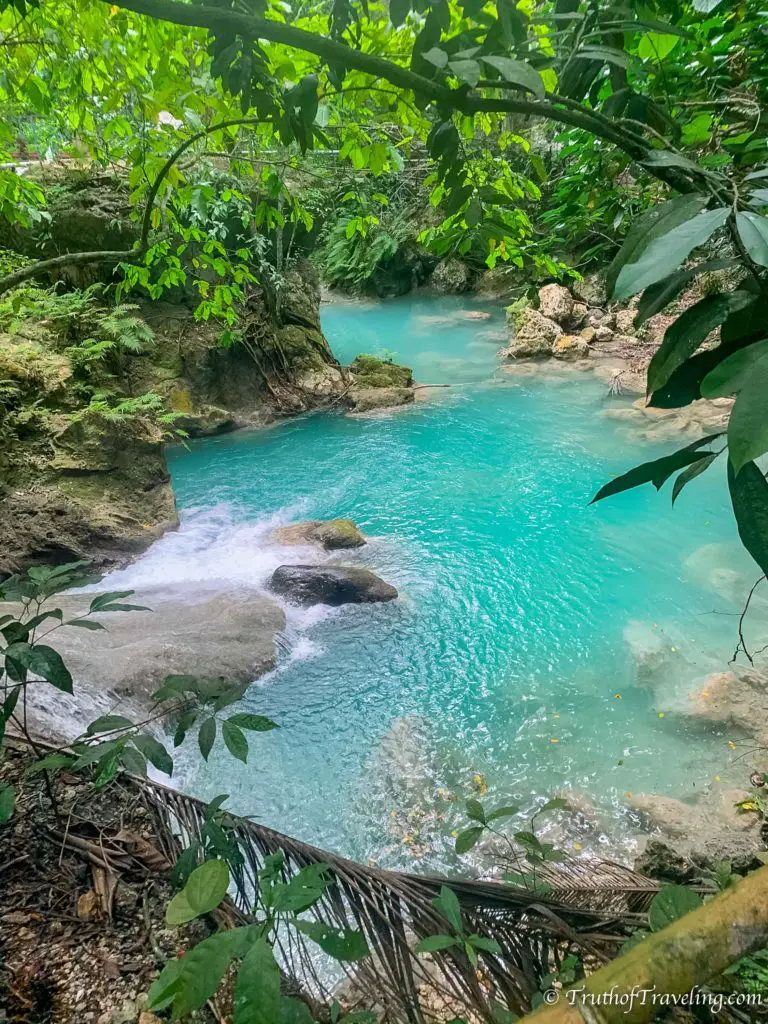
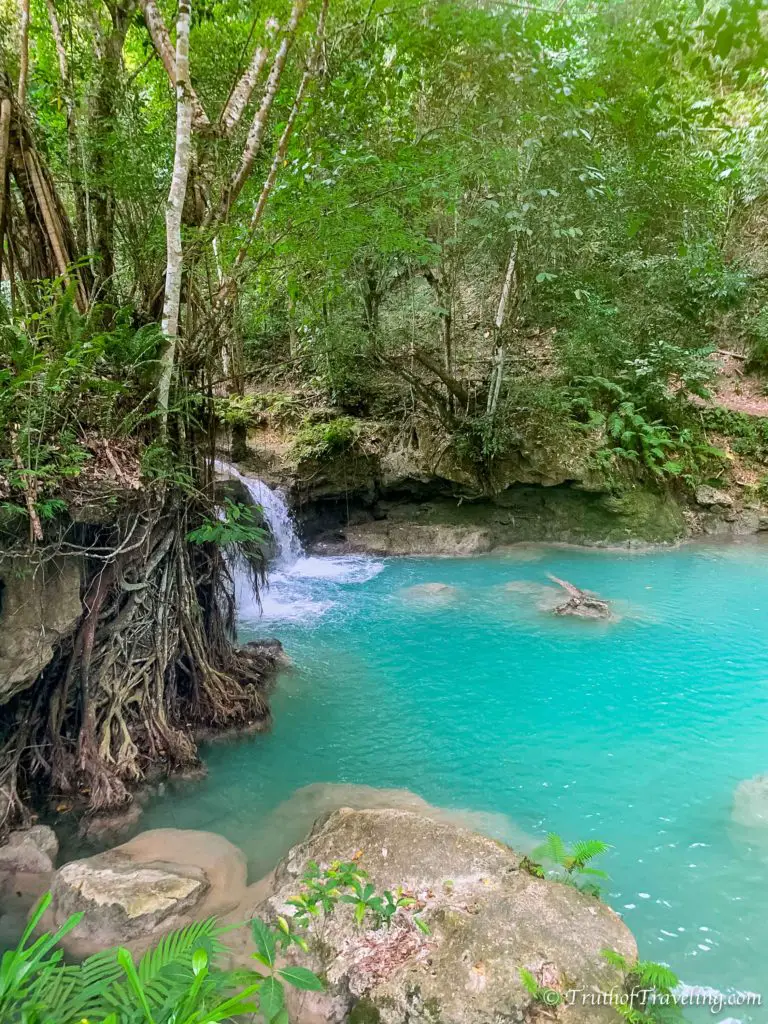
Read this post for Everything You Need to Know About Canyoneering Kawasan Falls including what to wear and what to bring or NOT bring!
If you’re short on time you could cut a day or two from Moalboal. We appreciated the extra time as we had a few rainy days. But keep in mind the time it takes to get to and from Cebu City. You really need a full day to get there so make sure to give yourself enough time to explore the area before you have to turn around and do it all over again.
Days 15-21: El Nido
El Nido is one of the most popular places to visit in the Philippines. Located at the top of the island of Palawan getting to El Nido is a little tricky. You can fly into a very small airport in El Nido but it will cost you a lot. Most people (especially if you’re traveling on a budget) fly into Puerto Princesa Airport and then take a bus or van up to El Nido.
Read More: 5 Tips for Visiting El Nido in the Philippines
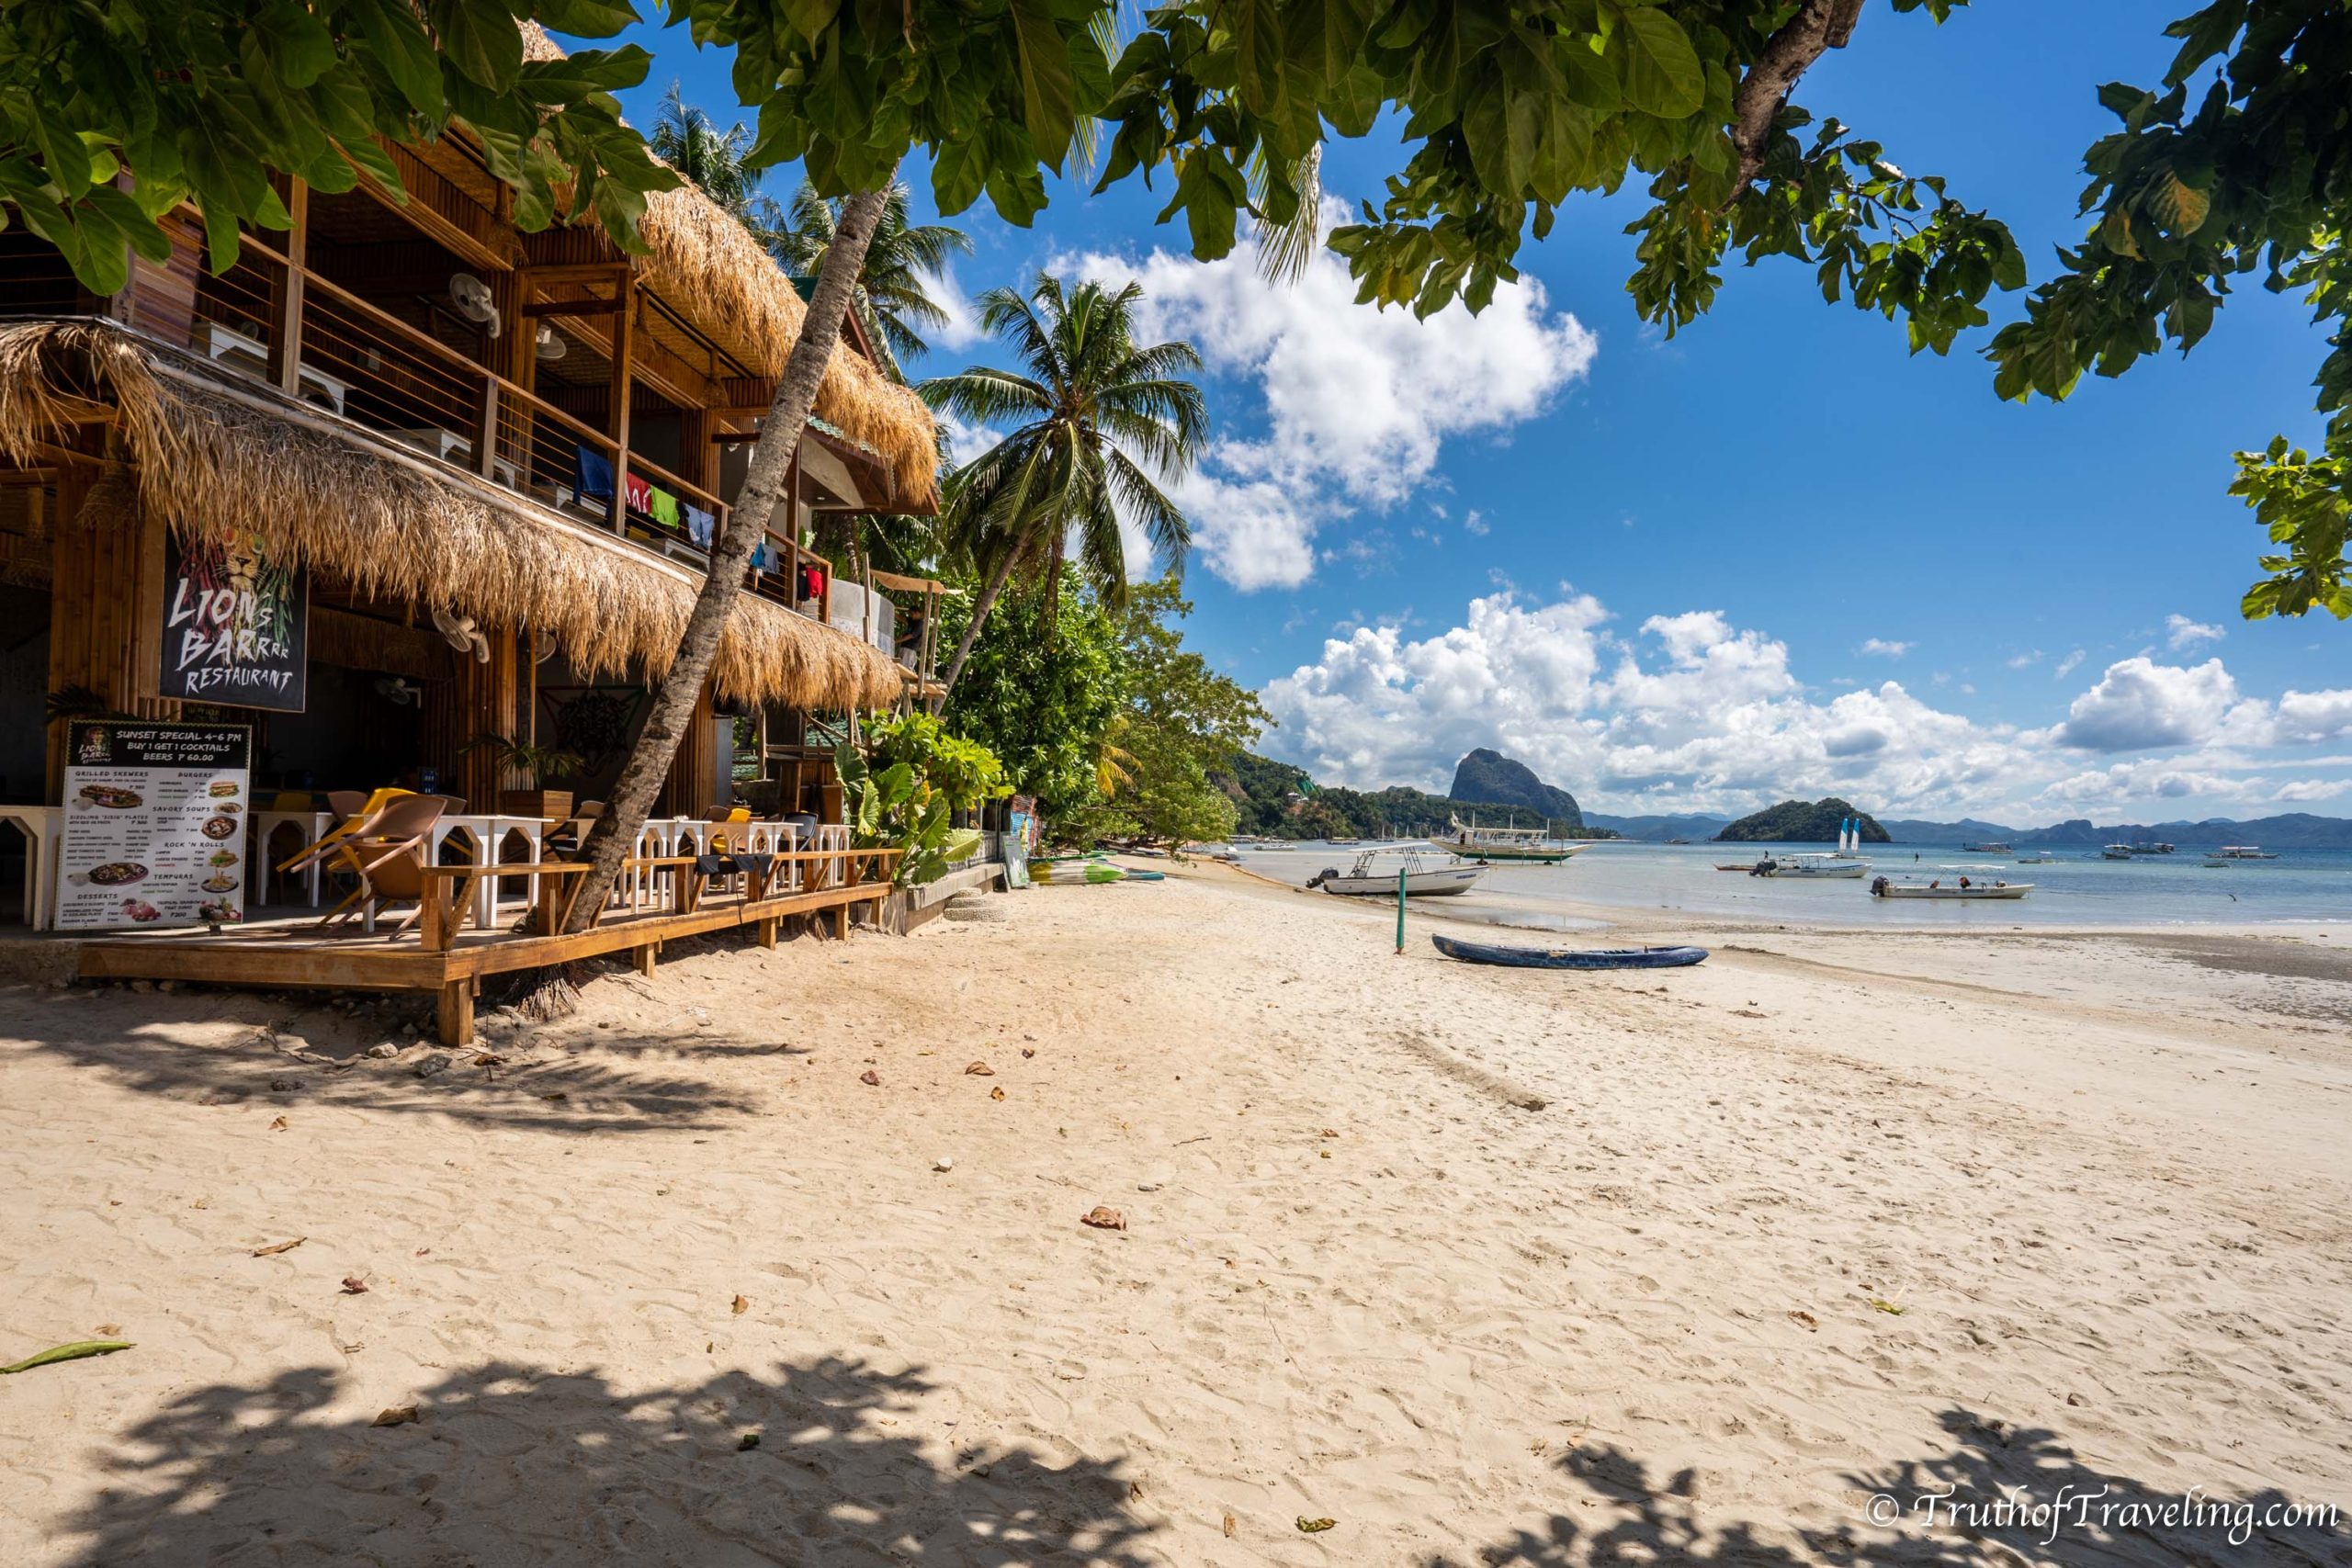
- The flight from Cebu to Puerto Princesa is about an hour flight. Once you land in Puerto Princesa you can either take a bus or van up to El Nido. The bus is said to be very bumpy and uncomfortable so a lot of people opt for a van ride.
- We booked our van through our hostel, Pawikan Hostel, and it cost 500 PHP ($10 USD) per person each way. So in total it cost 2,000 PHP roundtrip for the 2 of us or about $40 USD. The van transfer ended up taking us around 7 hours so it is definitely the longest travel day we had while in the Philippines.

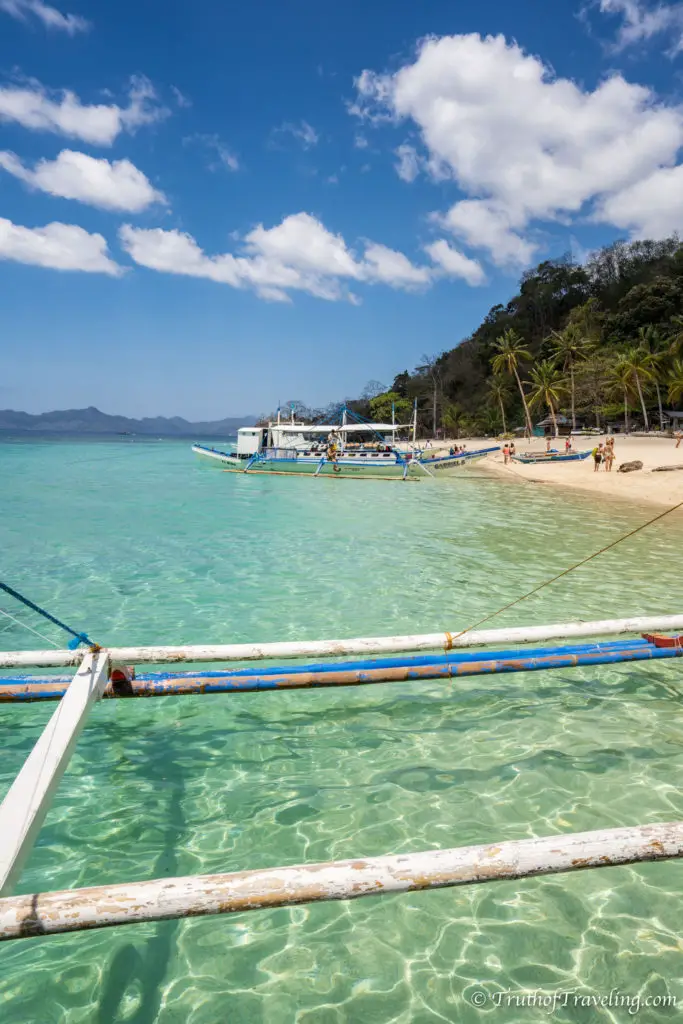
Once in El Nido you need to get out on the water to see the impressive limestone cliffs that the area is famous for! You have 4 island tour options each of which bring you to different spots. We chose Tour A and had such a good time!
Read this post for our El Nido Tour A Review including how much it cost and our honest thoughts!

Make sure to head up to Nacpan Beach which is easy to get to with a motorbike! It’s a beautiful, quiet beach north of the town of El Nido that you definitely don’t want to miss!
Read More: 3 Beaches to Visit in El Nido, Philippines
Days 21-22: Manila
To leave the Philippines you will most likely return to Manila. Leaving El Nido you will have to take a bus or van back to Puerto Princesa and then fly to Manila. It’s another short flight but make sure you pick one in the late afternoon or evening so you have time to get to Puerto Princesa.
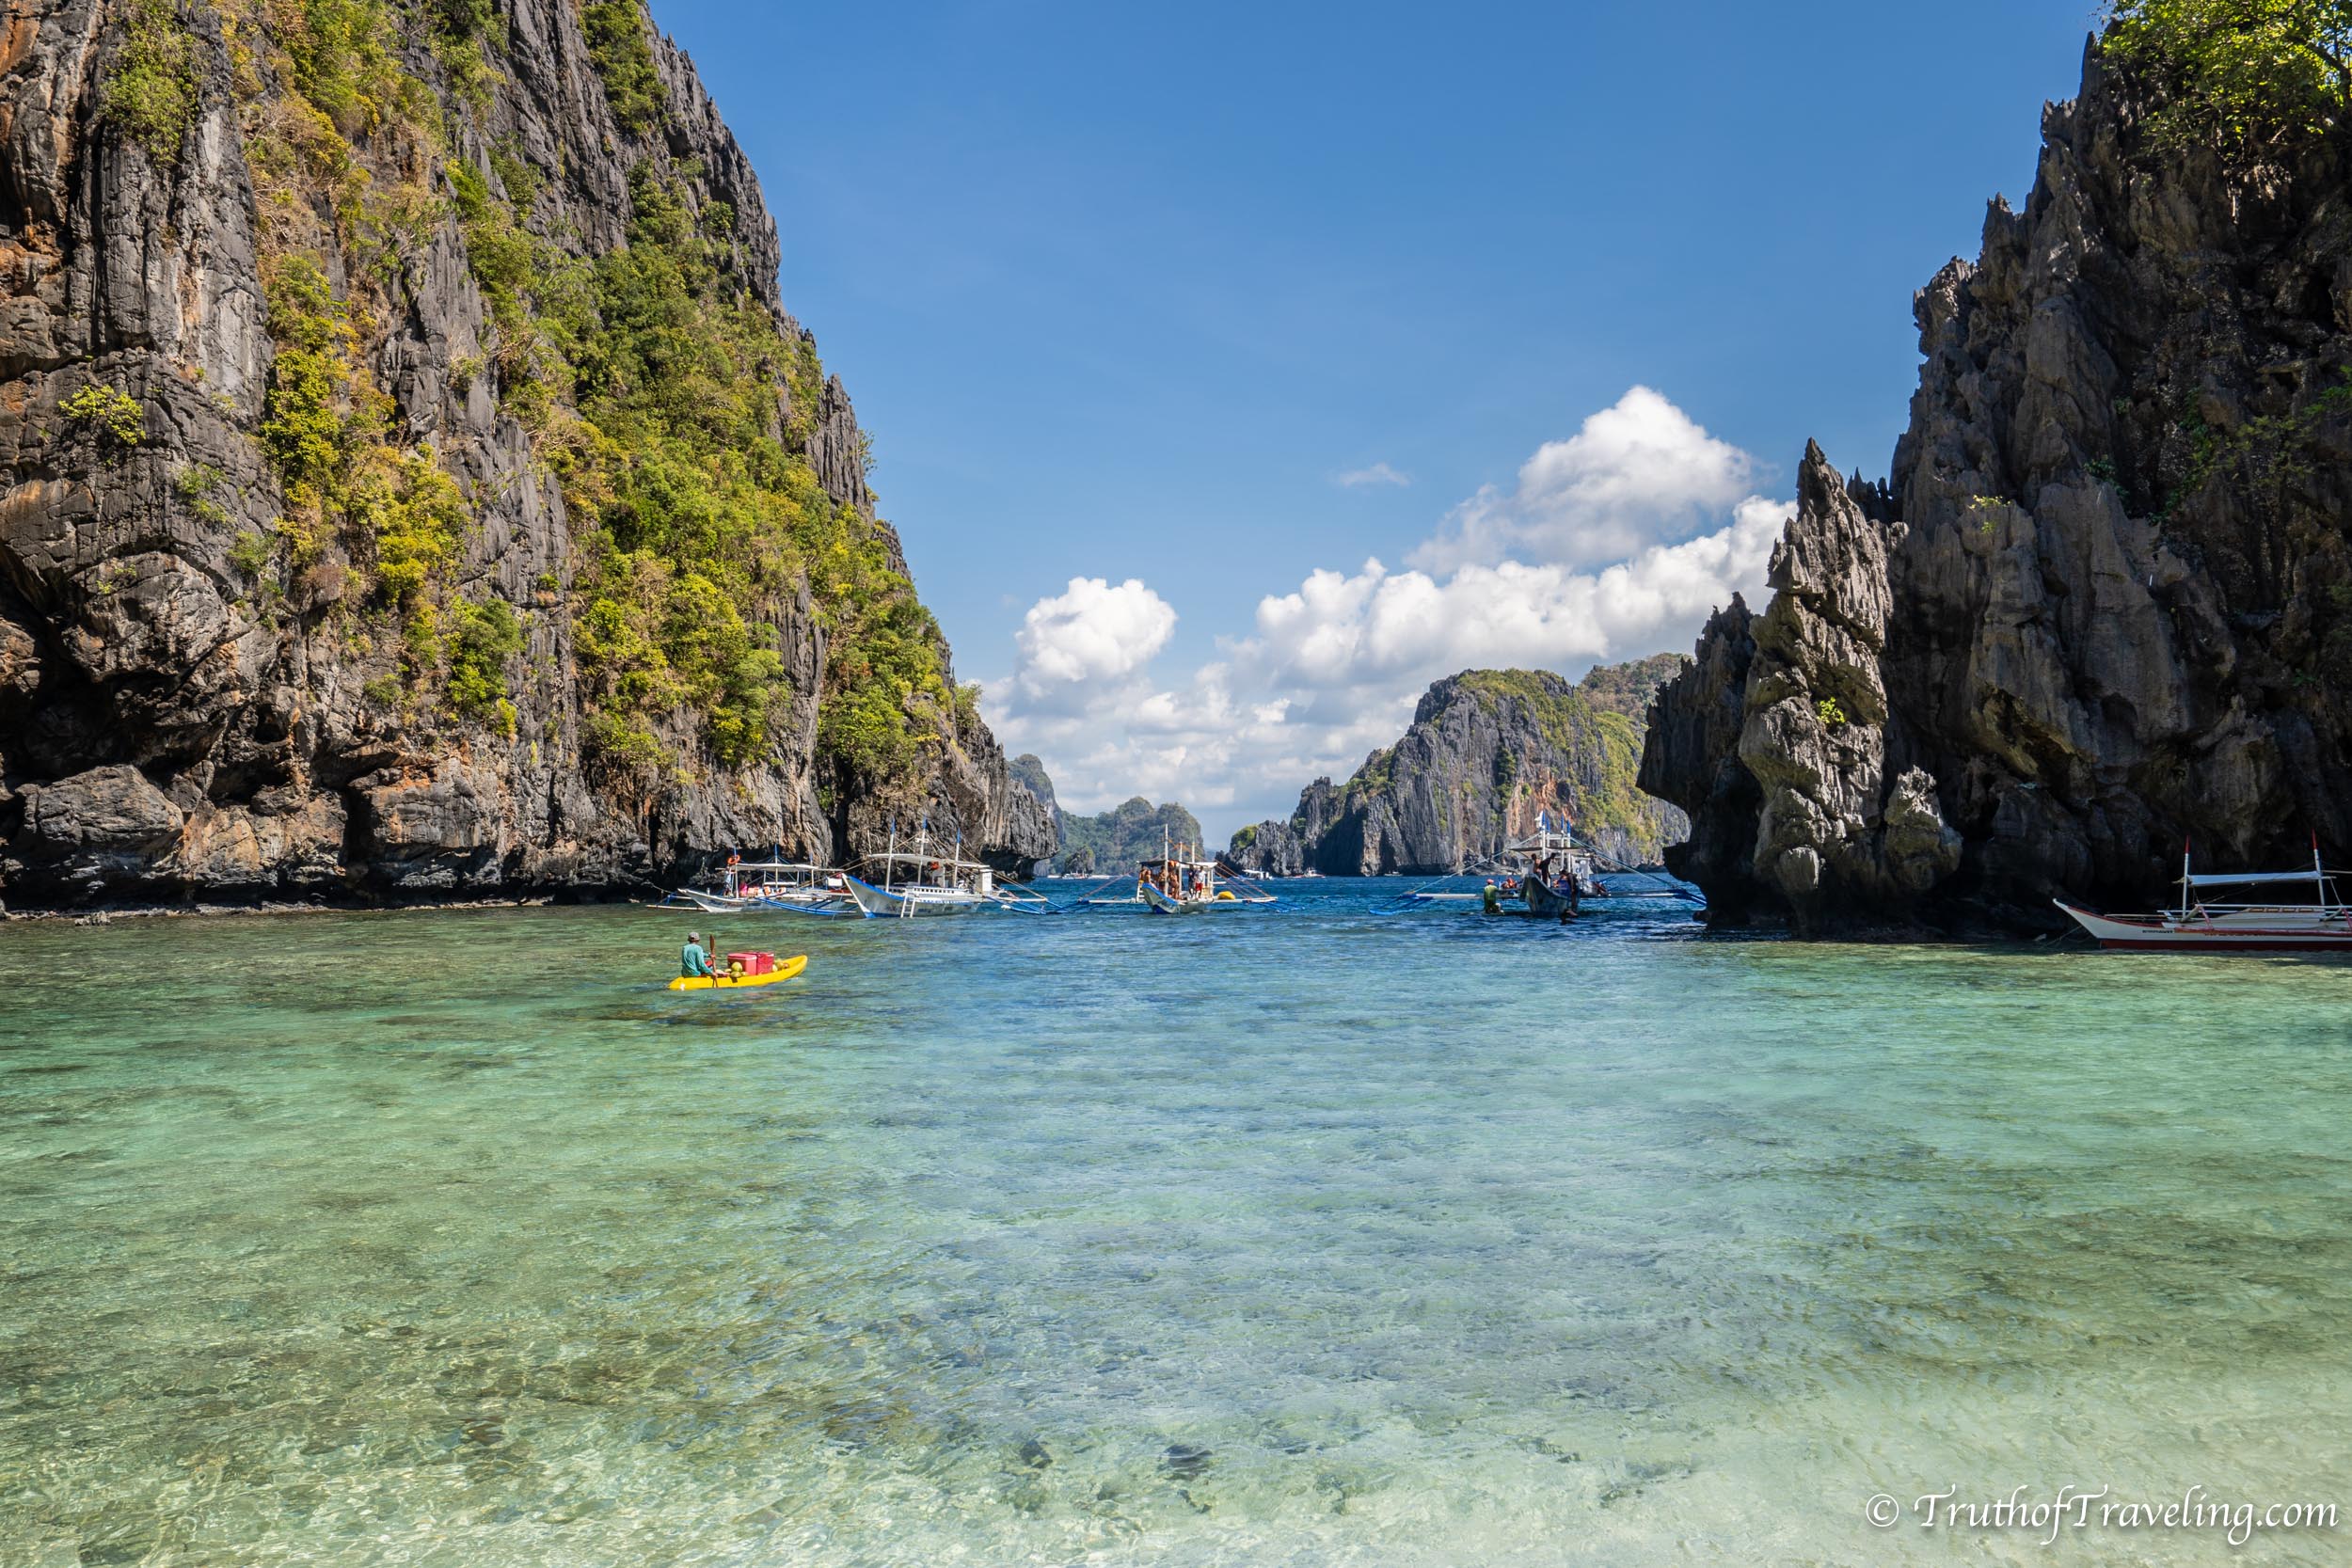
This itinerary gave us plenty of time on three different islands within the Philippines without feeling like we had to rush or miss things in each place! Of course it can be adapted if you have more or less time. You could cut days from both Moalboal and El Nido as well as Manila if you don’t have 3 weeks.
If you have even more time (lucky!) and are looking for other islands to visit we’ve heard great things about Siquijor which you can do either before or after Moalboal. Coron is also only a ferry ride from El Nido and another place we would love to go!
4 Items to Bring With You to the Philippines
Here are a few things you want to make sure to bring with you when visiting the Philippines:
1. Sunscreen
It is generally really hot in the Philippines so you are definitely going to want to pack sunscreen. Especially if you’re doing island tours or even riding around on a motorbike. We had read that it’s hard to buy western brands of sunscreen, however, we did see it for sale in El Nido. But we always like to pack some just in case we can’t find it wherever we are.
- We put it in this reusable container so that whenever we fly we know we can always bring some with us without having to throw it away completely!
2. Towels
If you’re traveling on a budget you will stay in a lot of hostels in the Philippines. Some times they provide towels and sometimes they don’t so these microfiber towels mean we always have them if needed. We also use them as beach towels whenever we go to the beach!
3. Dry Bag
The Philippines was the first place where we found ourselves really needing a dry bag. But being on so many boats for island tours as well as ferries means you need a way to keep all your valuables dry. Especially if you travel around with an expensive camera or other equipment like we do!
- You can buy dry bags all over the islands on the Philippines but the quality can vary. If you travel with expensive electronics it’s worth investing in a quality dry bag that you trust.
4. Bug Spray
The bugs in the Philippines are no joke! The mosquitos were particularly bad at dusk so if you’re walking around or sitting outside you definitely want to bring some bug spray with you. The ants are also plentiful so we learned the hard way not to keep any food laying out or else they’ll find it!
- These bug spray wipes are good for traveling because they don’t count as a liquid, are really small and are so easy to apply!
Interested in More Posts About the Philippines? Read Here!
Pin it for later:
