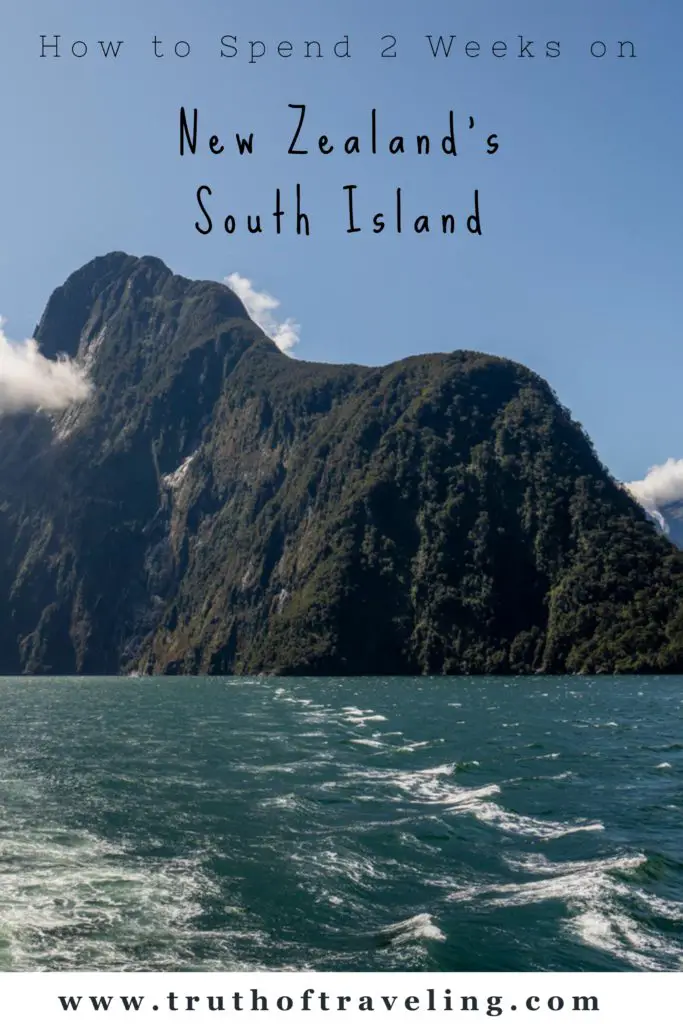
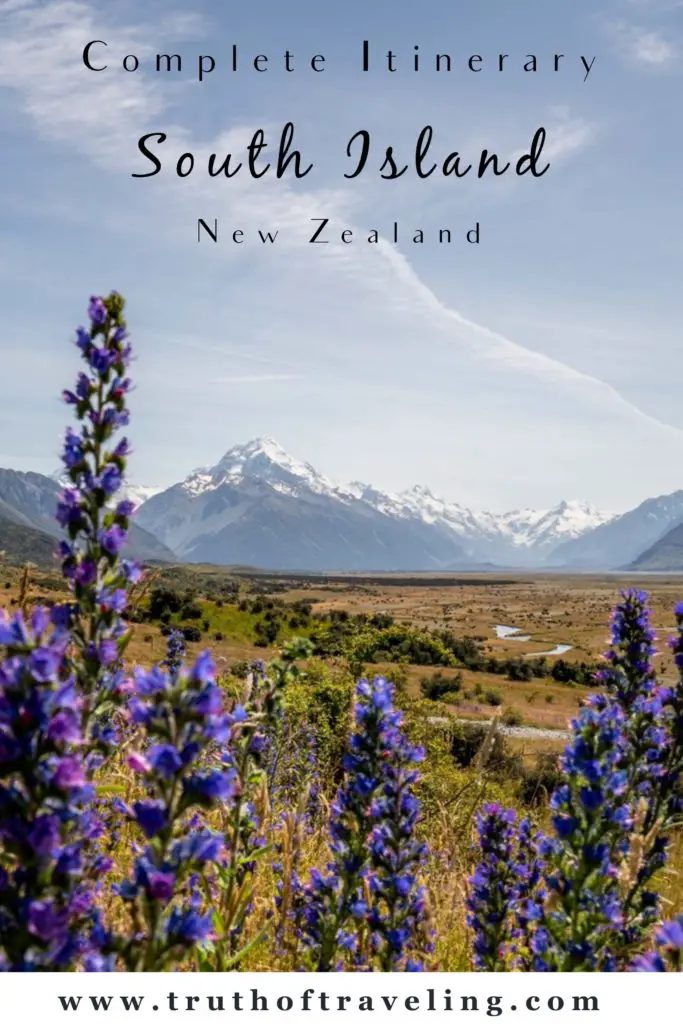
We spent 2 weeks road tripping around the South Island of New Zealand in a campervan and had one of the most memorable experiences of our lives! The South Island has impressive mountains and fiordlands as well as beautiful lakes and coastlines. Everything was so picturesque everywhere we went! Here is our ultimate 2 week itinerary for the South Island of New Zealand so you can experience as much as possible!
*Disclosure: This post contains Amazon affiliate links. As an Amazon Associate we earn from qualifying purchases. This means at no additional cost to you, we will earn a commission if you click through a link and make a purchase. This post may also contain other affiliate links and non-affiliate links to products and websites.
What is the Best Way to See the South Island of New Zealand?
The best way to see the South Island is to rent a campervan! We originally were only going to rent a campervan for 1 week because we had never done a road trip like this before but we are so glad we did it for 2 weeks! We honestly could have kept going and would have been so happy! There are so many campsites with everything you could need as well as public facilities all over the island.
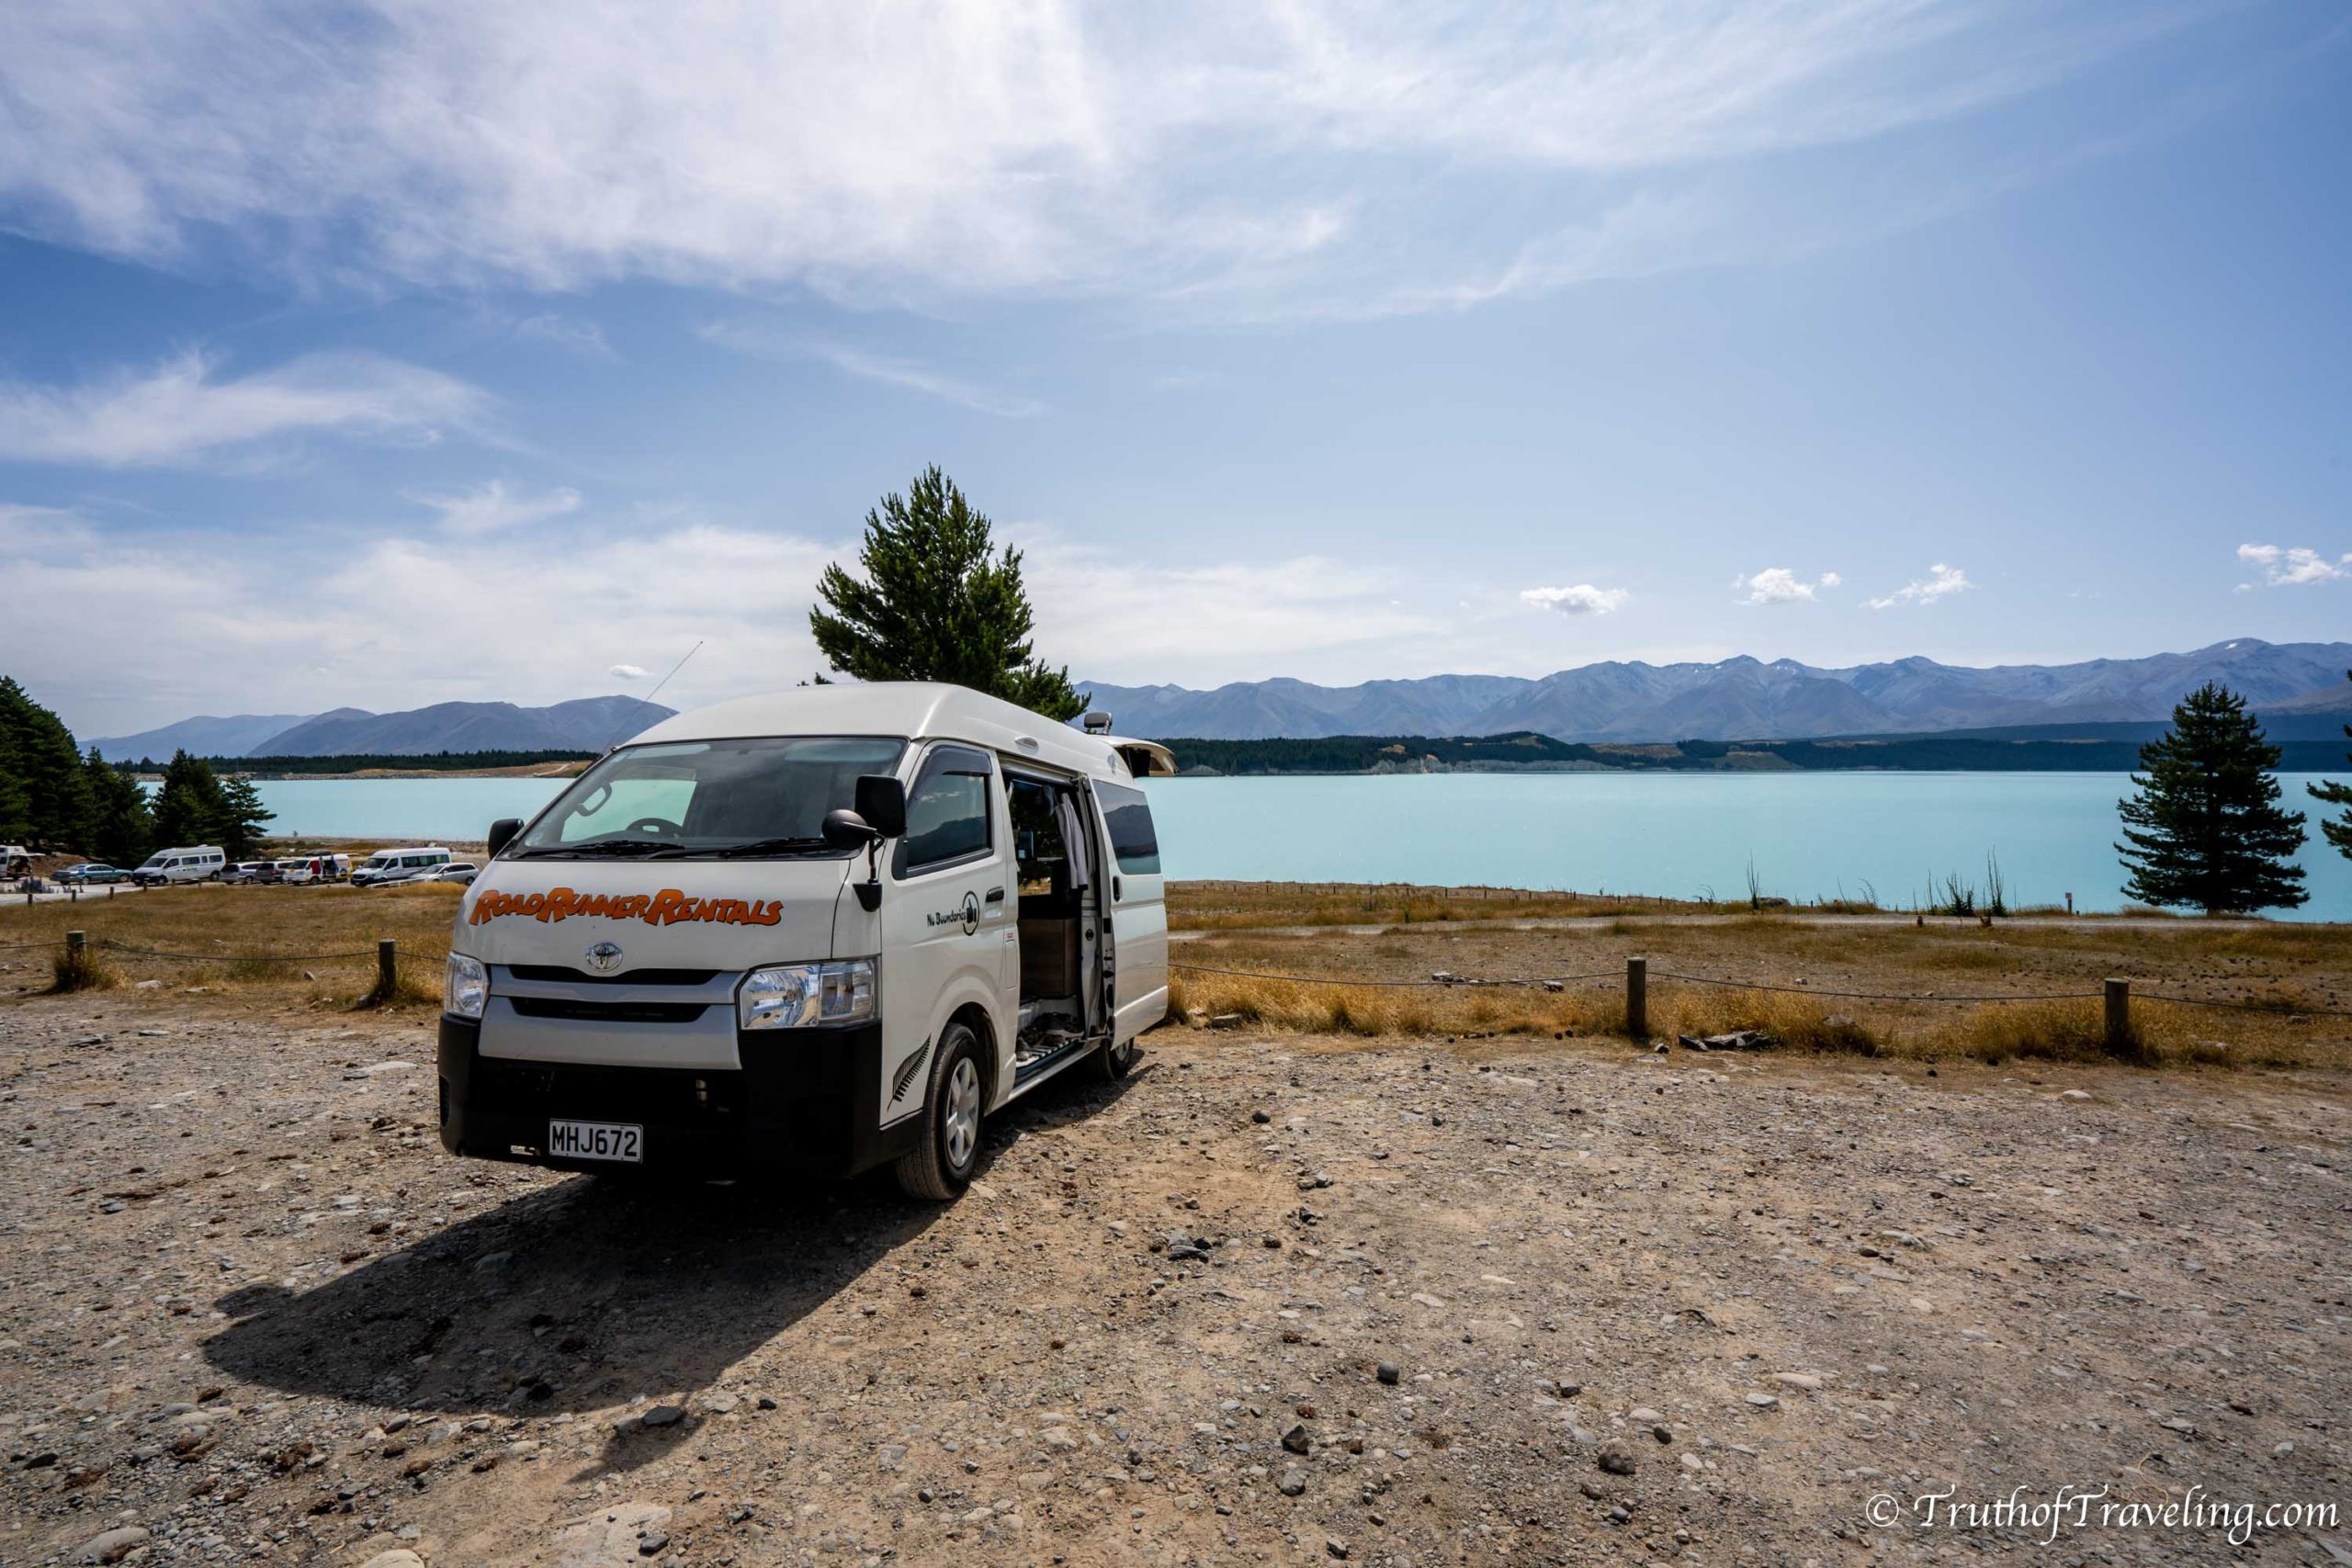
While we loved doing it in our campervan you could absolutely do it in a car and either camp or stay in accommodations. However, having some sort of transportation will make it all so much more enjoyable because there is so much to see along the way. There is no drive in New Zealand that isn’t spectacular!
How Long Should I Spend on the South Island of New Zealand?
This is a really hard question because it depends on what you want to see and how fast or slow you want to travel. We spent just over 2 weeks and honestly could have spent another 2 weeks! But if you don’t have months and months you can still easily see a lot of the island!
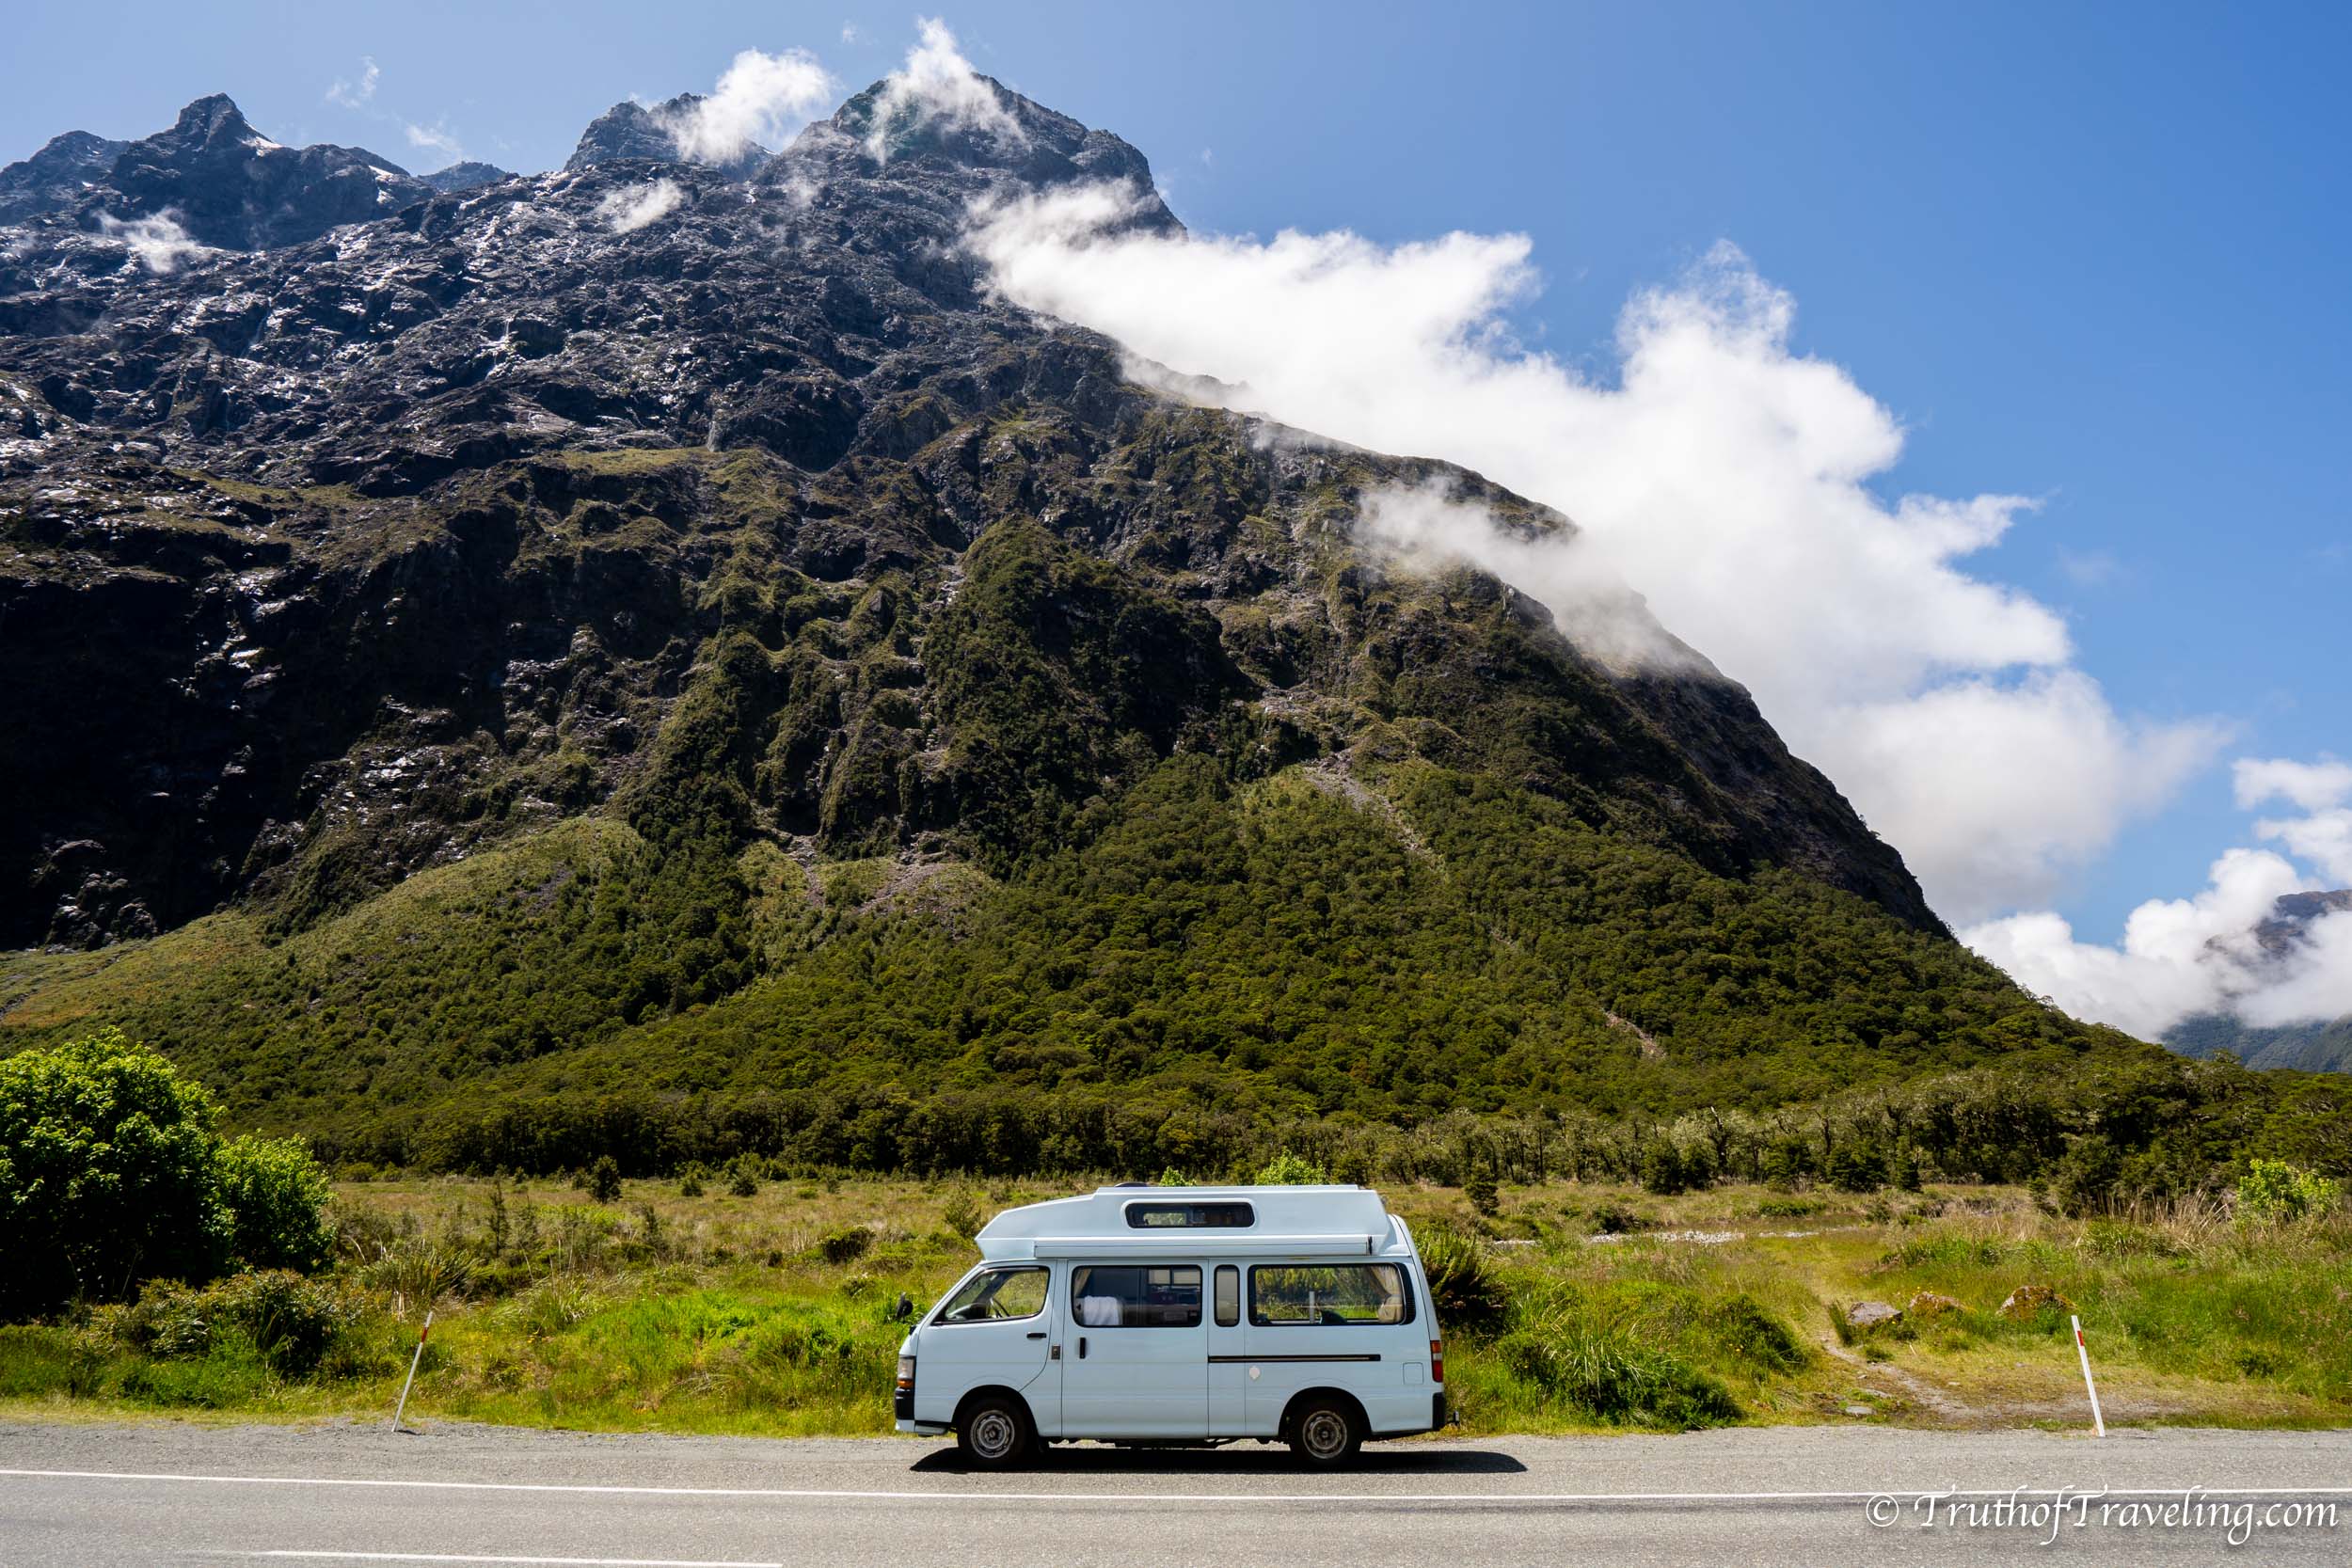
Driving in New Zealand is different than driving in a lot of other places. Every drive we did was absolutely beautiful and showed us the wide variety of landscapes that New Zealand has to offer. We drove through wine country that reminded us of Tuscany, mountain regions, past colorful lakes and rivers, rolling pastures with cows and sheep, and the fiordlands that reminded us of Alaska.
It might seem like a lot of the things in this itinerary involve driving from one place to the other but that’s the great part of New Zealand. Every drive is an adventure in itself. Give yourself plenty of time to get one from place to the next and don’t think of it as driving but as your experience for the day. We made countless stops to see things that we didn’t even know existed before driving past them.
Day 1: Arrive in Christchurch
If you’re coming from the North Island of New Zealand then you have your choice of flights coming over numerous times during the day. If you’re flying from farther away you might need the first day to recover and get on New Zealand time.
The Christchurch Airport is about 10 kms from the center of Christchurch. There is a bus station right outside the airport that can take you to wherever you are staying.
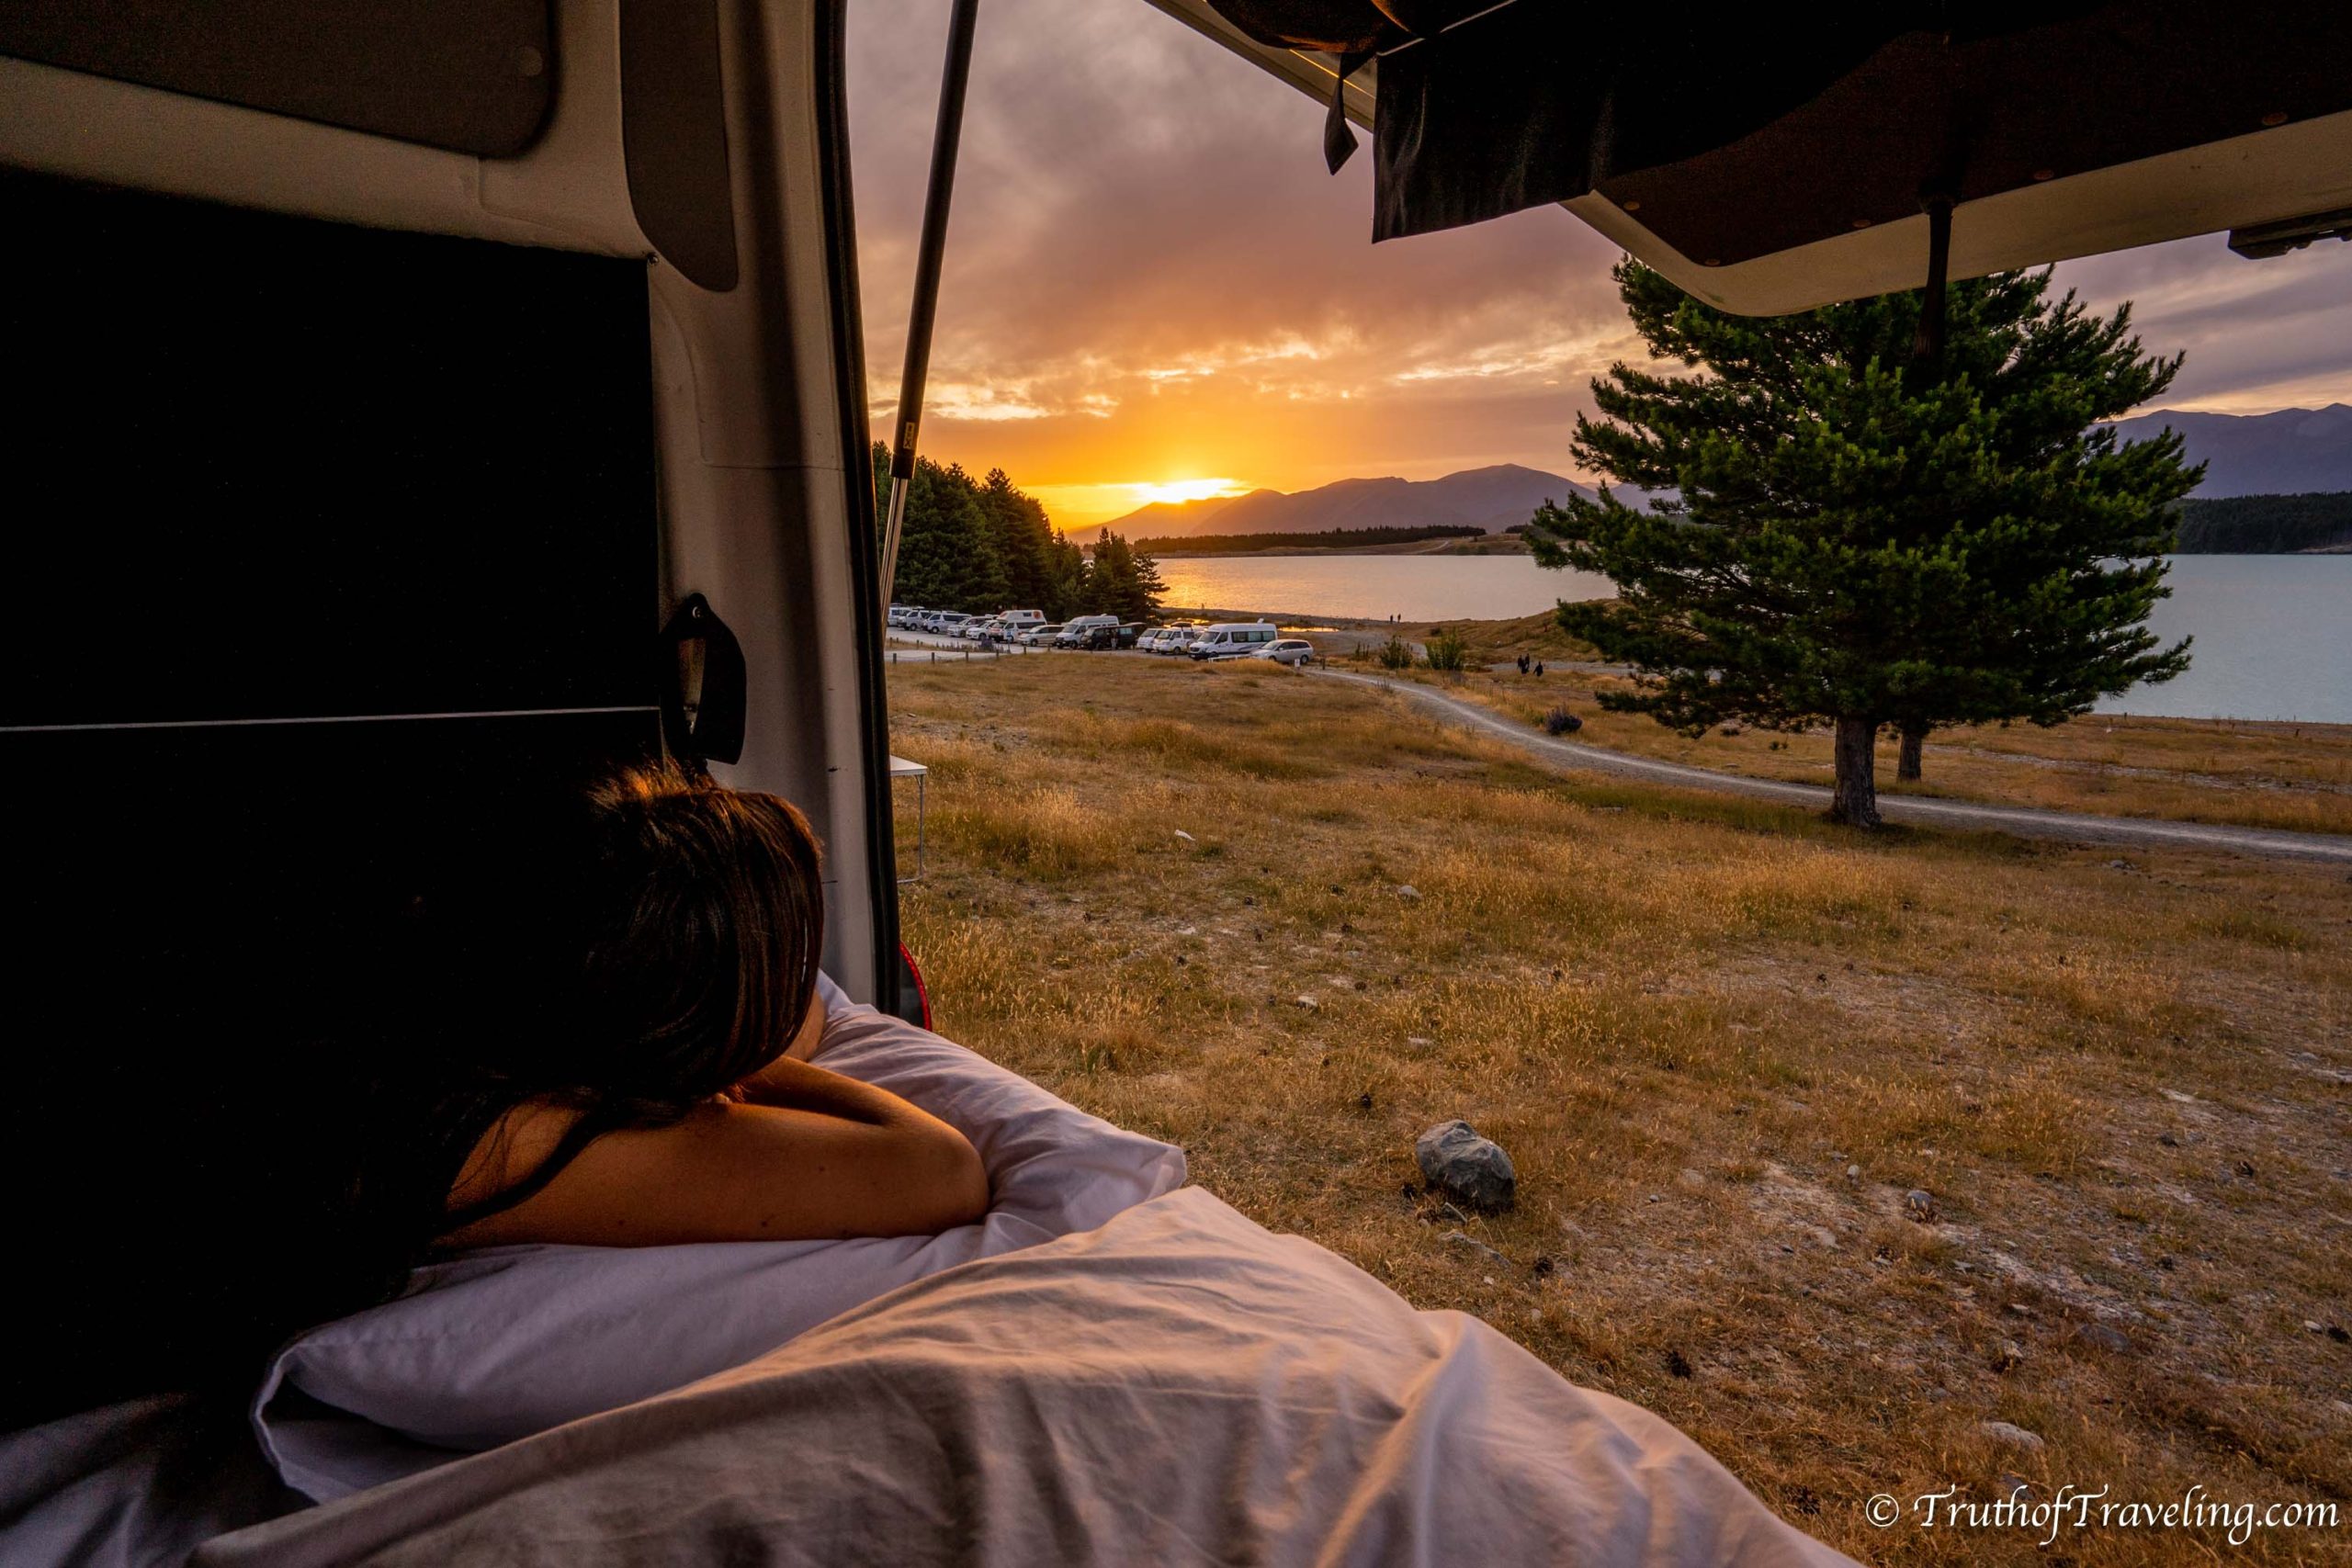
We basically took this afternoon to do laundry, get everything downloaded that we needed (download Google Maps offline because you will lose service a lot), go grocery shopping and take advantage of a hot shower. If you catch an early enough flight you could pick up your campervan that same day but we opted to pick it up first thing the next morning to make the most out of our first day!
Travel Truth: We looked at renting a campervan for 1 week in the North island and then taking it on the ferry across to the South Island for our 2 weeks there. However, it gets significantly more expensive when you bring a campervan or car from one island to the other. There is a pretty pricey ferry fee so that’s something to consider if you’re planning to visit both islands.
Read More: Top 5 Campsites to Visit while Traveling the Sound Island of New Zealand
Day 2: Pick up Your Campervan & Drive to Lake Tekapo
Arrange to pick up your campervan first thing in the morning so you can pick it up, put all your stuff inside and get on the road! You also never know how long the pick up process is going to take. There might be someone else ahead of your or an issue with your vehicle in which case you should still have plenty of time!
- Getting our van took way longer than we thought! We expected to be on the road by 12:00 PM but ended up starting to drive around 3:00 PM.
We made sure to stock up on groceries and everything we thought we were going to need before leaving Christchurch because there are so many supermarkets nearby. That’s not to say you won’t find a grocery store anywhere else on the island but it was nice knowing we had everything we needed and could go straight to our spot for the night! This also helped us to be able to freedom camp for multiple days at a time without needing to worry about stocking up on food.
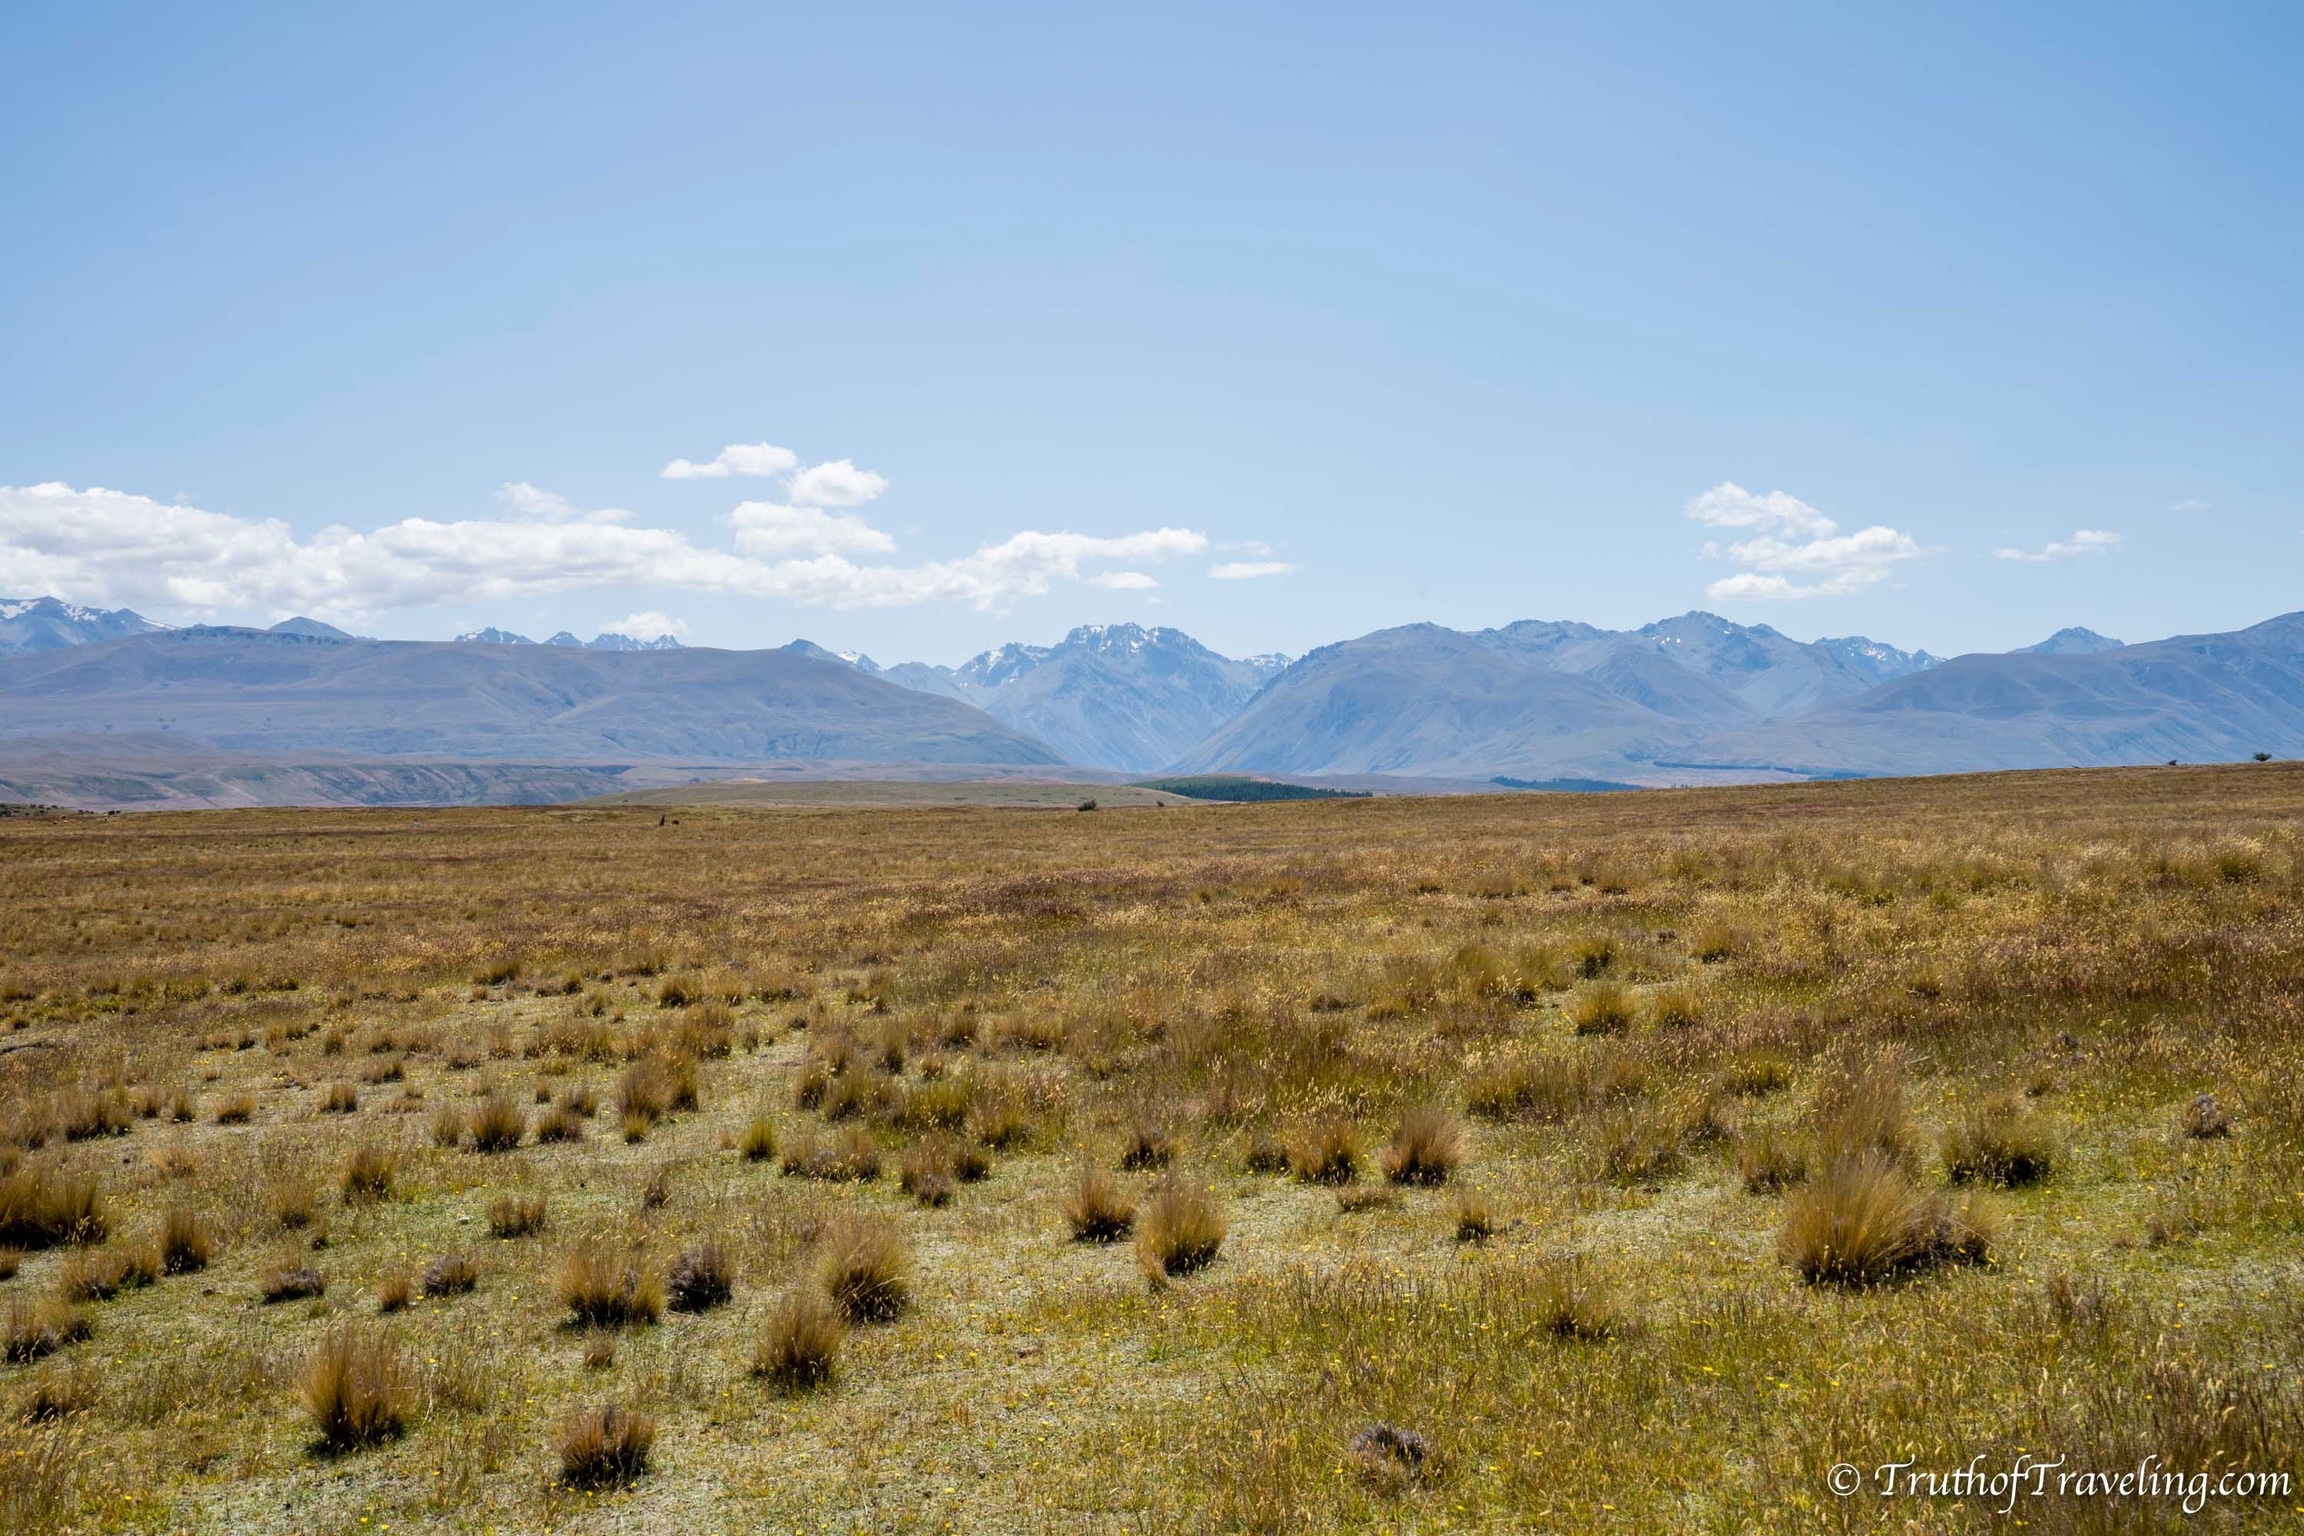
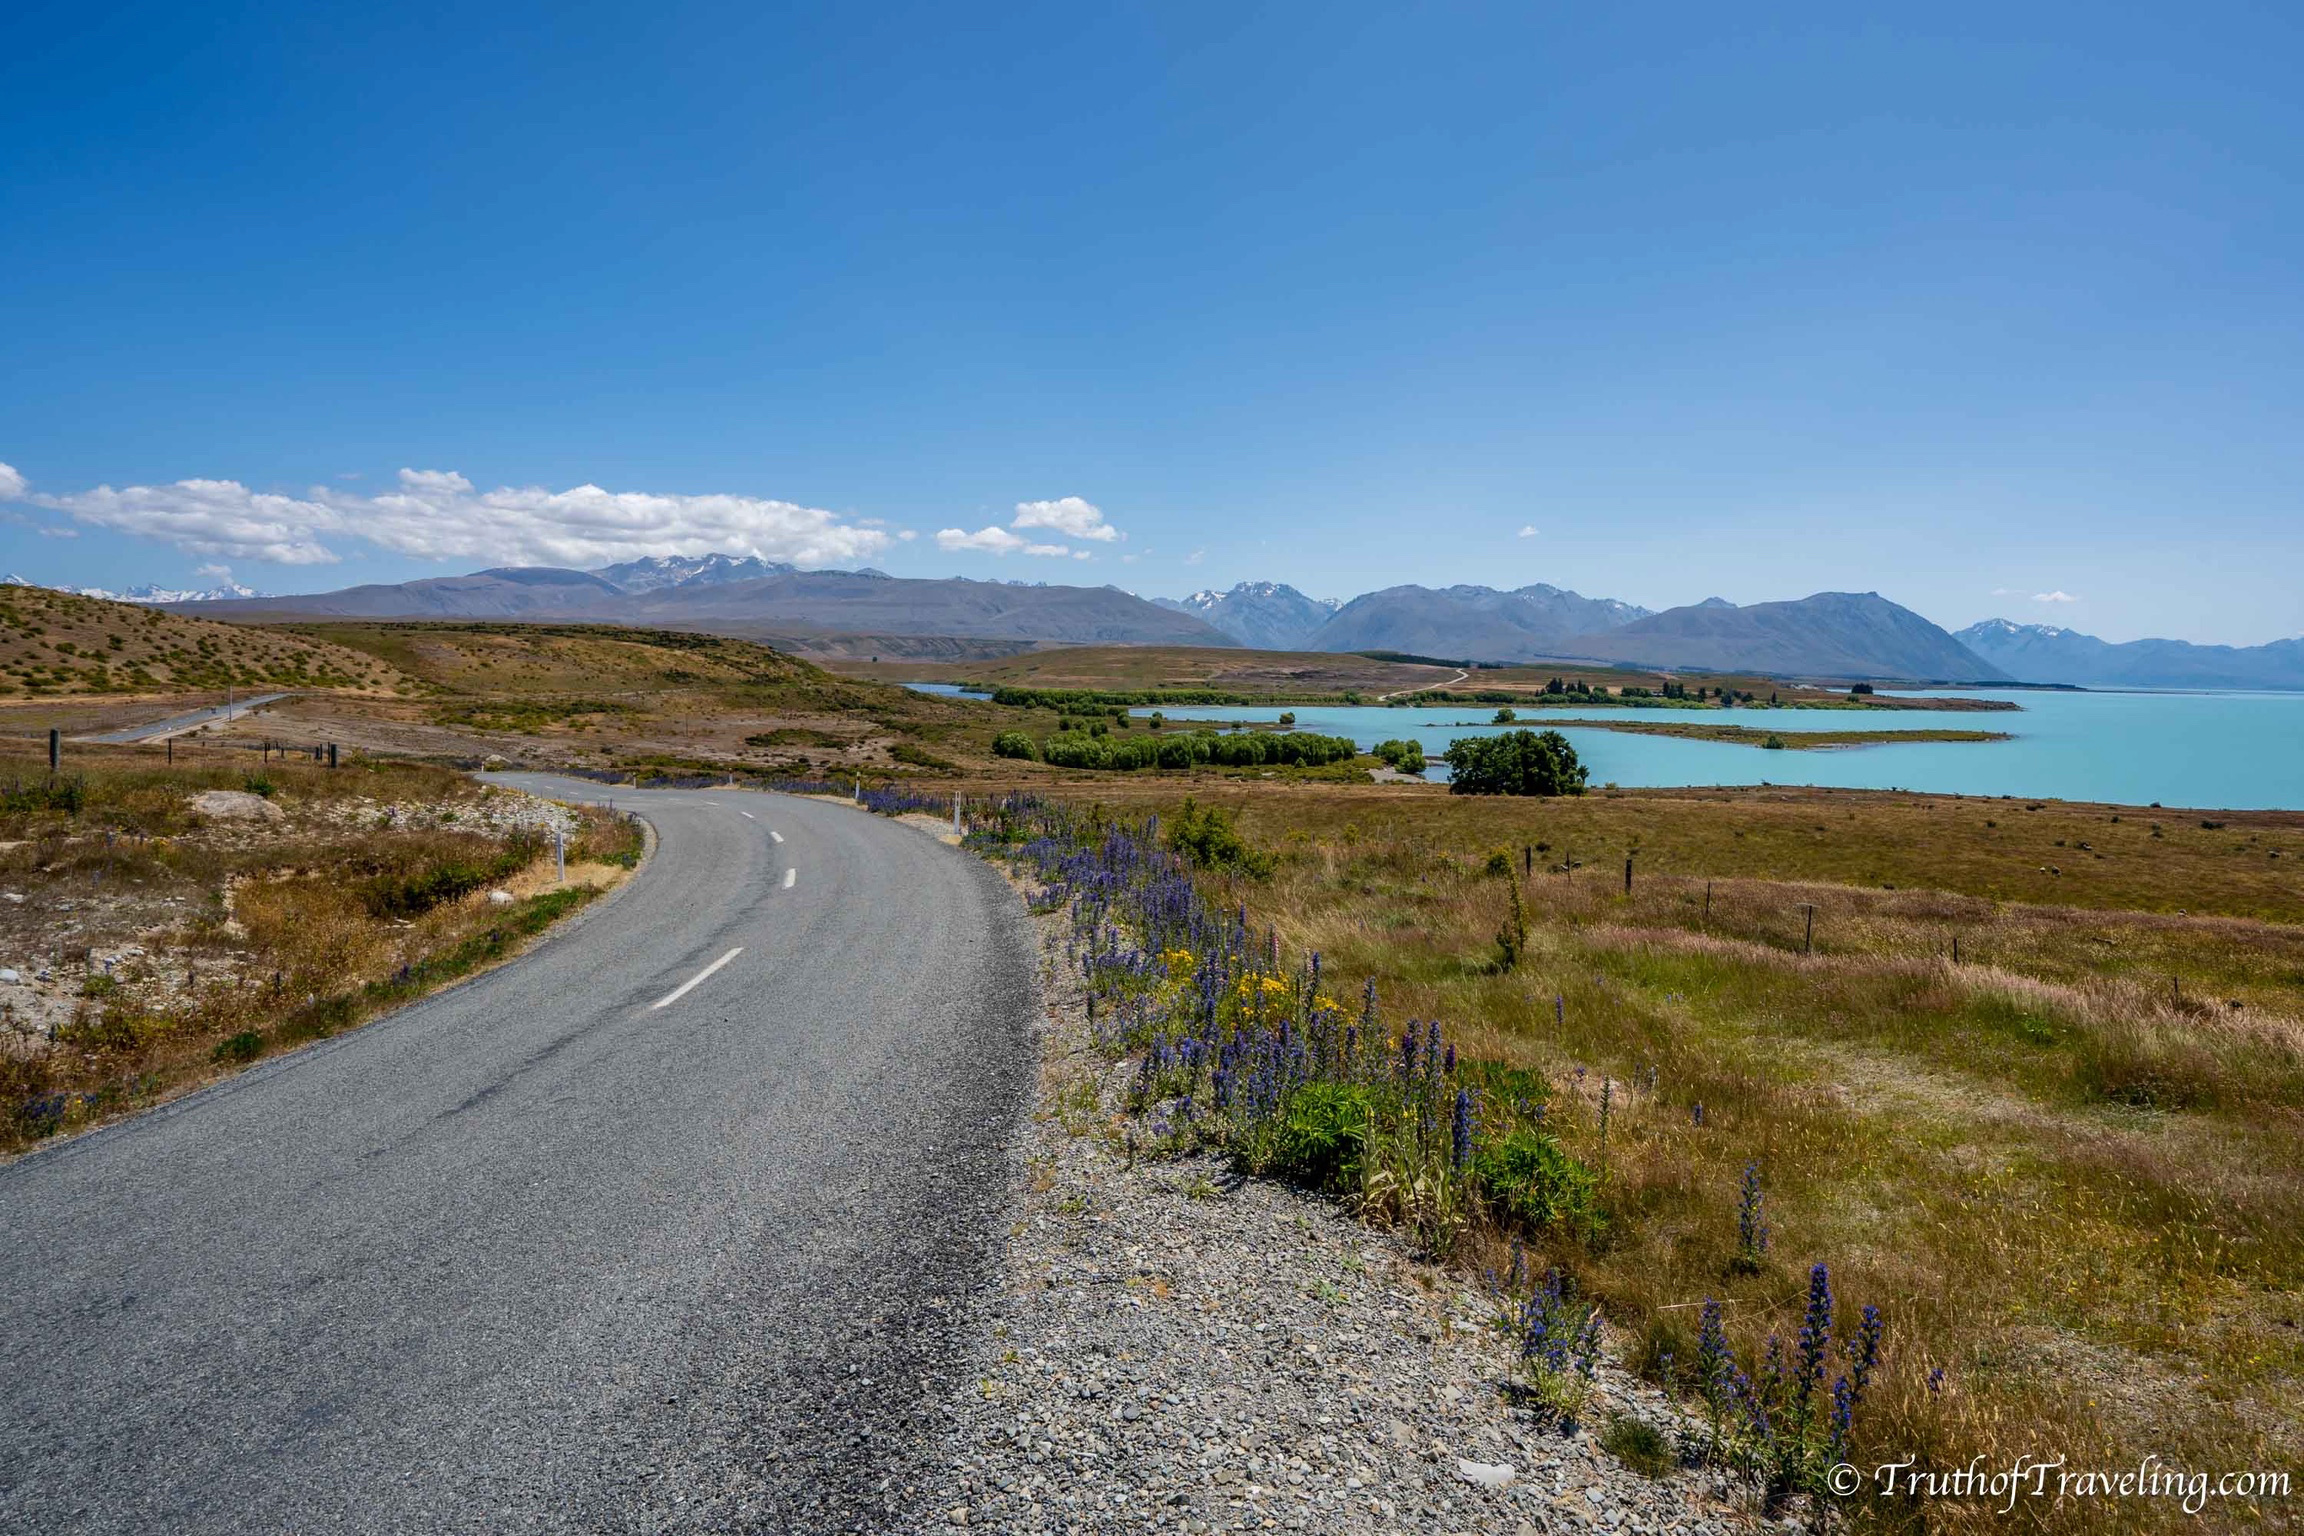
From Christchurch we drove southwest to Lake Tekapo. It took about 3 hours without stopping too many times. It’s an easy drive and definitely not a bad way to start your time on the South Island! When you’re driving into Lake Tekapo you can see the lake from a distance by it’s distinctive teal color (tons of photos below!). It is absolutely incredible and even looking back at pictures we can’t believe it actually looks like that!
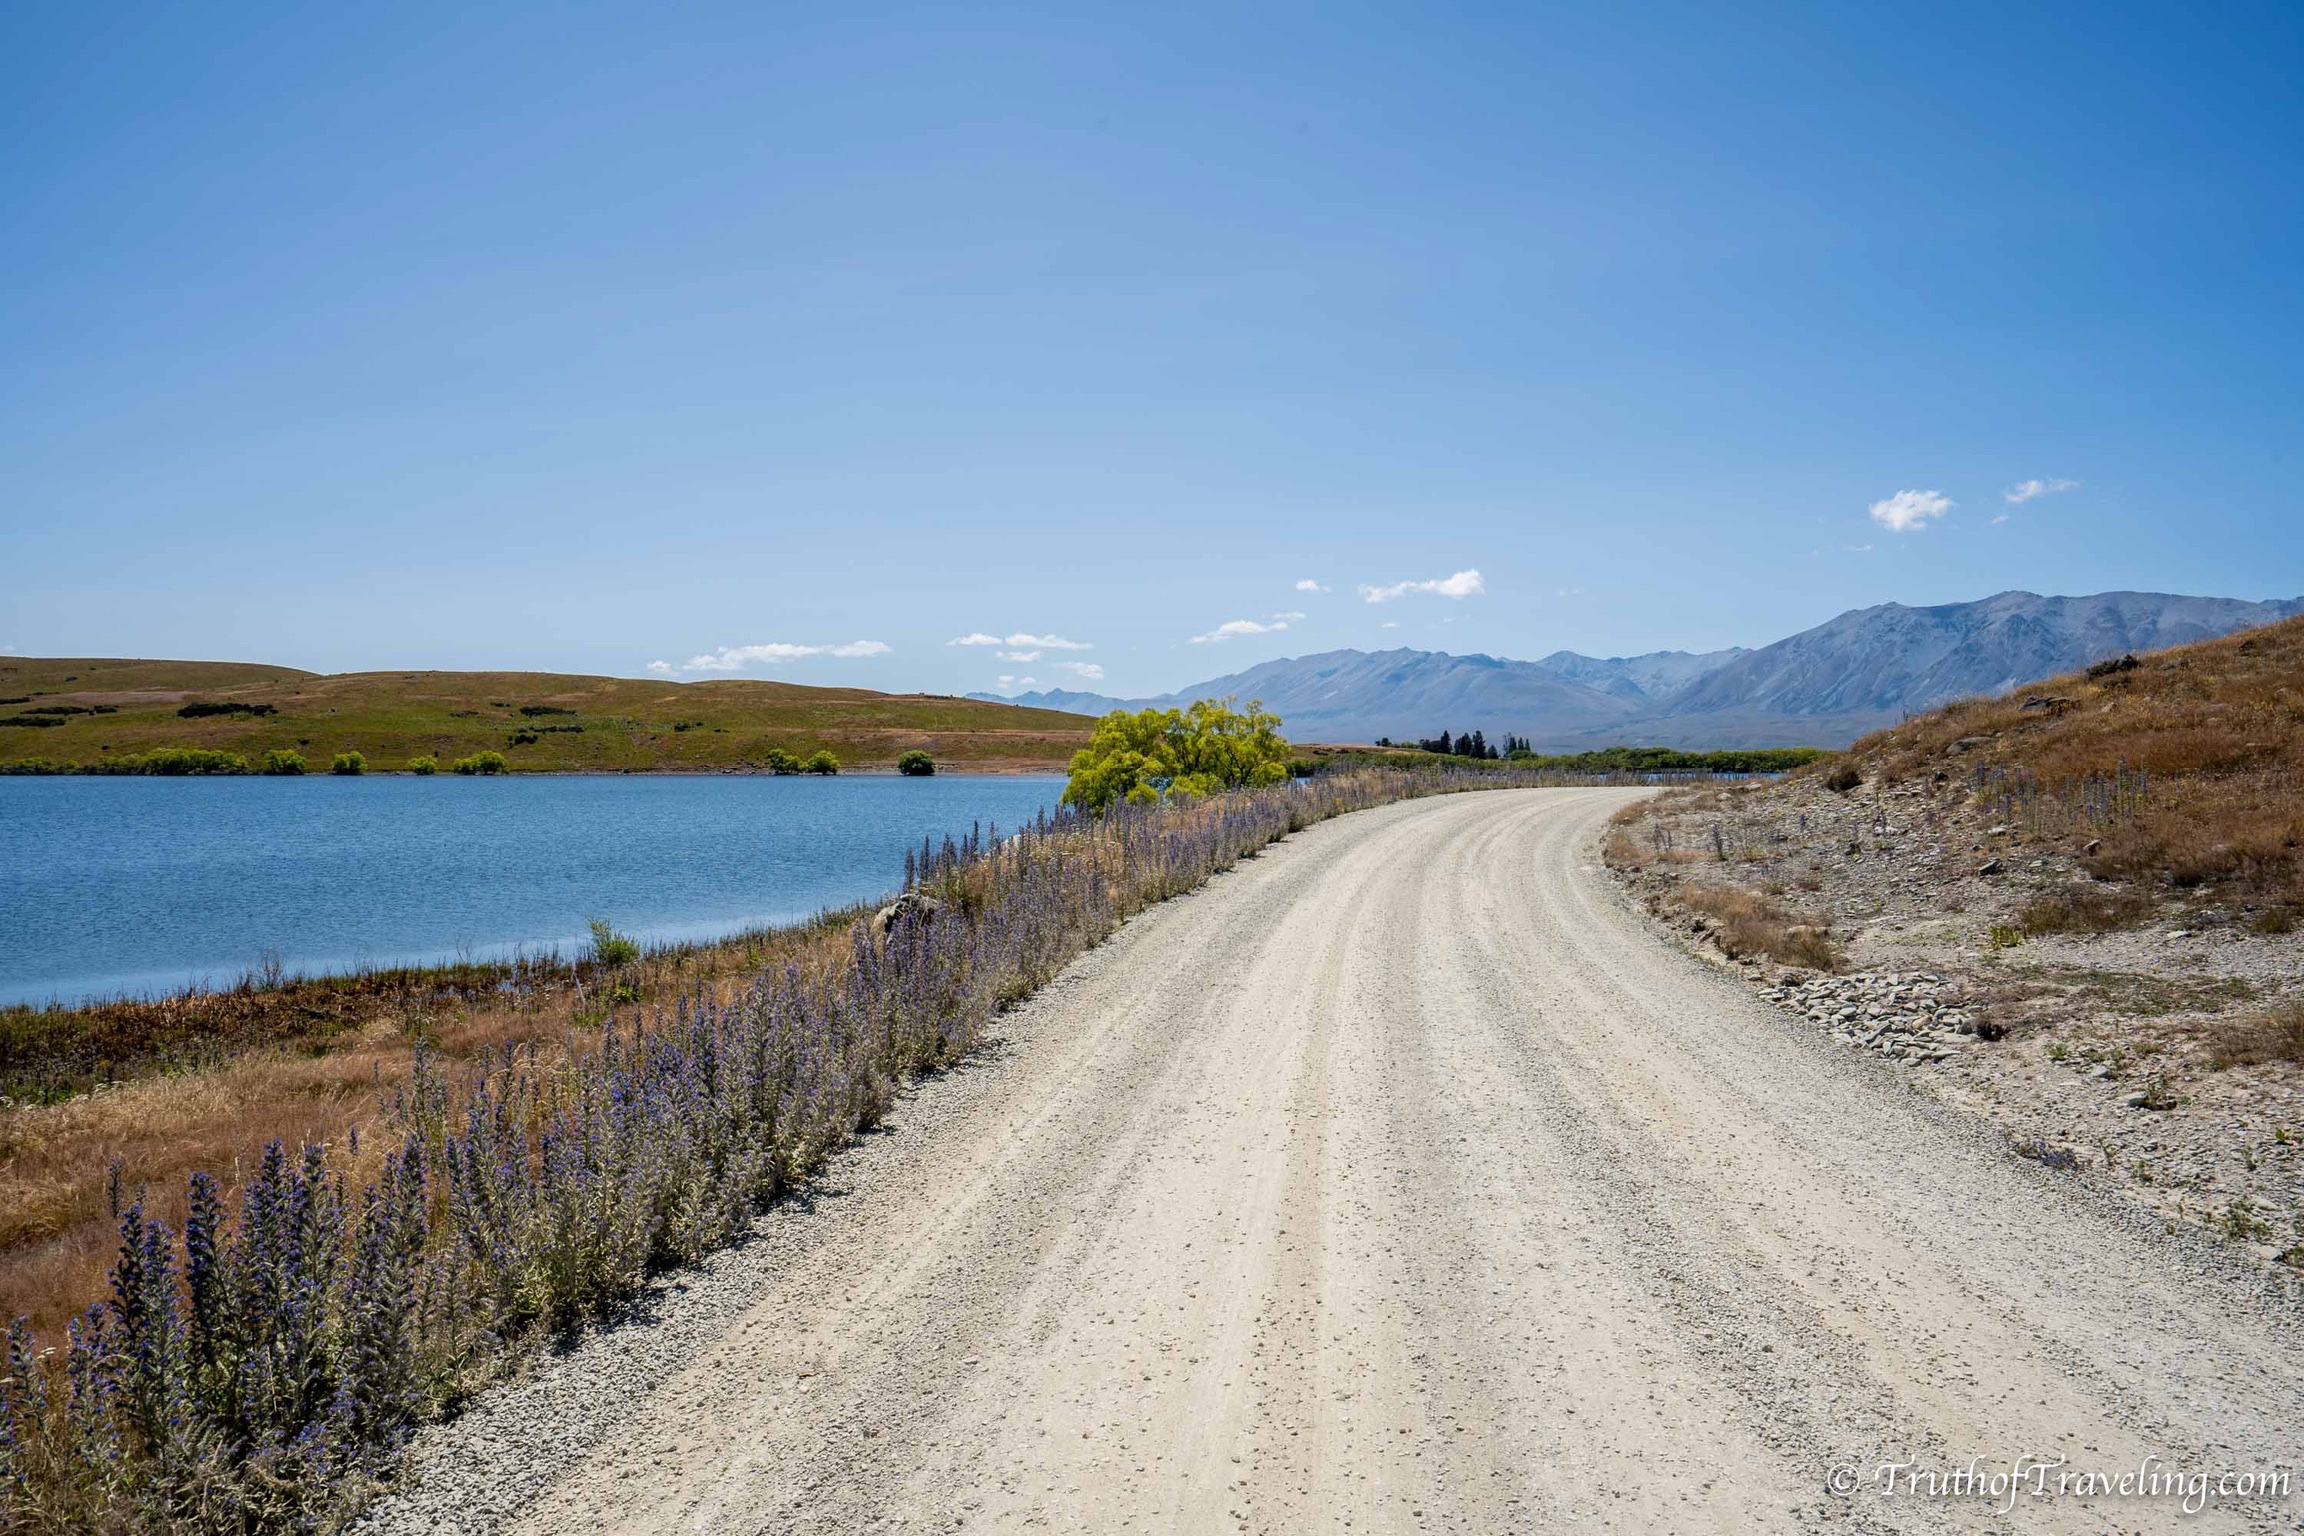
If you feel like jumping out you can park at the Four Square and walk down to the water. Around 7:30 PM it was so comfortable outside and nice to be by the water!
Head to Lake McGregor Campsite which sits on Lake Alexandrina. From the Four Square it’s about 10 km around the edge of Lake Tekapo giving you amazing views along the way. It does become a gravel road though so it takes a bit longer than you might think. But it’s worth it at the end! Make sure while you’re driving to pull over and look behind you at Lake Tekapo. We hardly passed any other cars on the road so it was really easy to drive.
- It cost 10 NZD per person a night which included toilets and outdoors sinks. You put the fees in an honesty box as you pull in and pick your spot.
- We arrived around 8:15 PM and there were a few other cars but still plenty of open spots available.
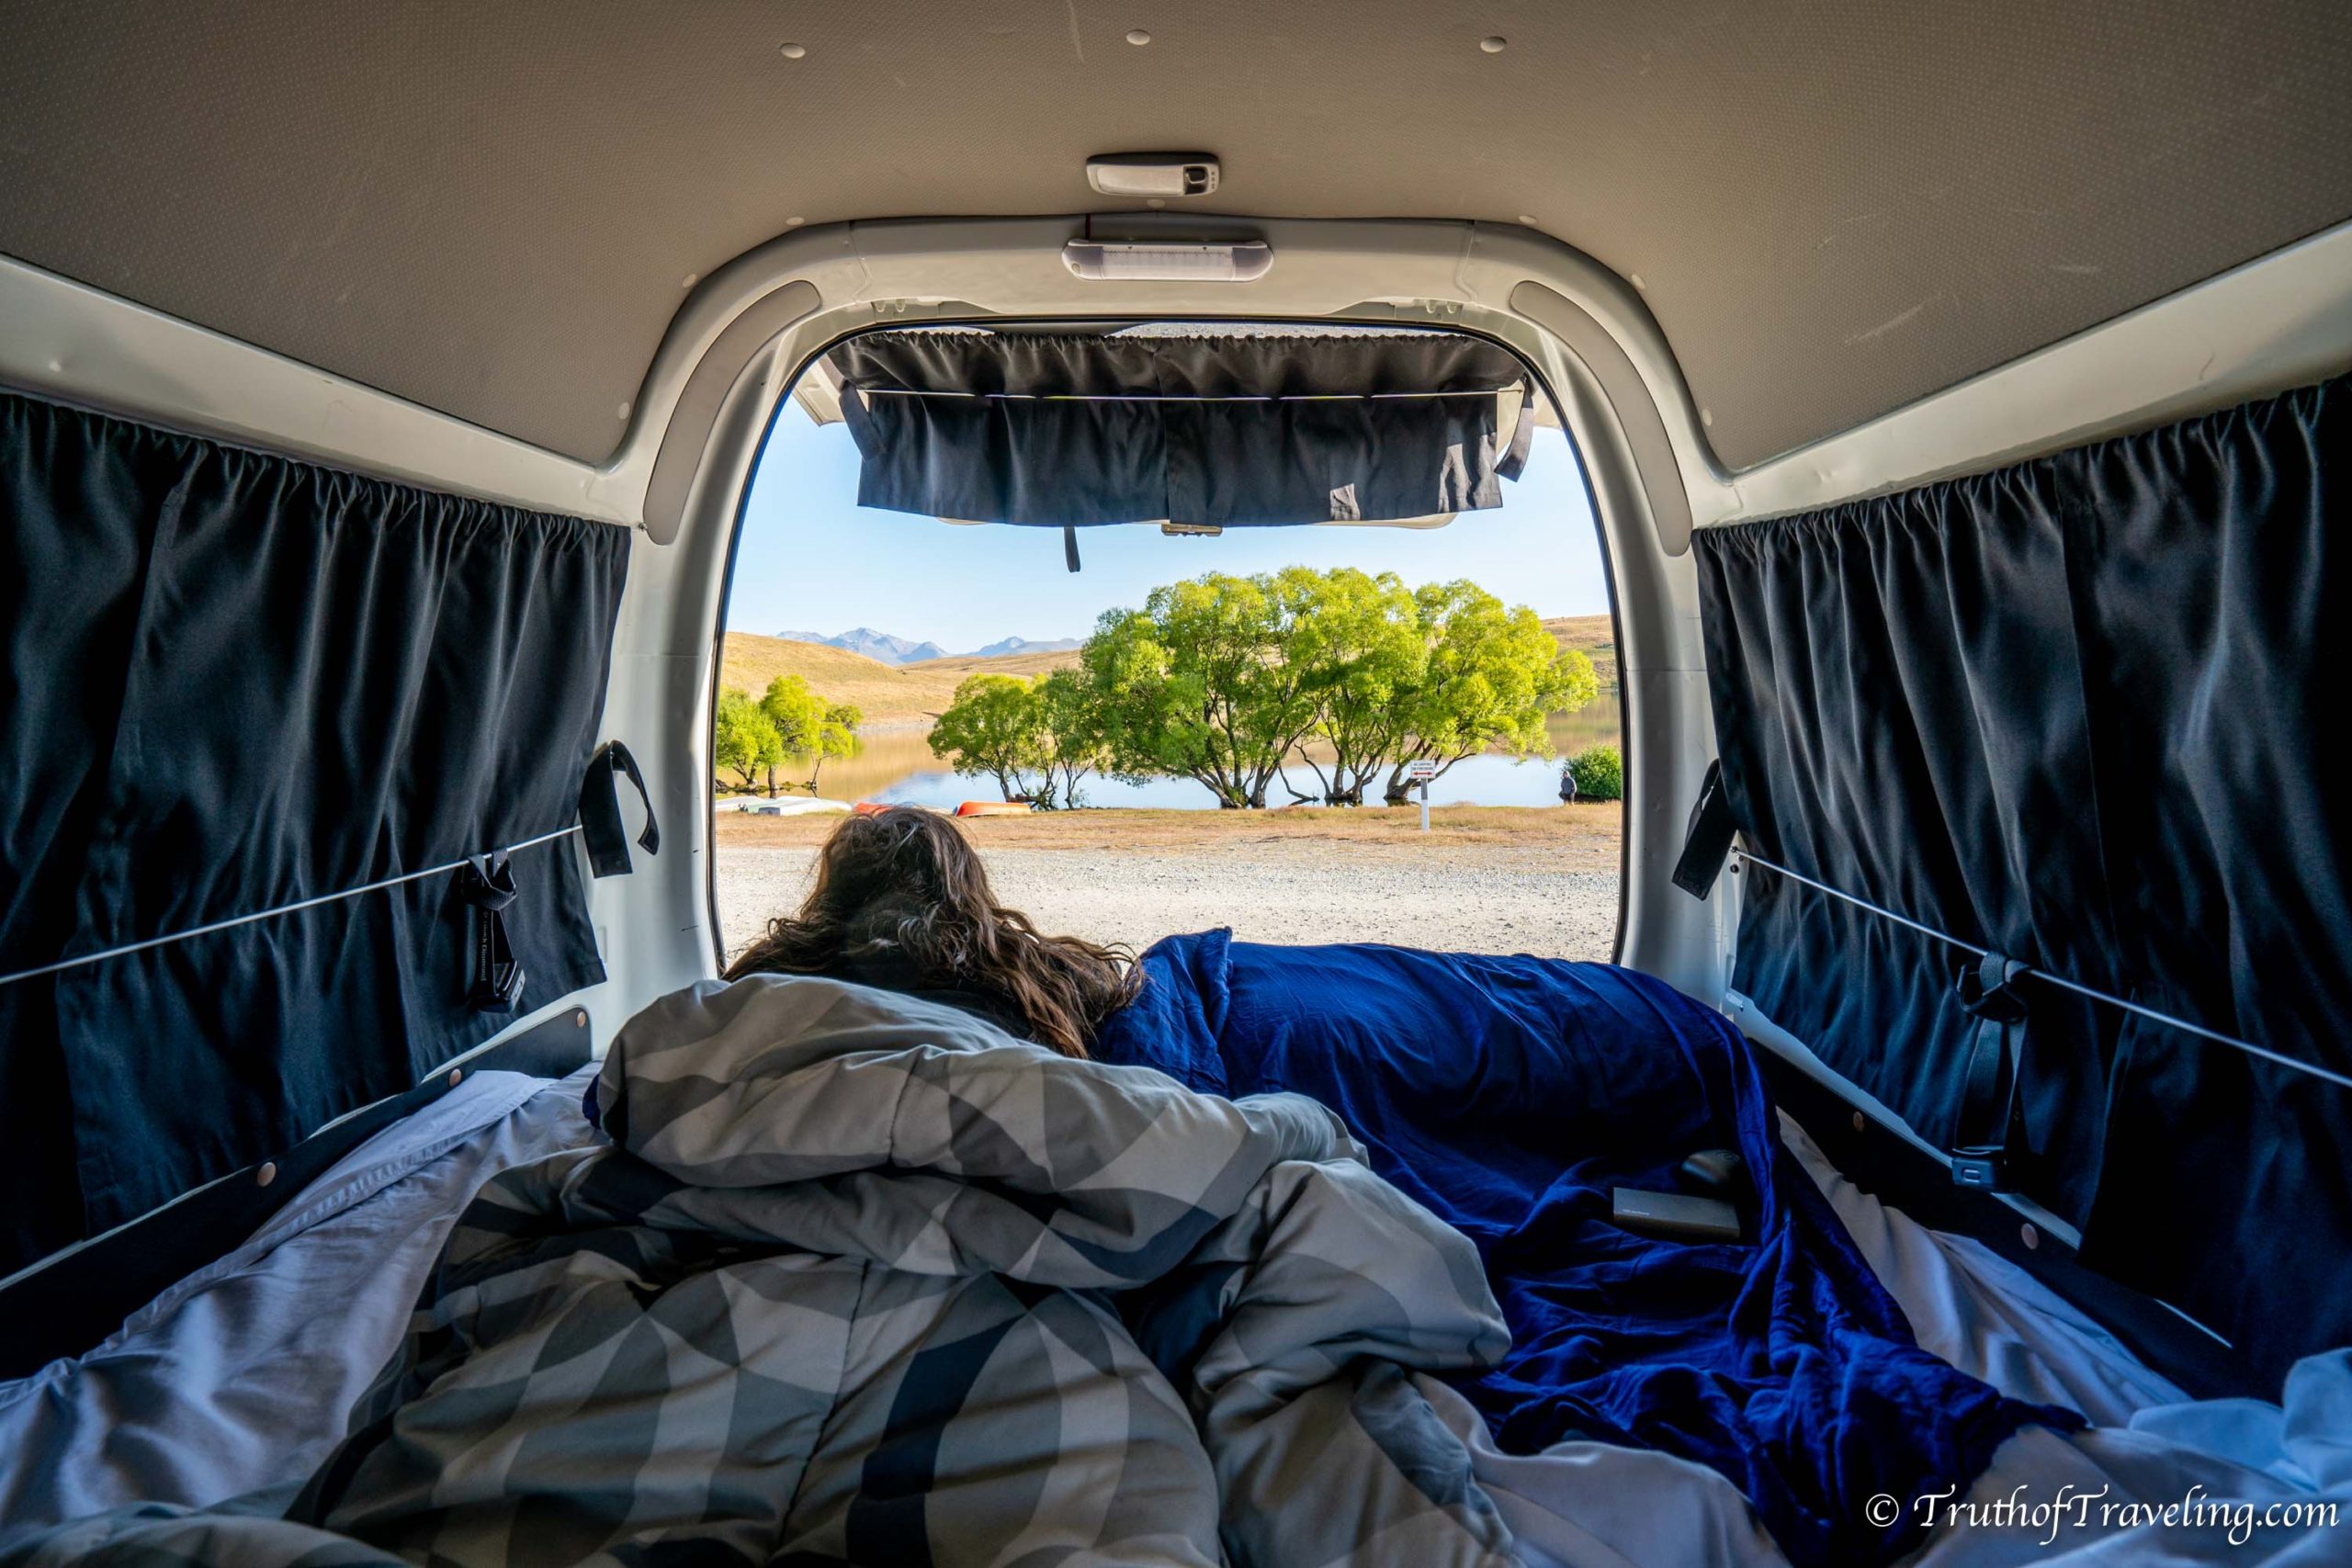
The Lake McGregor Campsite was one of our favorite campsites and we would highly recommend it! There are simple toilets available which is all you need really because it is in the most scenic location! You are on the water and it is so quiet. From there you’re a 15 minute drive to the amazing Lake Tekapo!
Drive: 238 kms / 3 hours 5 minutes
Stay: Lake McGregor Campsite ($10 NZD pp)
Read More: Complete Guide: 7 Days on the North Island of New Zealand
Day 3: Explore the Lake Tekapo Area
Take your first morning slow in the van and appreciate the amazing views from outside your window. We didn’t end up leaving the Lake McGregor Campsite until way later than we expected because it was just so peaceful!
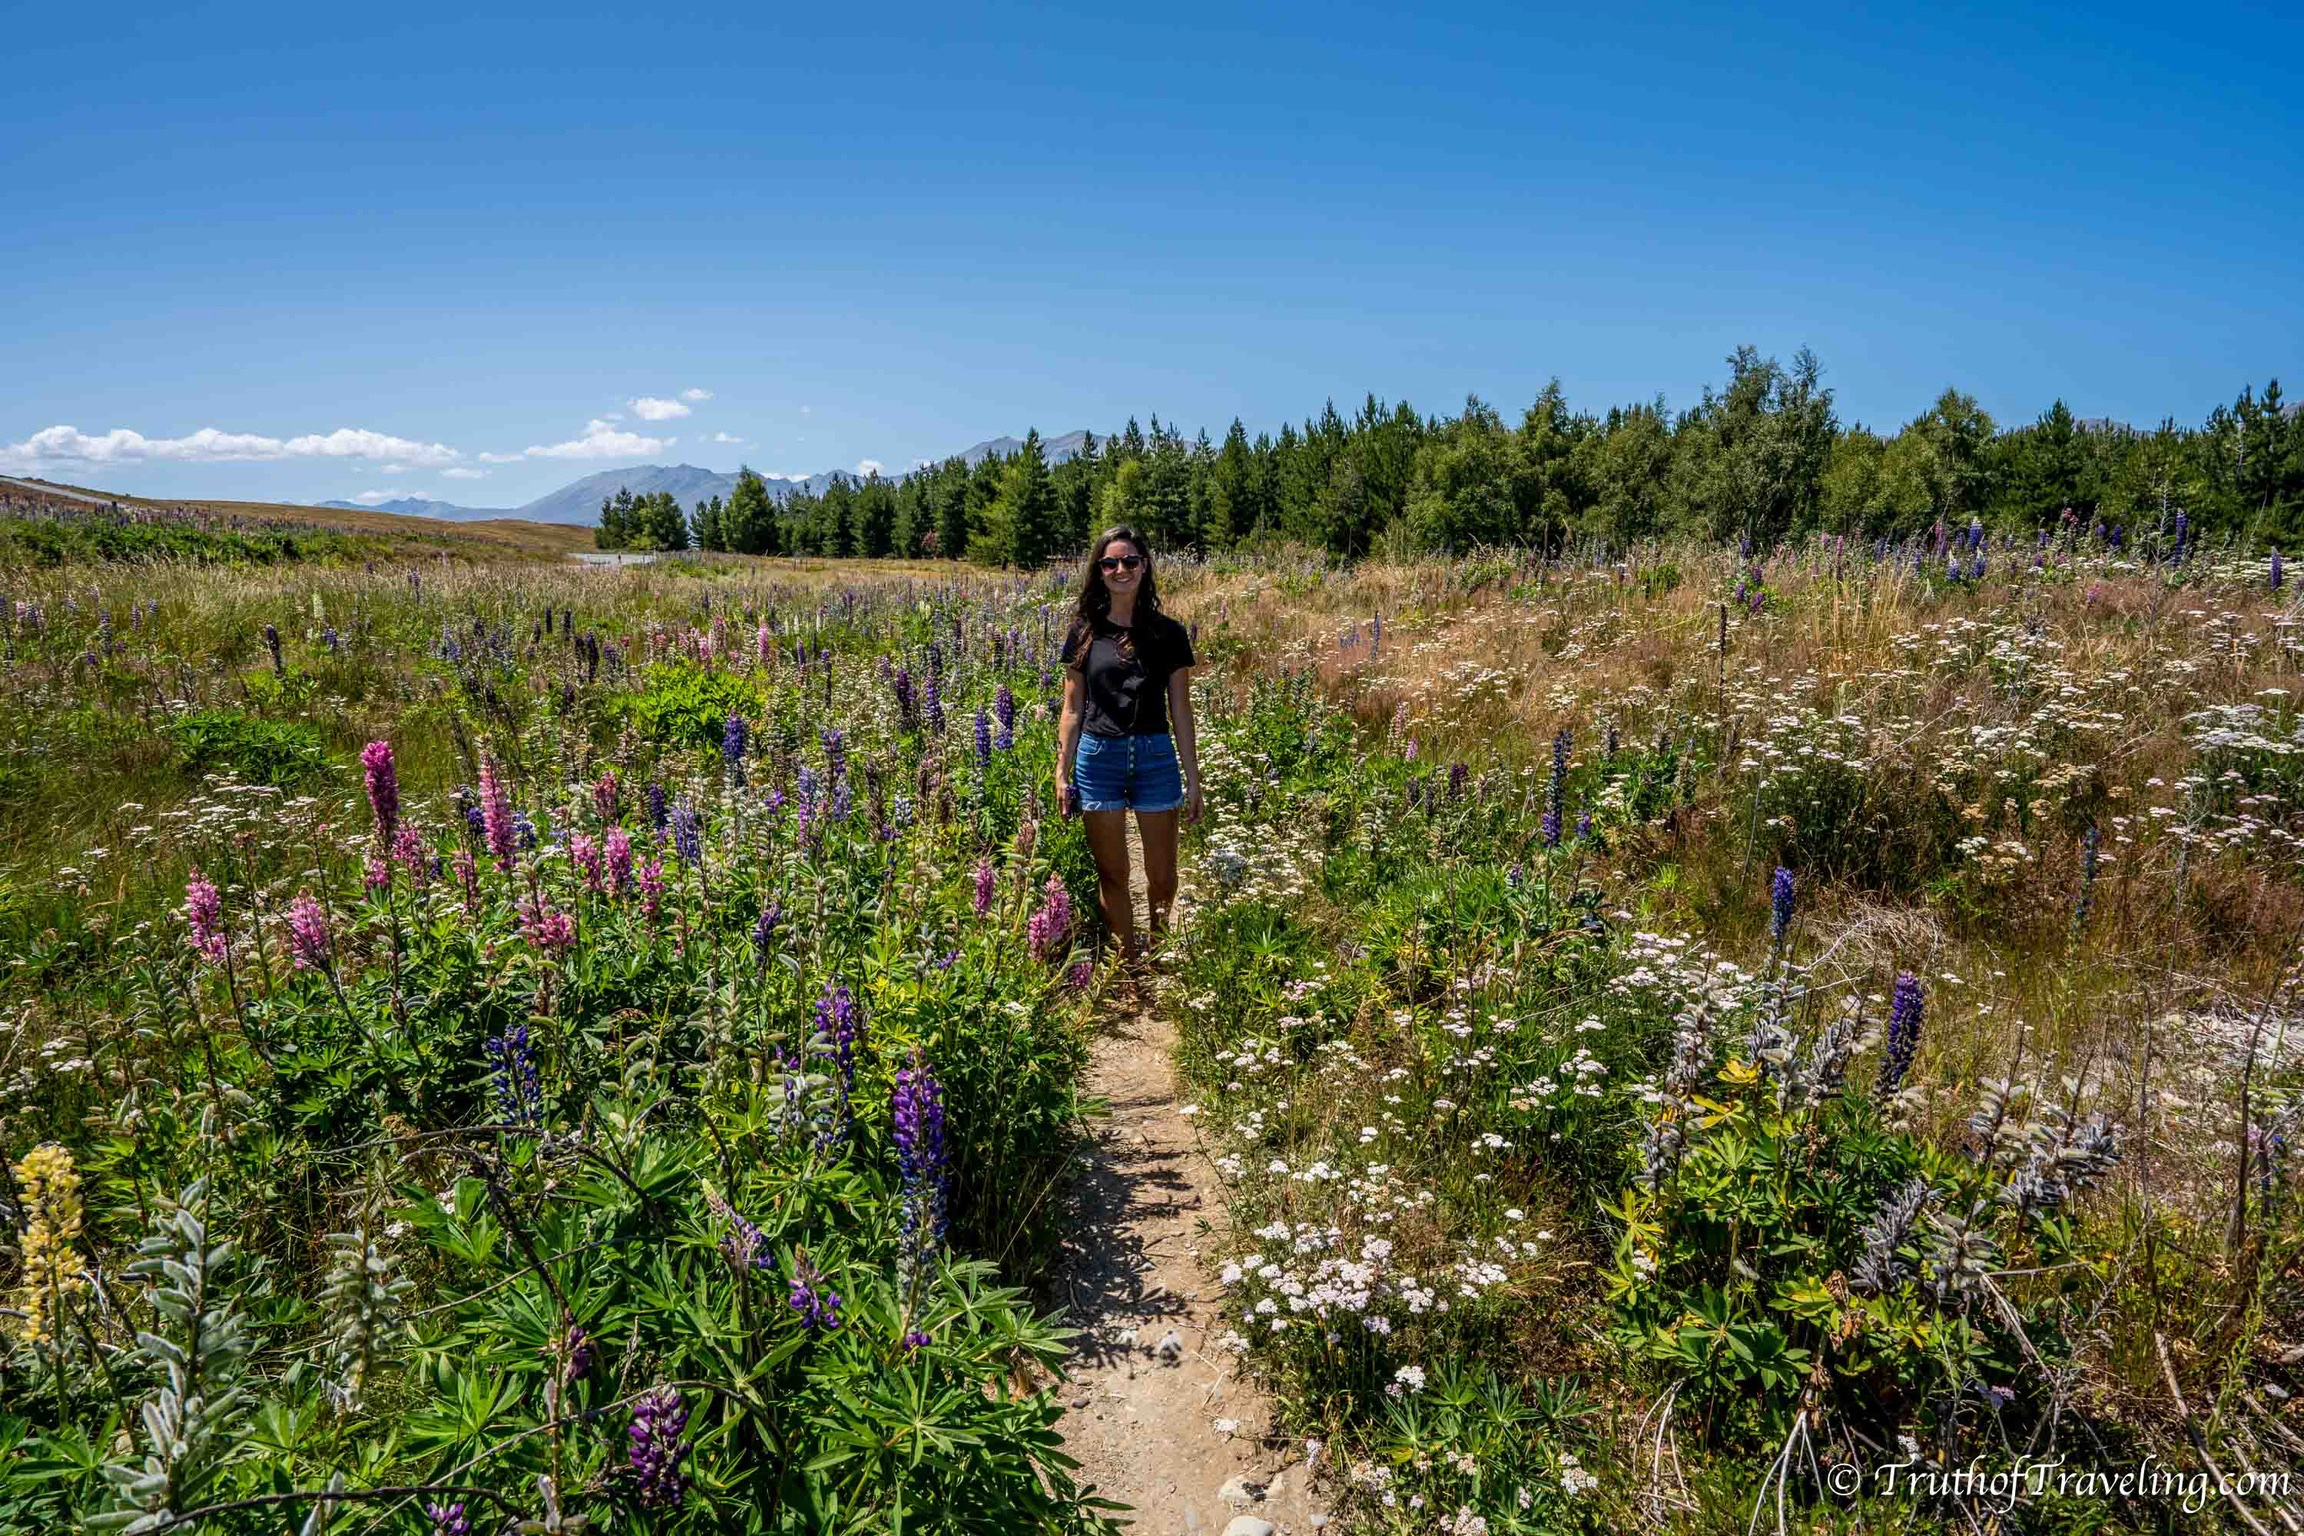
Drive along the gravel road back towards Lake Tekapo where you came in last night. As you drive along the edge of the lake you get amazing views! Less then 5 minutes up the road is the Peninsula Walkway Parking lot.
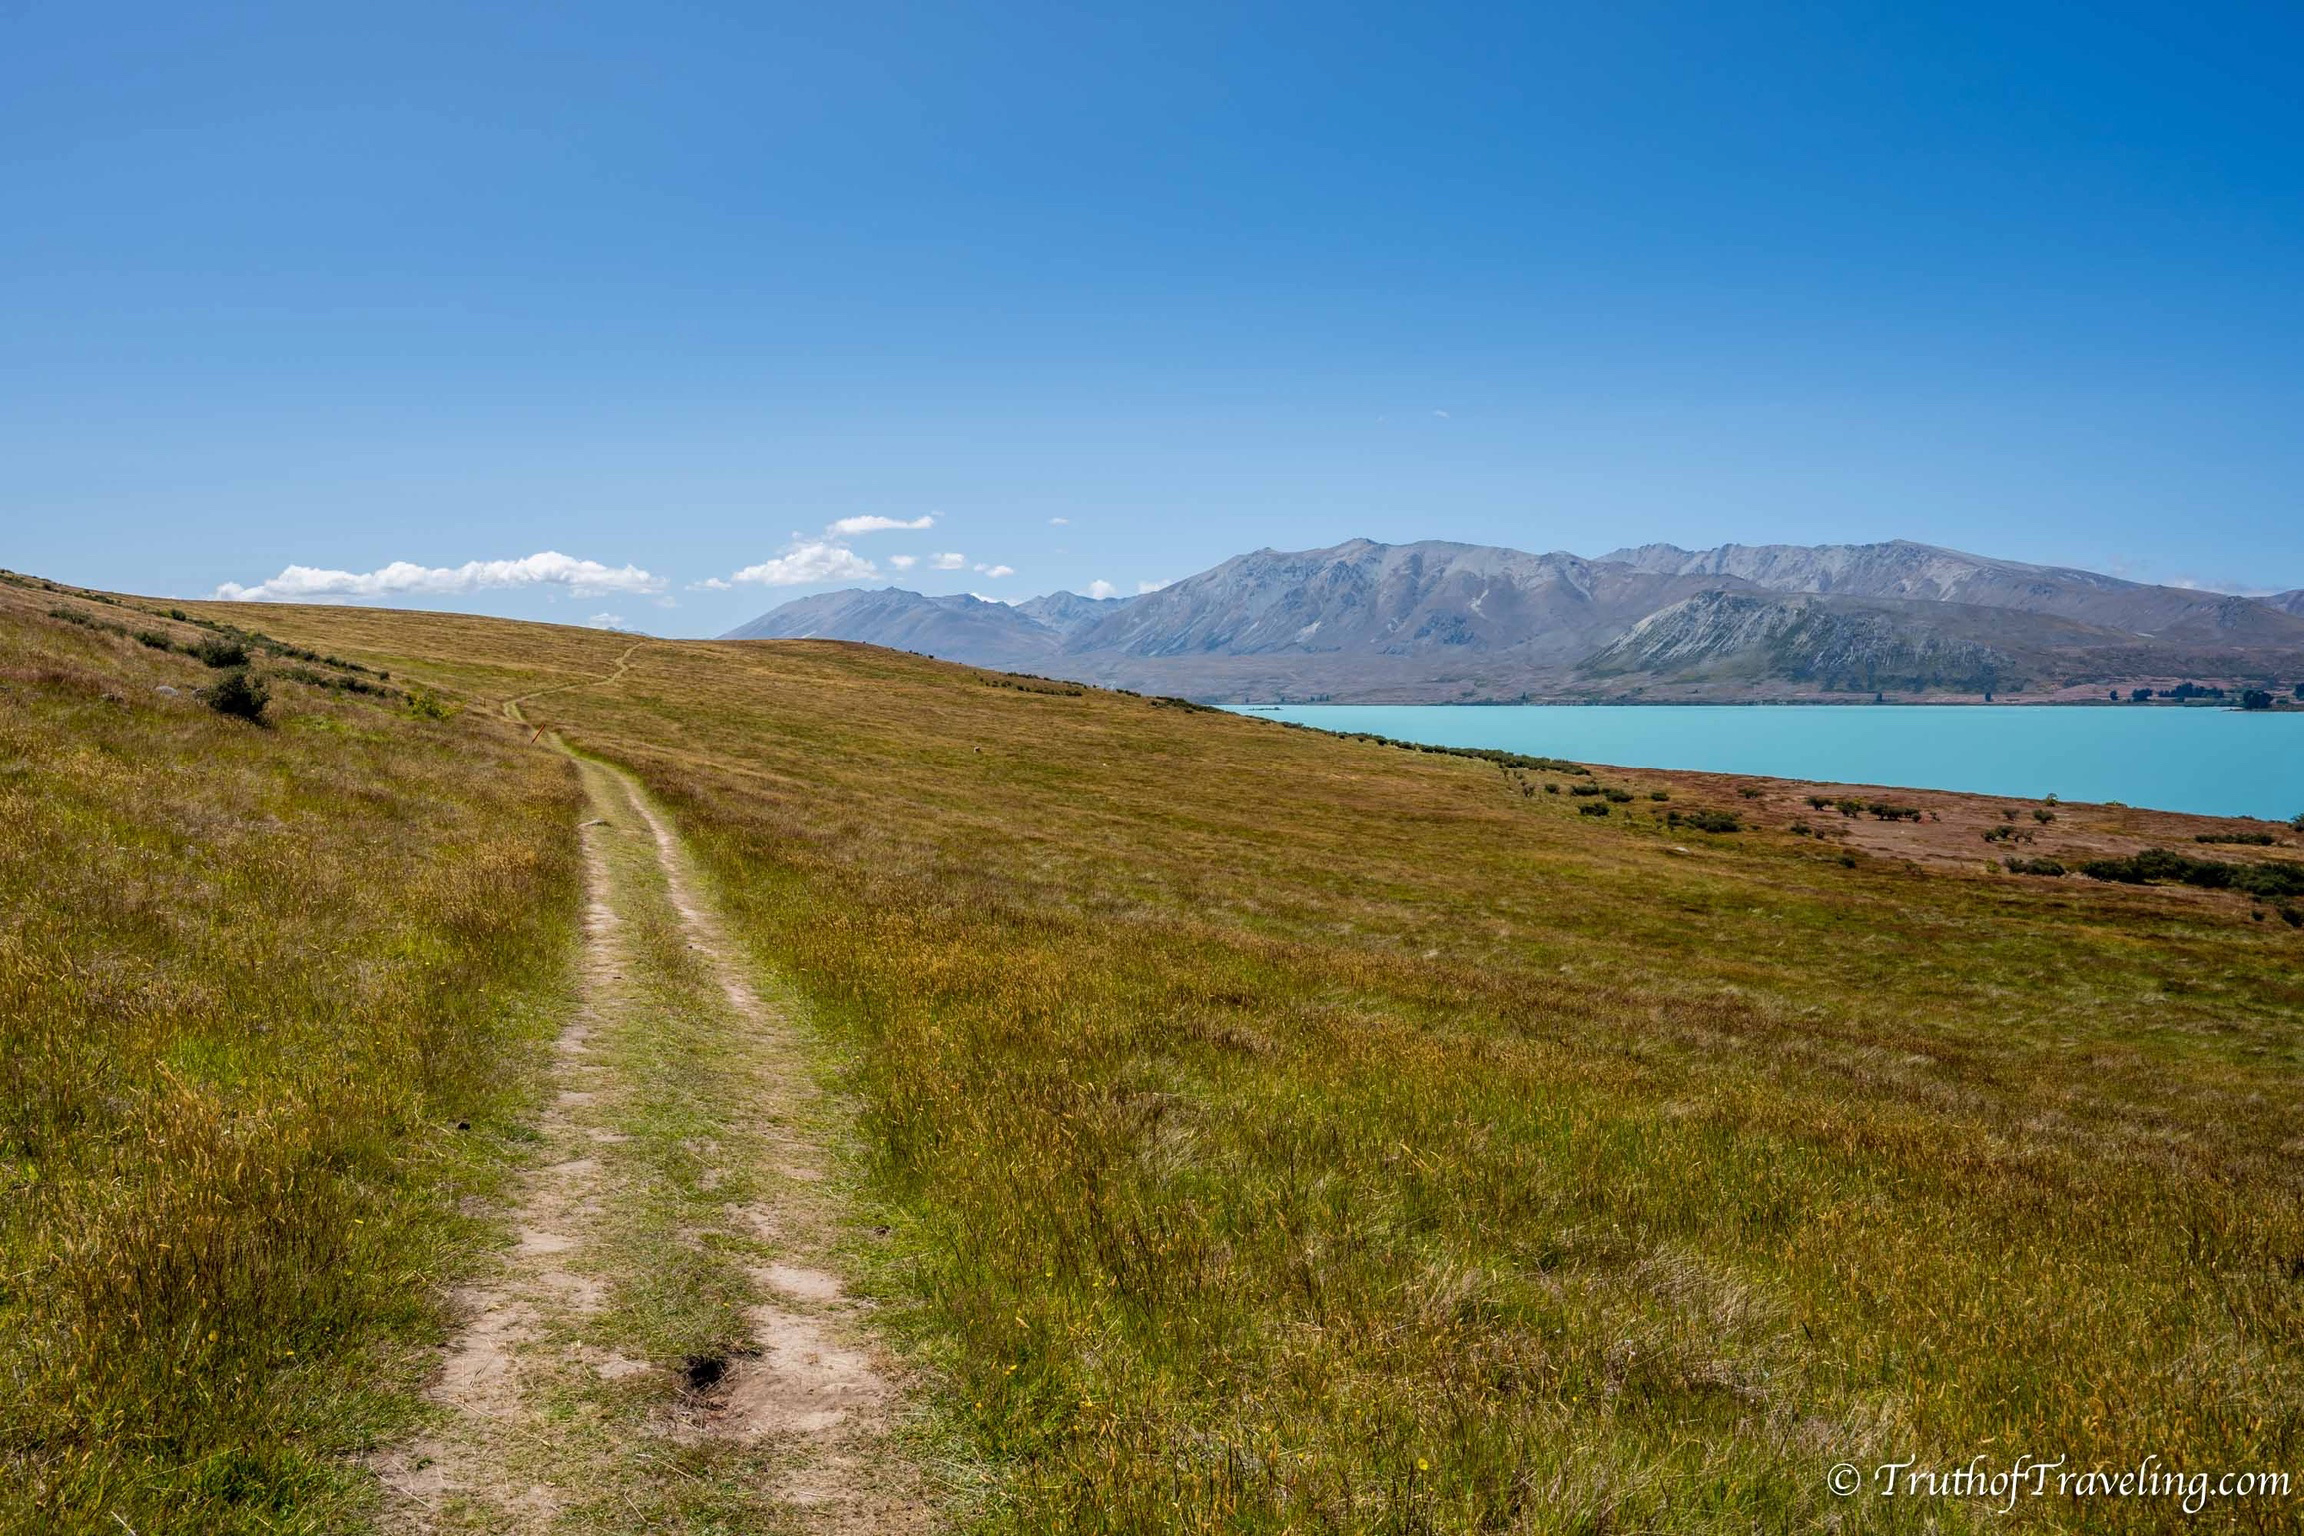
The Peninsula Walkway is a really nice trail that gives you amazing views looking over onto the lake. It’s a short loop that goes along the lake and then cuts back inland to the parking lot. We passed only one other group the whole time we were out there which was so nice! There is a field of Lupin at the start of the trail that are so pretty! The trail is a loop, however, we walked for about an hour and then walked back the same way because it was so beautiful!
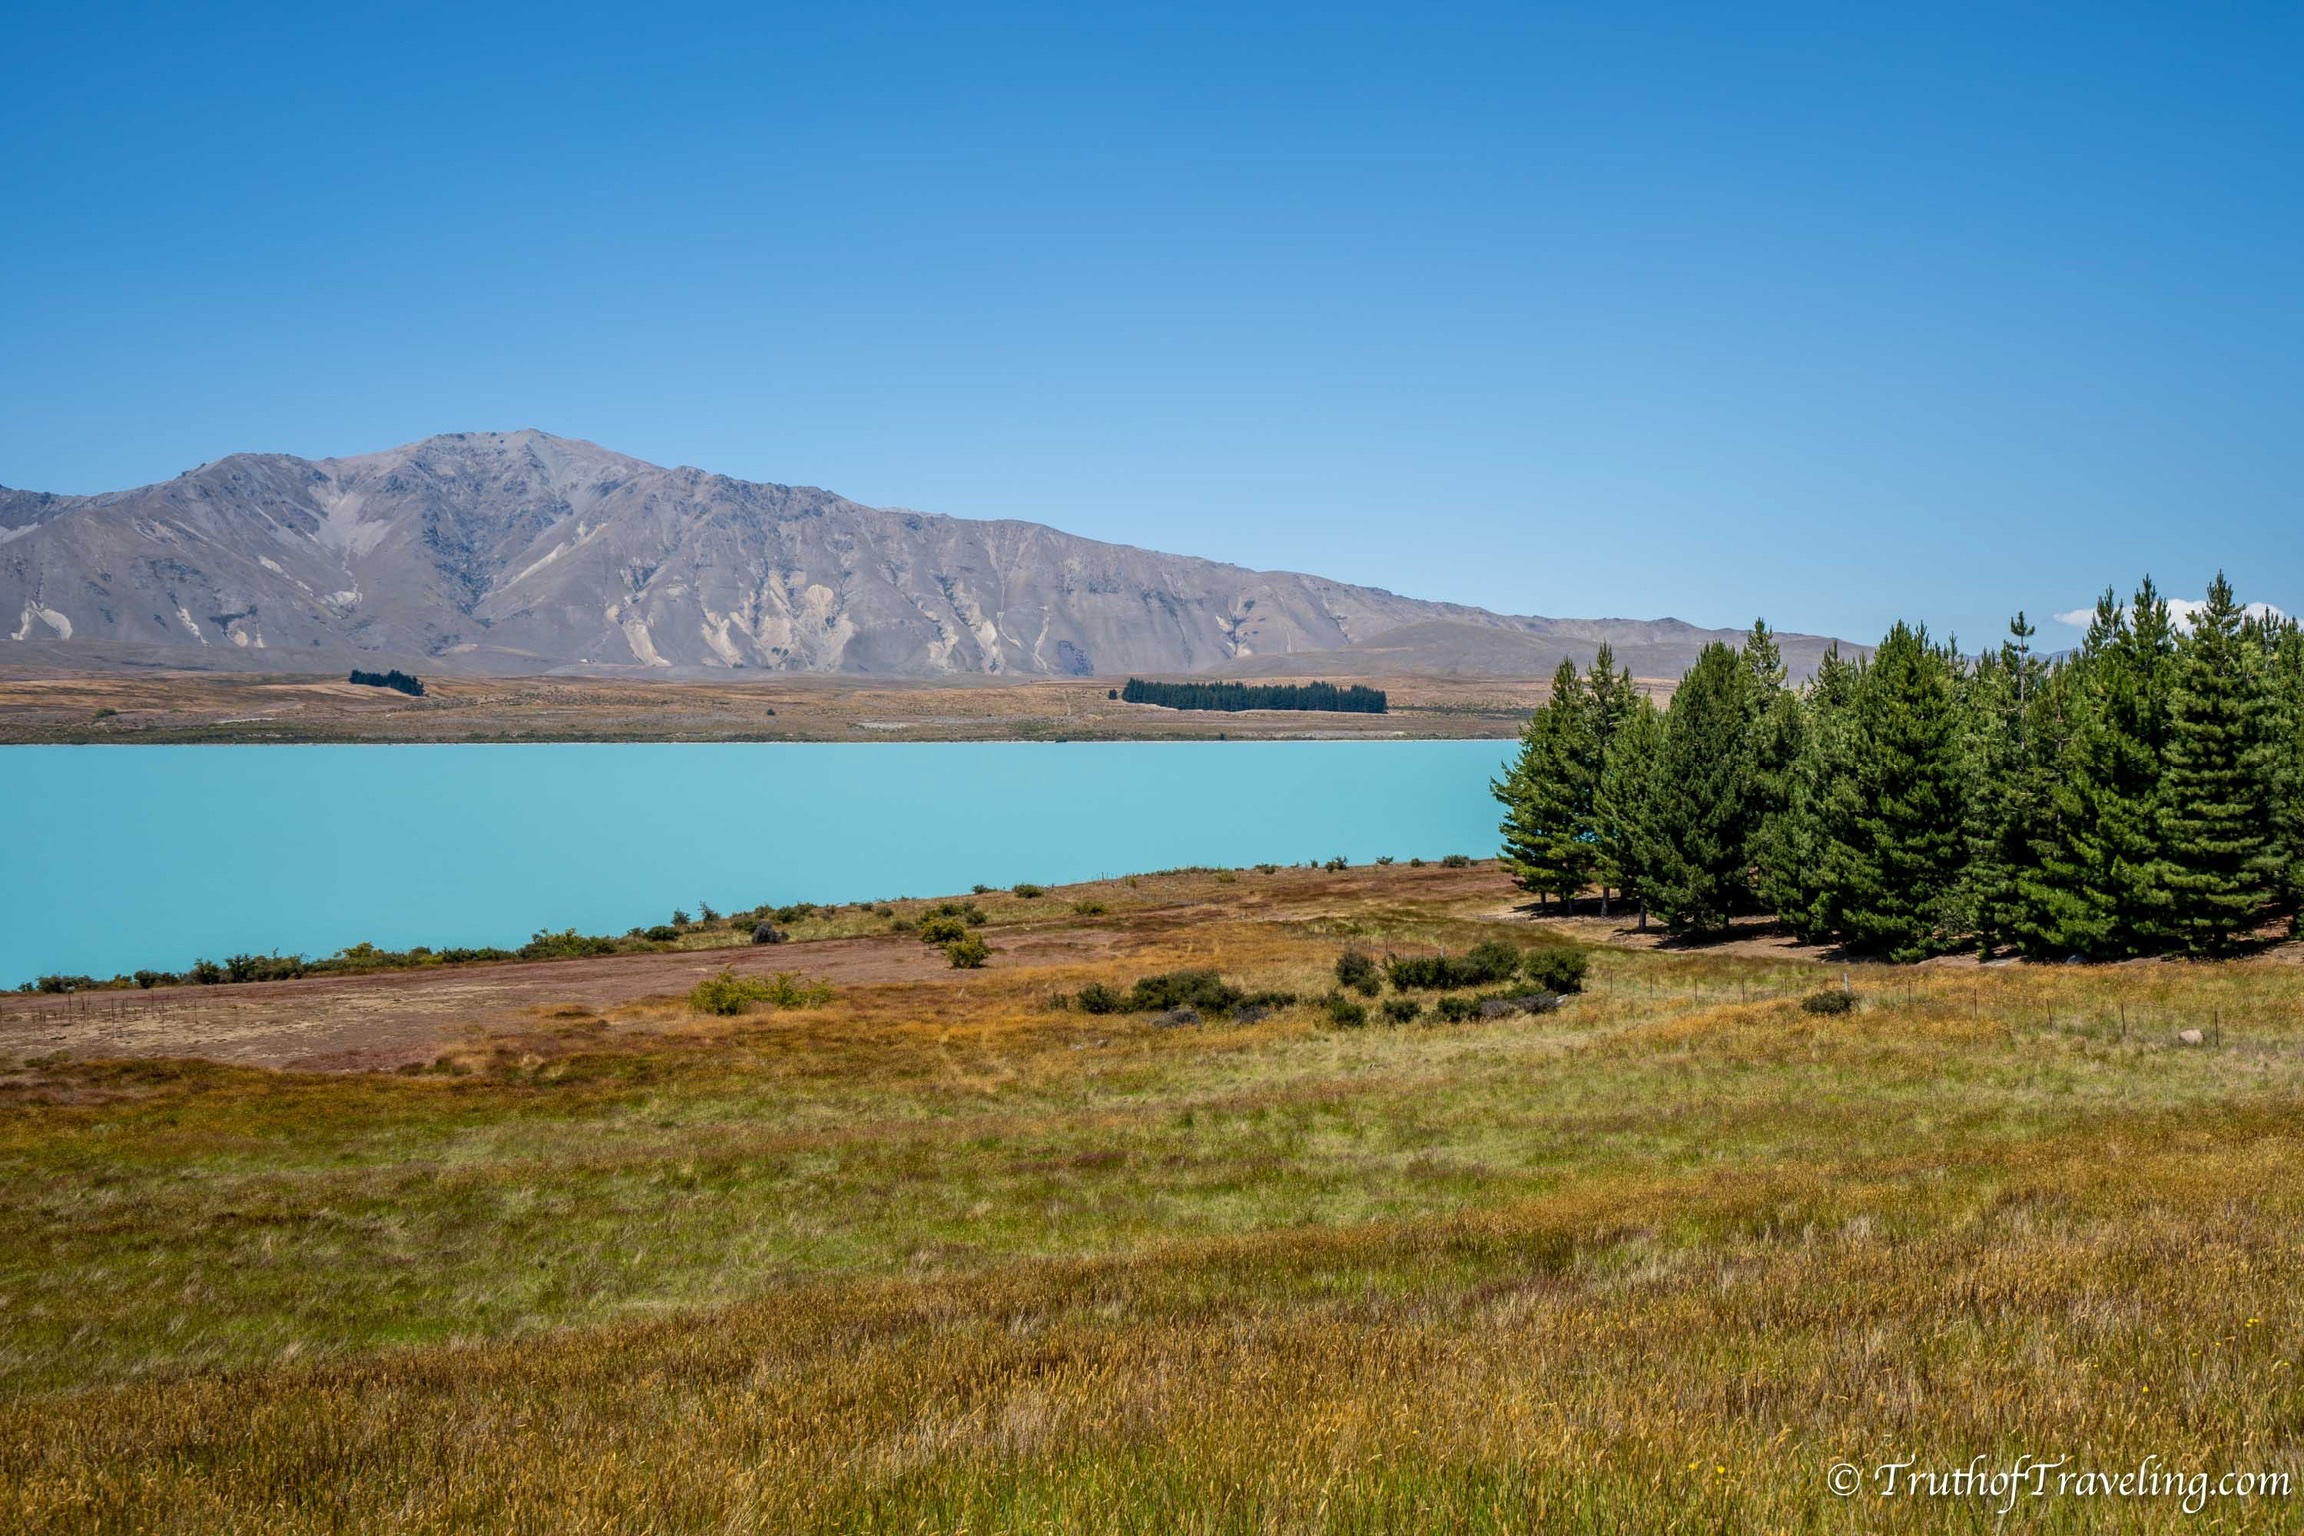
- We would highly recommend this trail while you’re in Lake Tekapo because of the views and how empty it was!
- Make sure to pack sunscreen (we always bring it in this container so we can refill it when needed) and water because it got hot in the middle of the day!
- It took us about 45 minutes to walk from the parking lot to the lookout spot. From there we turned around and went back the same way so we spent about 2 hours on the trail total!
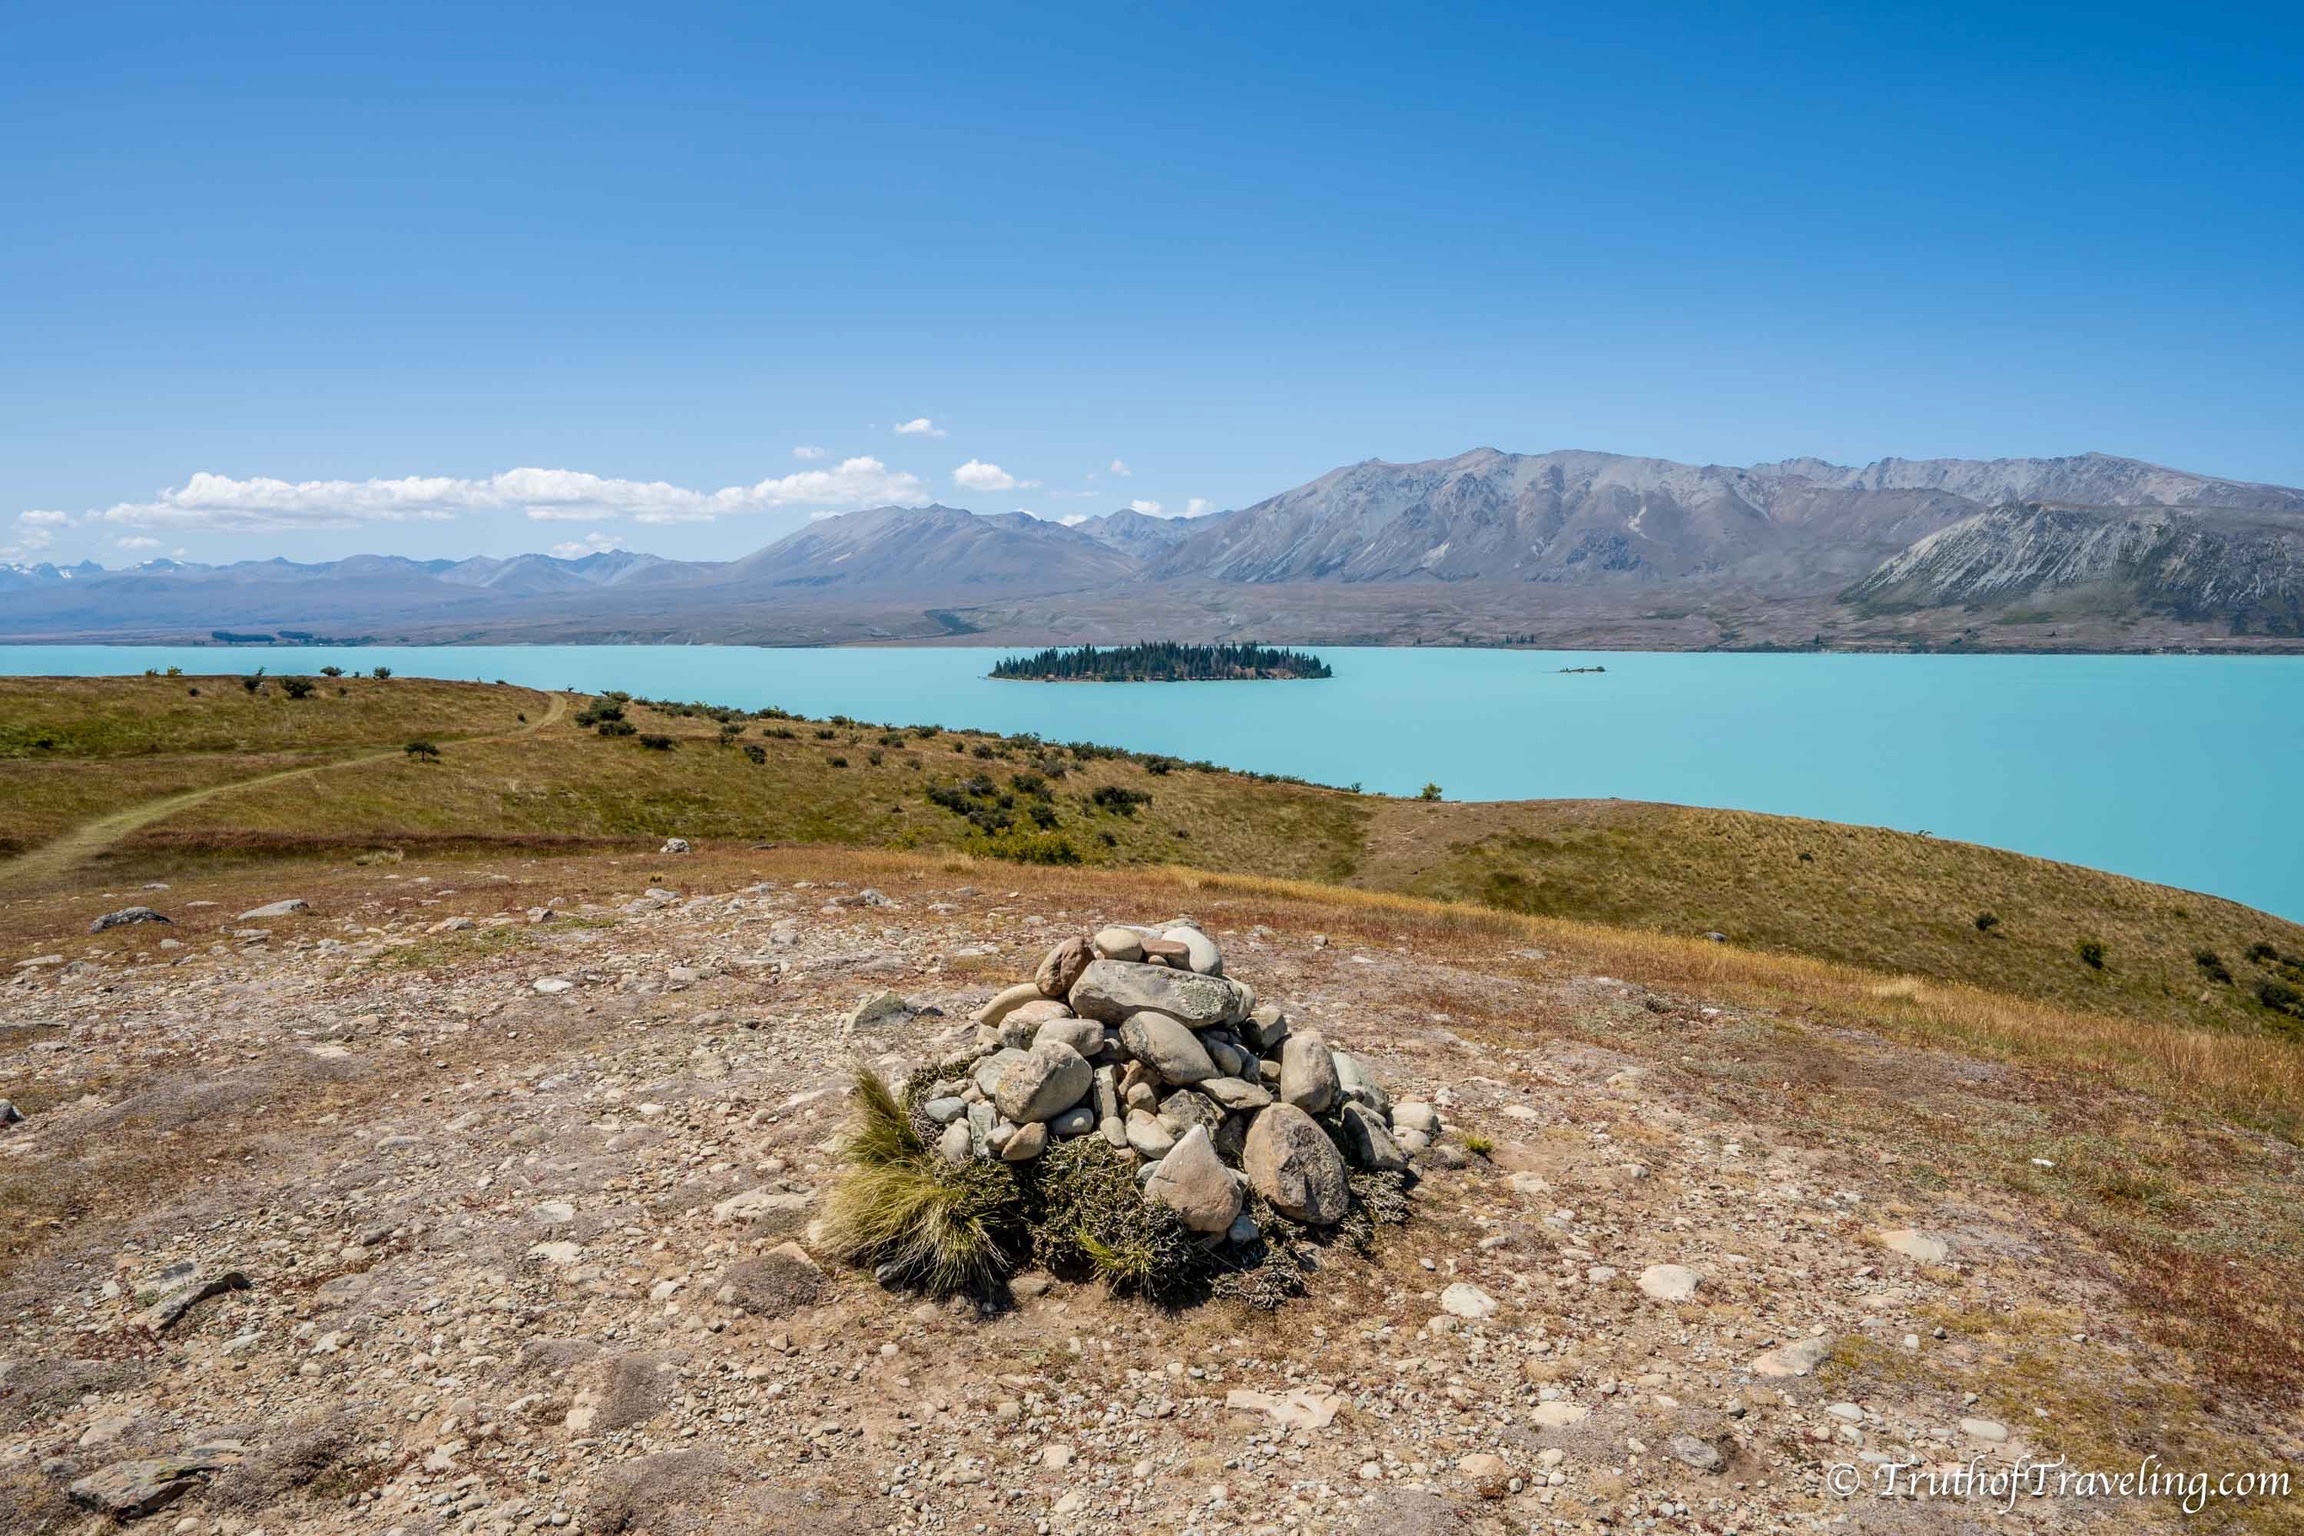
One of the best parts of having a campervan is having flexibility. We finished the trail and got back to the van to make lunch right there in the parking lot! From there drive around the lake to the Church of the Good Shepherd. This small church is a popular photo spot in the area. The building contrasted with the bright color of the lake in the background is so scenic! However, the Church gets so busy with bus tours and big groups so it has a much different feel compared to where you just came from.
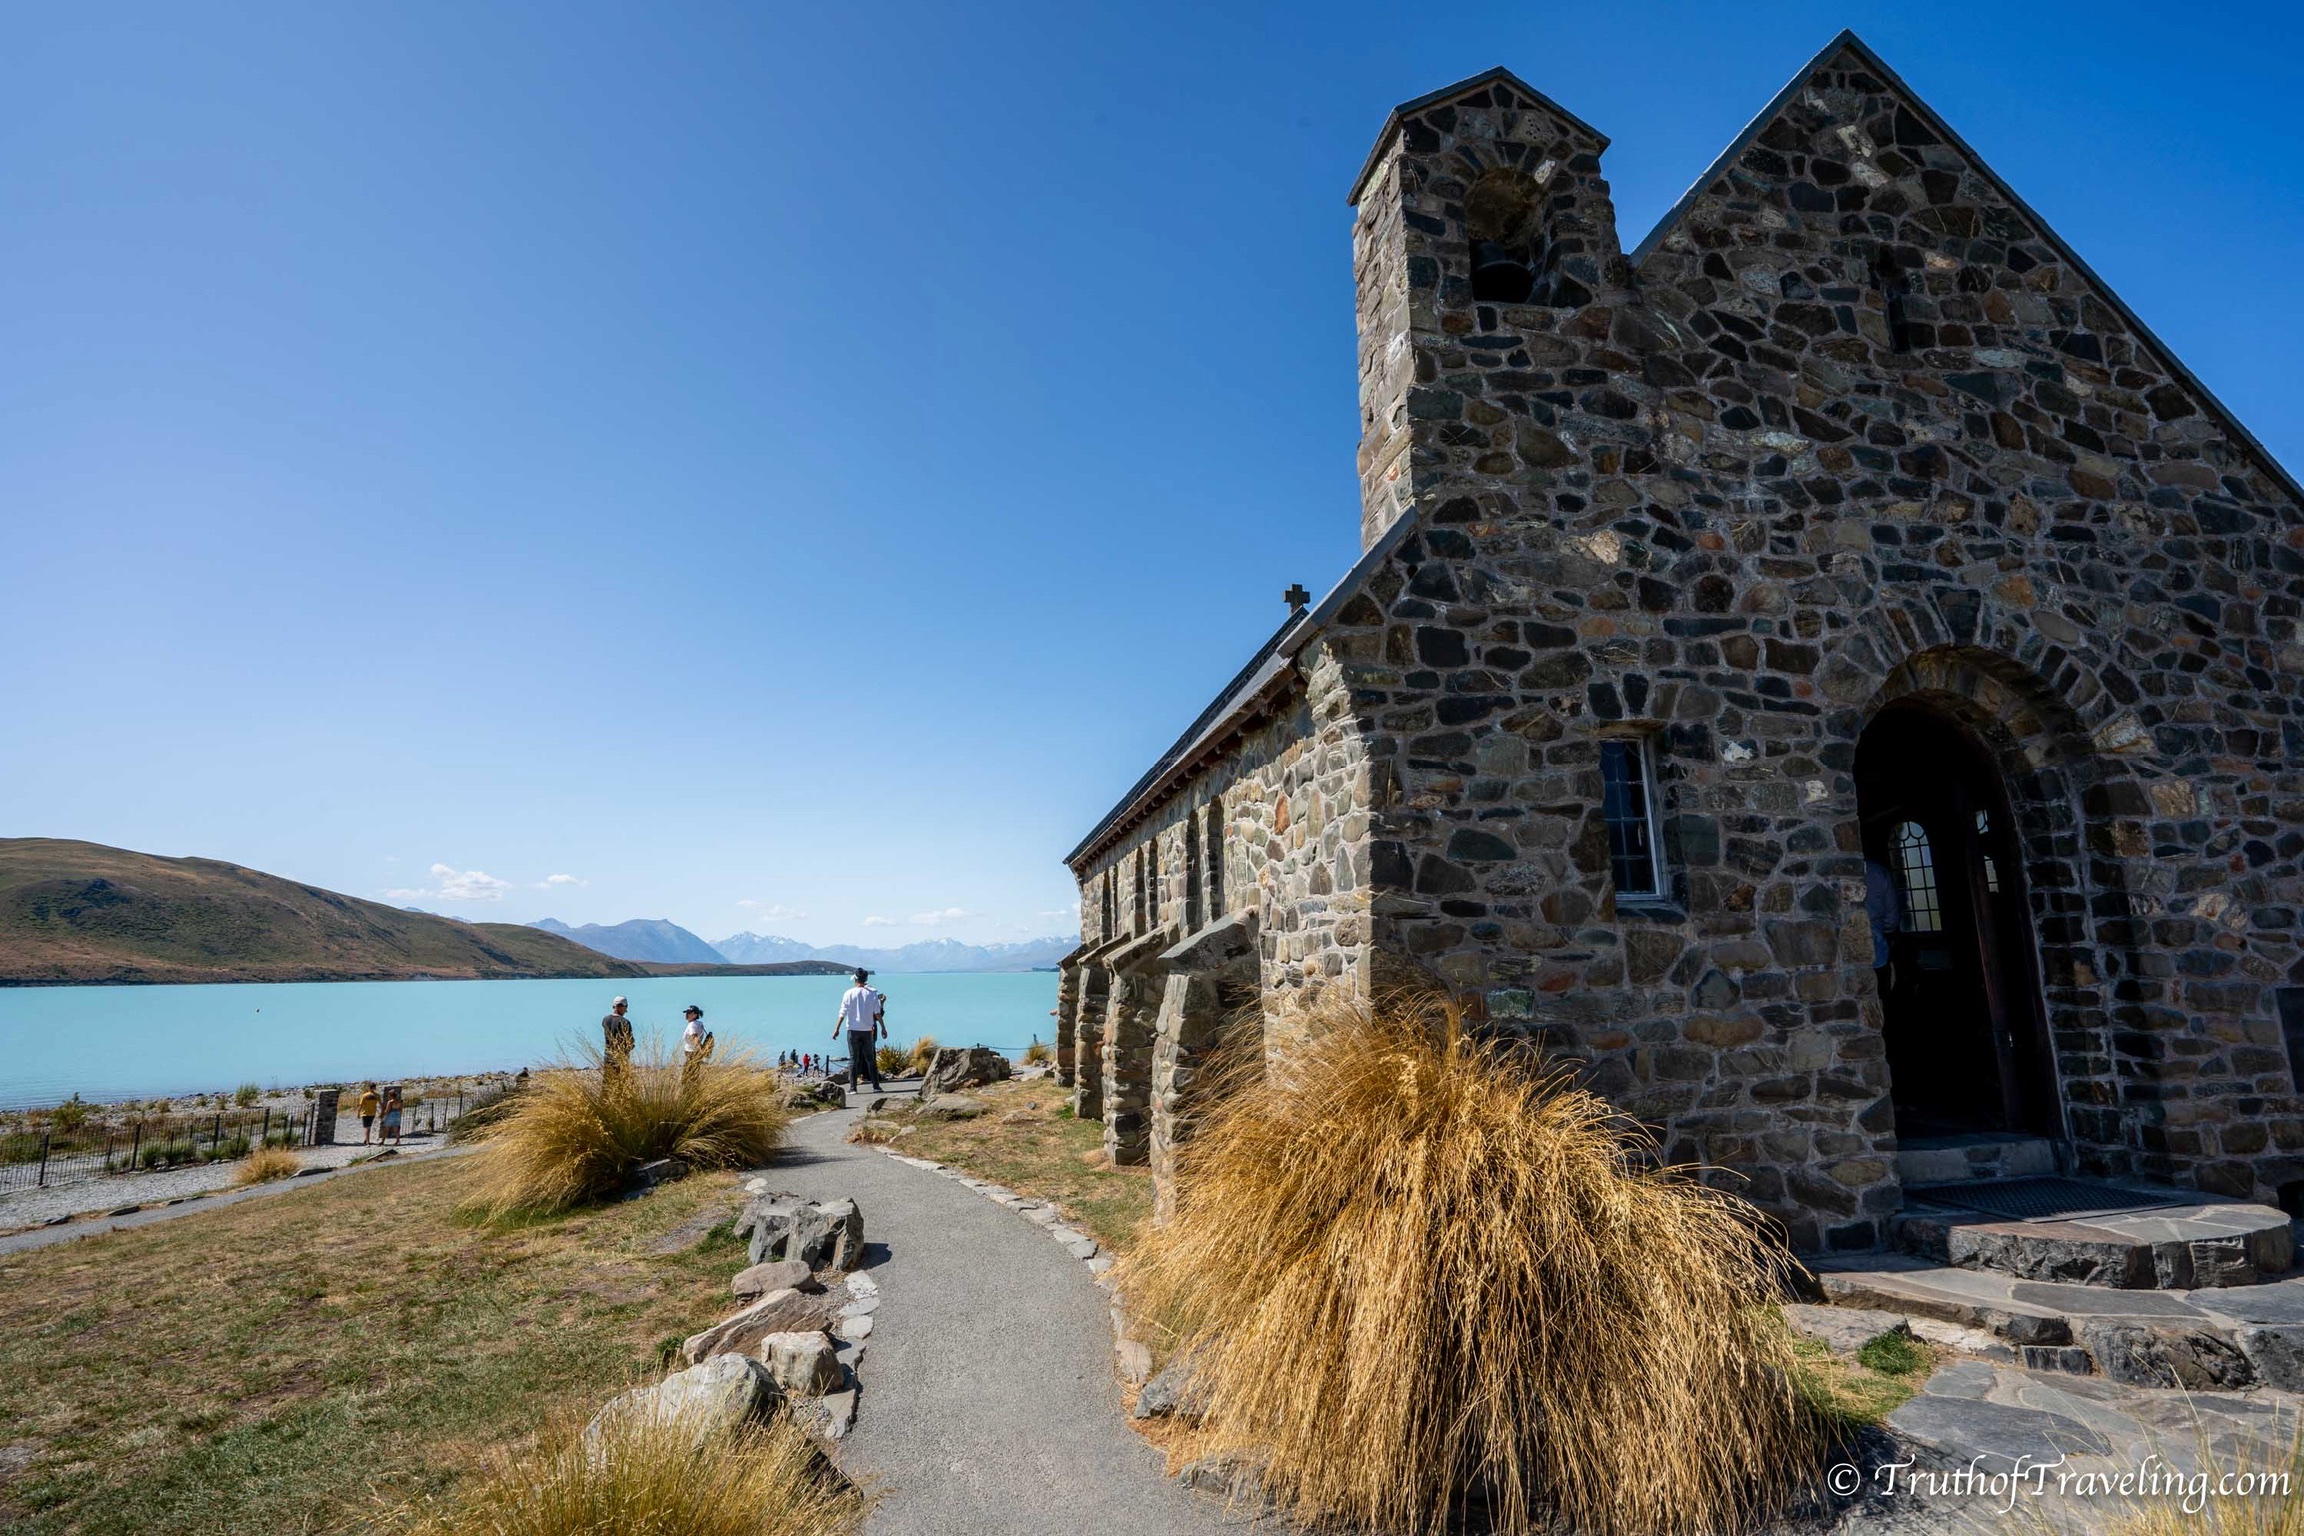
- Walk past the church, through the path and down to the waters edge. It’s a different perspective of the lake because you’re so close!
- We went to check out the Church of the Good Shepherd quickly, took a few pictures and then continued on our way.
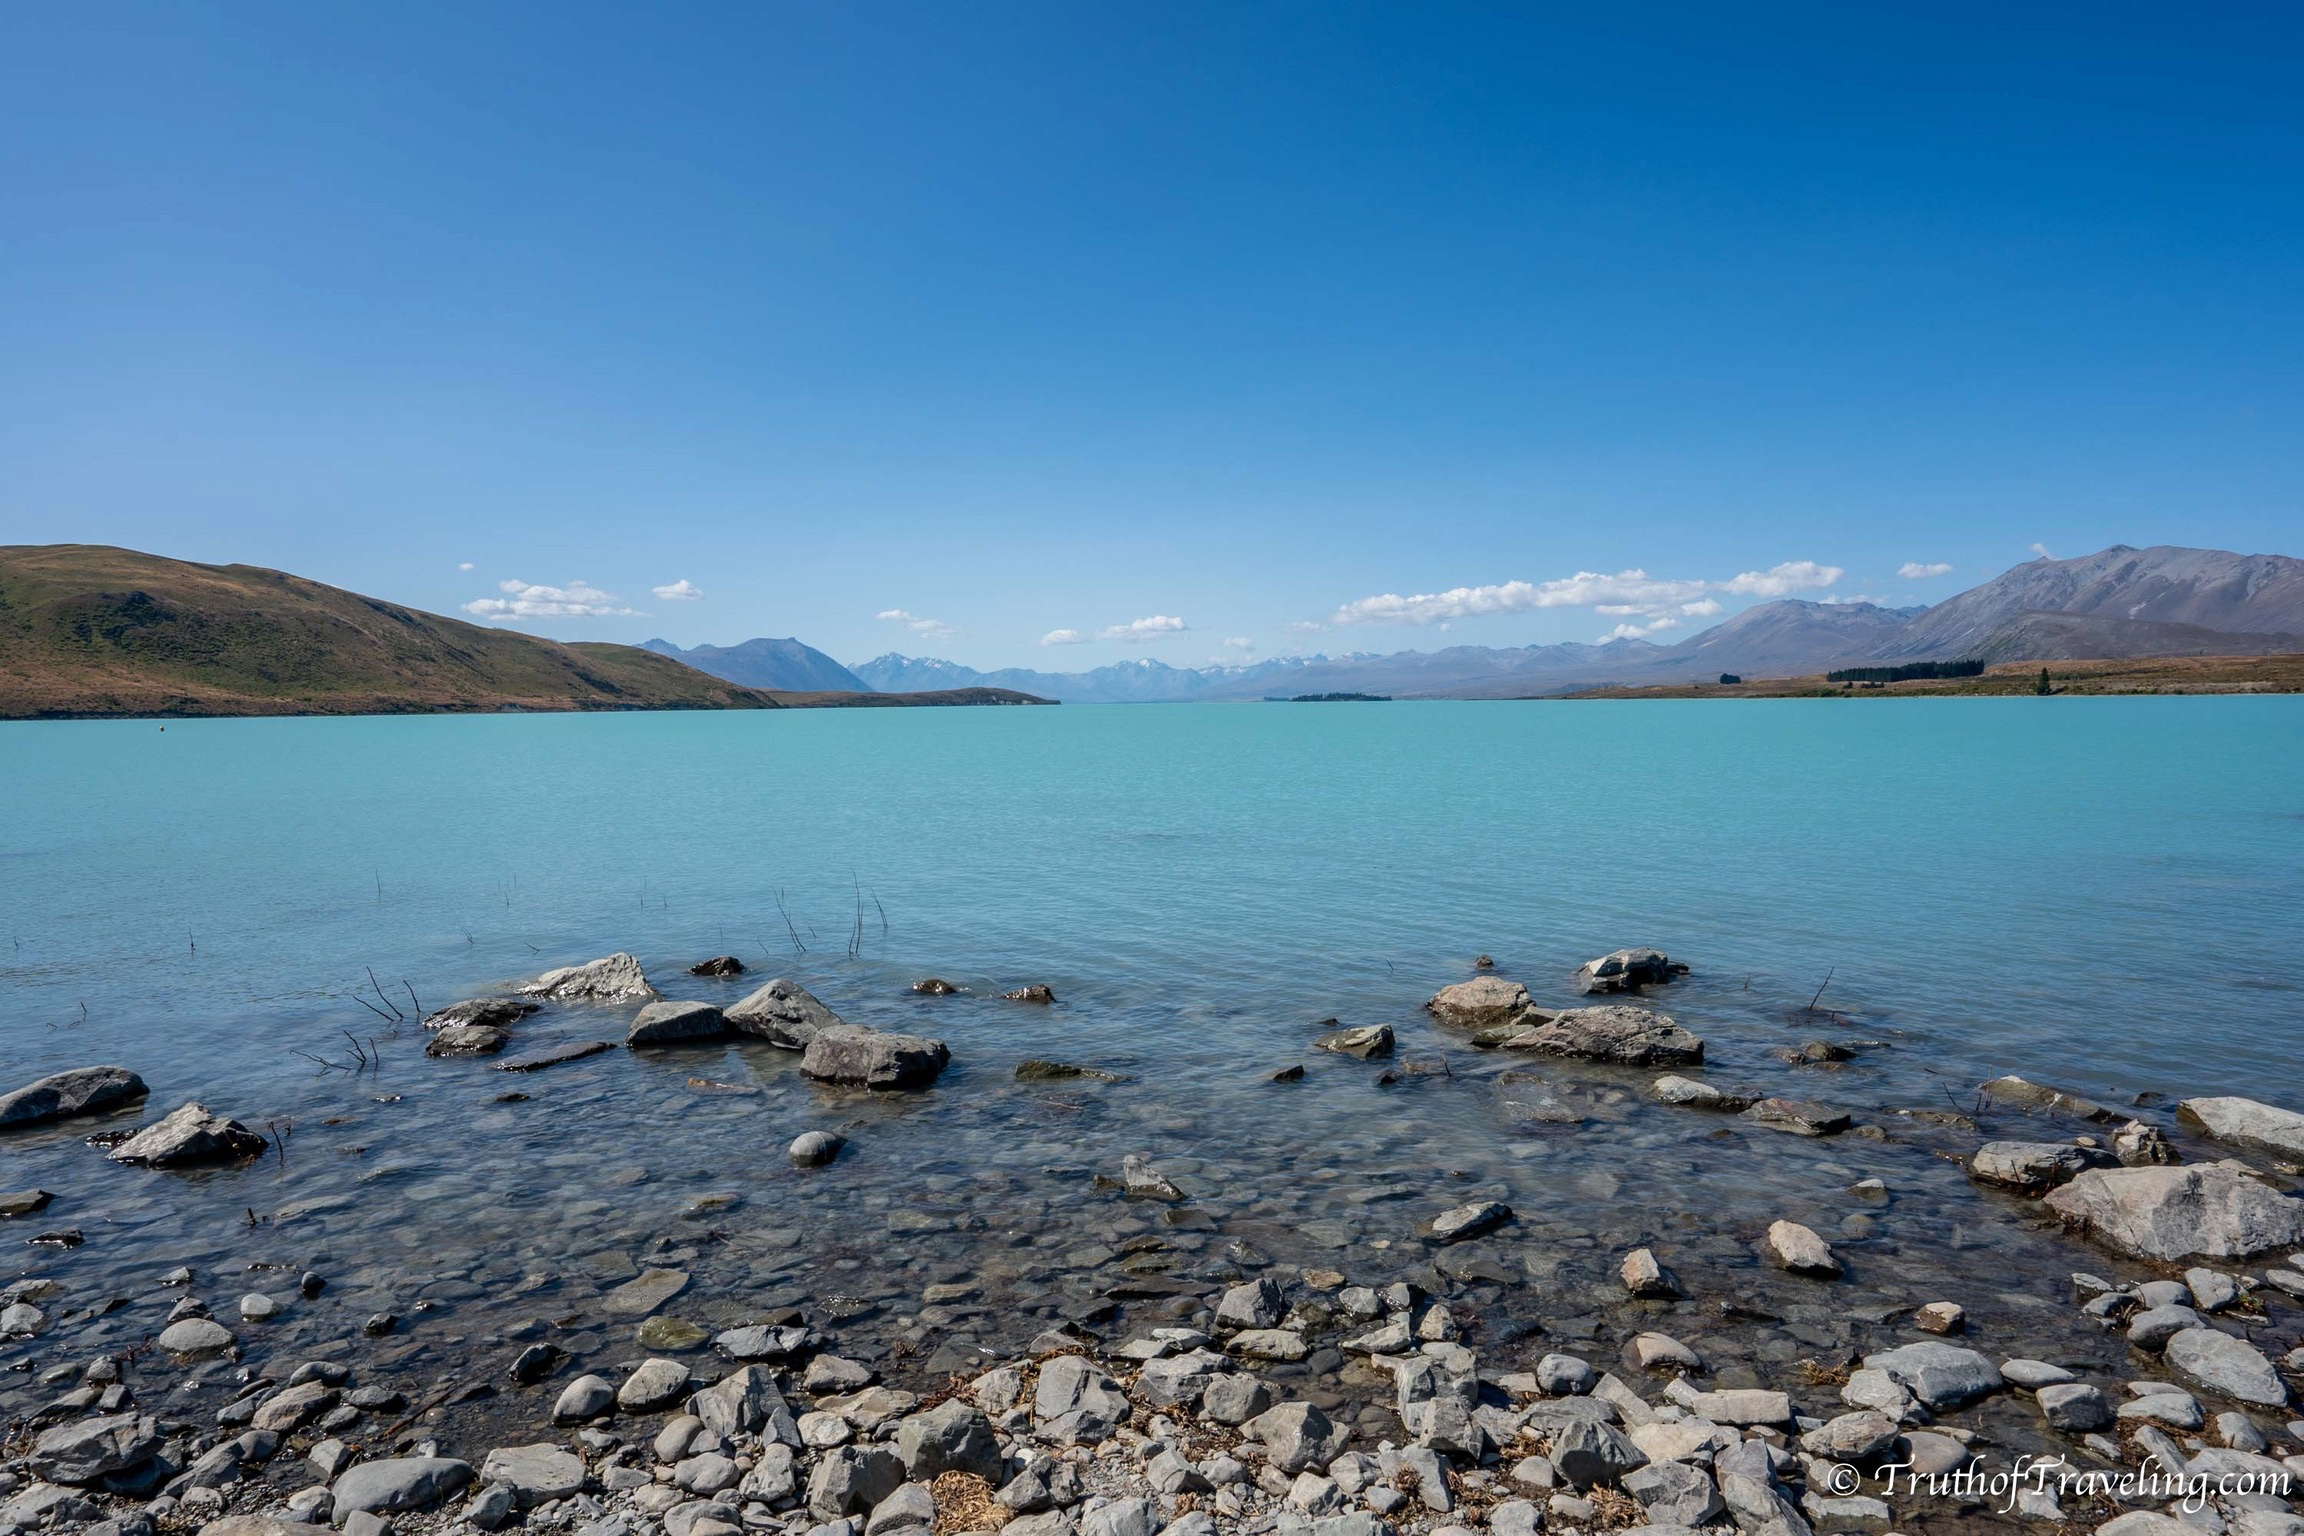
Say a big goodbye to the beautiful Lake Tekapo as you make your way to Lake Pukaki! Lake Pukaki is, however, just as remarkable and just as colorful! The drive from Lake Tekapo to Lake Pukaki took us a little longer because we stopped a few times to take pictures. Towards the end of the drive you will find yourself driving right alongside Lake Pukaki and there are multiple chances to stop and pull over.
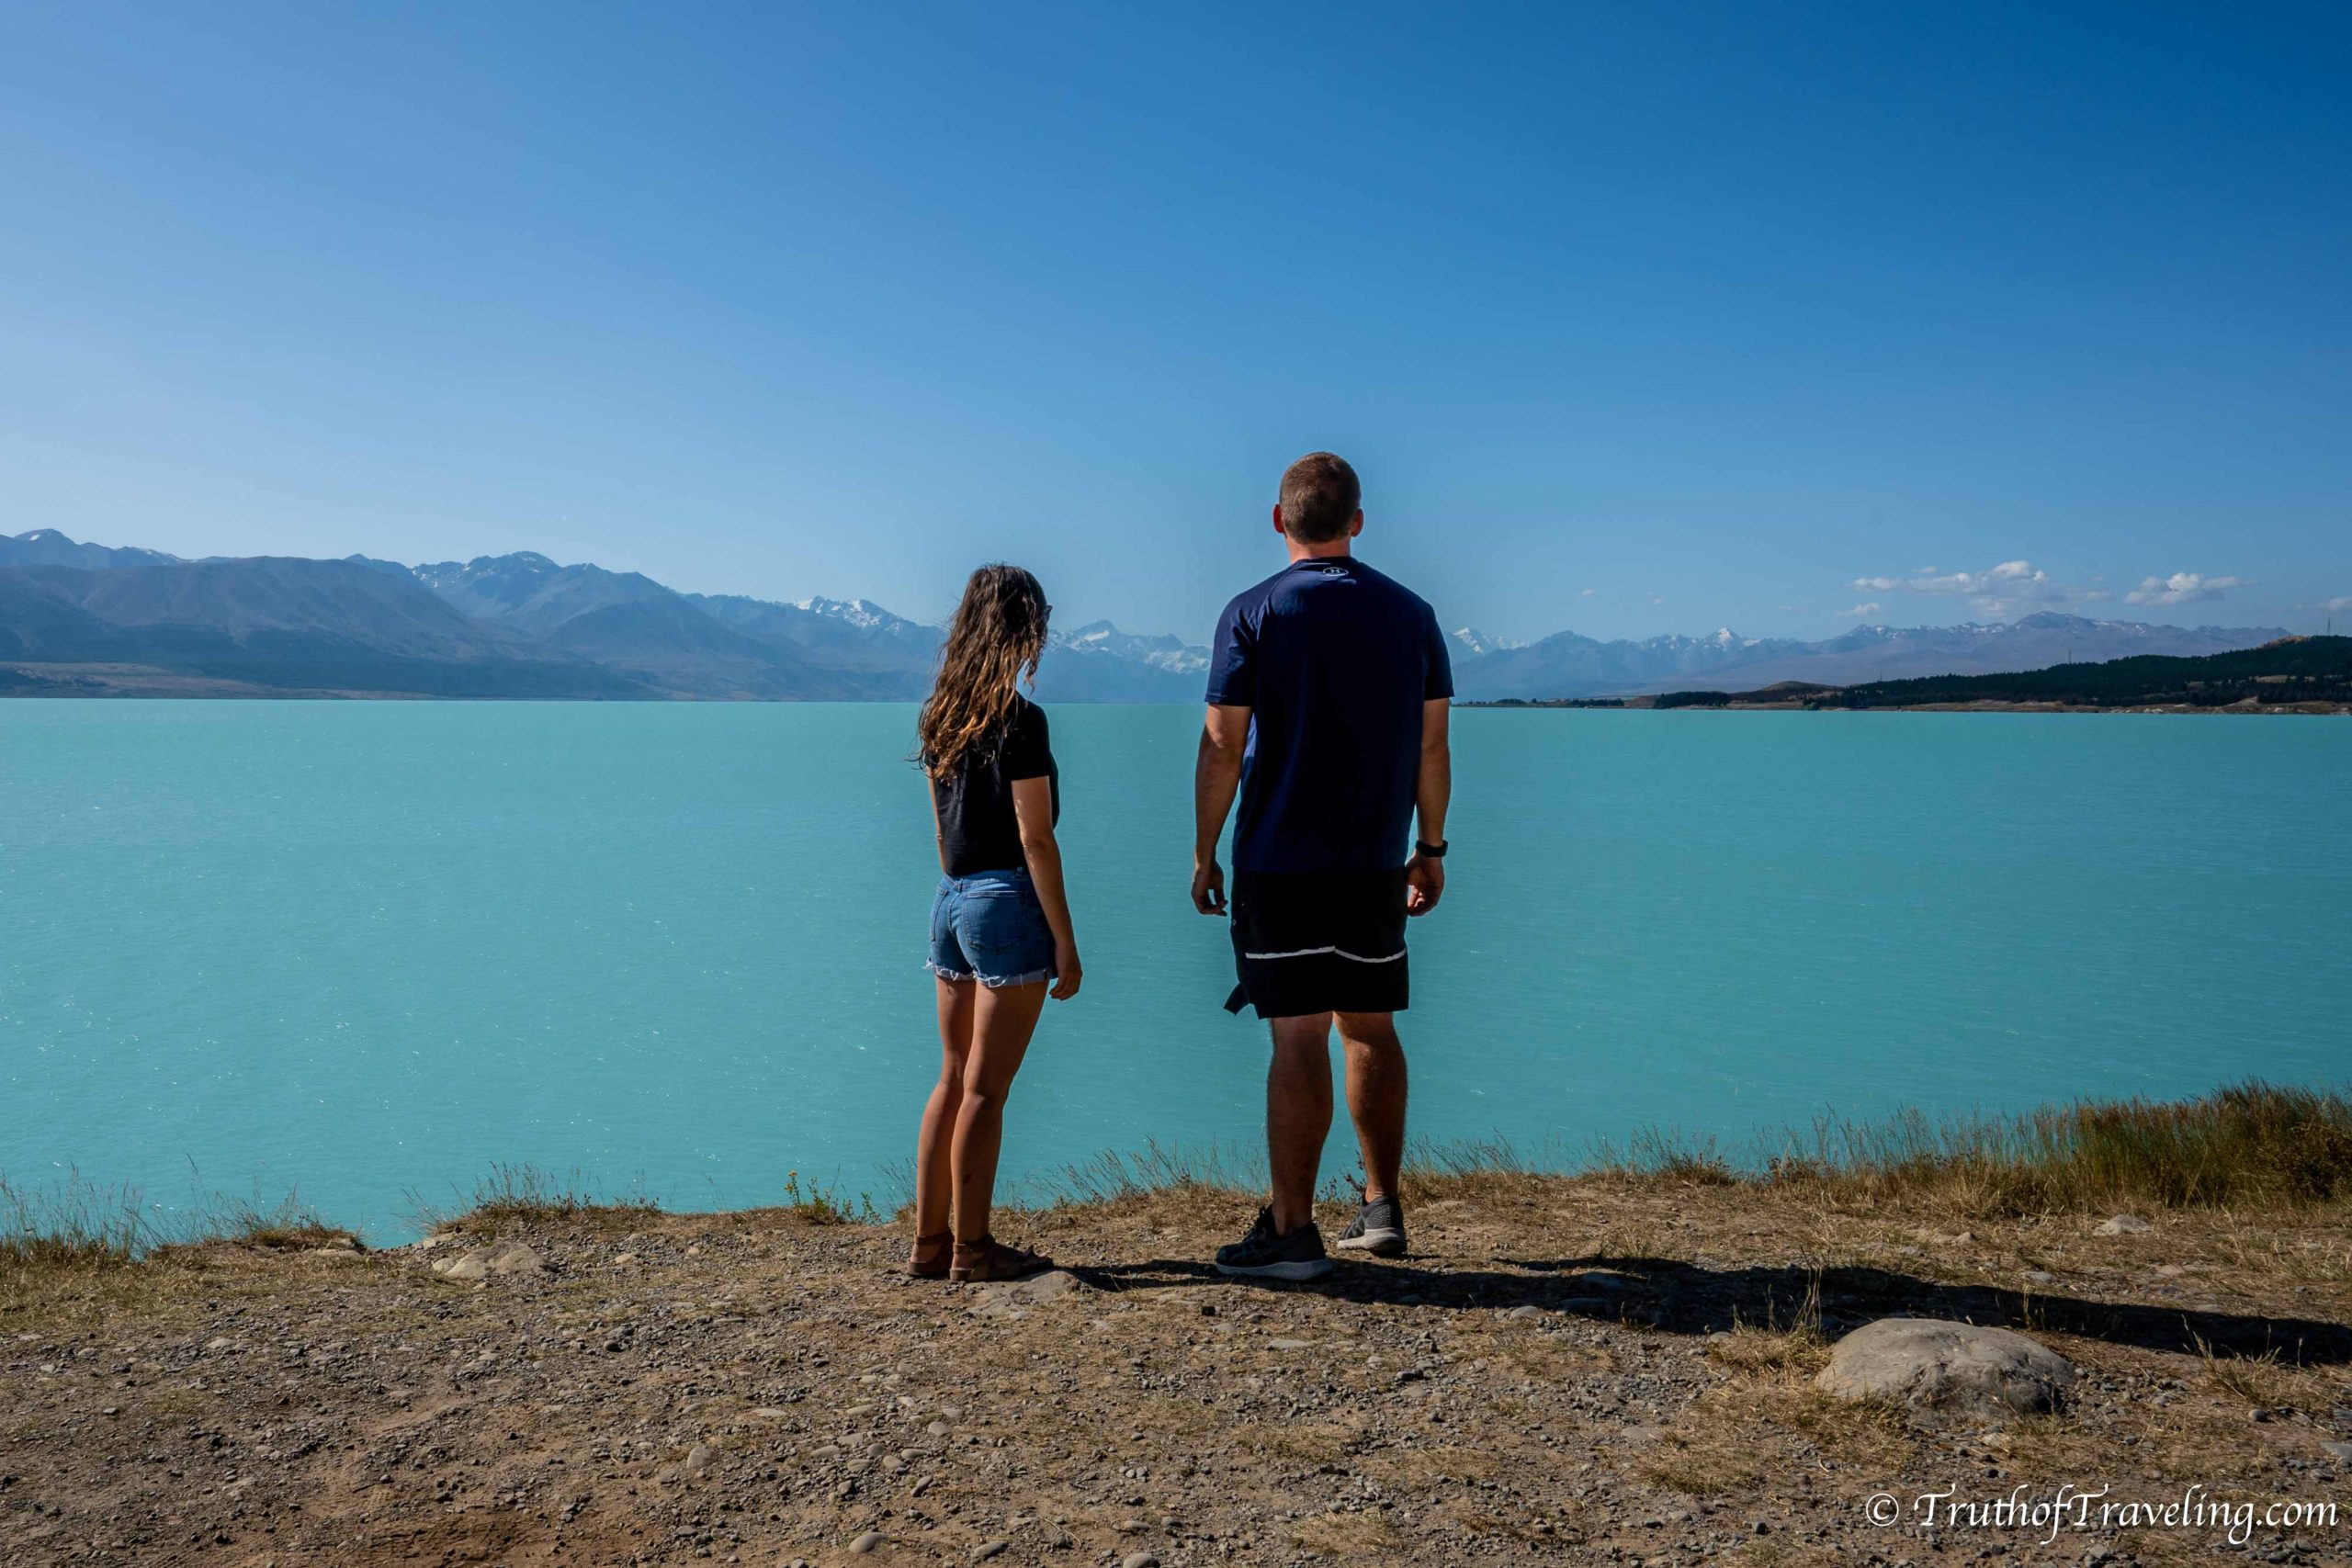
- There is a really nice lookout point on the righthand side of the road. There are toilets as well as a large parking lot to park. Walk down the path and you can get some incredible pictures of the cloudy, blue water!
Pull into the Lake Pukaki Reserve Overnight Campground to camp for the night. This campsite is free, has toilets and plenty of spaces to park! It is located right before the Visitors Center. It starts with a gravel road that will first pass the toilets and then as you continue driving you get to the best spots! You can park down in that first parking area or go up the hill to a larger area. Both have amazing views looking out onto Lake Pukaki!
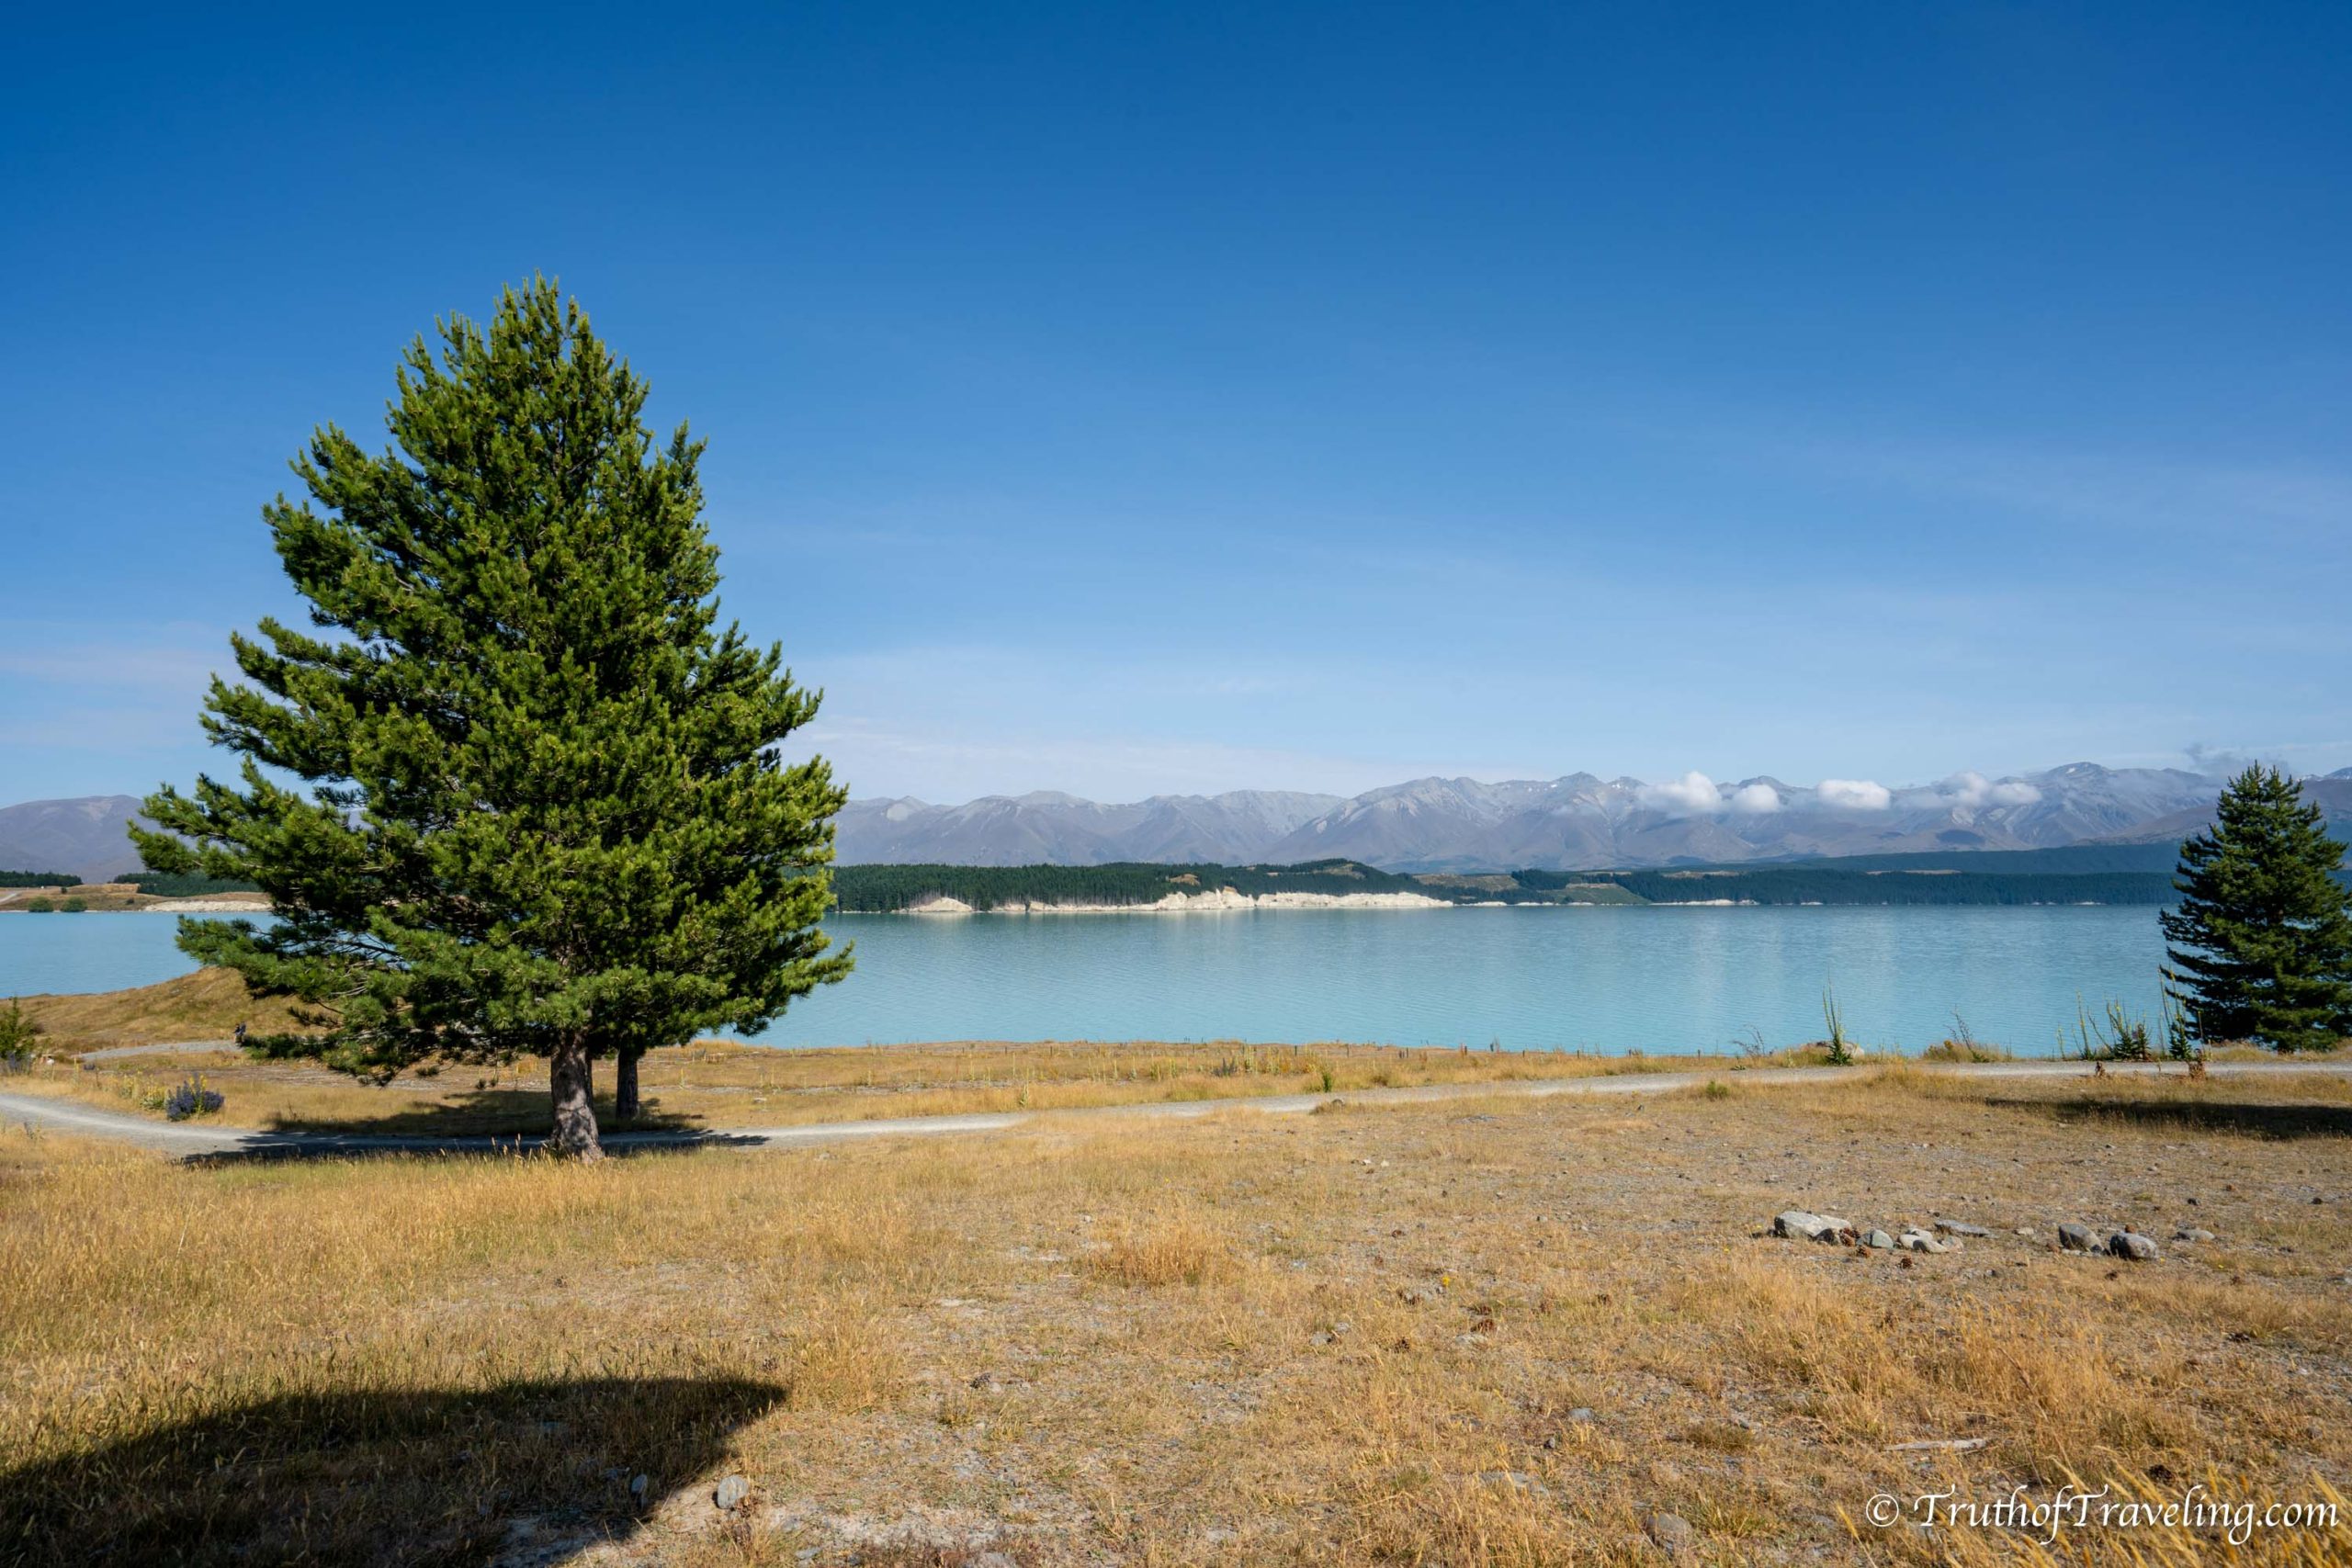
- Our plan was to spend the night at a campsite down the road but when we passed this one we had to see what it looked like! The views are incredible and we couldn’t believe it was free!
Drive: 58 kms / 49 minutes
Stay: Lake Pukaki Reserve Overnight Campground (free!)
Read More: 10 Tips for Renting a Campervan in New Zealand
Day 4: Spend the day at Lake Pukaki
Spend the day enjoying Lake Pukaki as it is seriously amazing! You can walk down to the water at the campsite during the day and find lots of other people enjoying the sun and jumping in for a swim. Beware though the water is freezing! We jumped in and it felt so nice but definitely took a few minutes to convince ourselves to do it.
You can venture down the road about 20 minutes and see the Lavender Field Experience at NZ Alpine Lavender. It cost $5 NZD to enter to walk through the rows and rows of lavender.
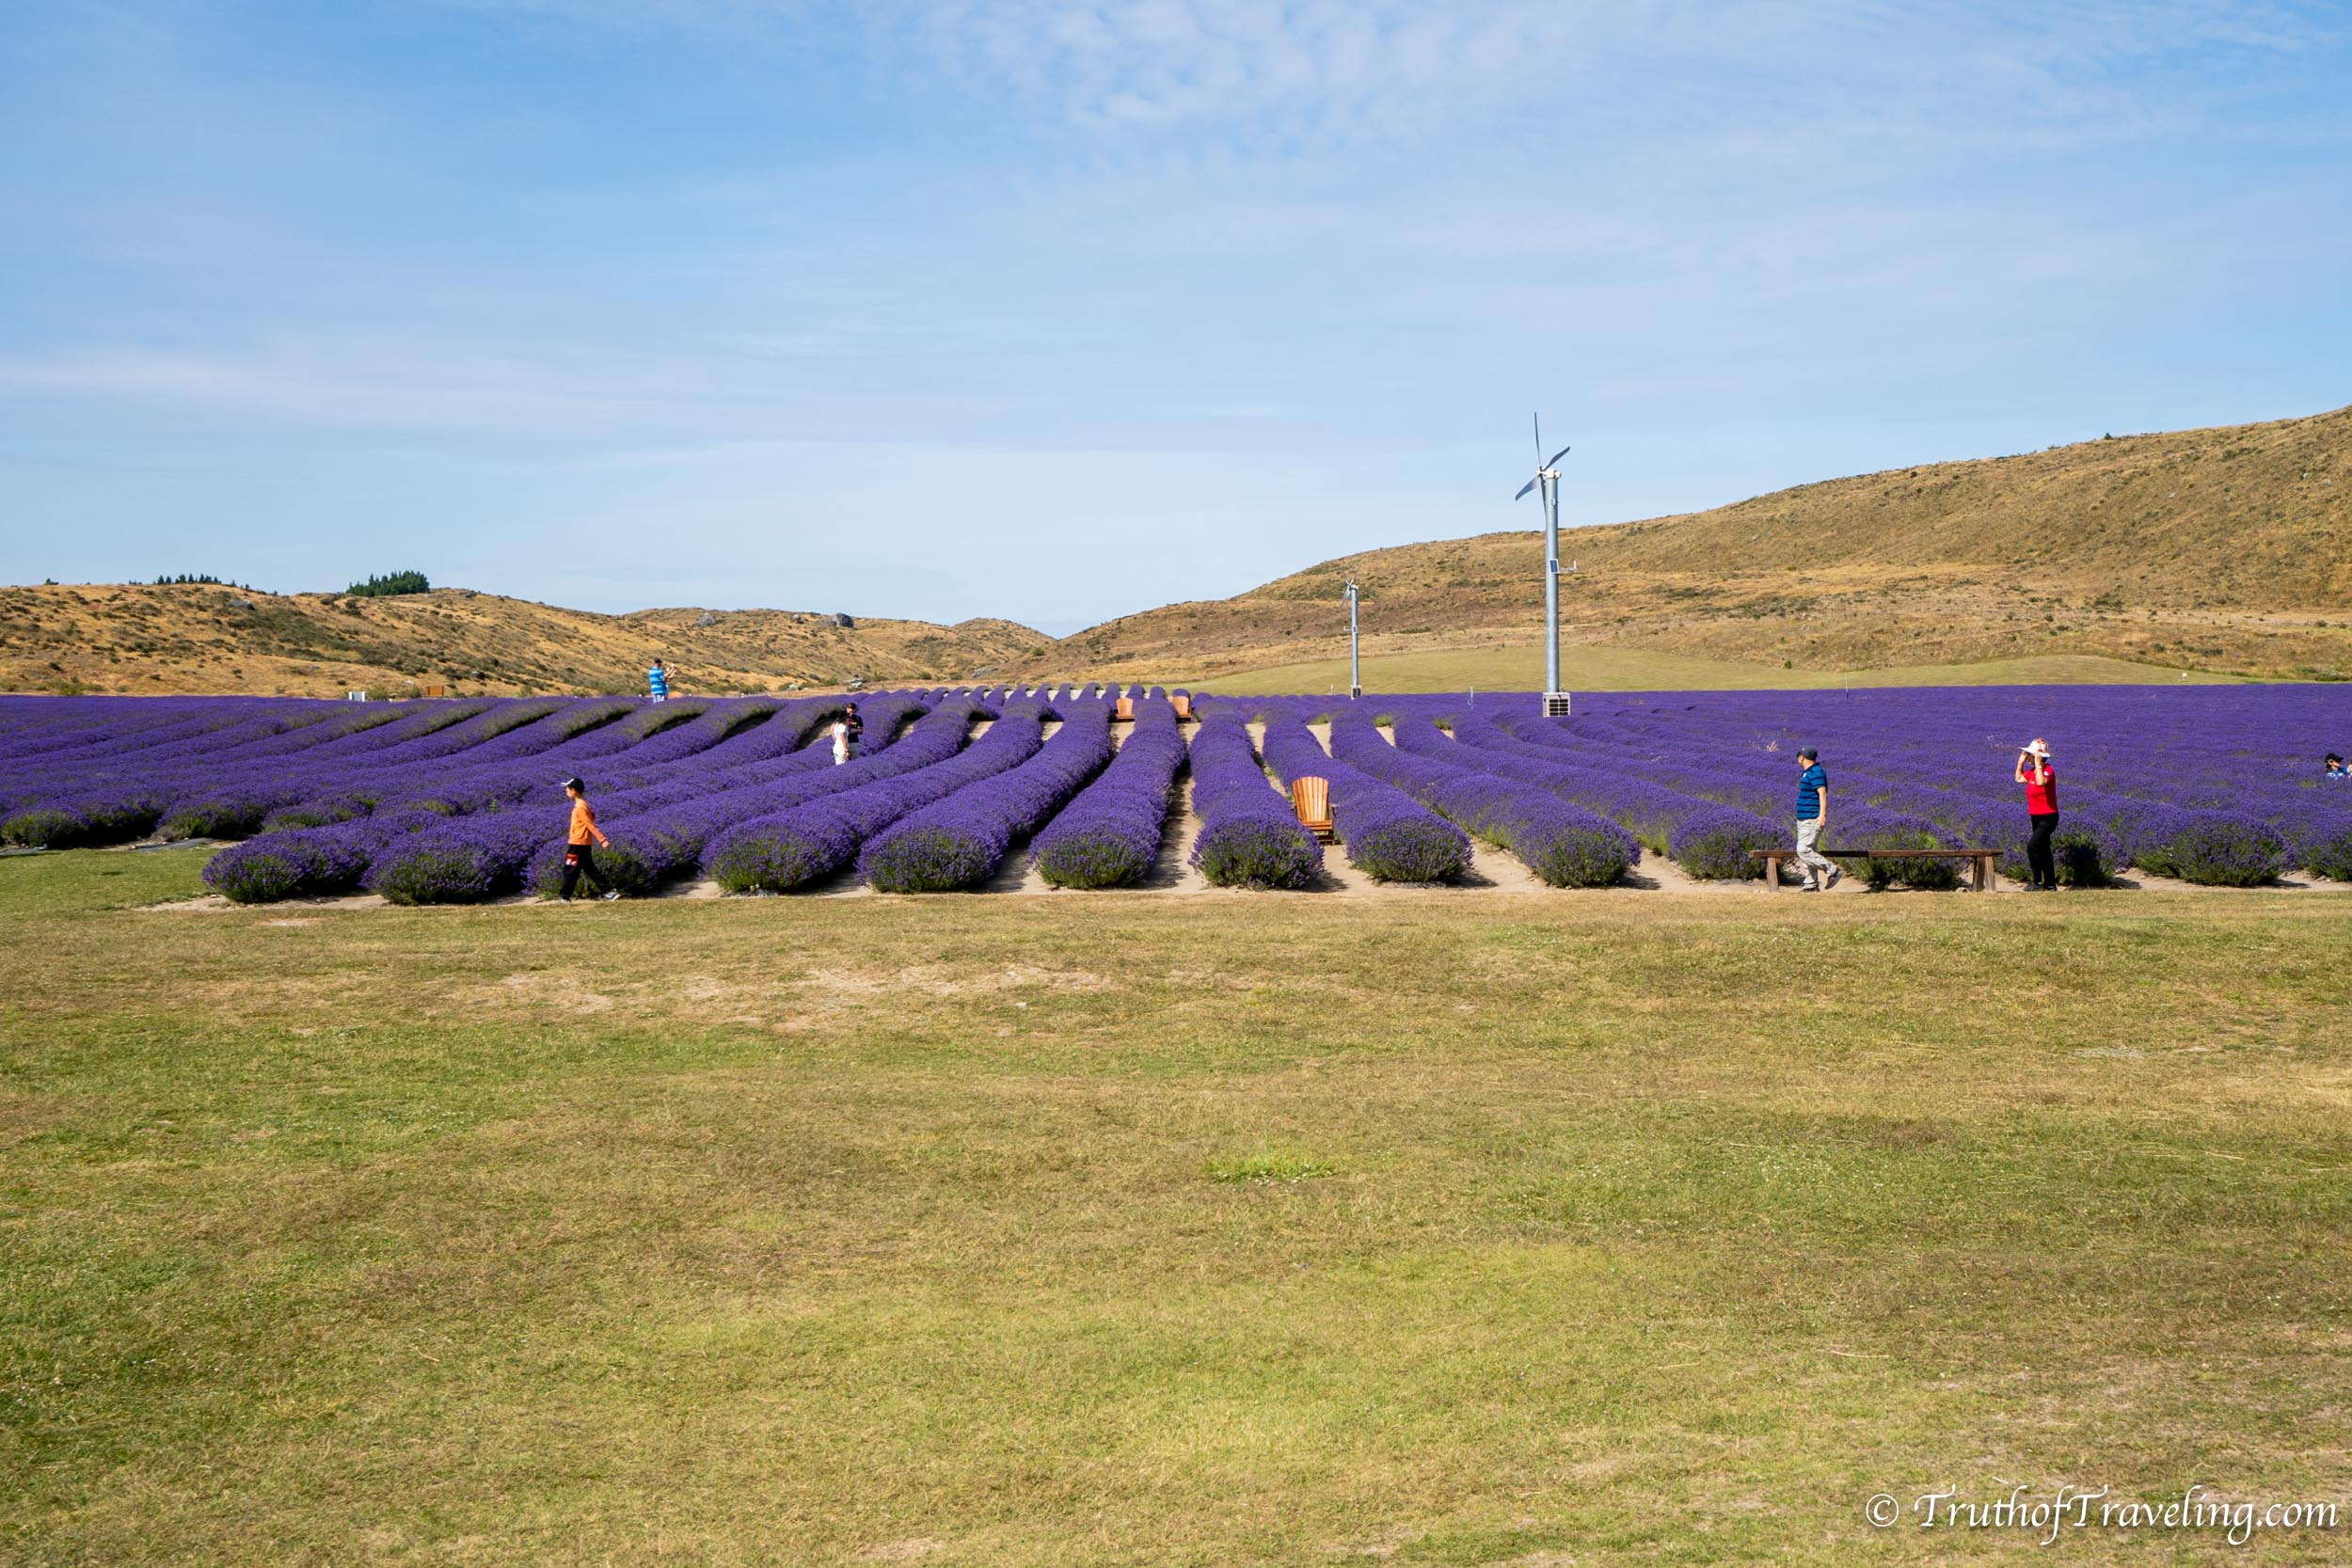
We had intended to continue on to Mount Cook after 1 night but we just couldn’t bring ourselves to leave so we ended up spending 2 nights there. It’s one of the most picturesque campsites we had in New Zealand!
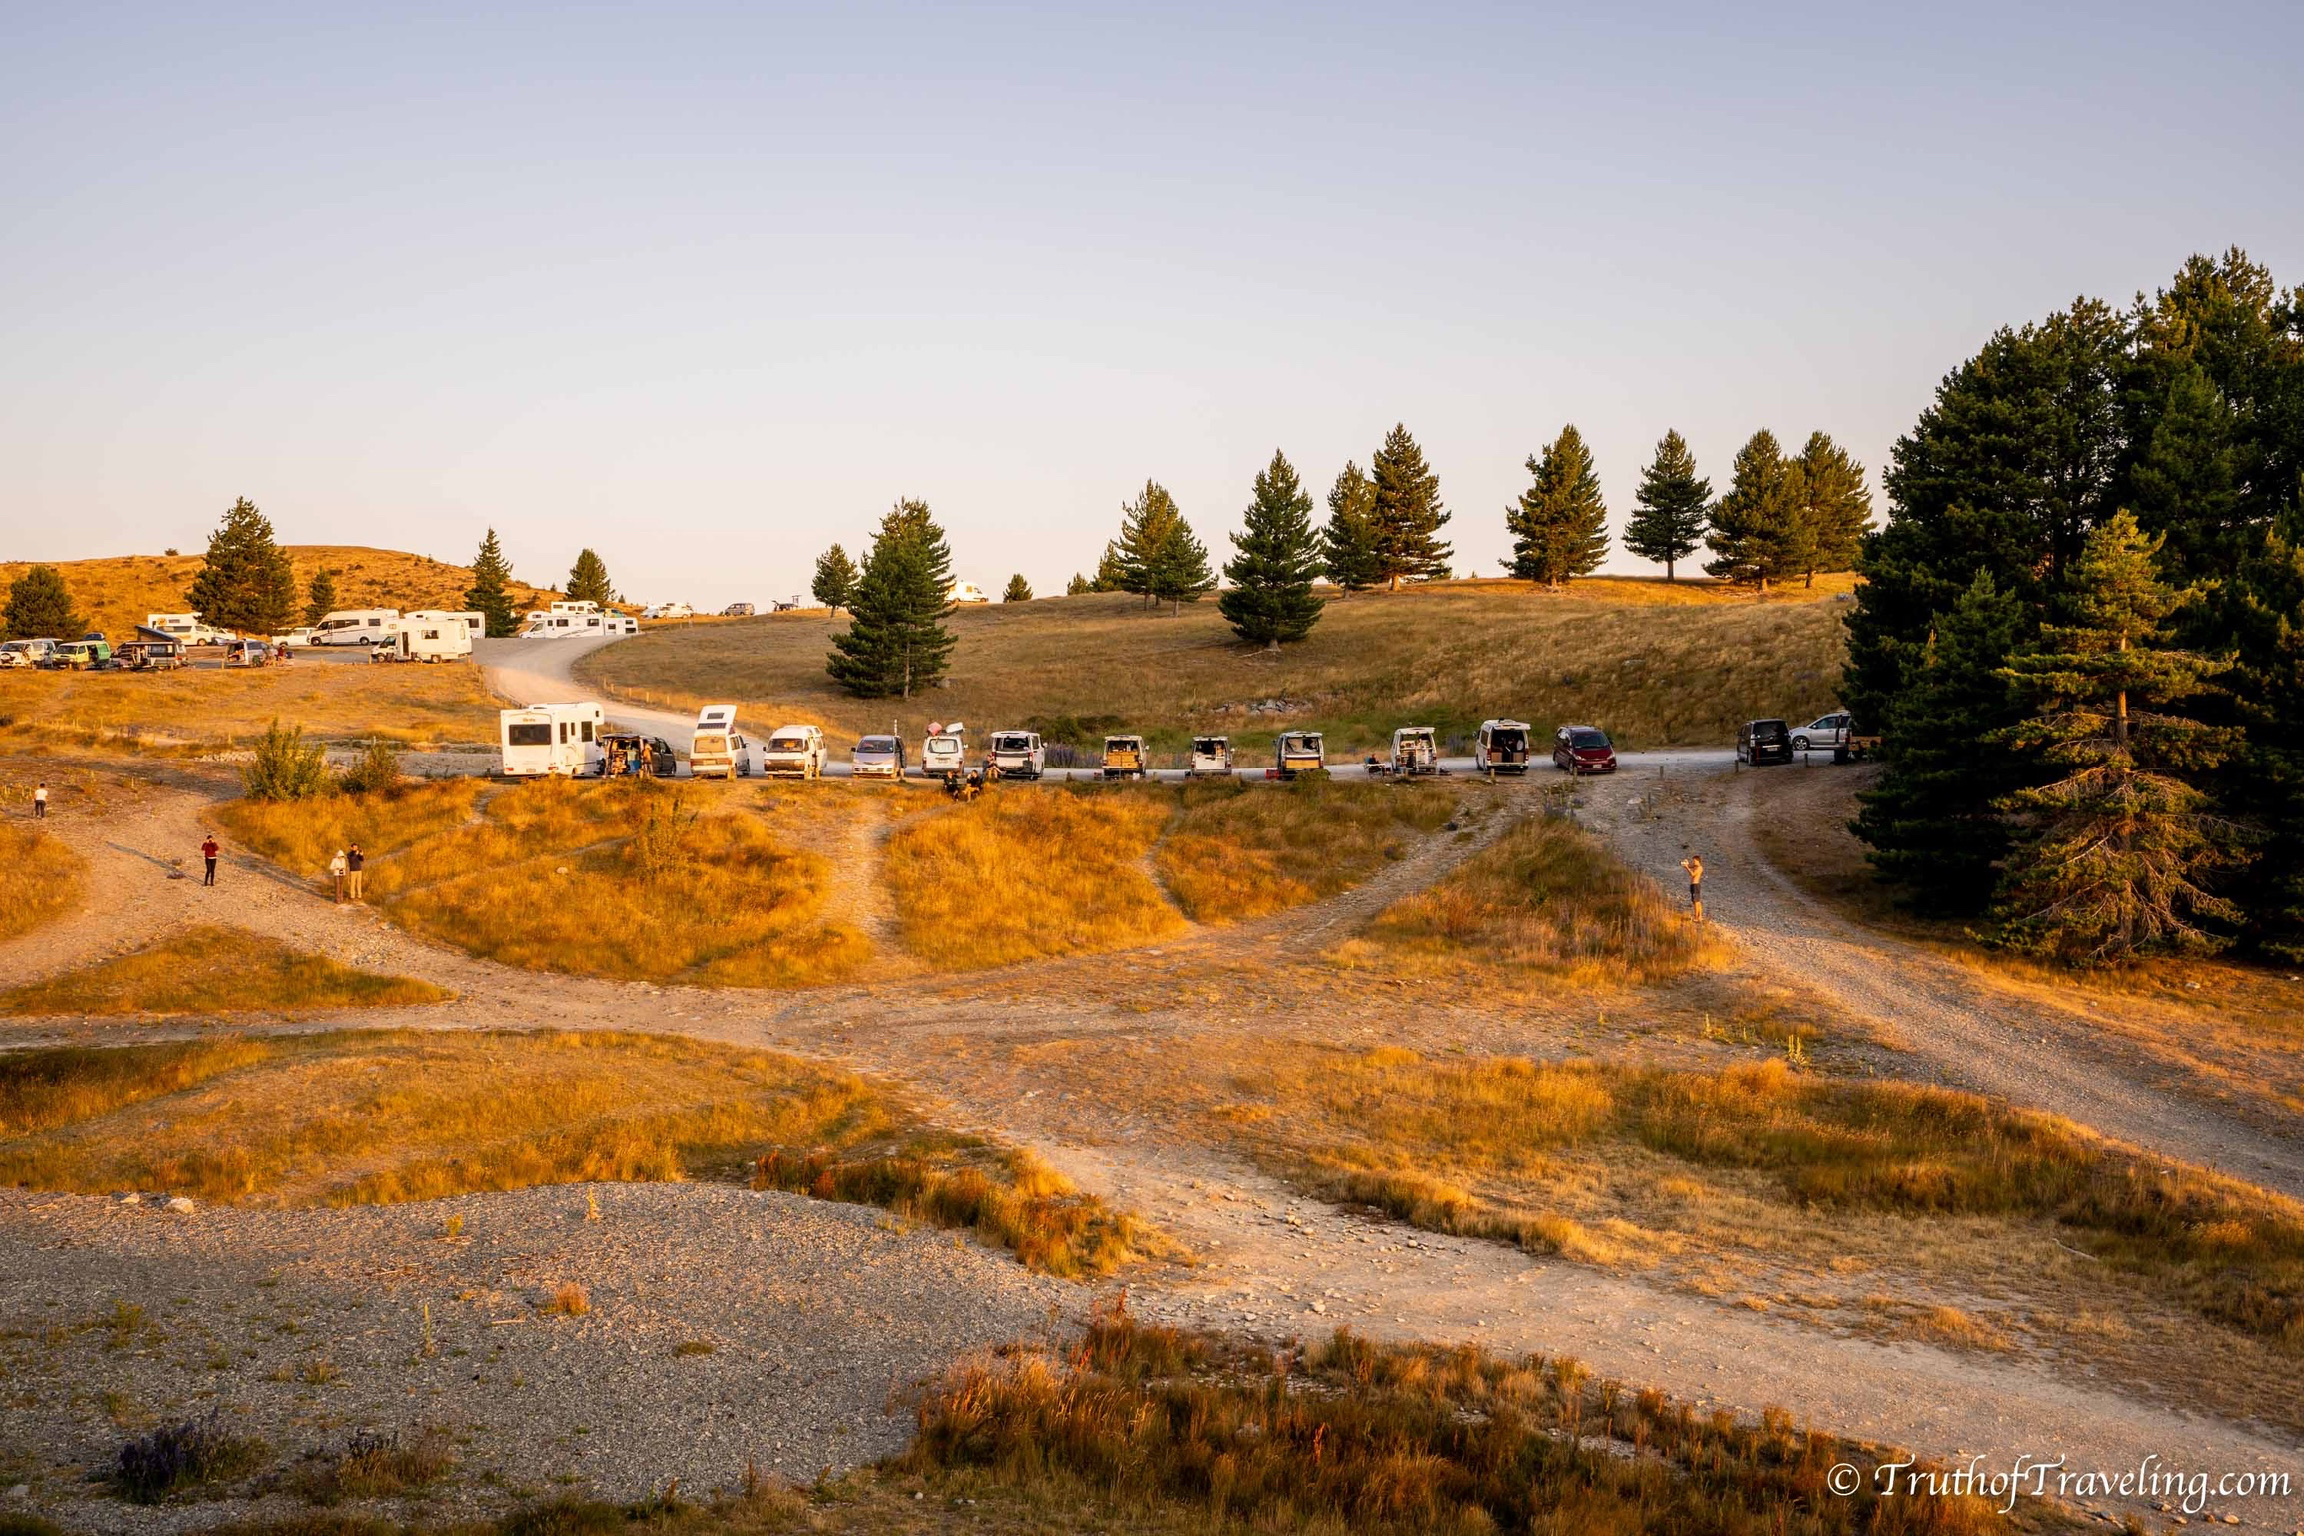
It does get busy though (which makes sense for it being free and also amazing) so don’t wait until too late to get in. We got there around 6:00 PM the first night and still had plenty of options for spots!
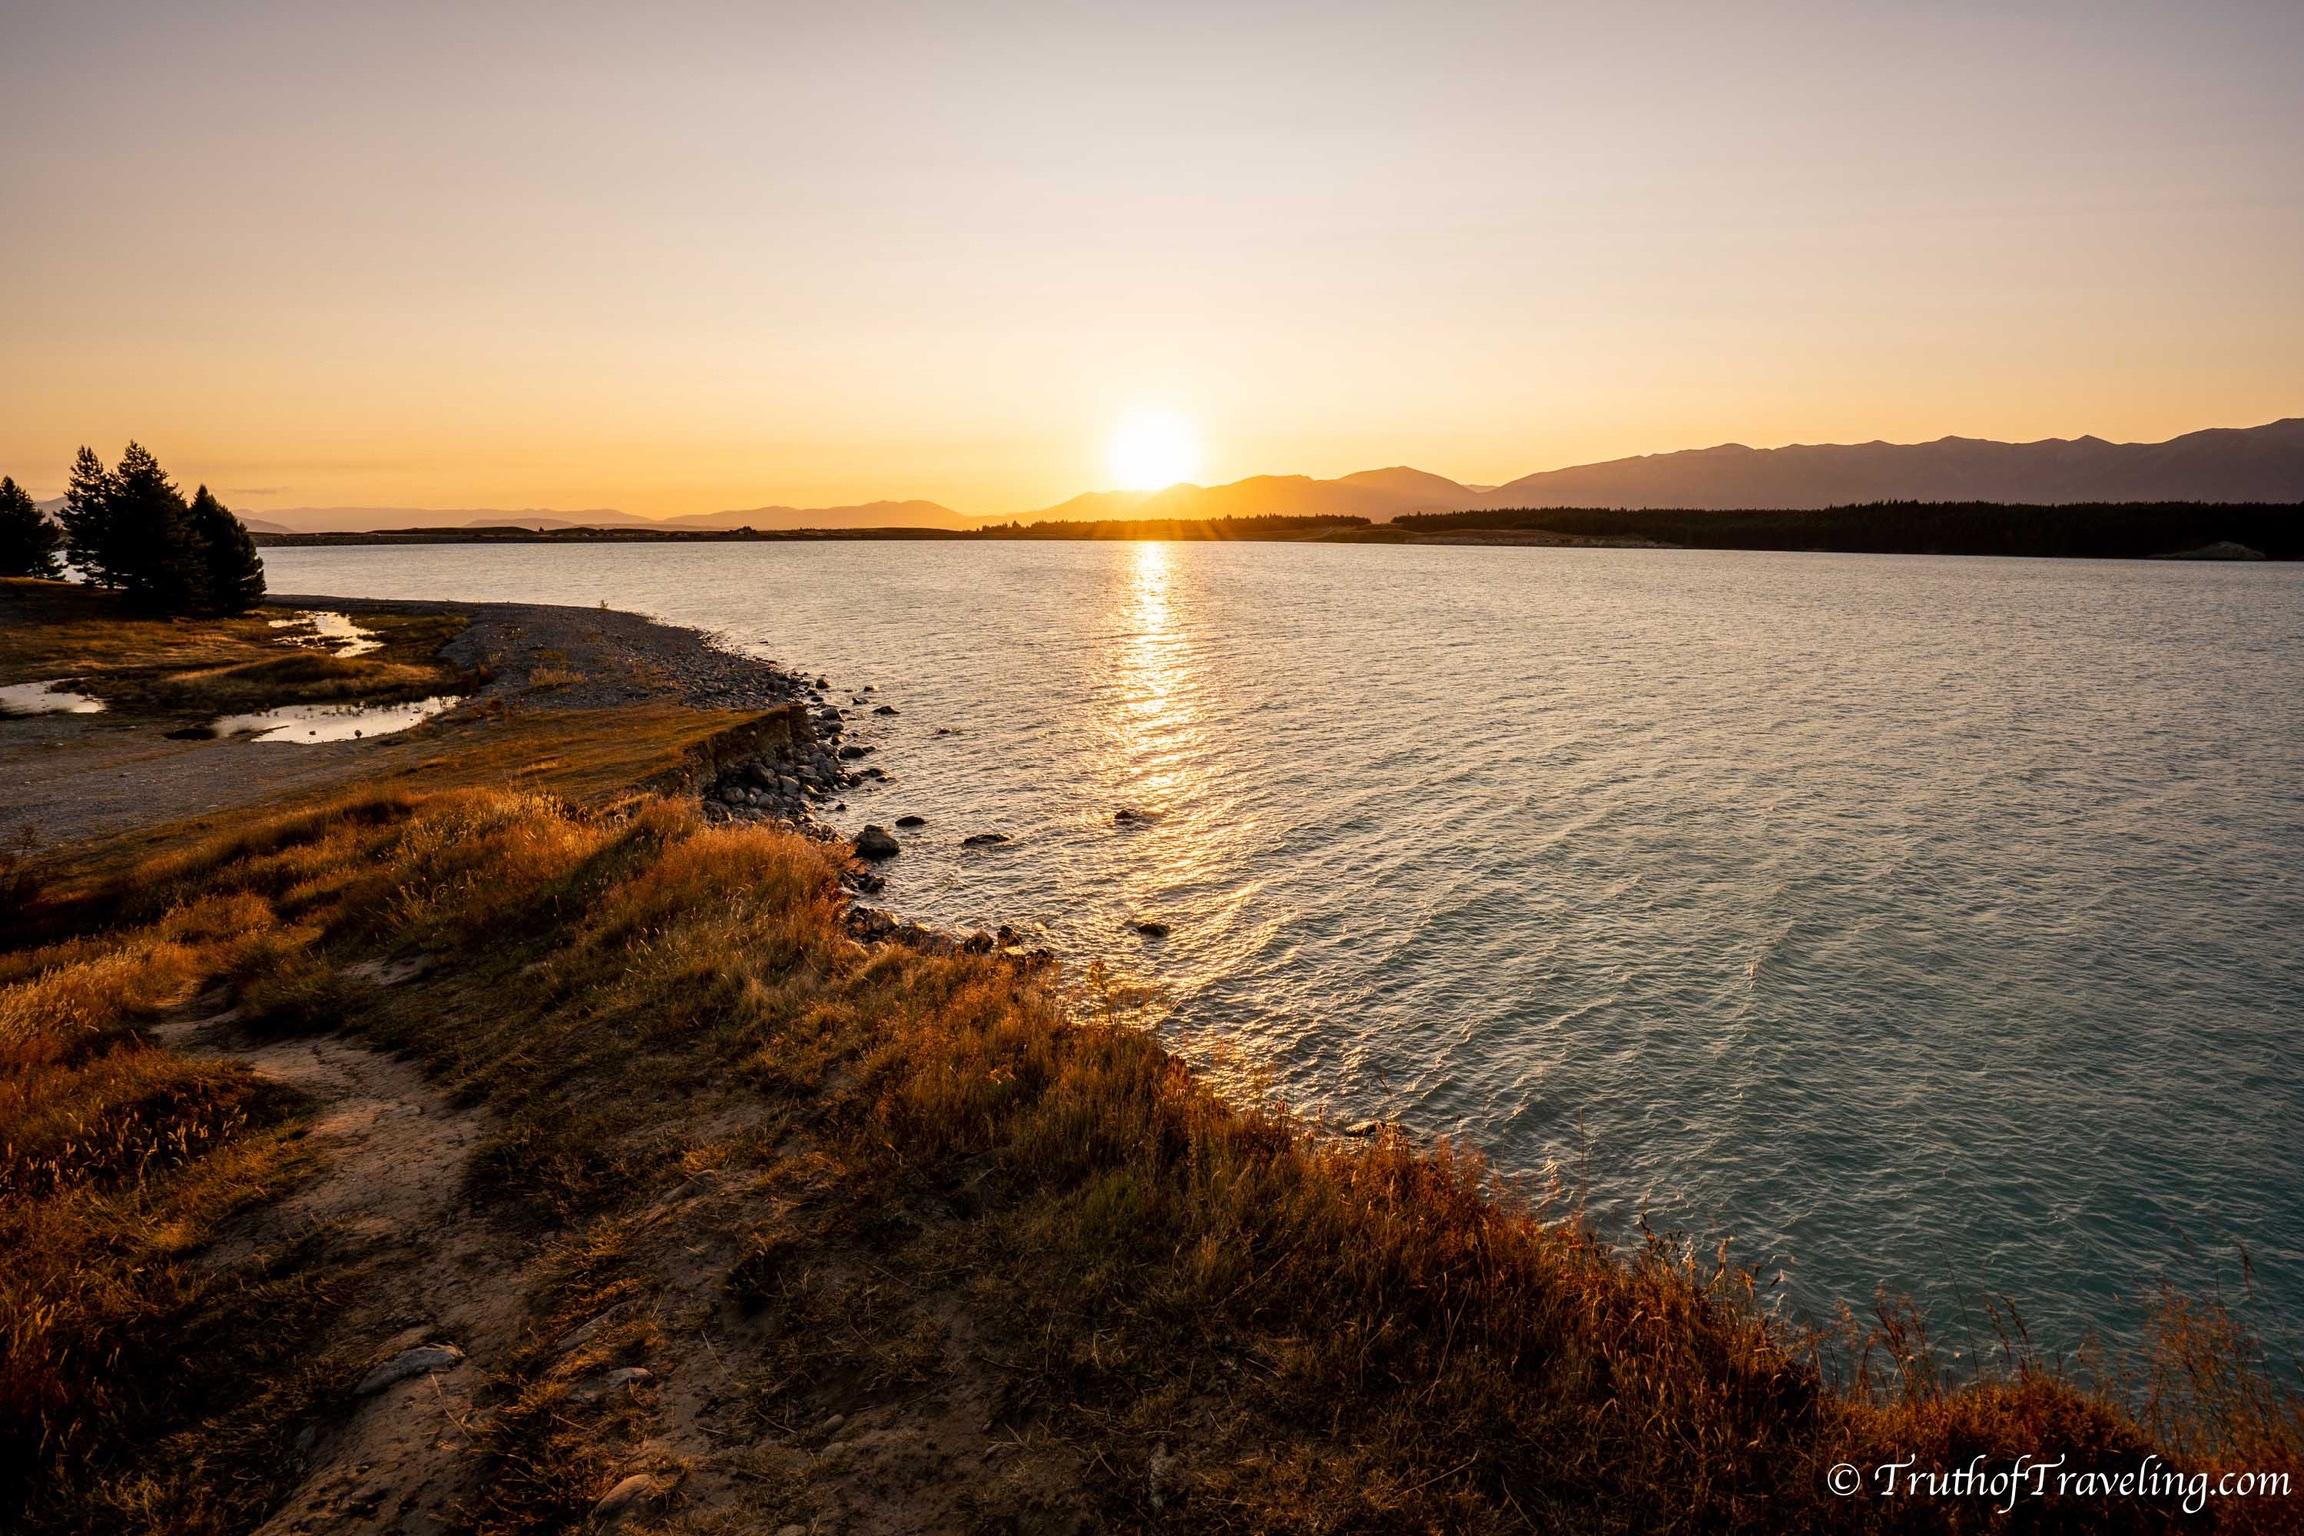
- We spent one night down at the lower level and then moved up to the higher area for the second night. Honestly they were both great! Make sure to go out a little before sunset because it looks beautiful as the sun goes down over the water!
Drive: none!
Stay: Lake Pukaki Reserve Overnight Campground (free!)
Day 5: Drive to Mount Cook
The drive from Lake Pukaki to Mount Cook is not just a drive but an experience! It’s like you’re driving straight into the mountains the entire way. Follow Mount Cook Road from Lake Pukaki until the mountain is as close as possible.
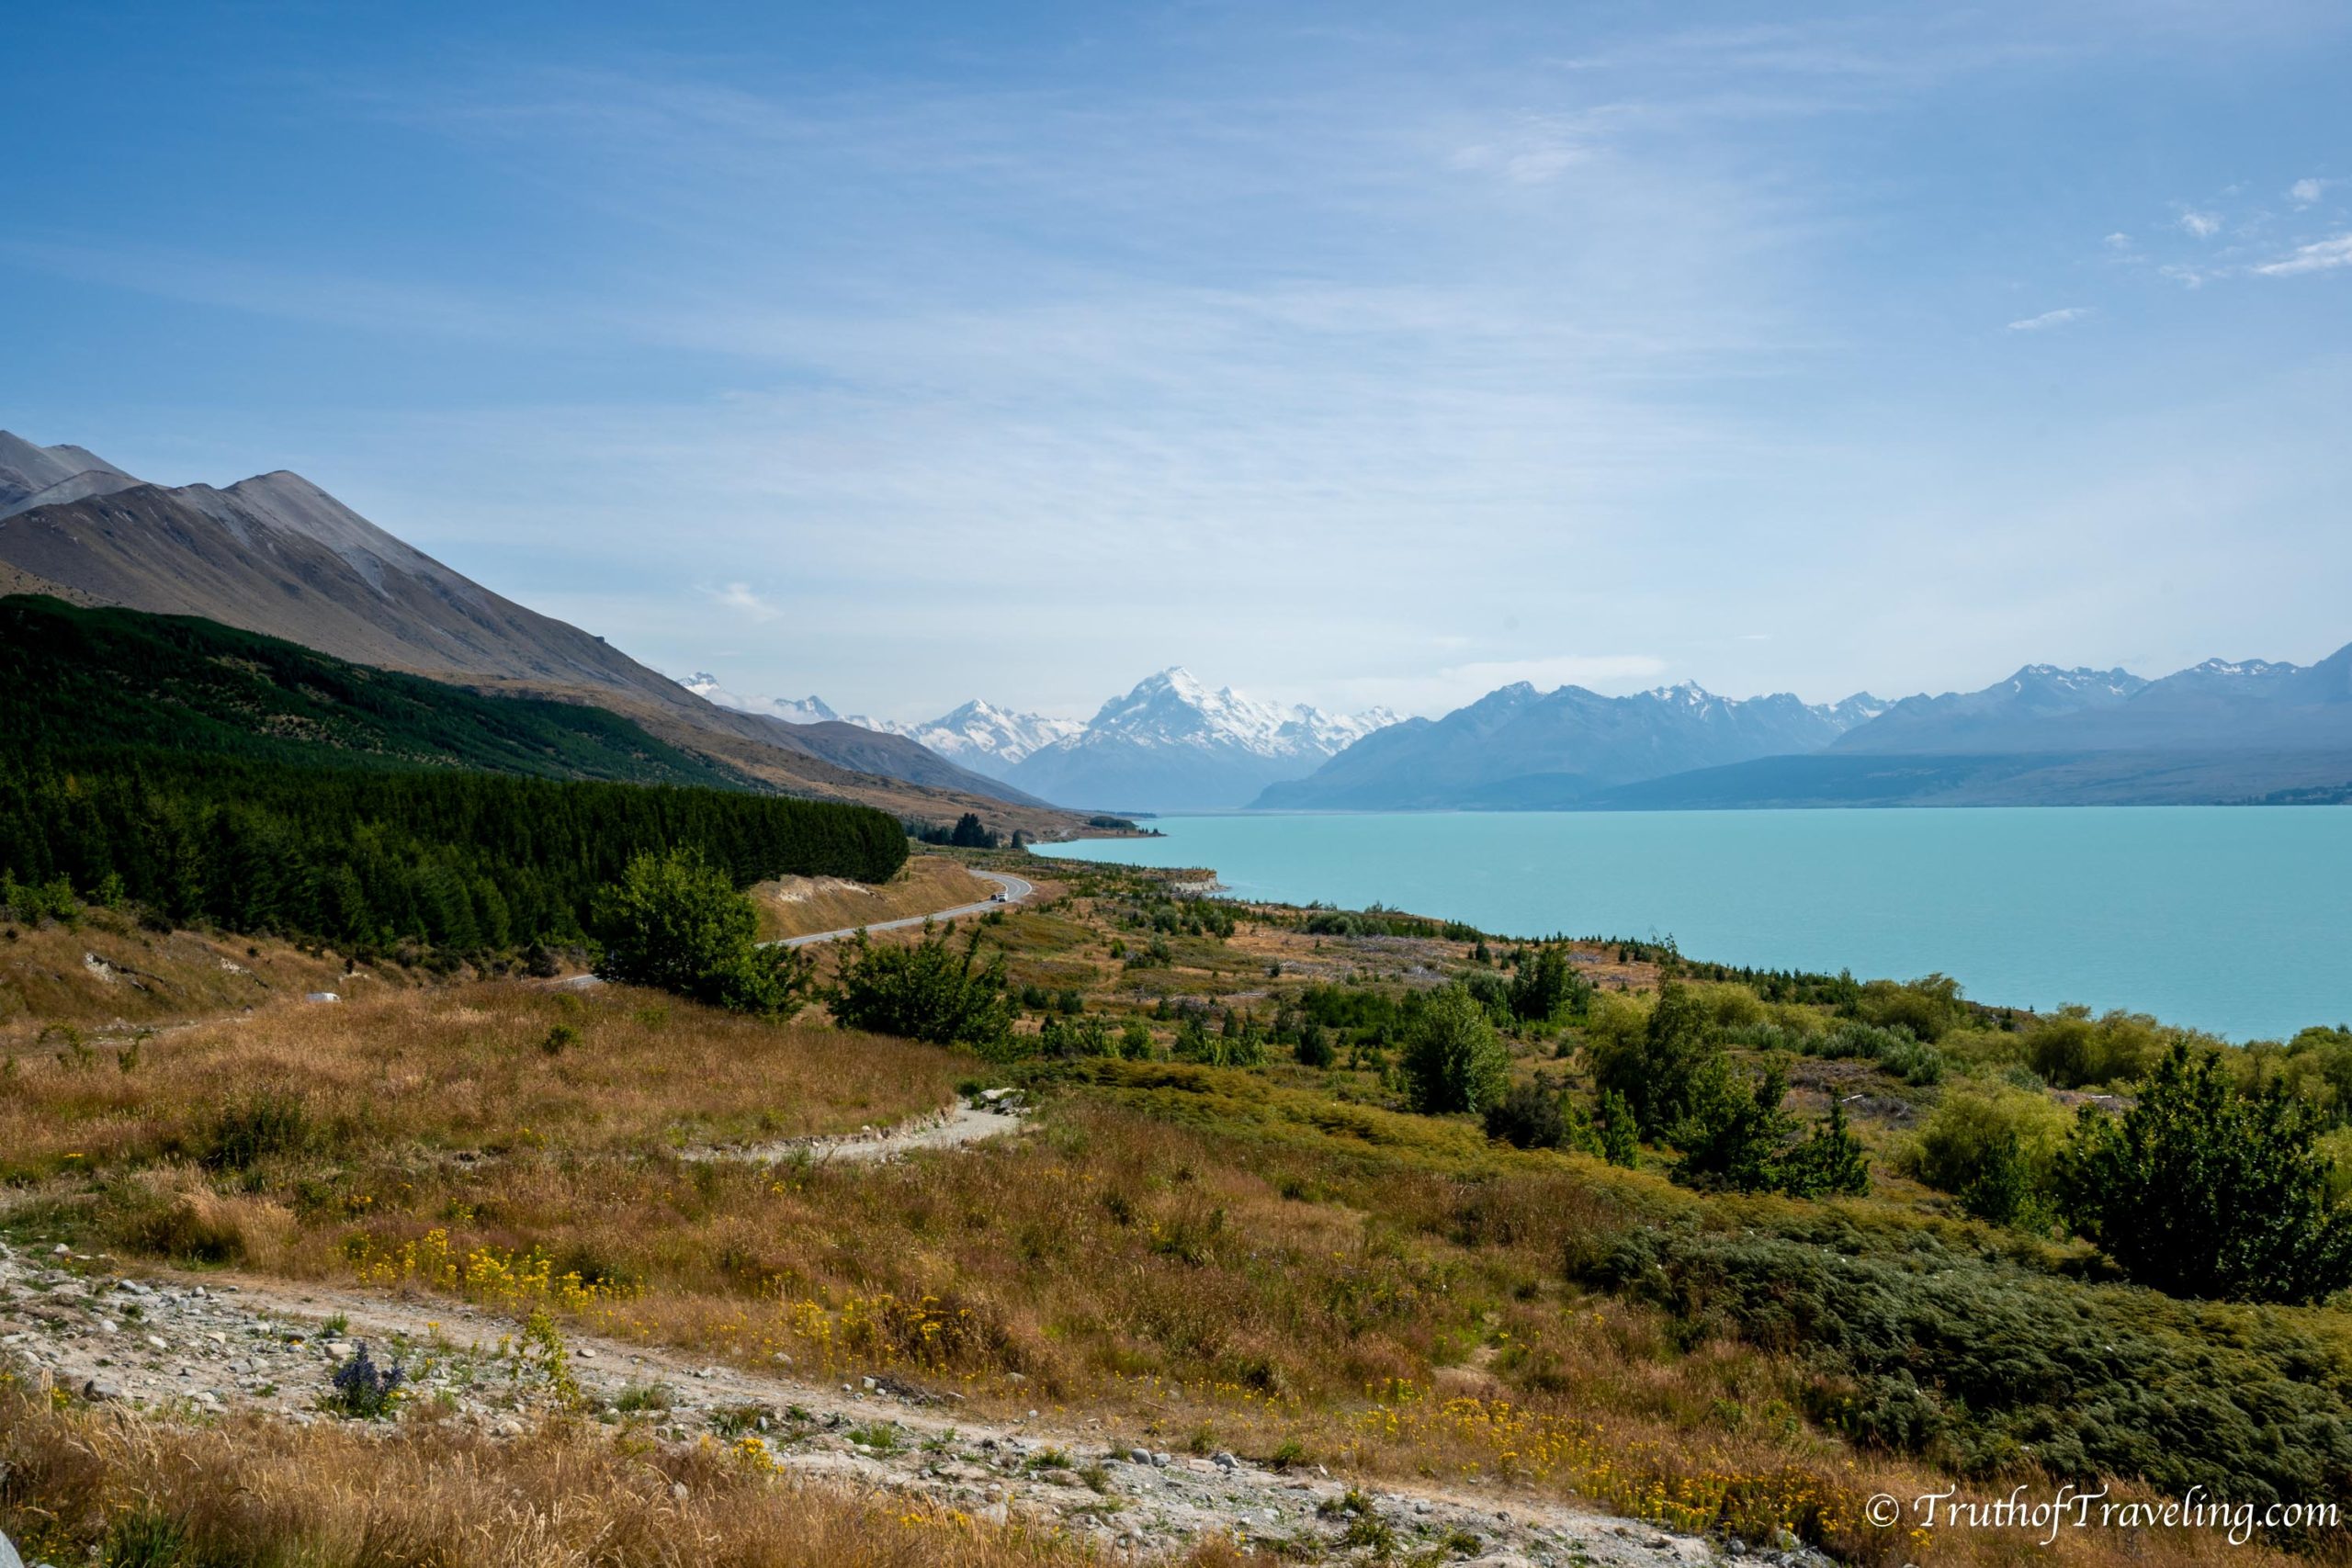
It’s about 60 kms so it’s not a super long drive but boy is it beautiful! You will want to make a lot of stops so plan ahead for it to take longer than expected.
About 10 minutes down Mount Cook road is the NZ Alpine Lavendar so if you didn’t check it out yesterday you have another chance today. It’s a photographers paradise and we saw quite a few people taking creative pictures in the purple flowers.
- This is one of the few things we found in New Zealand that had an admission ticket. We loved how so many of the things we did were free!
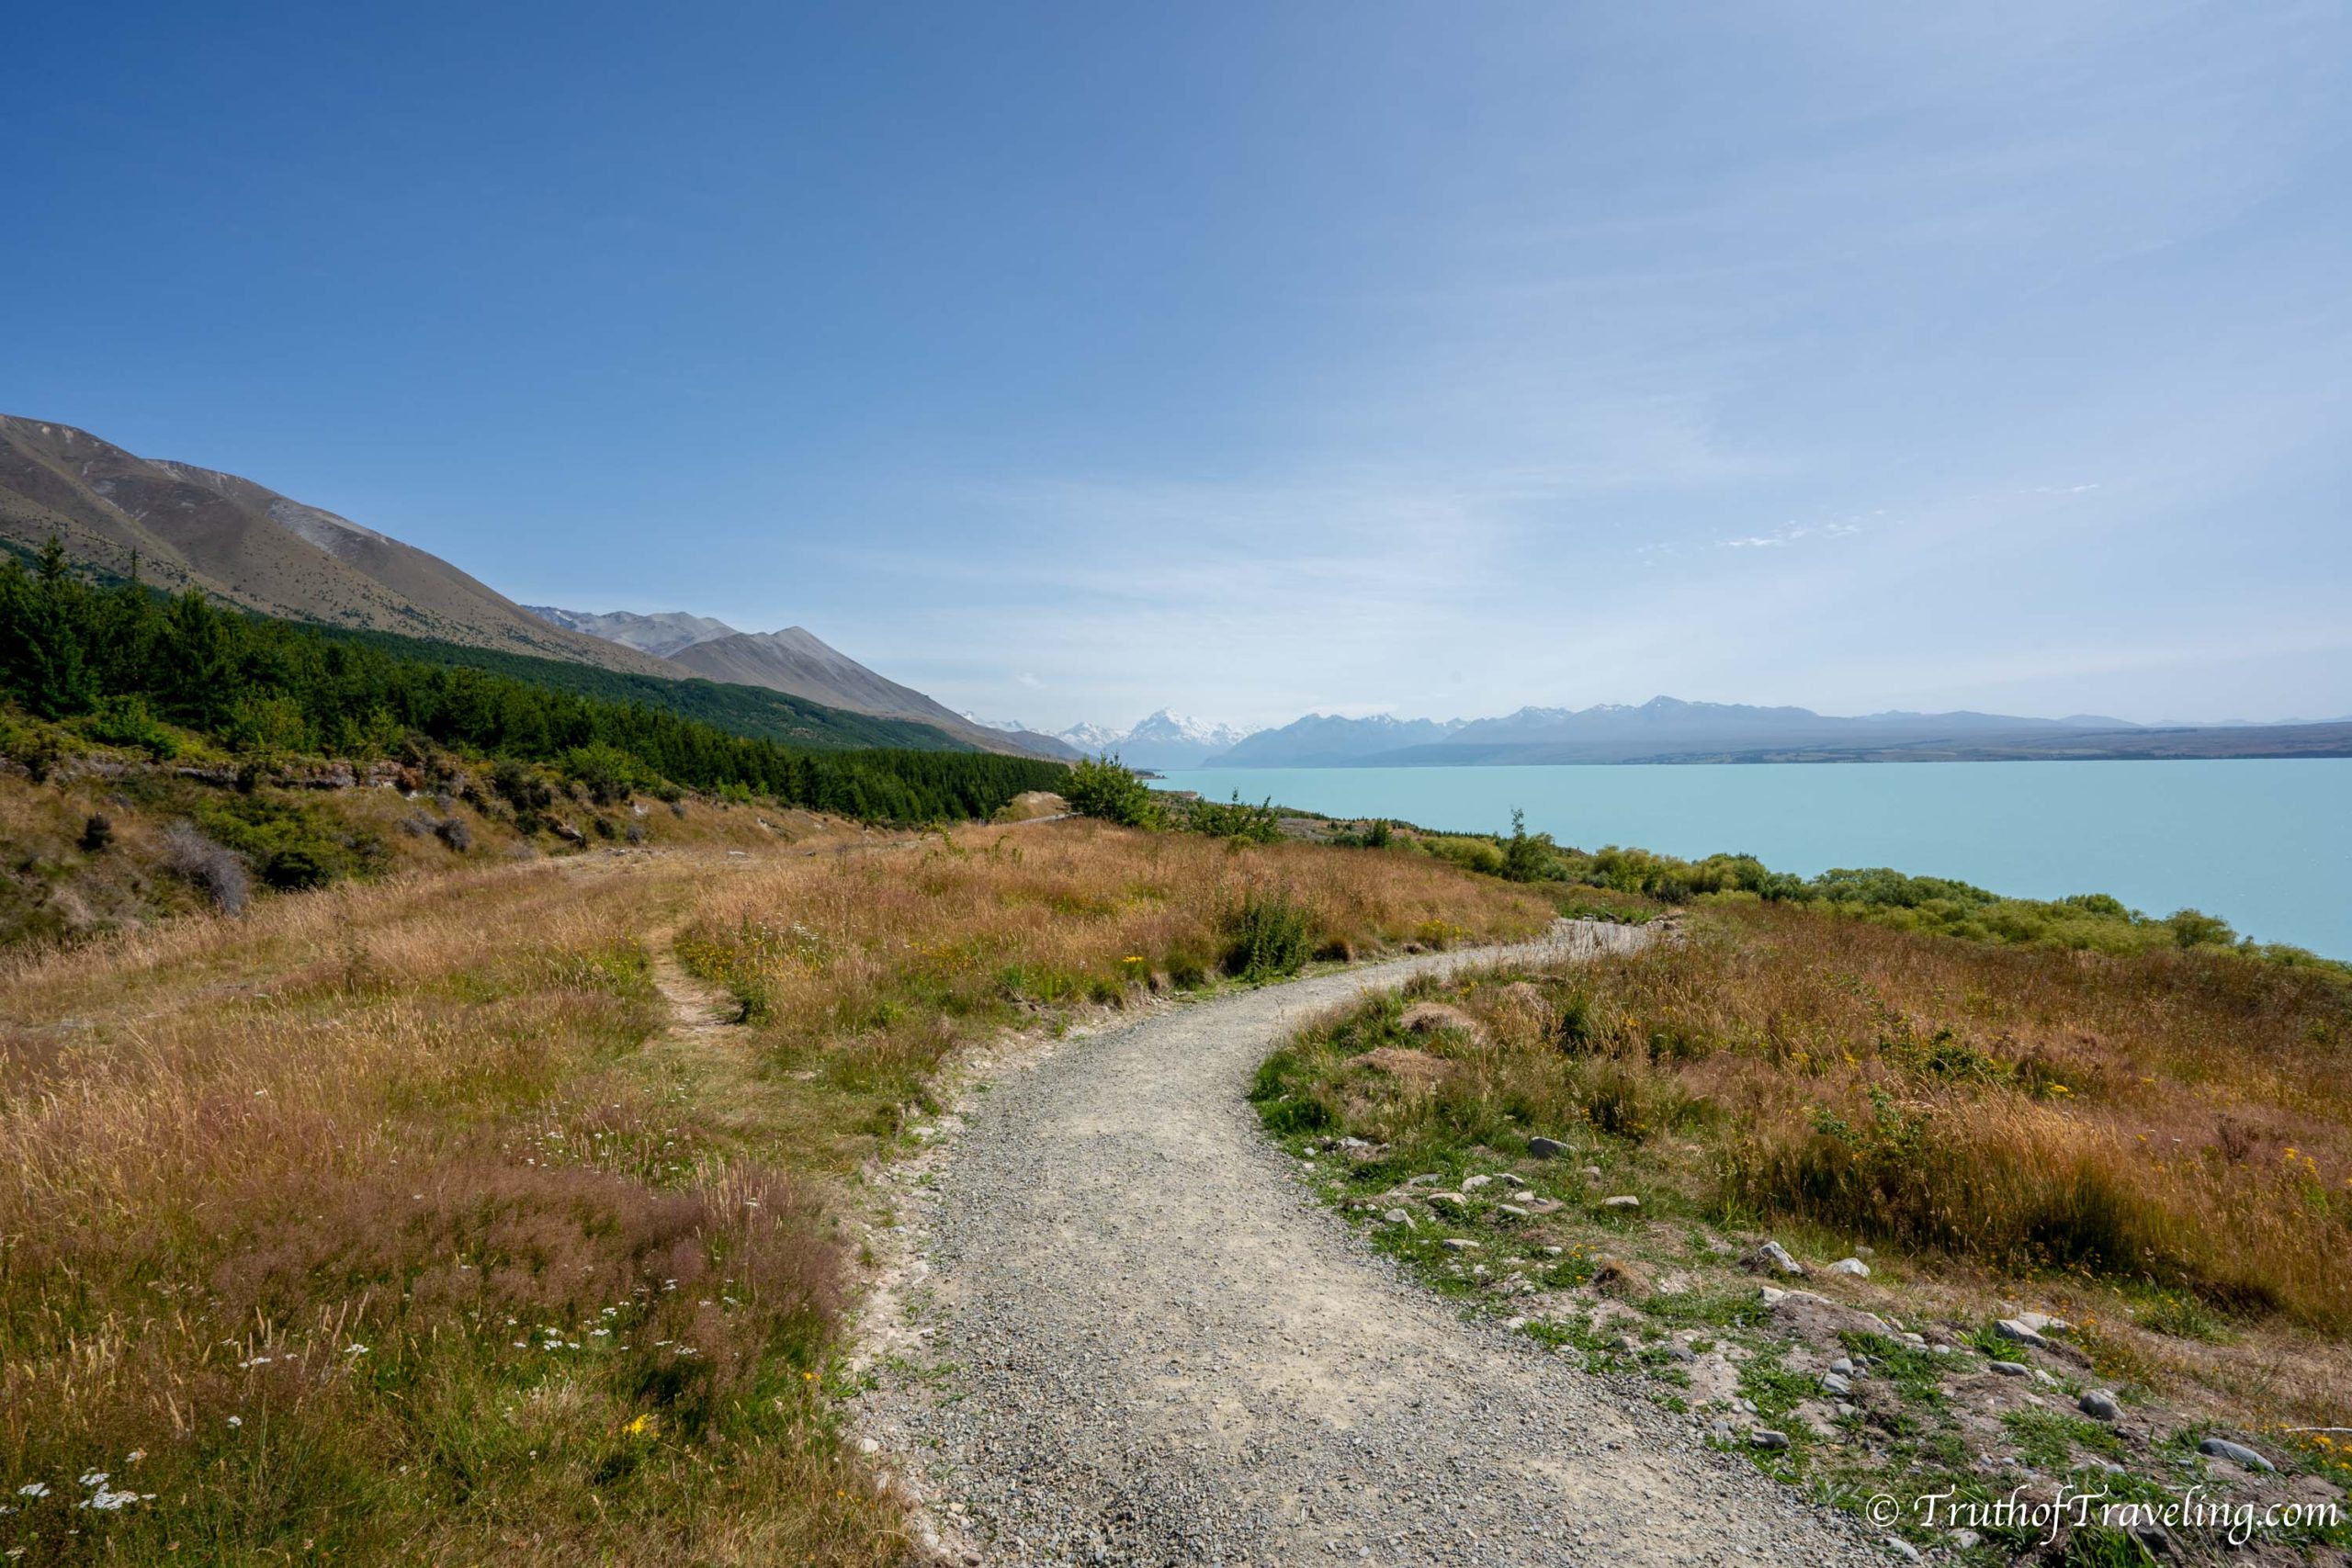
The first half of the drive follows along the edge of Lake Pukaki so you continue to get views with the beautiful teal water for quite a while. Make sure to stop at Pukaki View Point. You won’t miss it because there is a fairly large parking area, public toilets and there are bound to be other people there. It took us about 20 minutes from Lake Pukaki to get to this first stop.
- There you can get views of Mount Cook way in the distance as well as the winding road ahead of you!
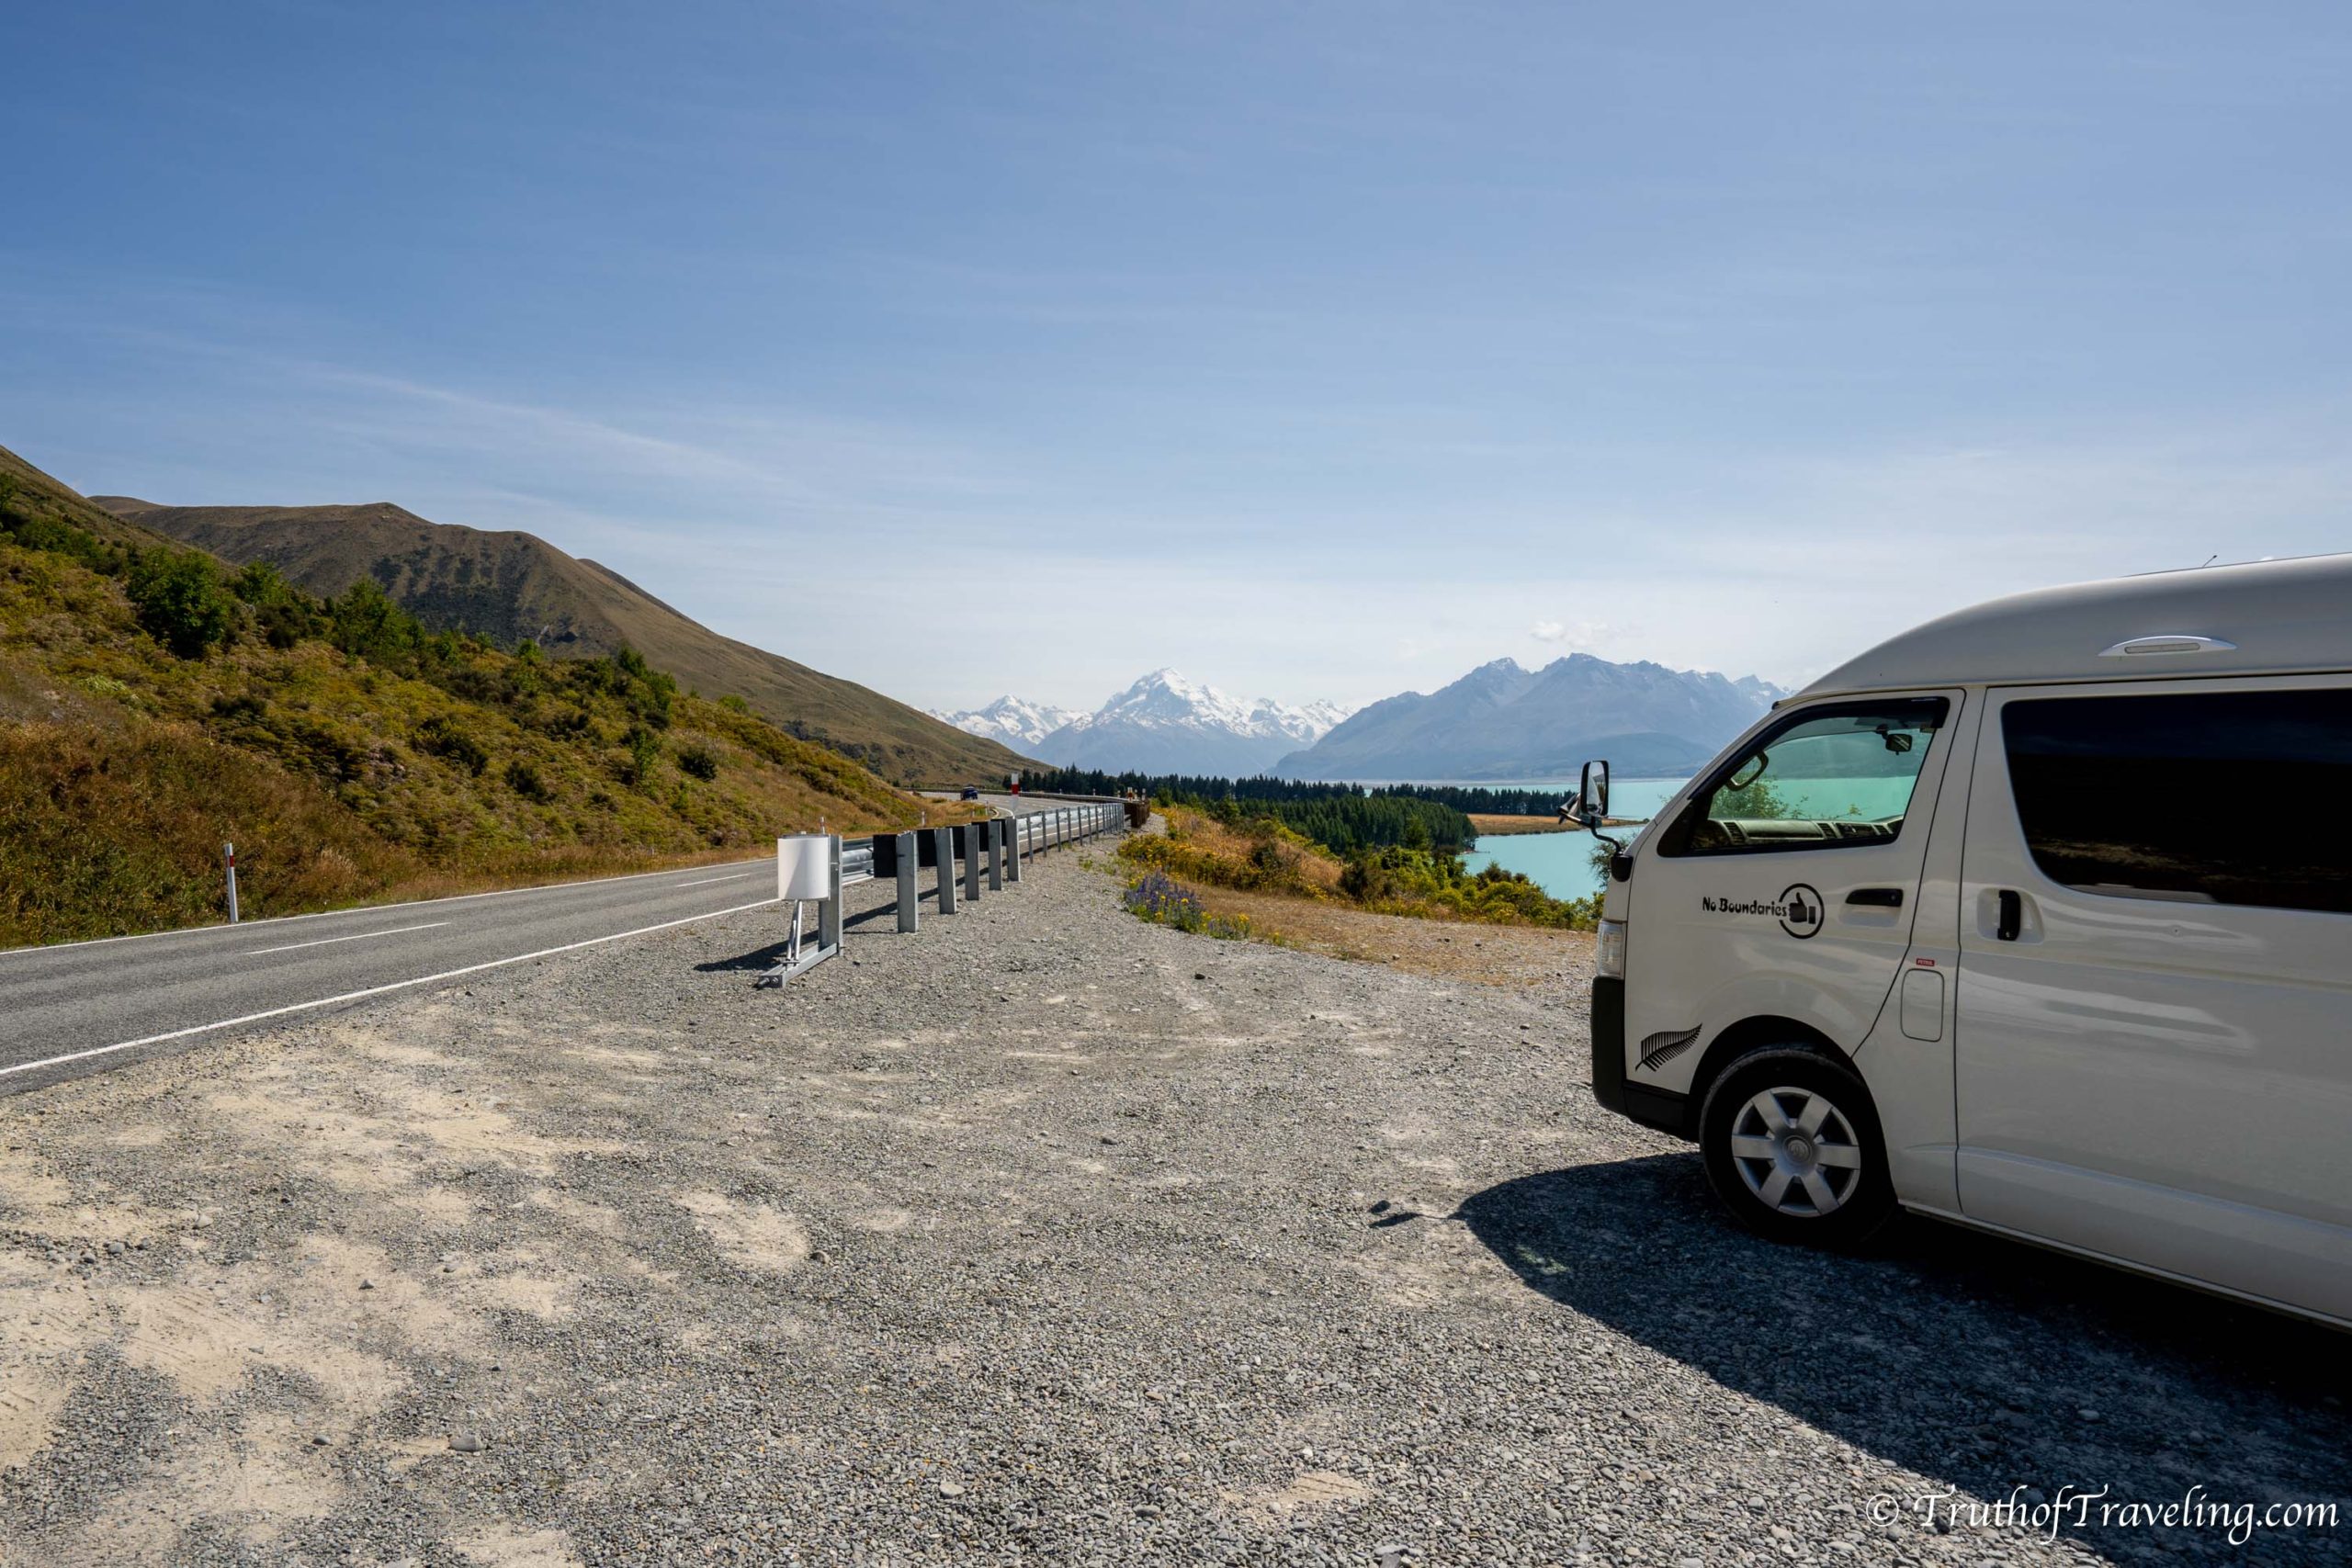
About 10 minutes later we stopped again this time just at a pull off on the side of the road. Then about 10 minutes after that second stop we pulled over for a third time.
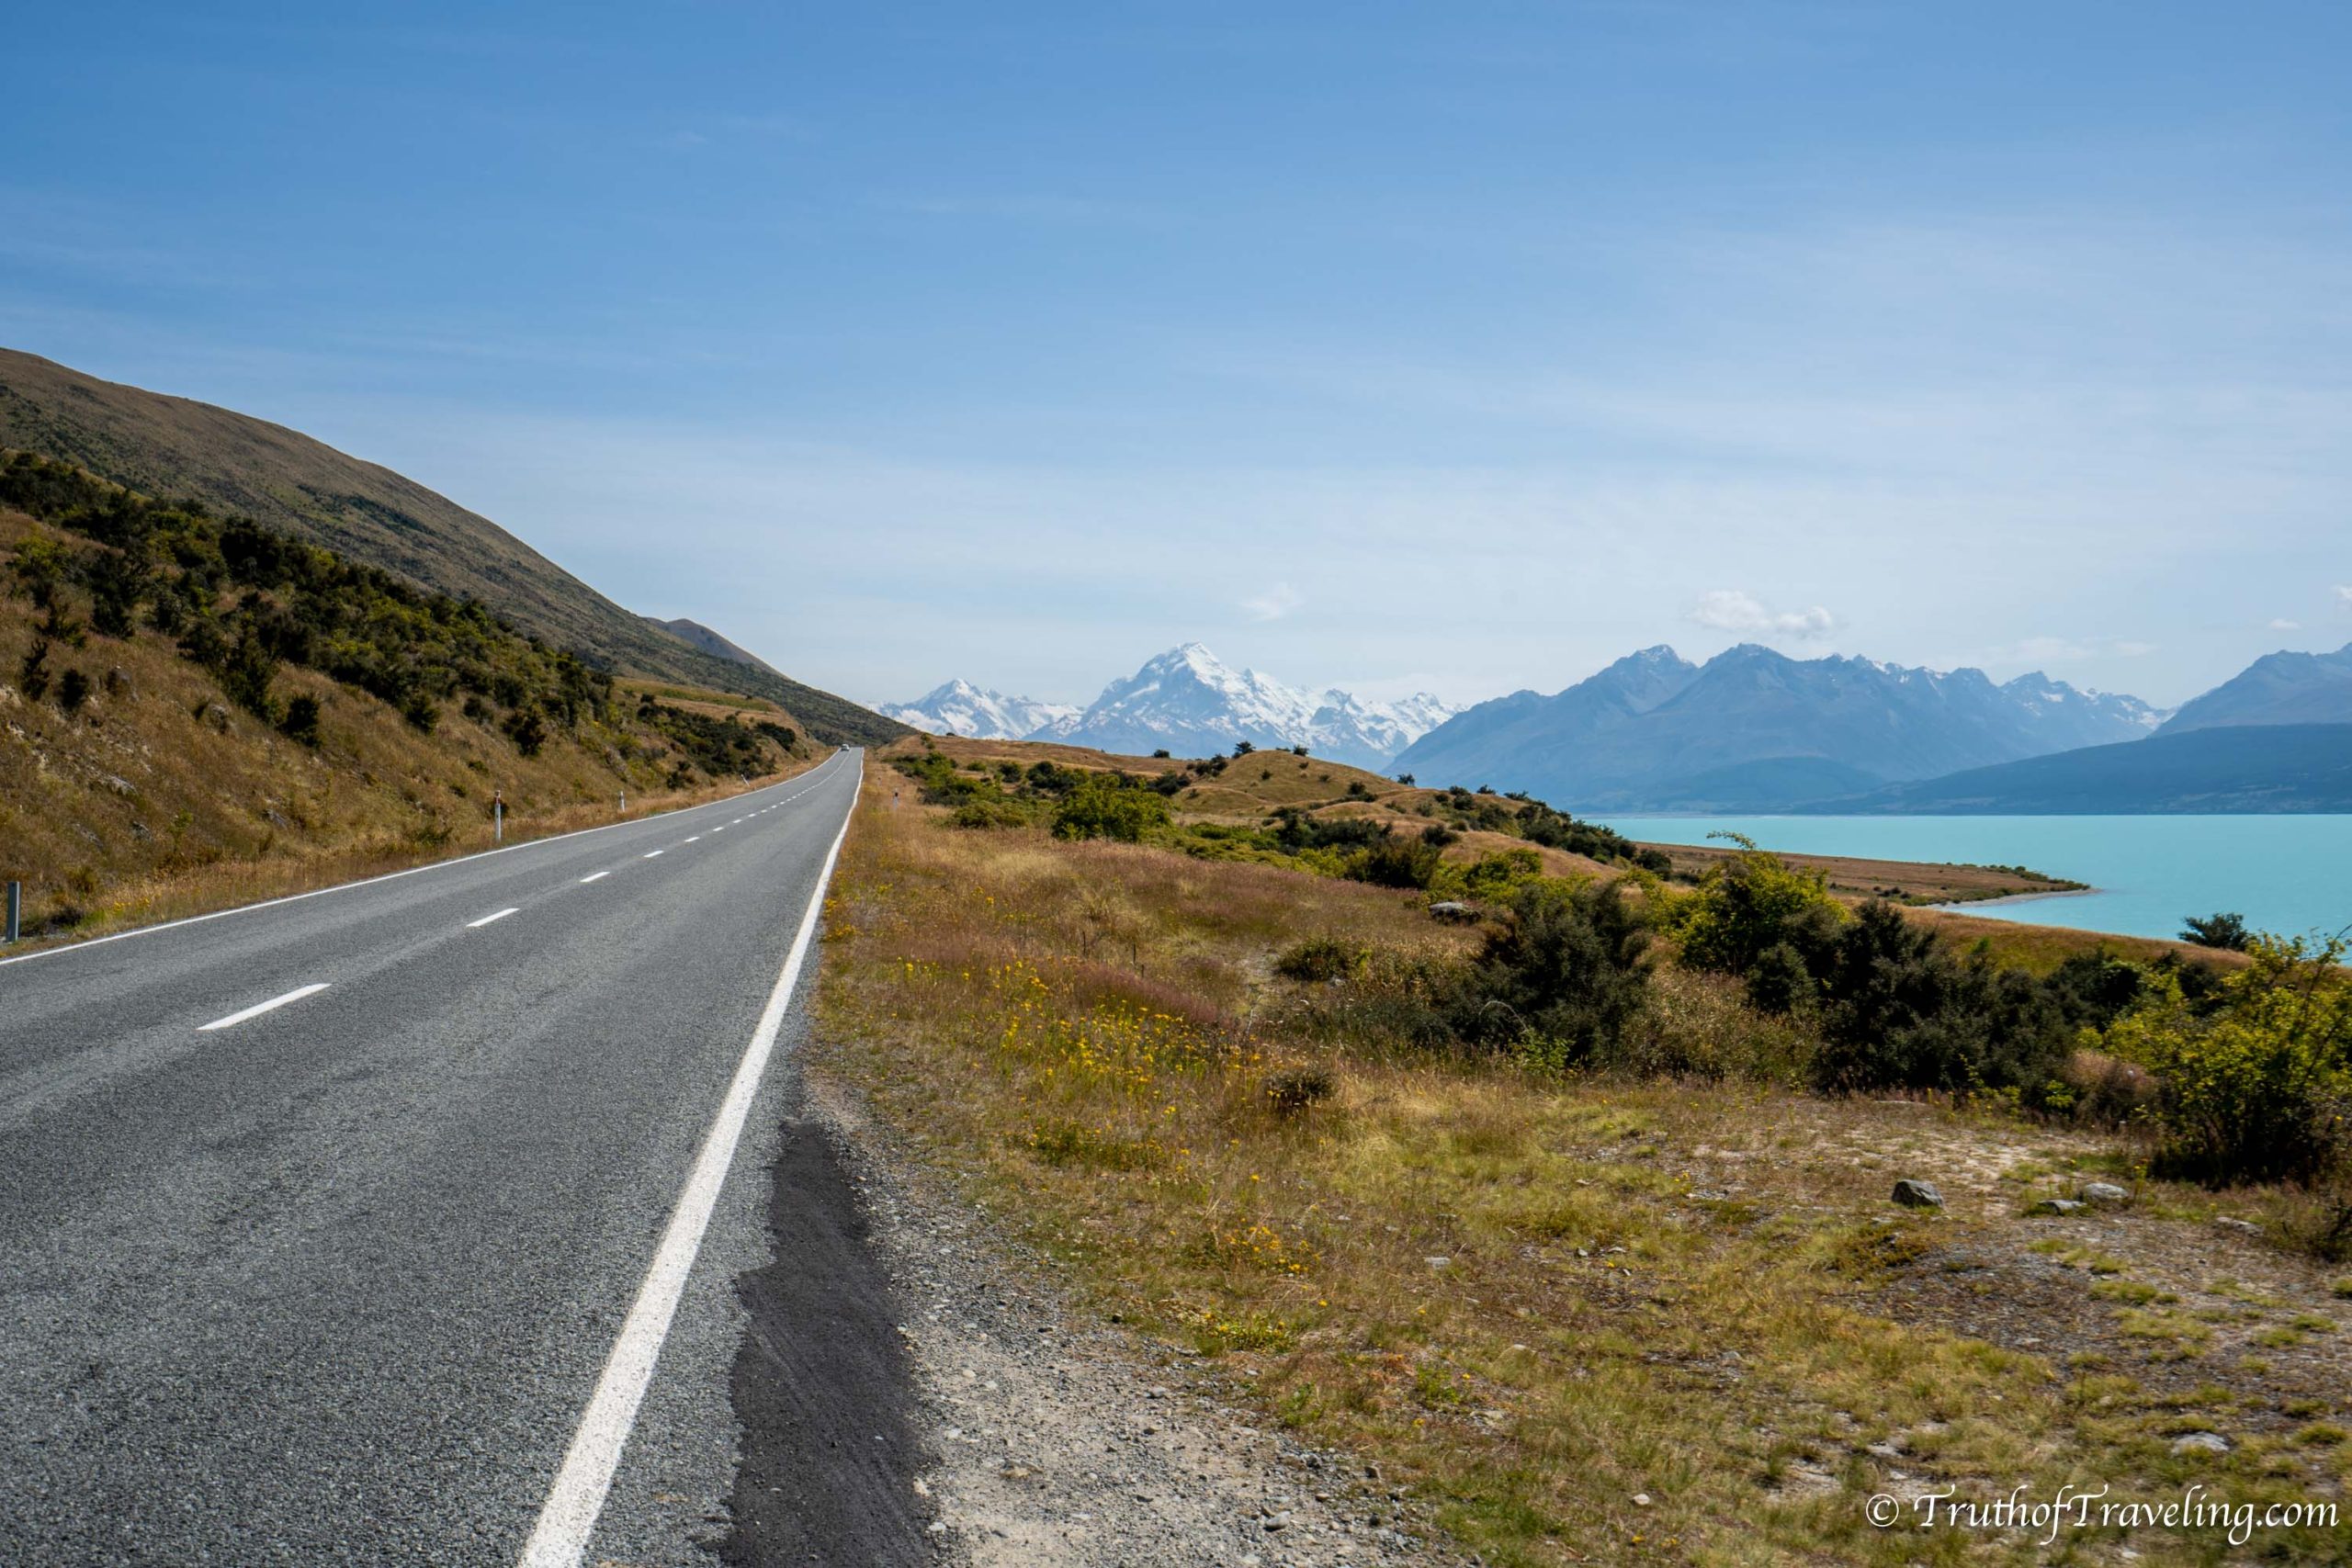
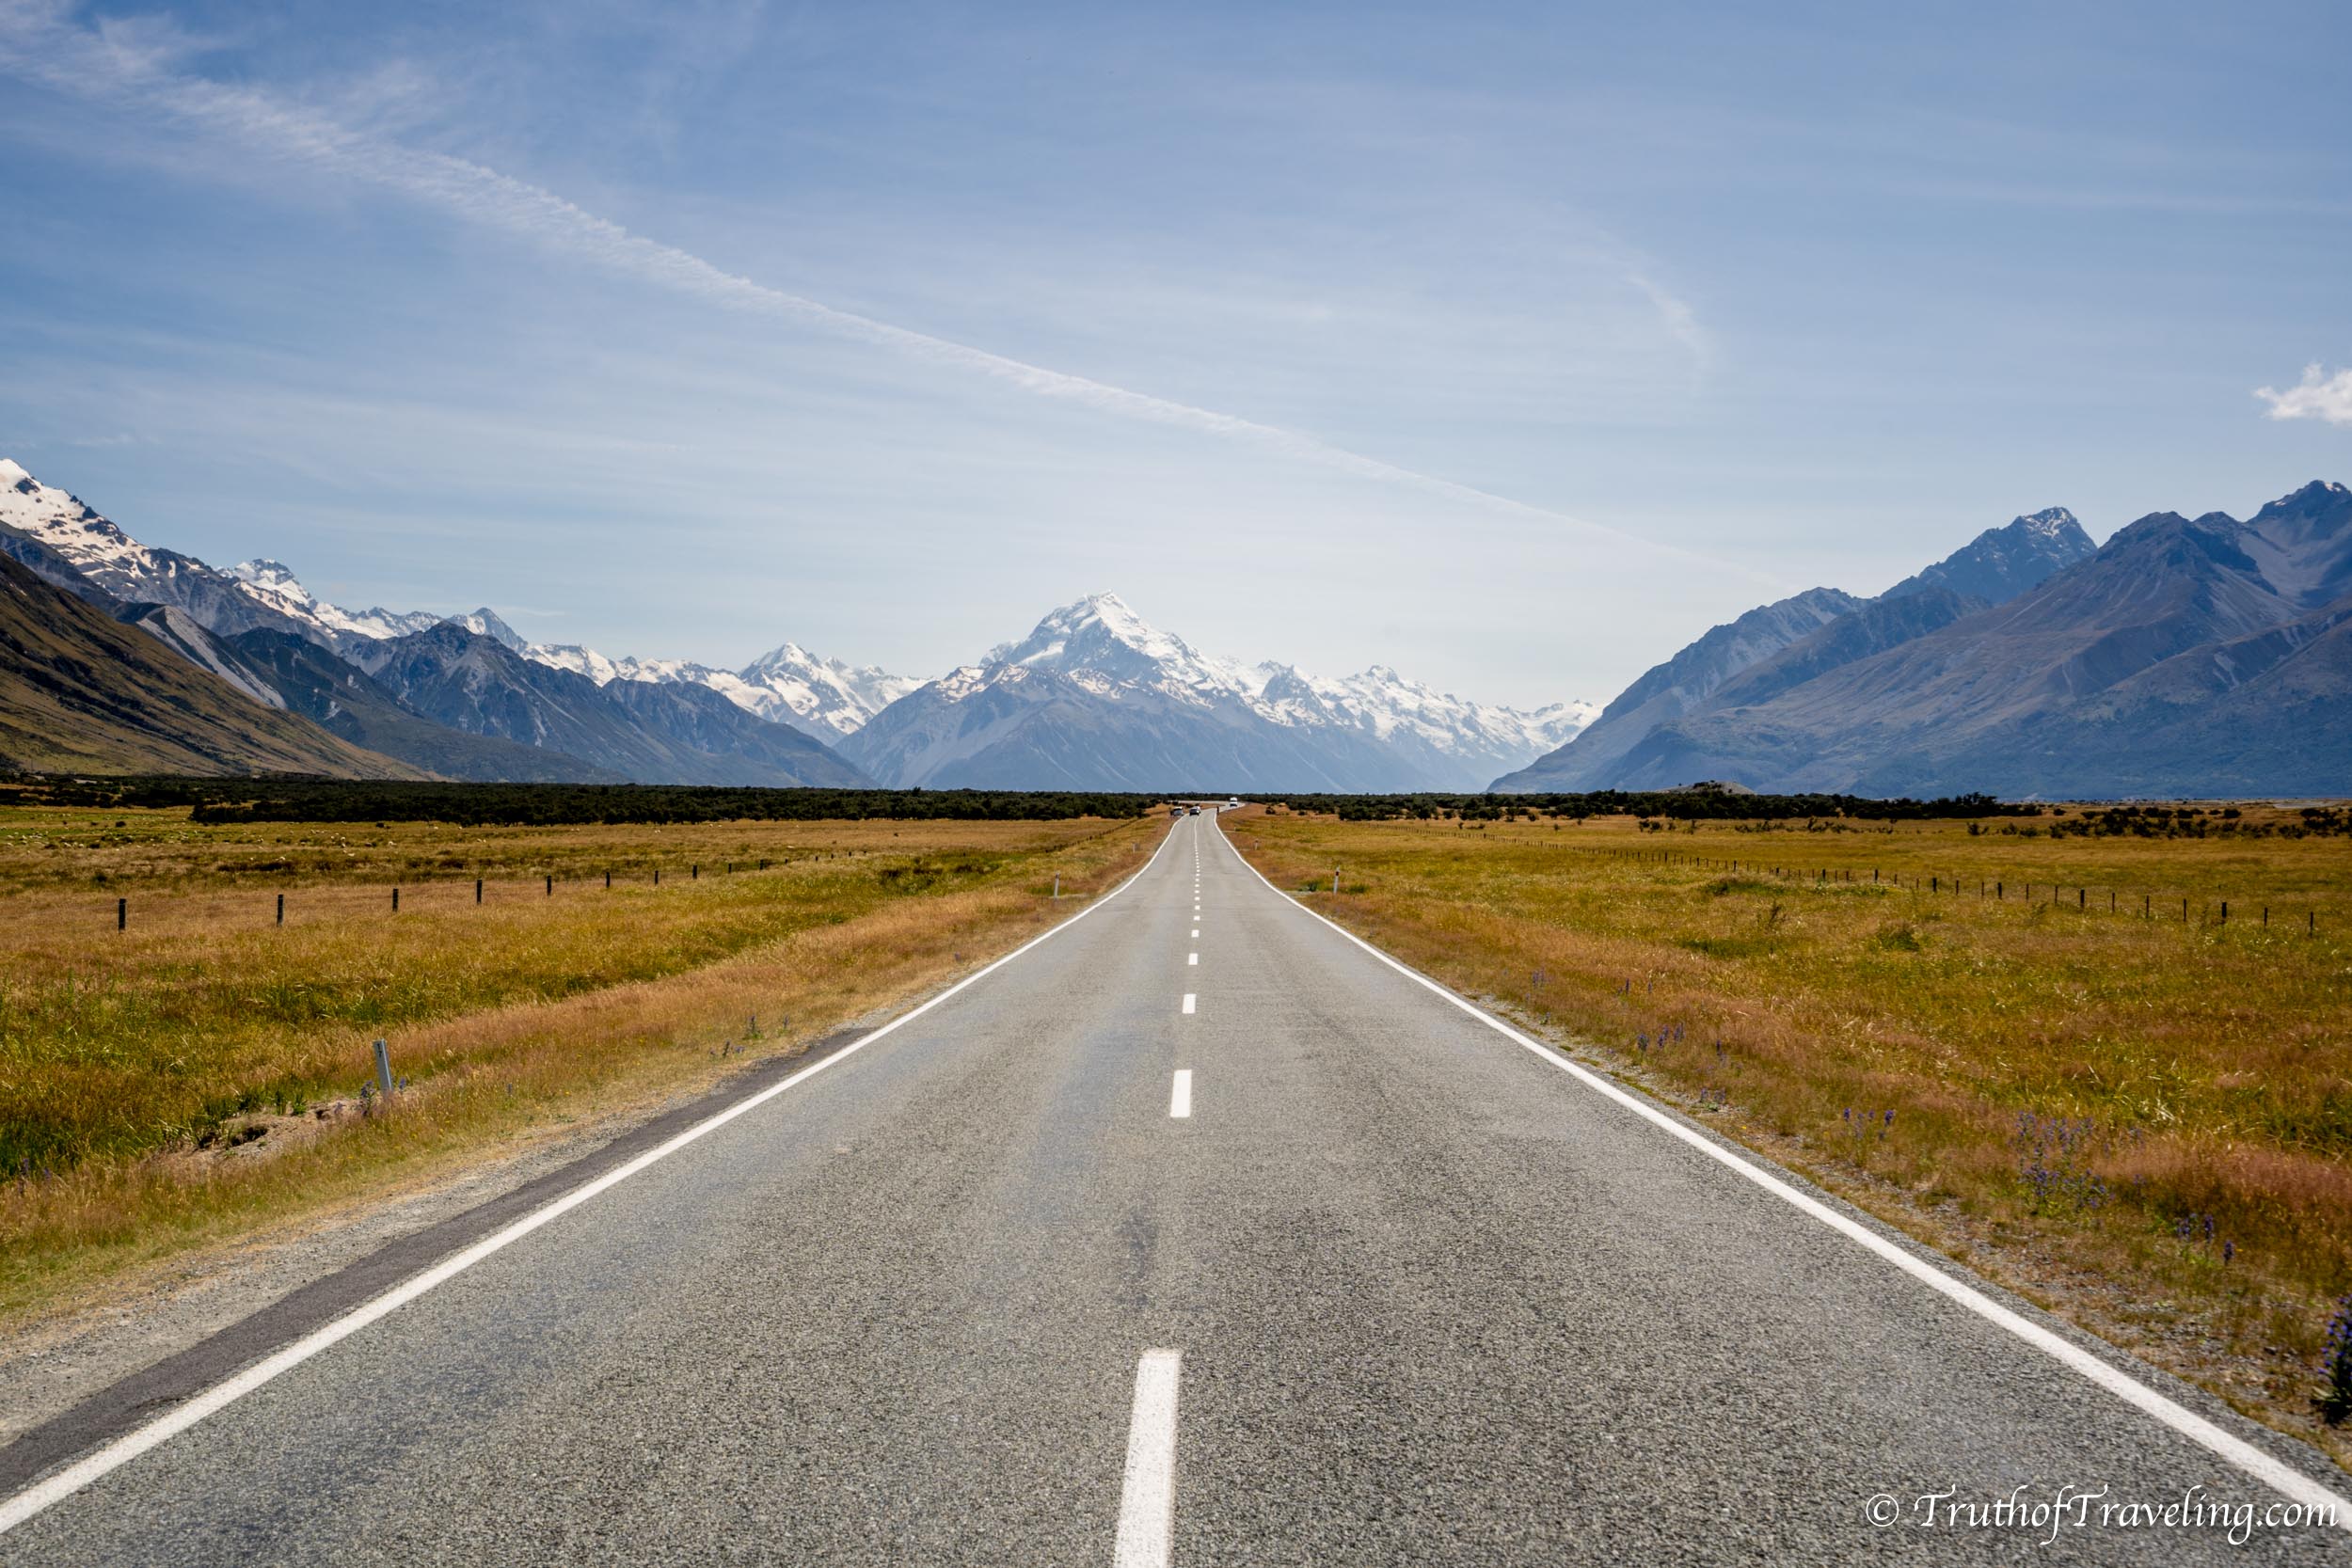
A few minutes later the landscape changes as you continue driving past the end of Lake Pukaki and the land opens up to wide open fields. The road straightens out for a bit so this is another great photo location to get the straight road with Mount Cook in the background!
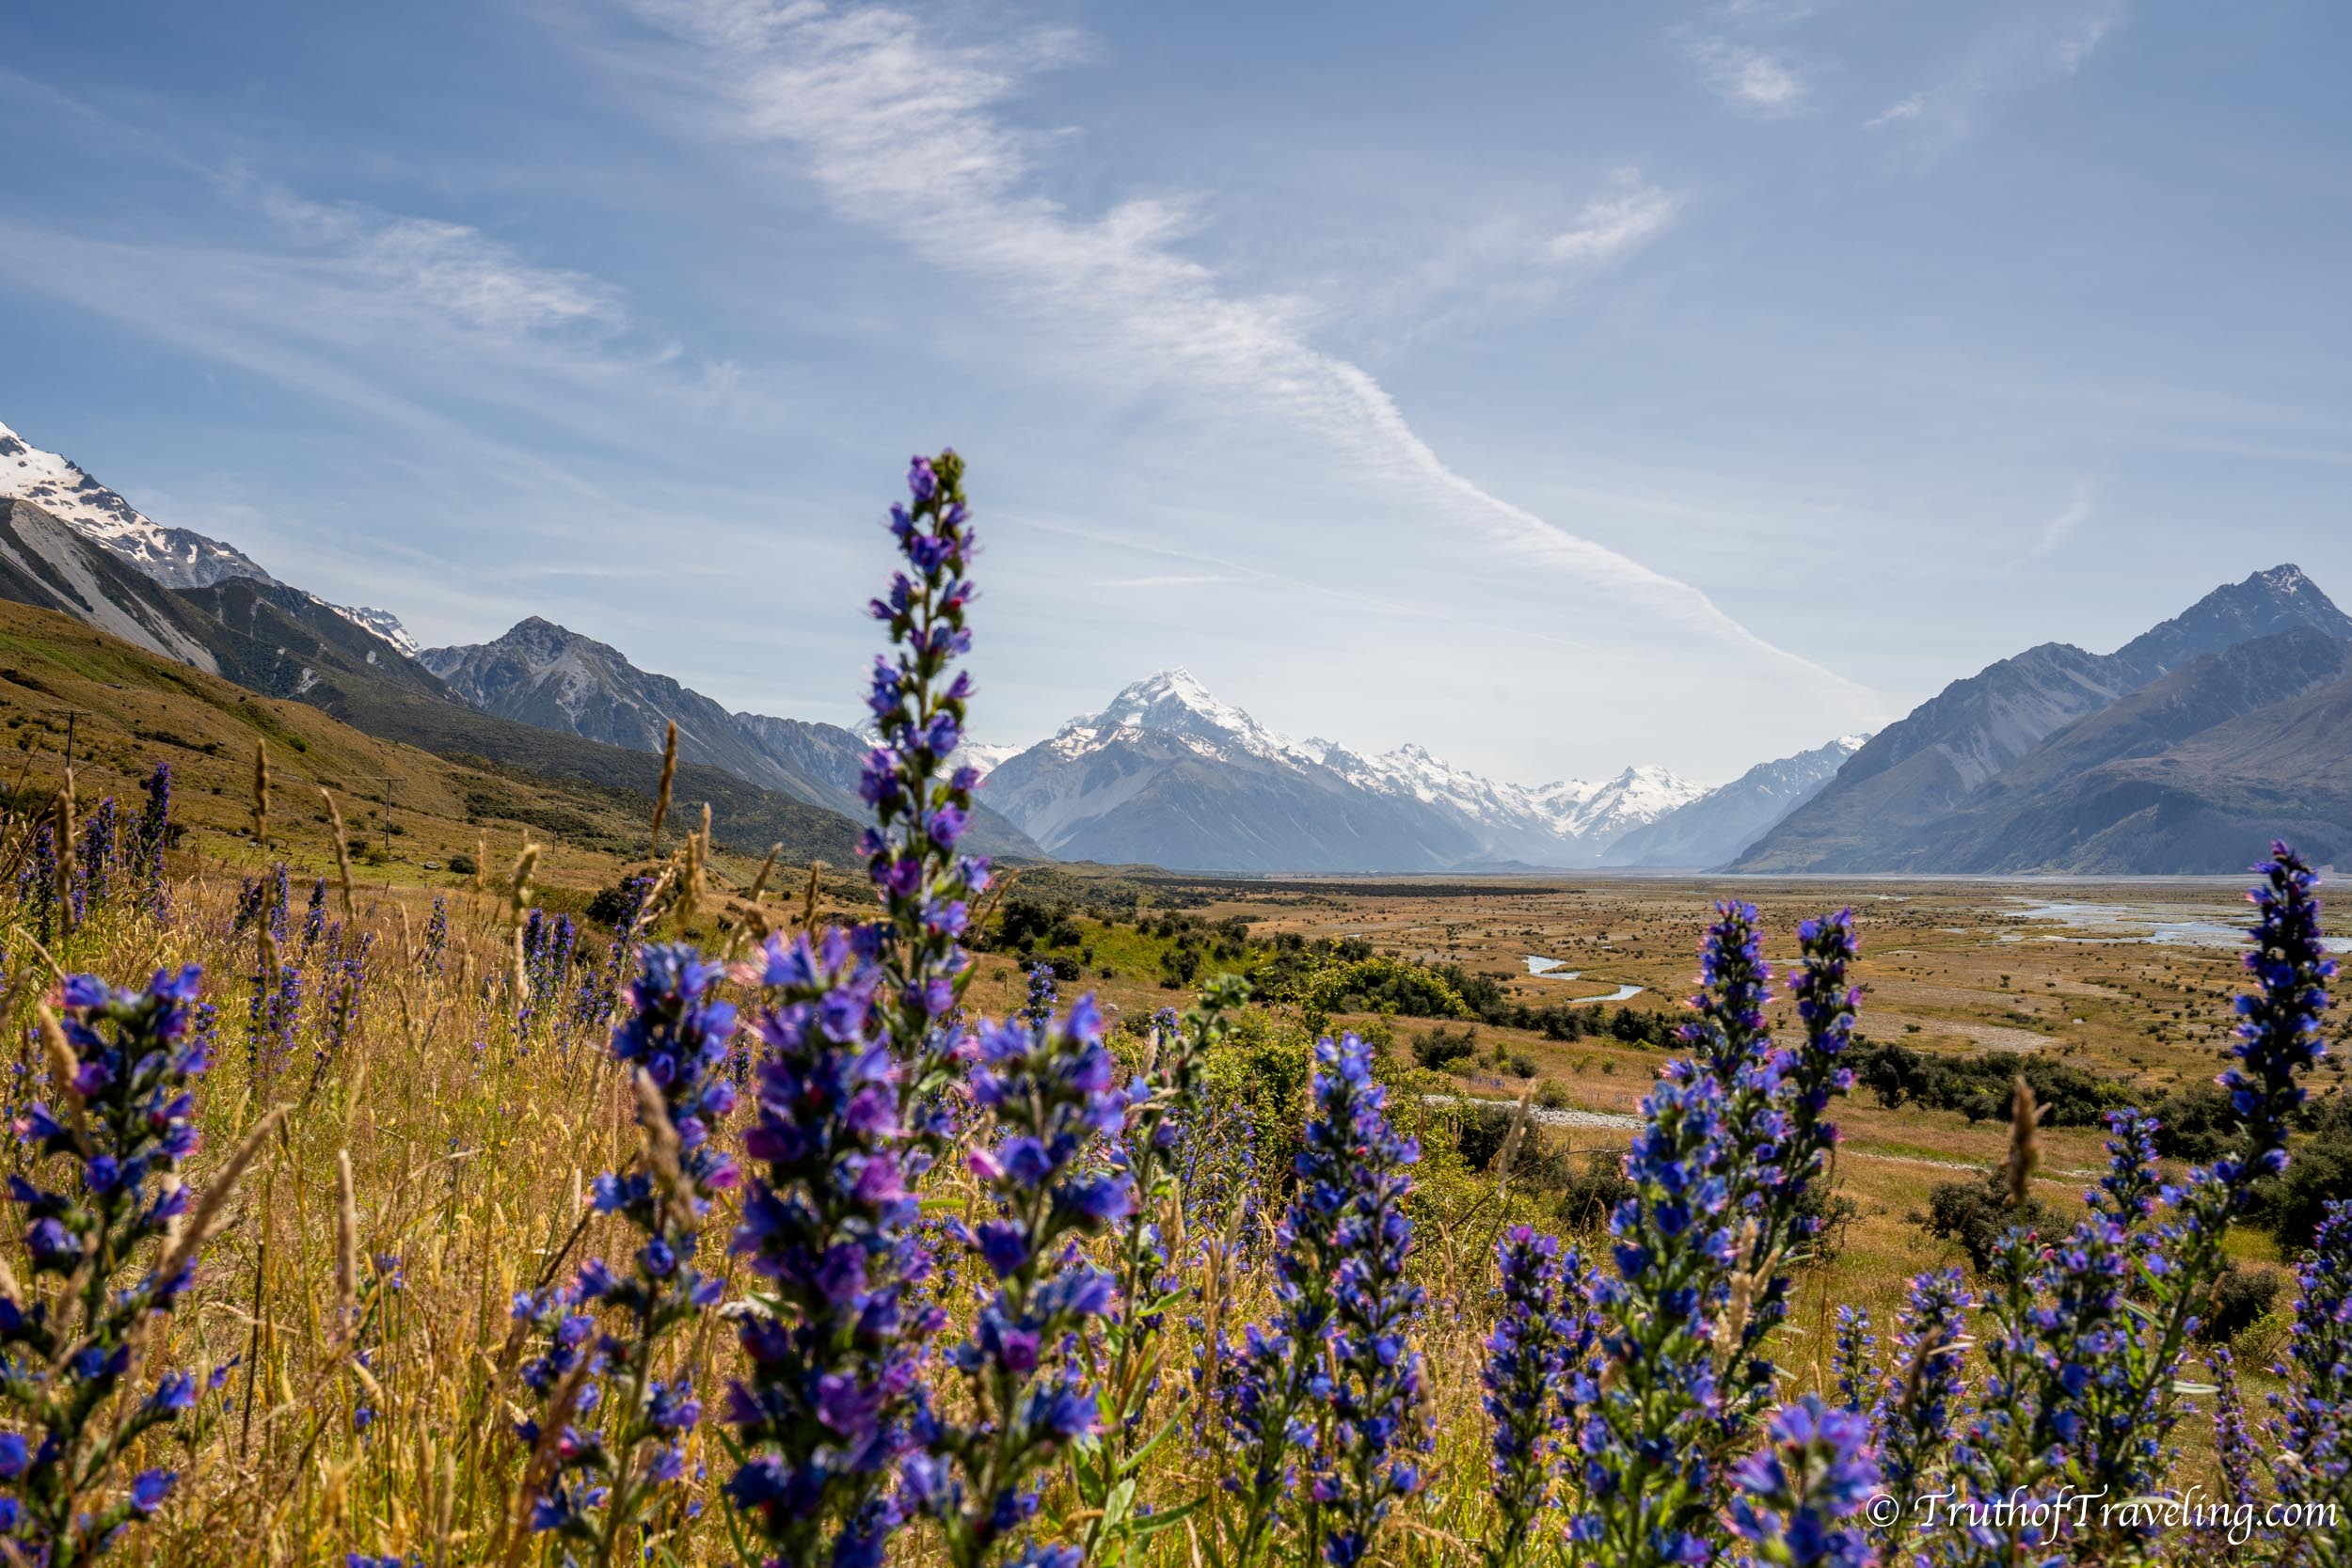
After driving for about 15-20 minutes (depending on how fast or slow you’re going) is your fourth stop. There is a large parking area on the righthand side of the road. Here you will find beautiful purple lupins that are common around the South Island as well as panoramic views of the surrounding mountains.
- Now on your righthand side it looks like a glacial field where the glacier at one point used to be but now rocks, gravel and some trickling water remain.
There are quite a few more pull off areas on either side of the road should you choose to jump out again! Soak in this amazing drive and stop as often as you want because it really is beautiful! That’s why its best to give yourself plenty of time so you aren’t too rushed.
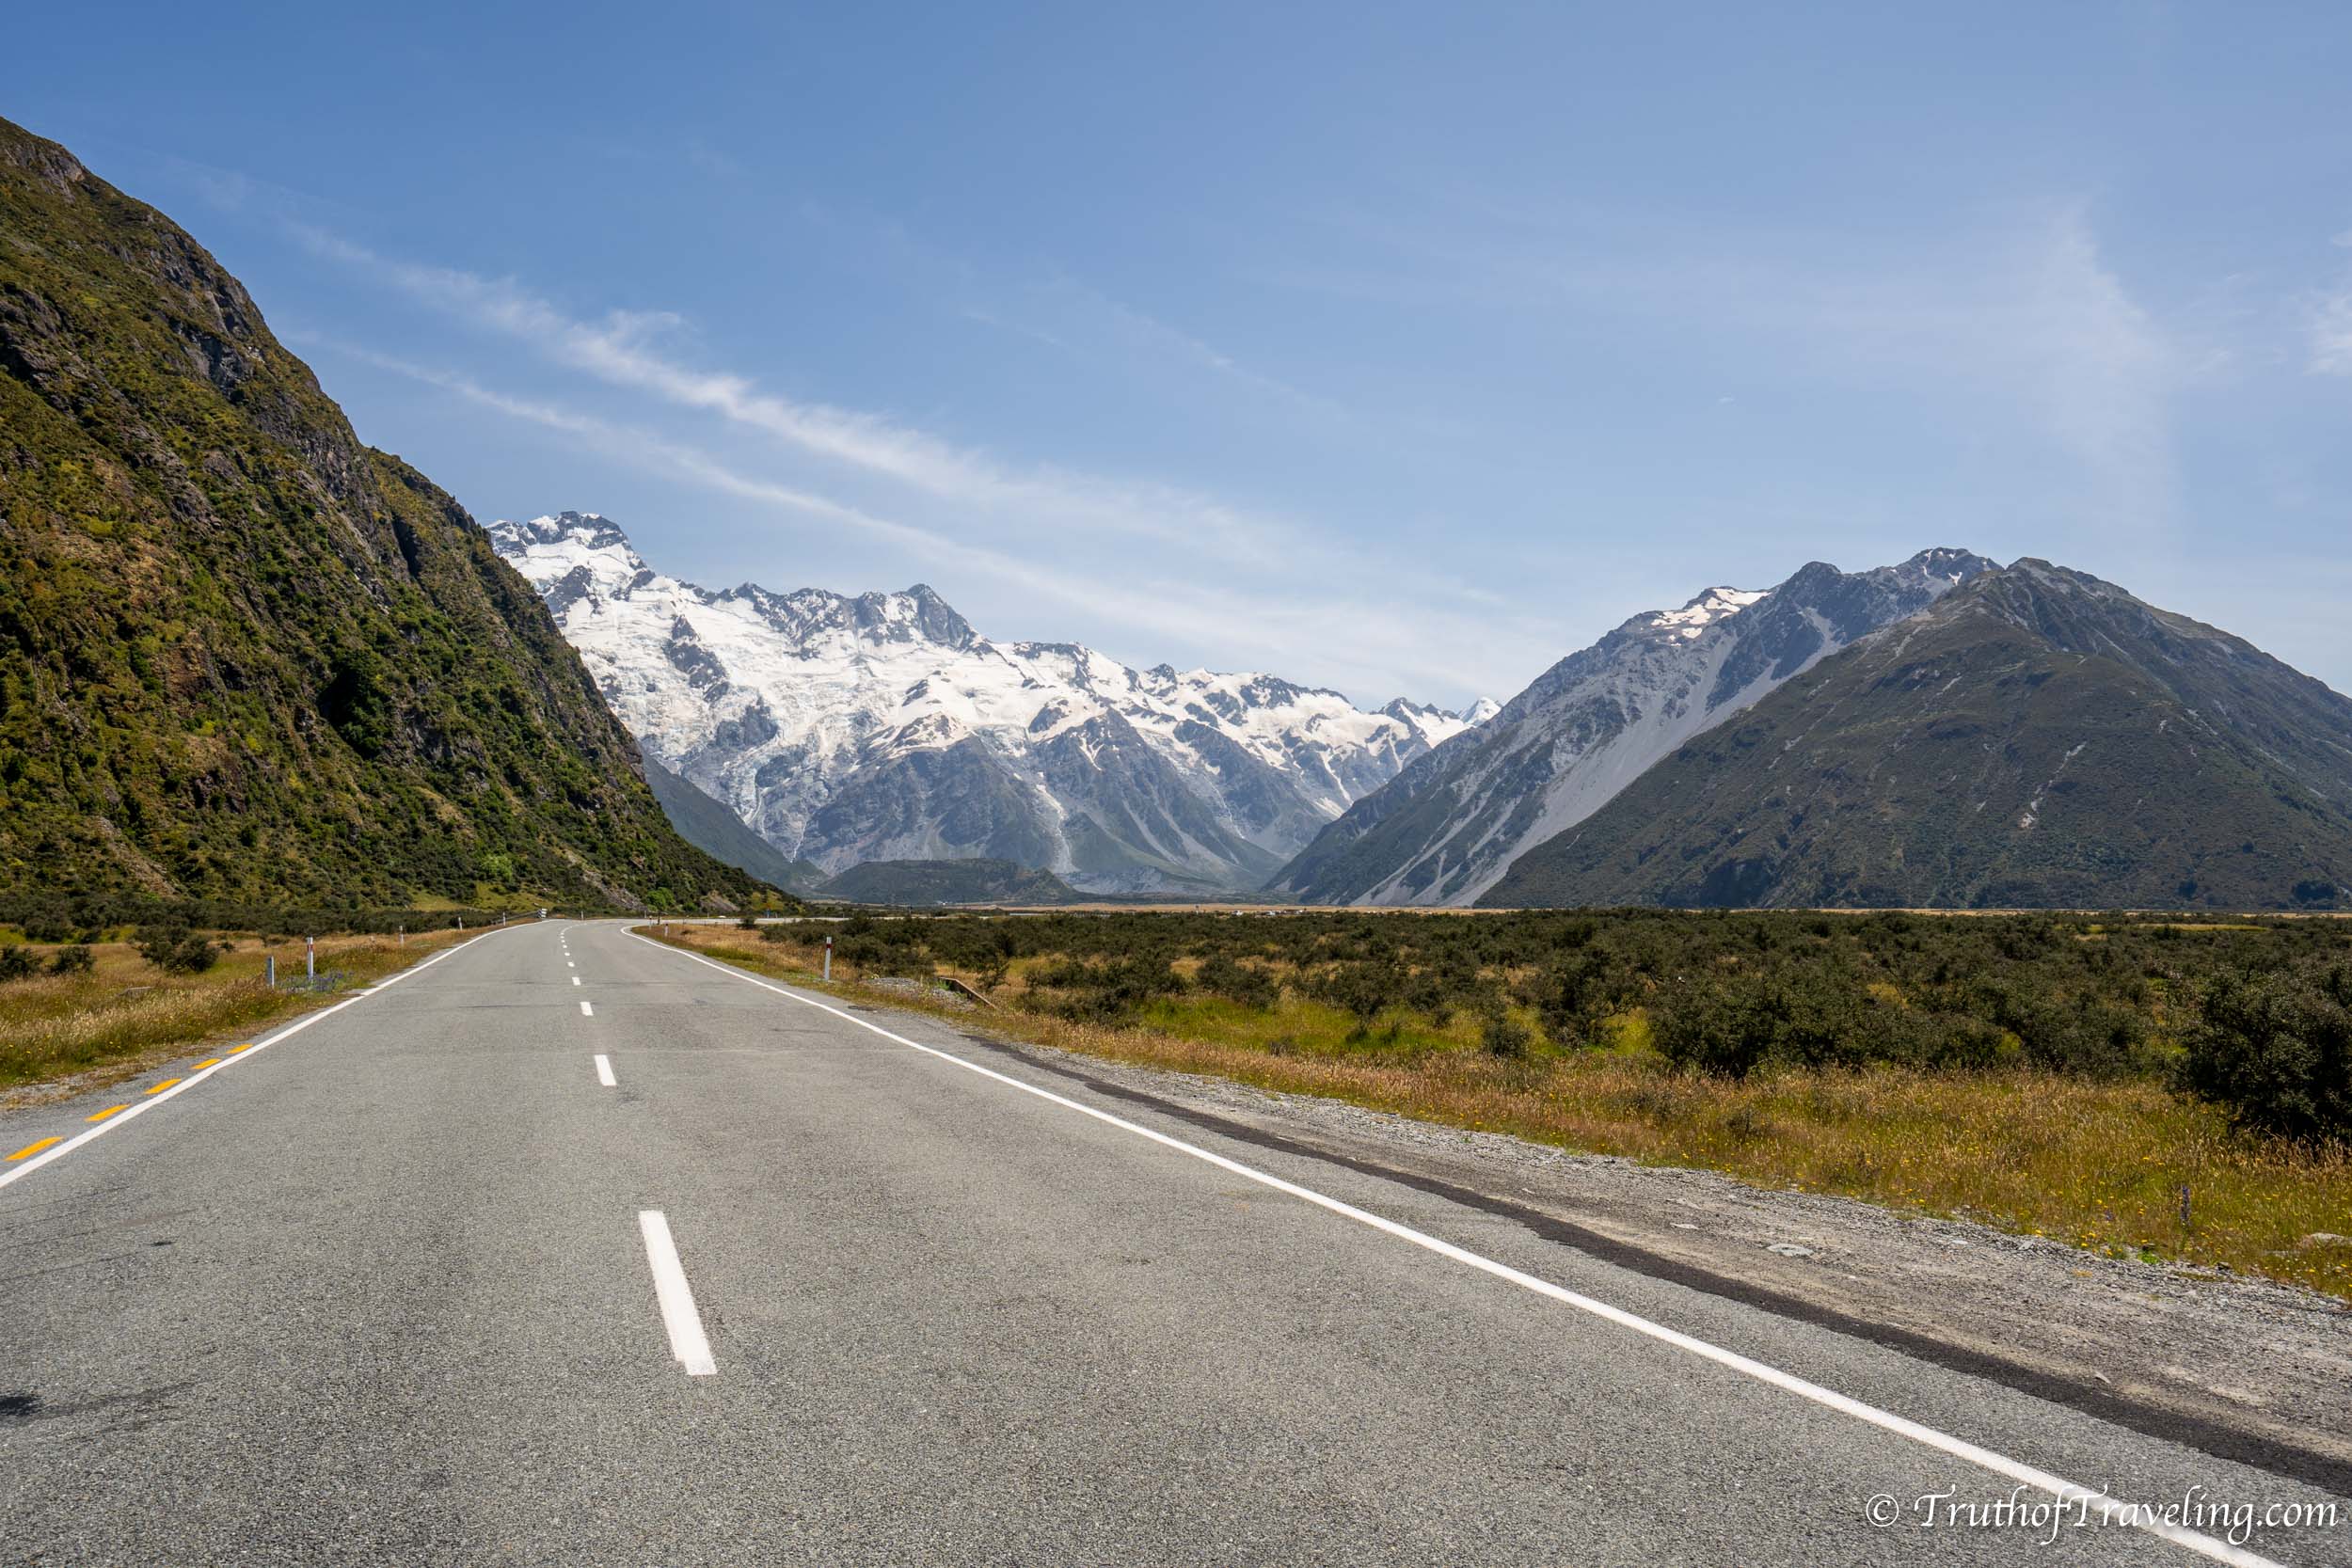
Stay at the White Horse Hill Campground that night which is just a few kilometers down the road from that last stop. Without anymore stopping it should take you no more than 10 minutes to get to!
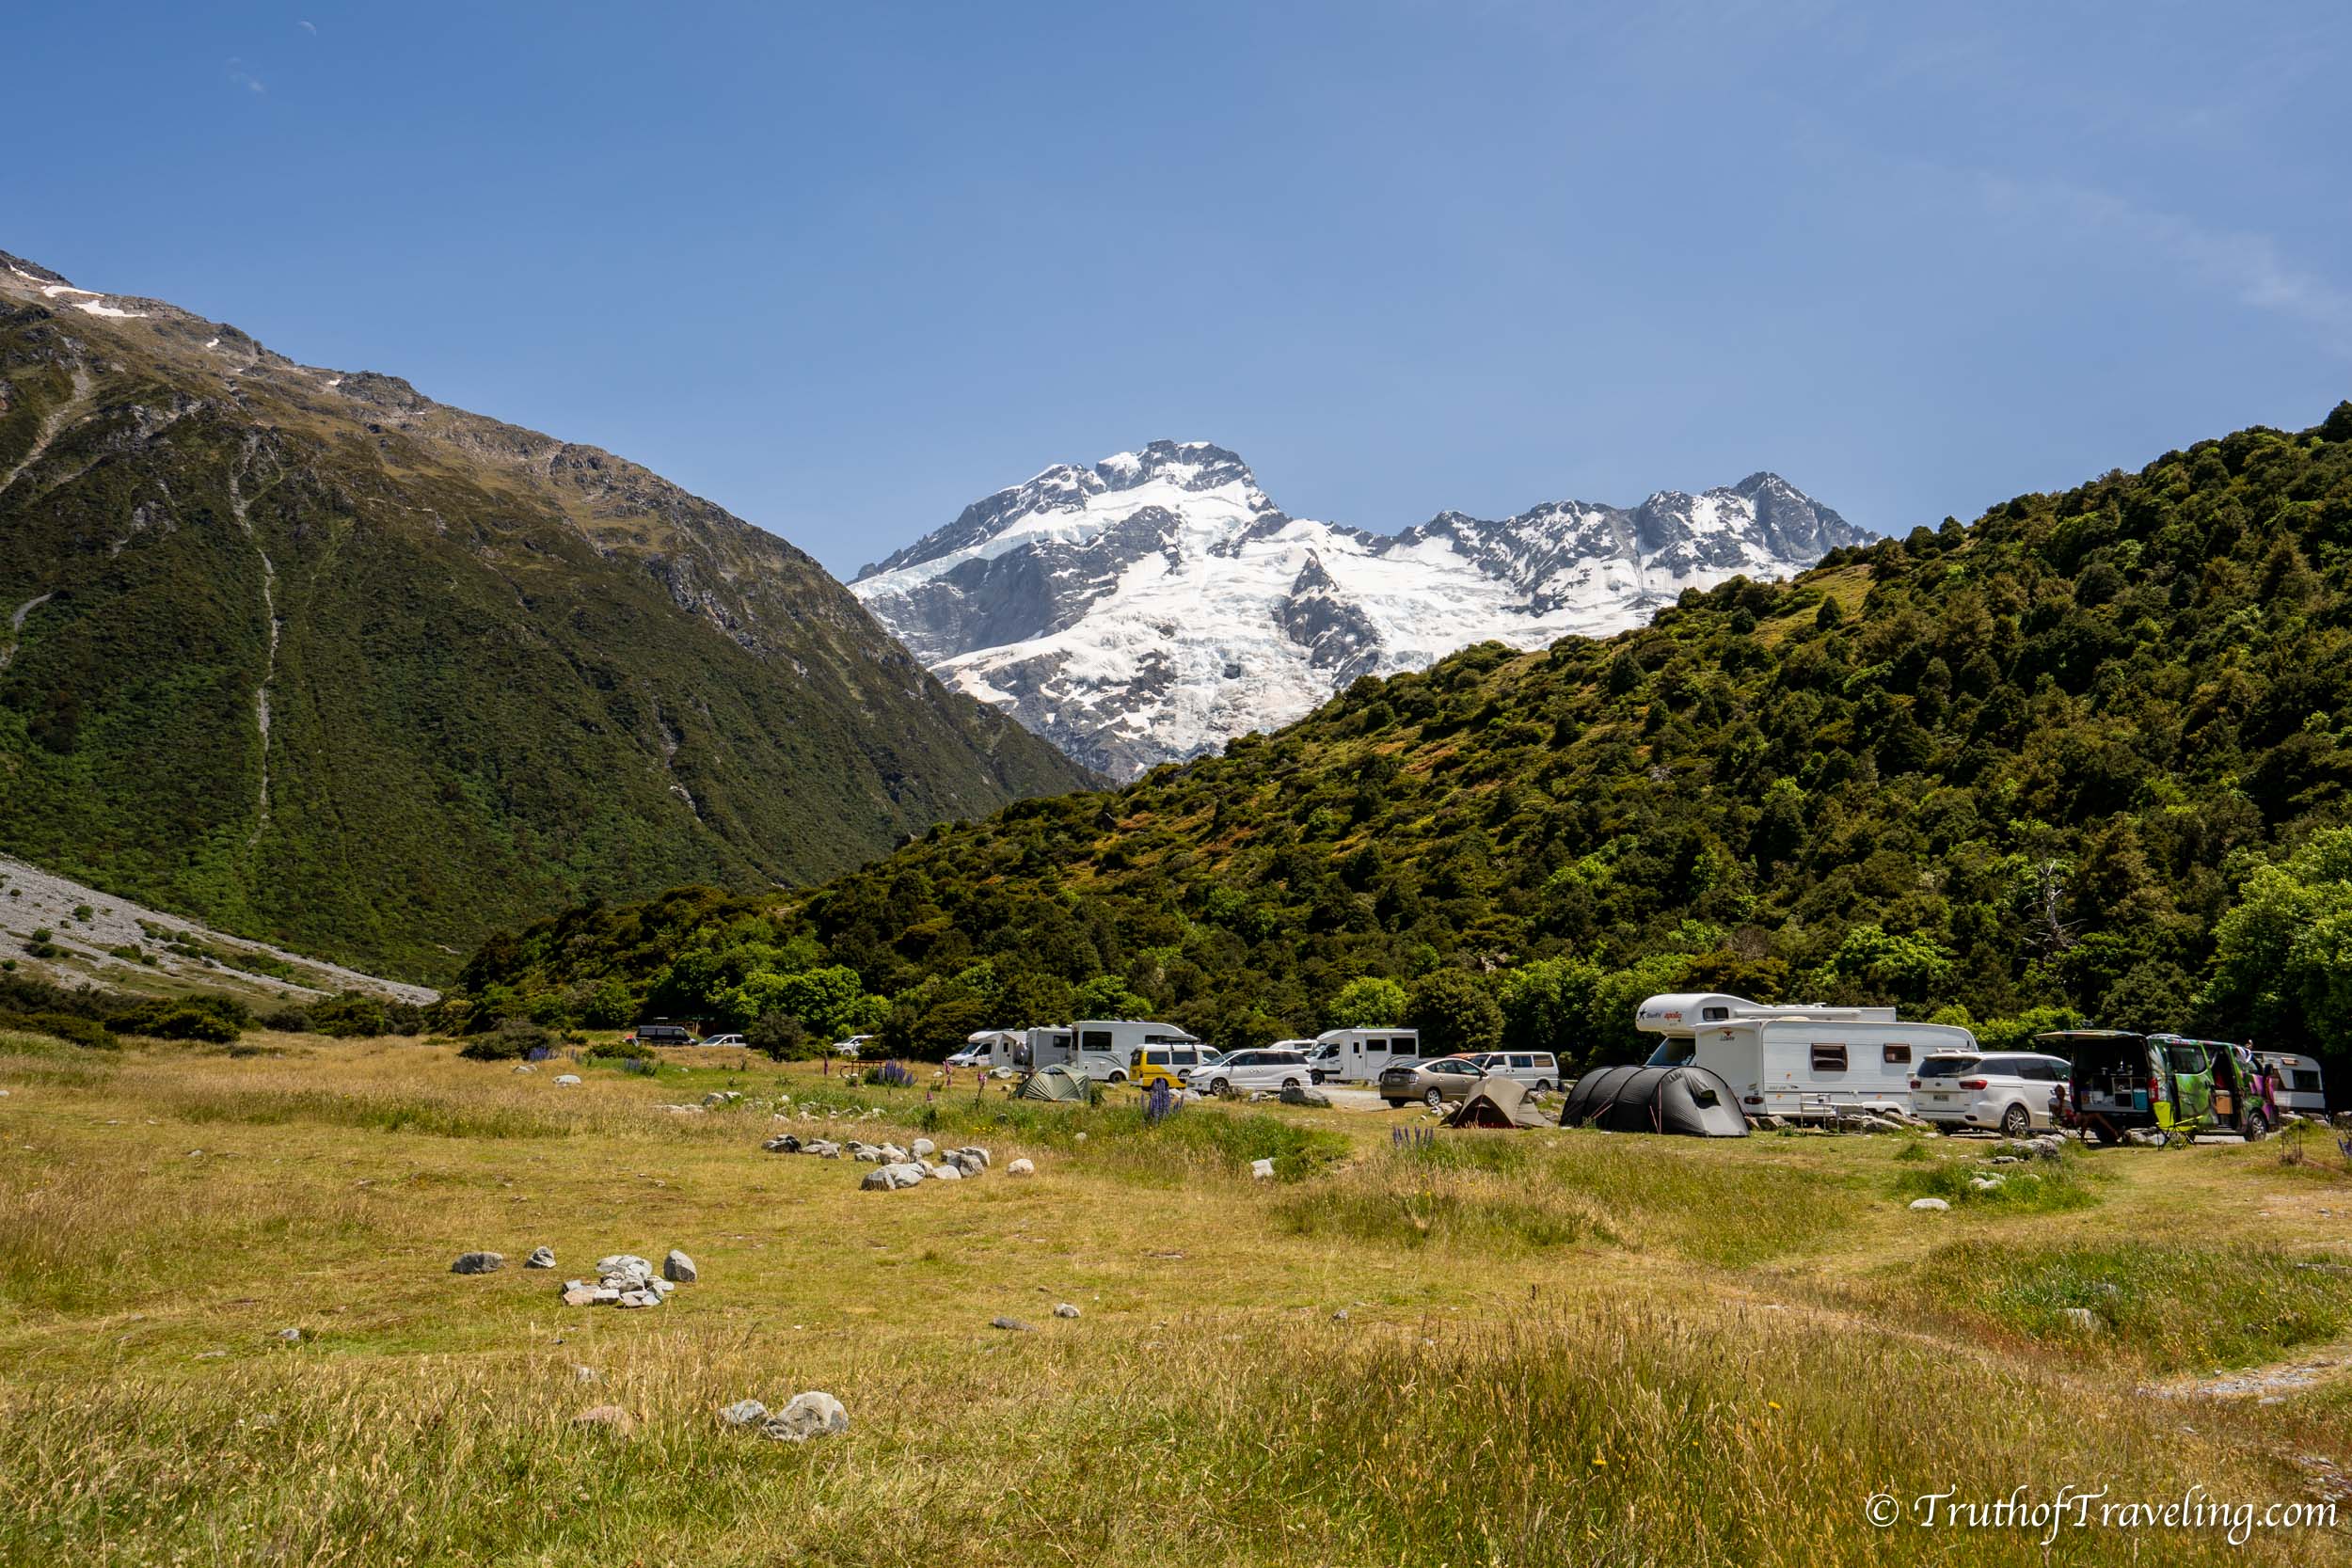
The White Horse Hill Campground is the start of many nearby hikes including the popular Hooker Valley Track hike so it welcomes many day hikers as well as overnight campers. Because of that it’s busier than the previous campsites. But it has views of the mountains and for $15 NZD a person per night it includes several toilet facilities, a kitchen, trash and fresh drinking water.
- There is a small building that says Camp Registration. To camp overnight you fill out the tag including your check in and check out date, your car registration (also your license plate number in New Zealand), and your name. Rip off half to put in your car so they know you paid and put the other half with your money in the box.
Drive: 59 kms / 45 minutes
Stay: White Horse Hill Campground ($15 NZD pp)
Read More: Ultimate Australian Road Trip- Cairns to Brisbane
Day 6: Hike Around Mount Cook National Park
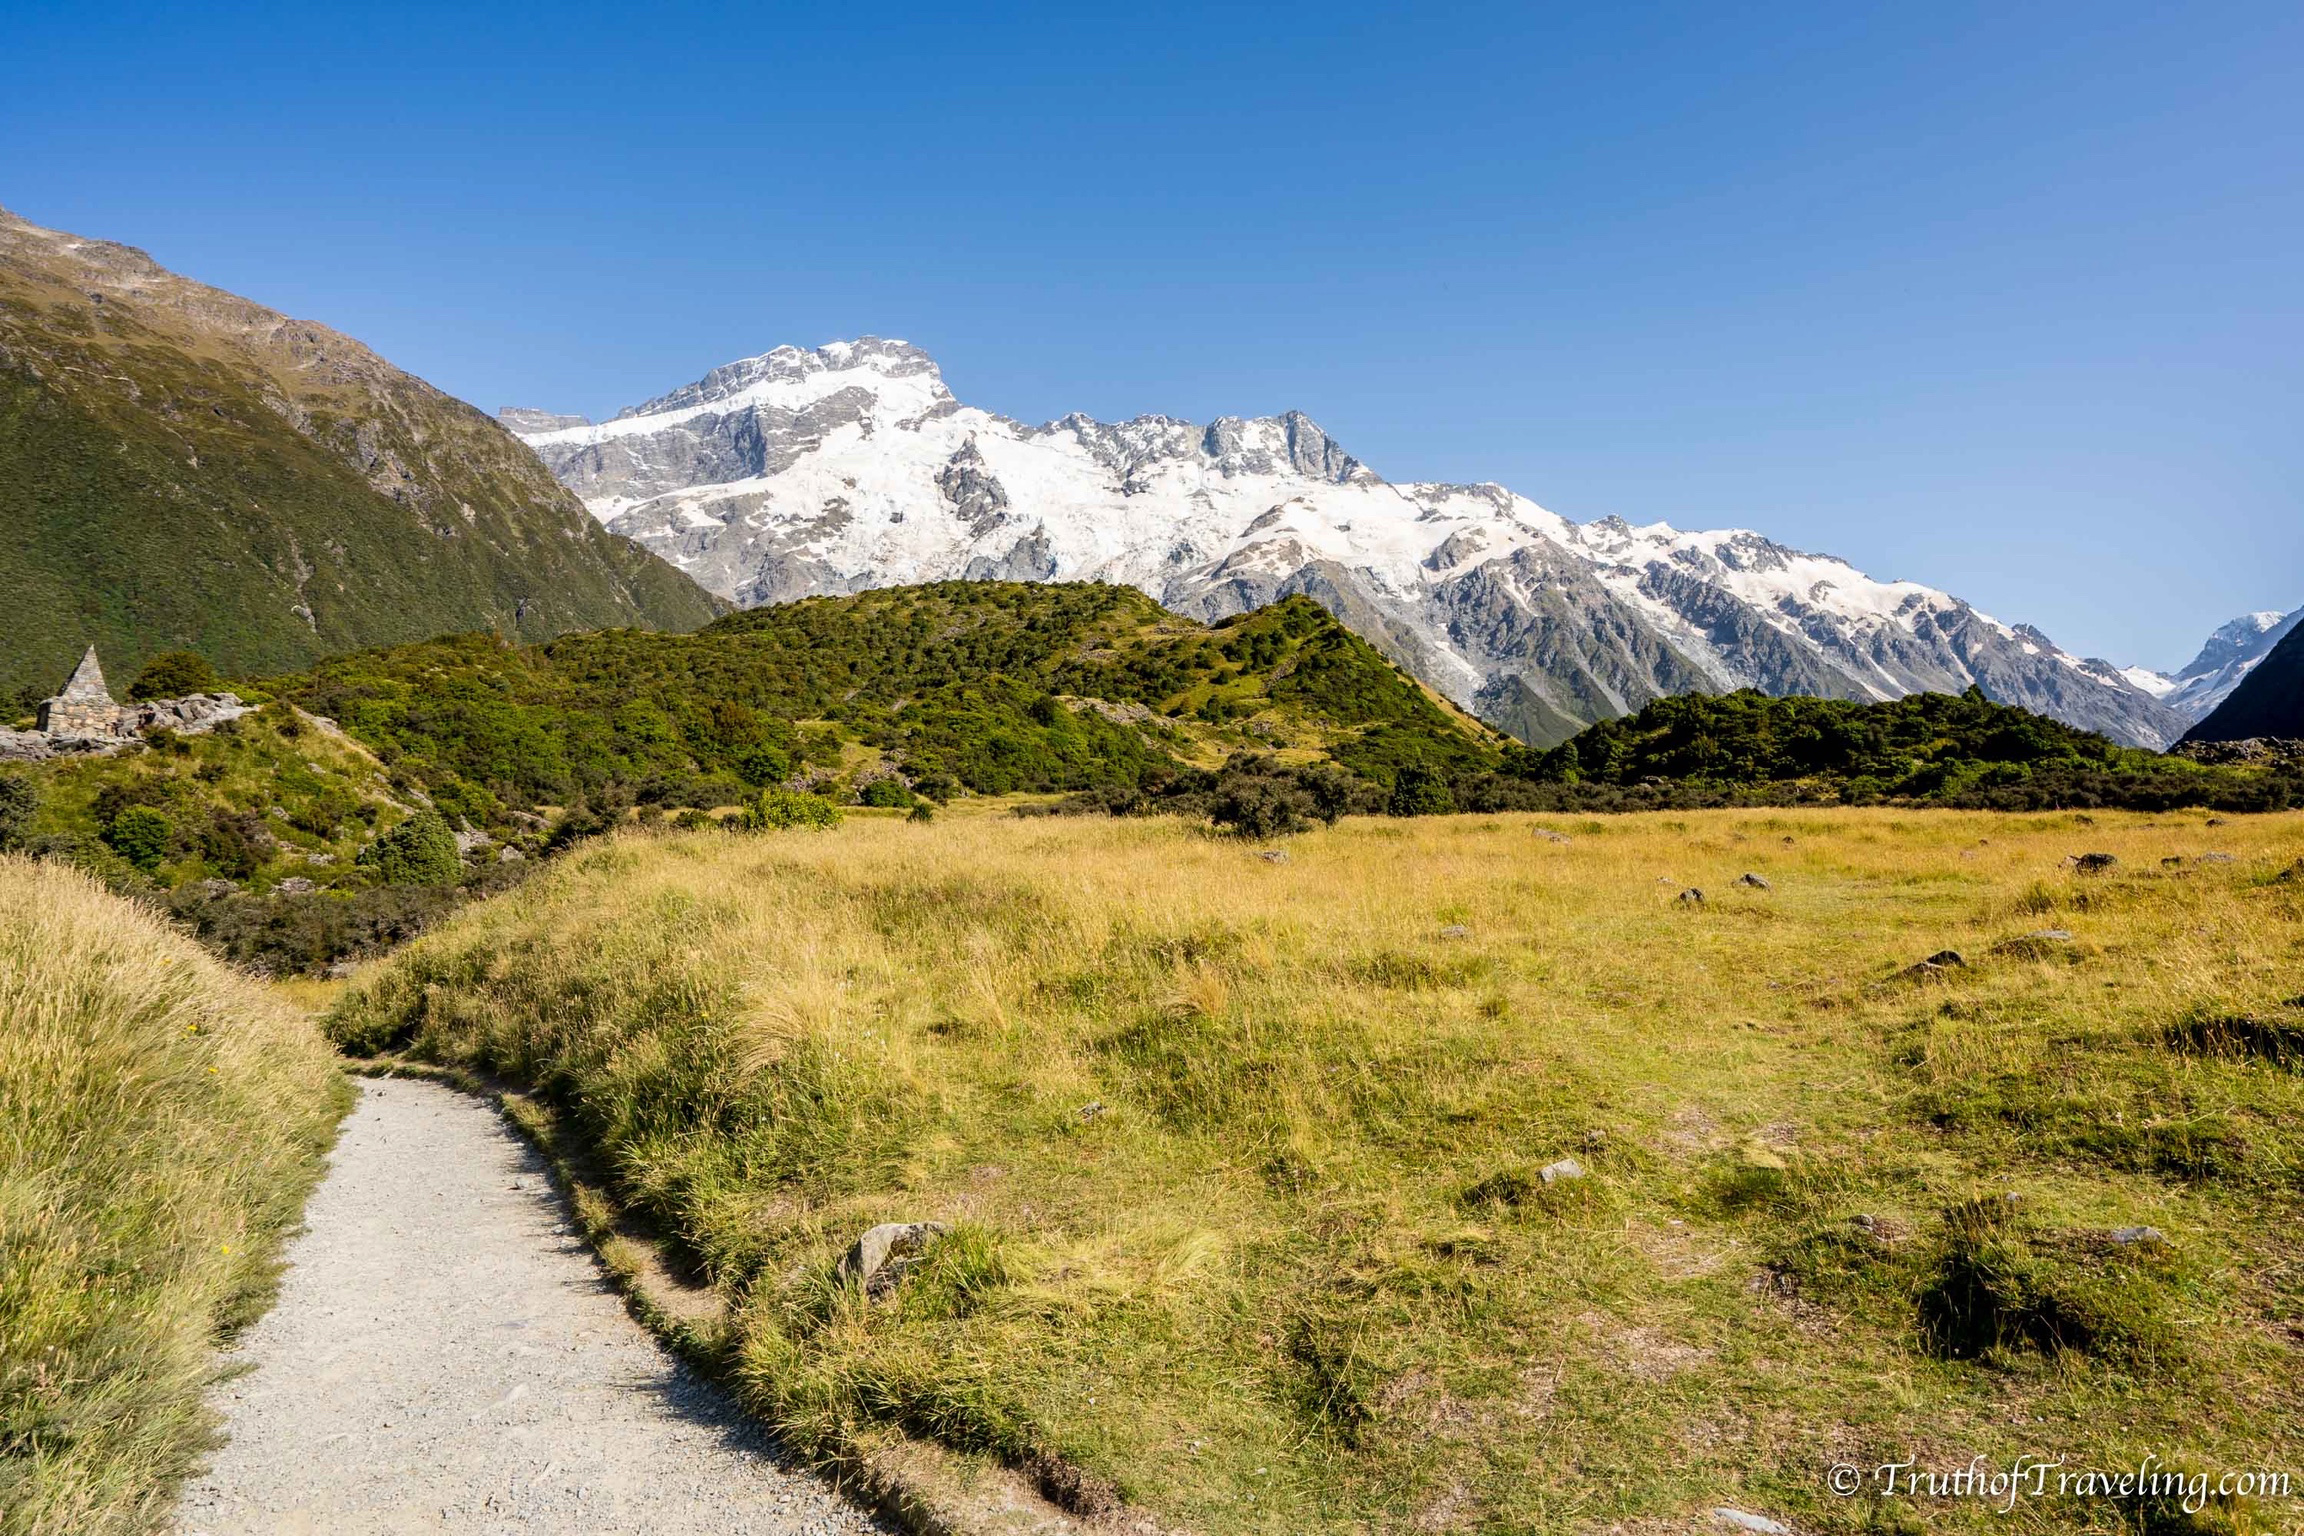
Staying at White Horse Hill Campground meant we were already at the perfect spot to do a hike today! You can chose to get there early enough in the day to do a hike that same day, then stay overnight and leave the next morning or choose to get to the campsite later in the day, stay overnight, do the hike the next morning and then leave.
- If you’re visiting in the summer months it does get hot in the middle of the day so it’s nice to avoid hiking during the hottest part of the day!
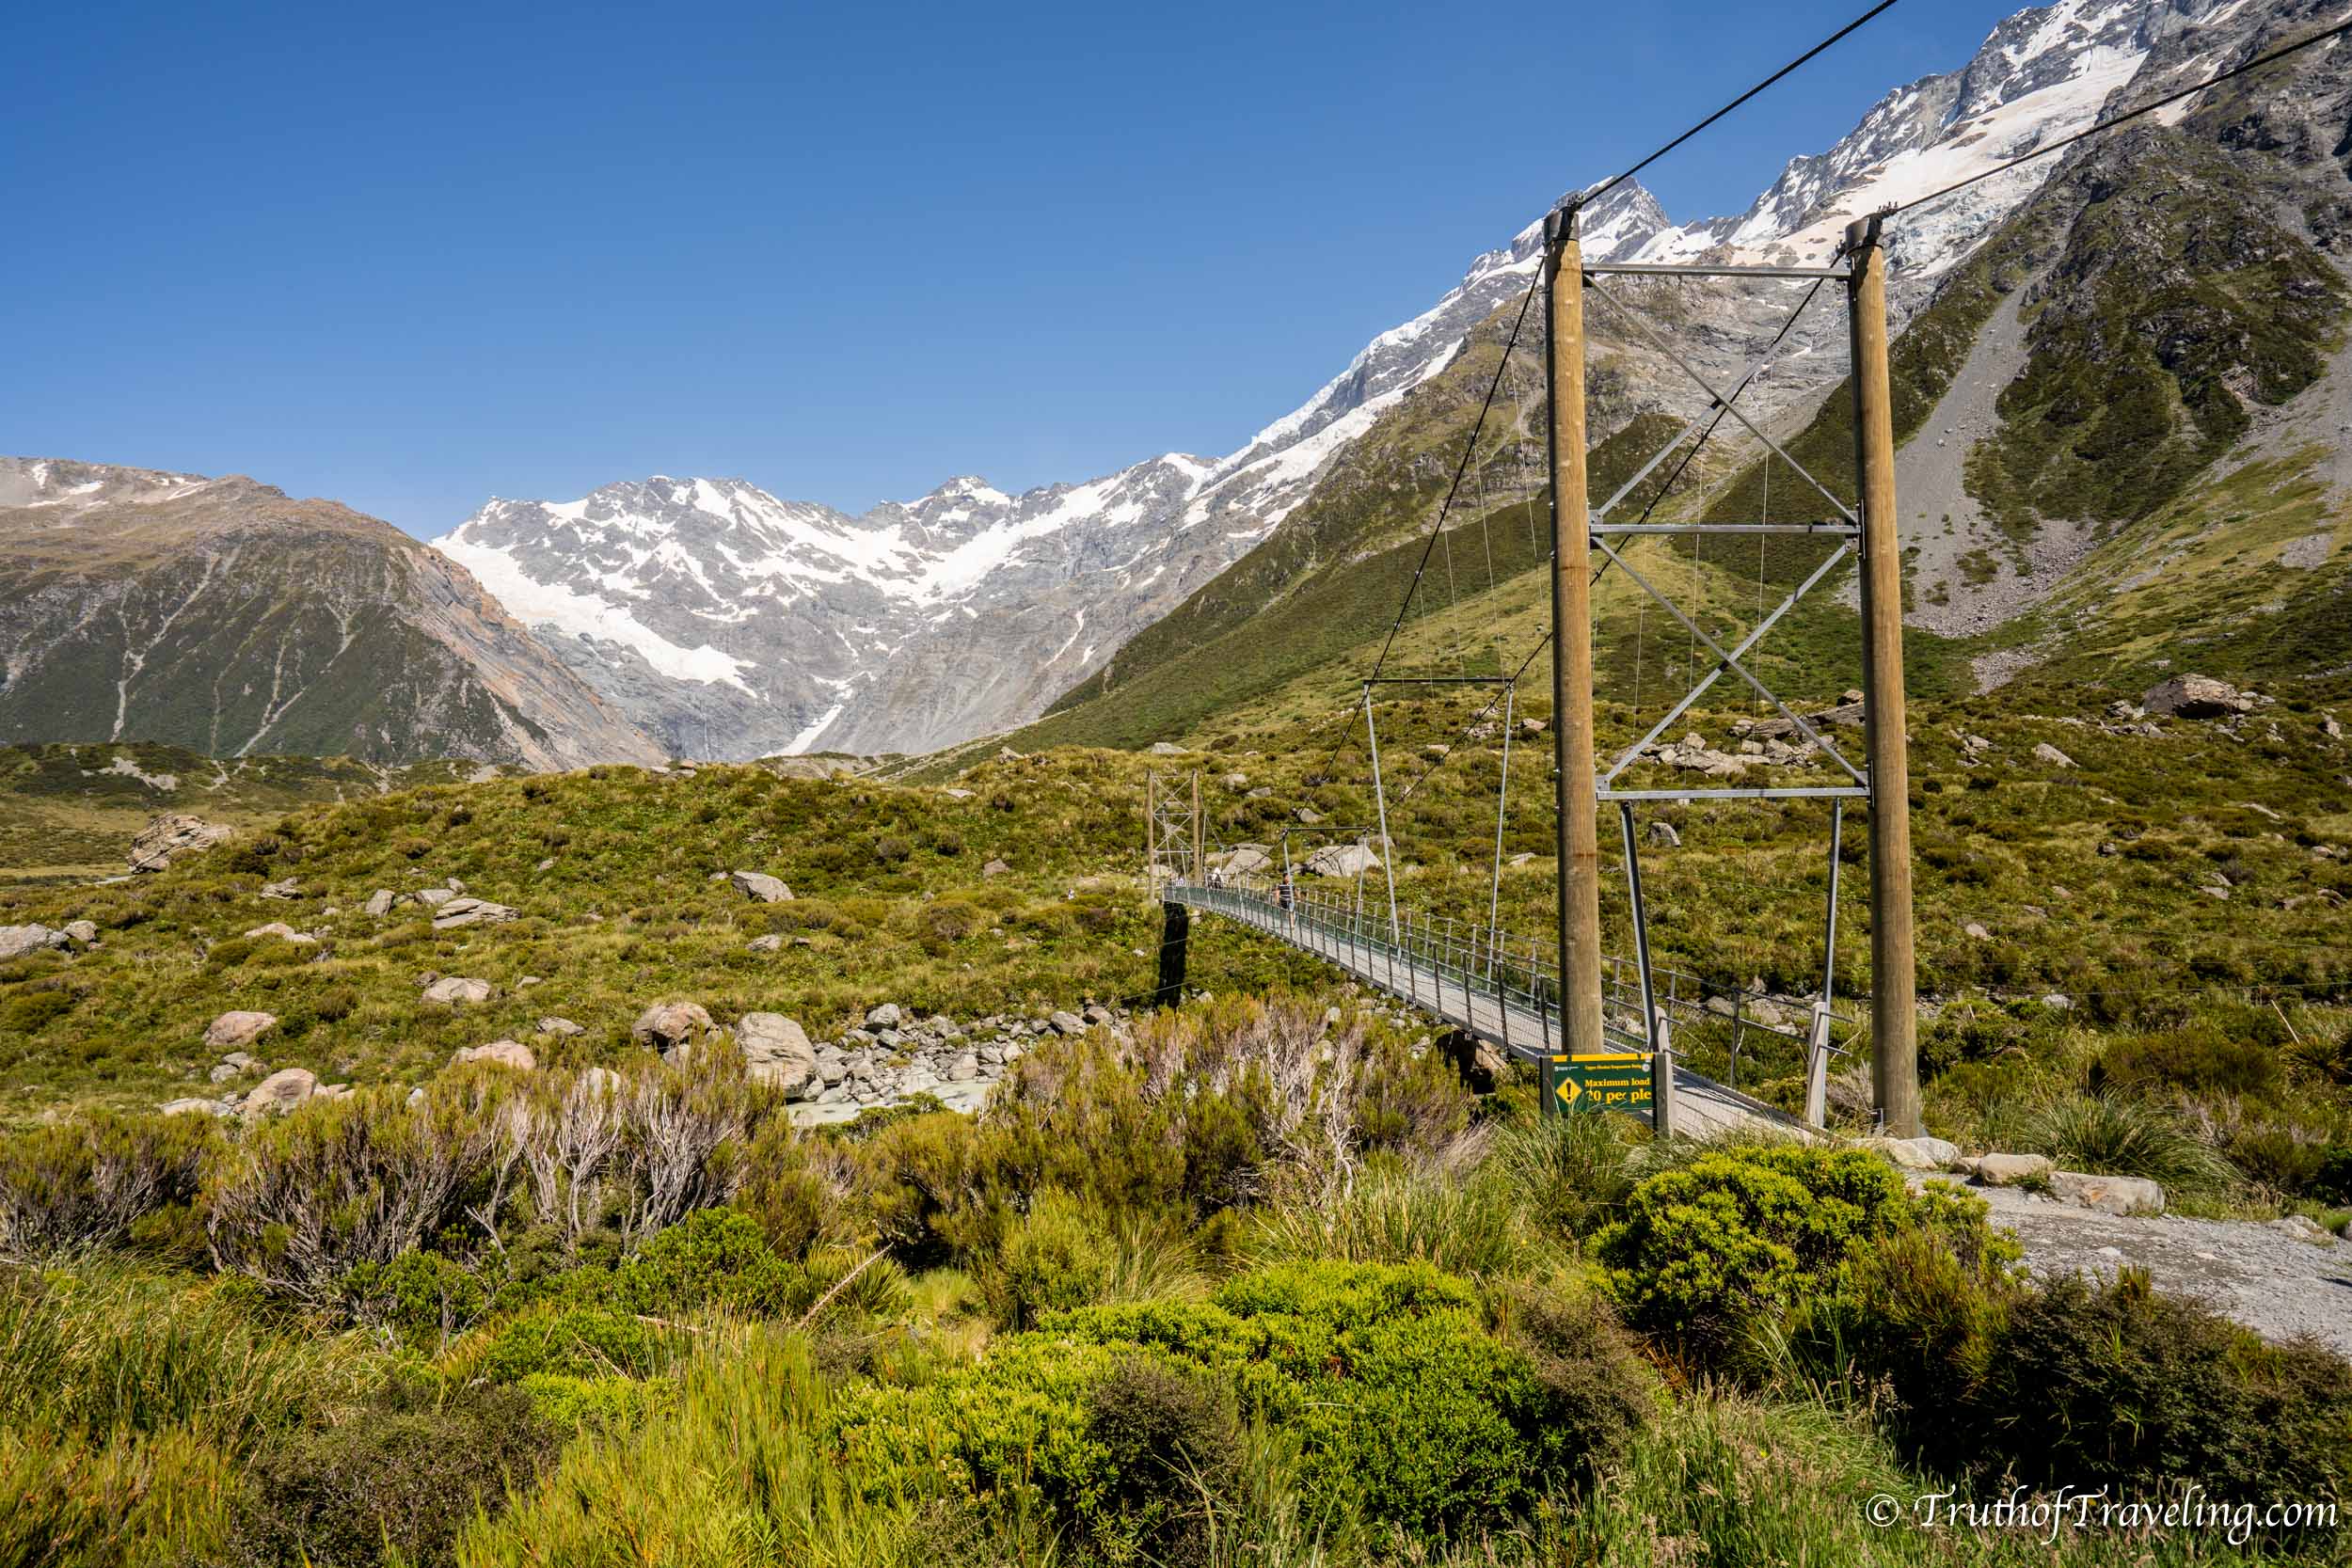
We chose to hike the Hooker Valley Track and absolutely loved it! It is a 10 km roundtrip hike that starts right from White Horse Hill Campground. There is a map at the beginning of the hike that you can take a picture of to refer back to if you want. The trail goes across 3 suspension bridges before getting to Hooker Lake.
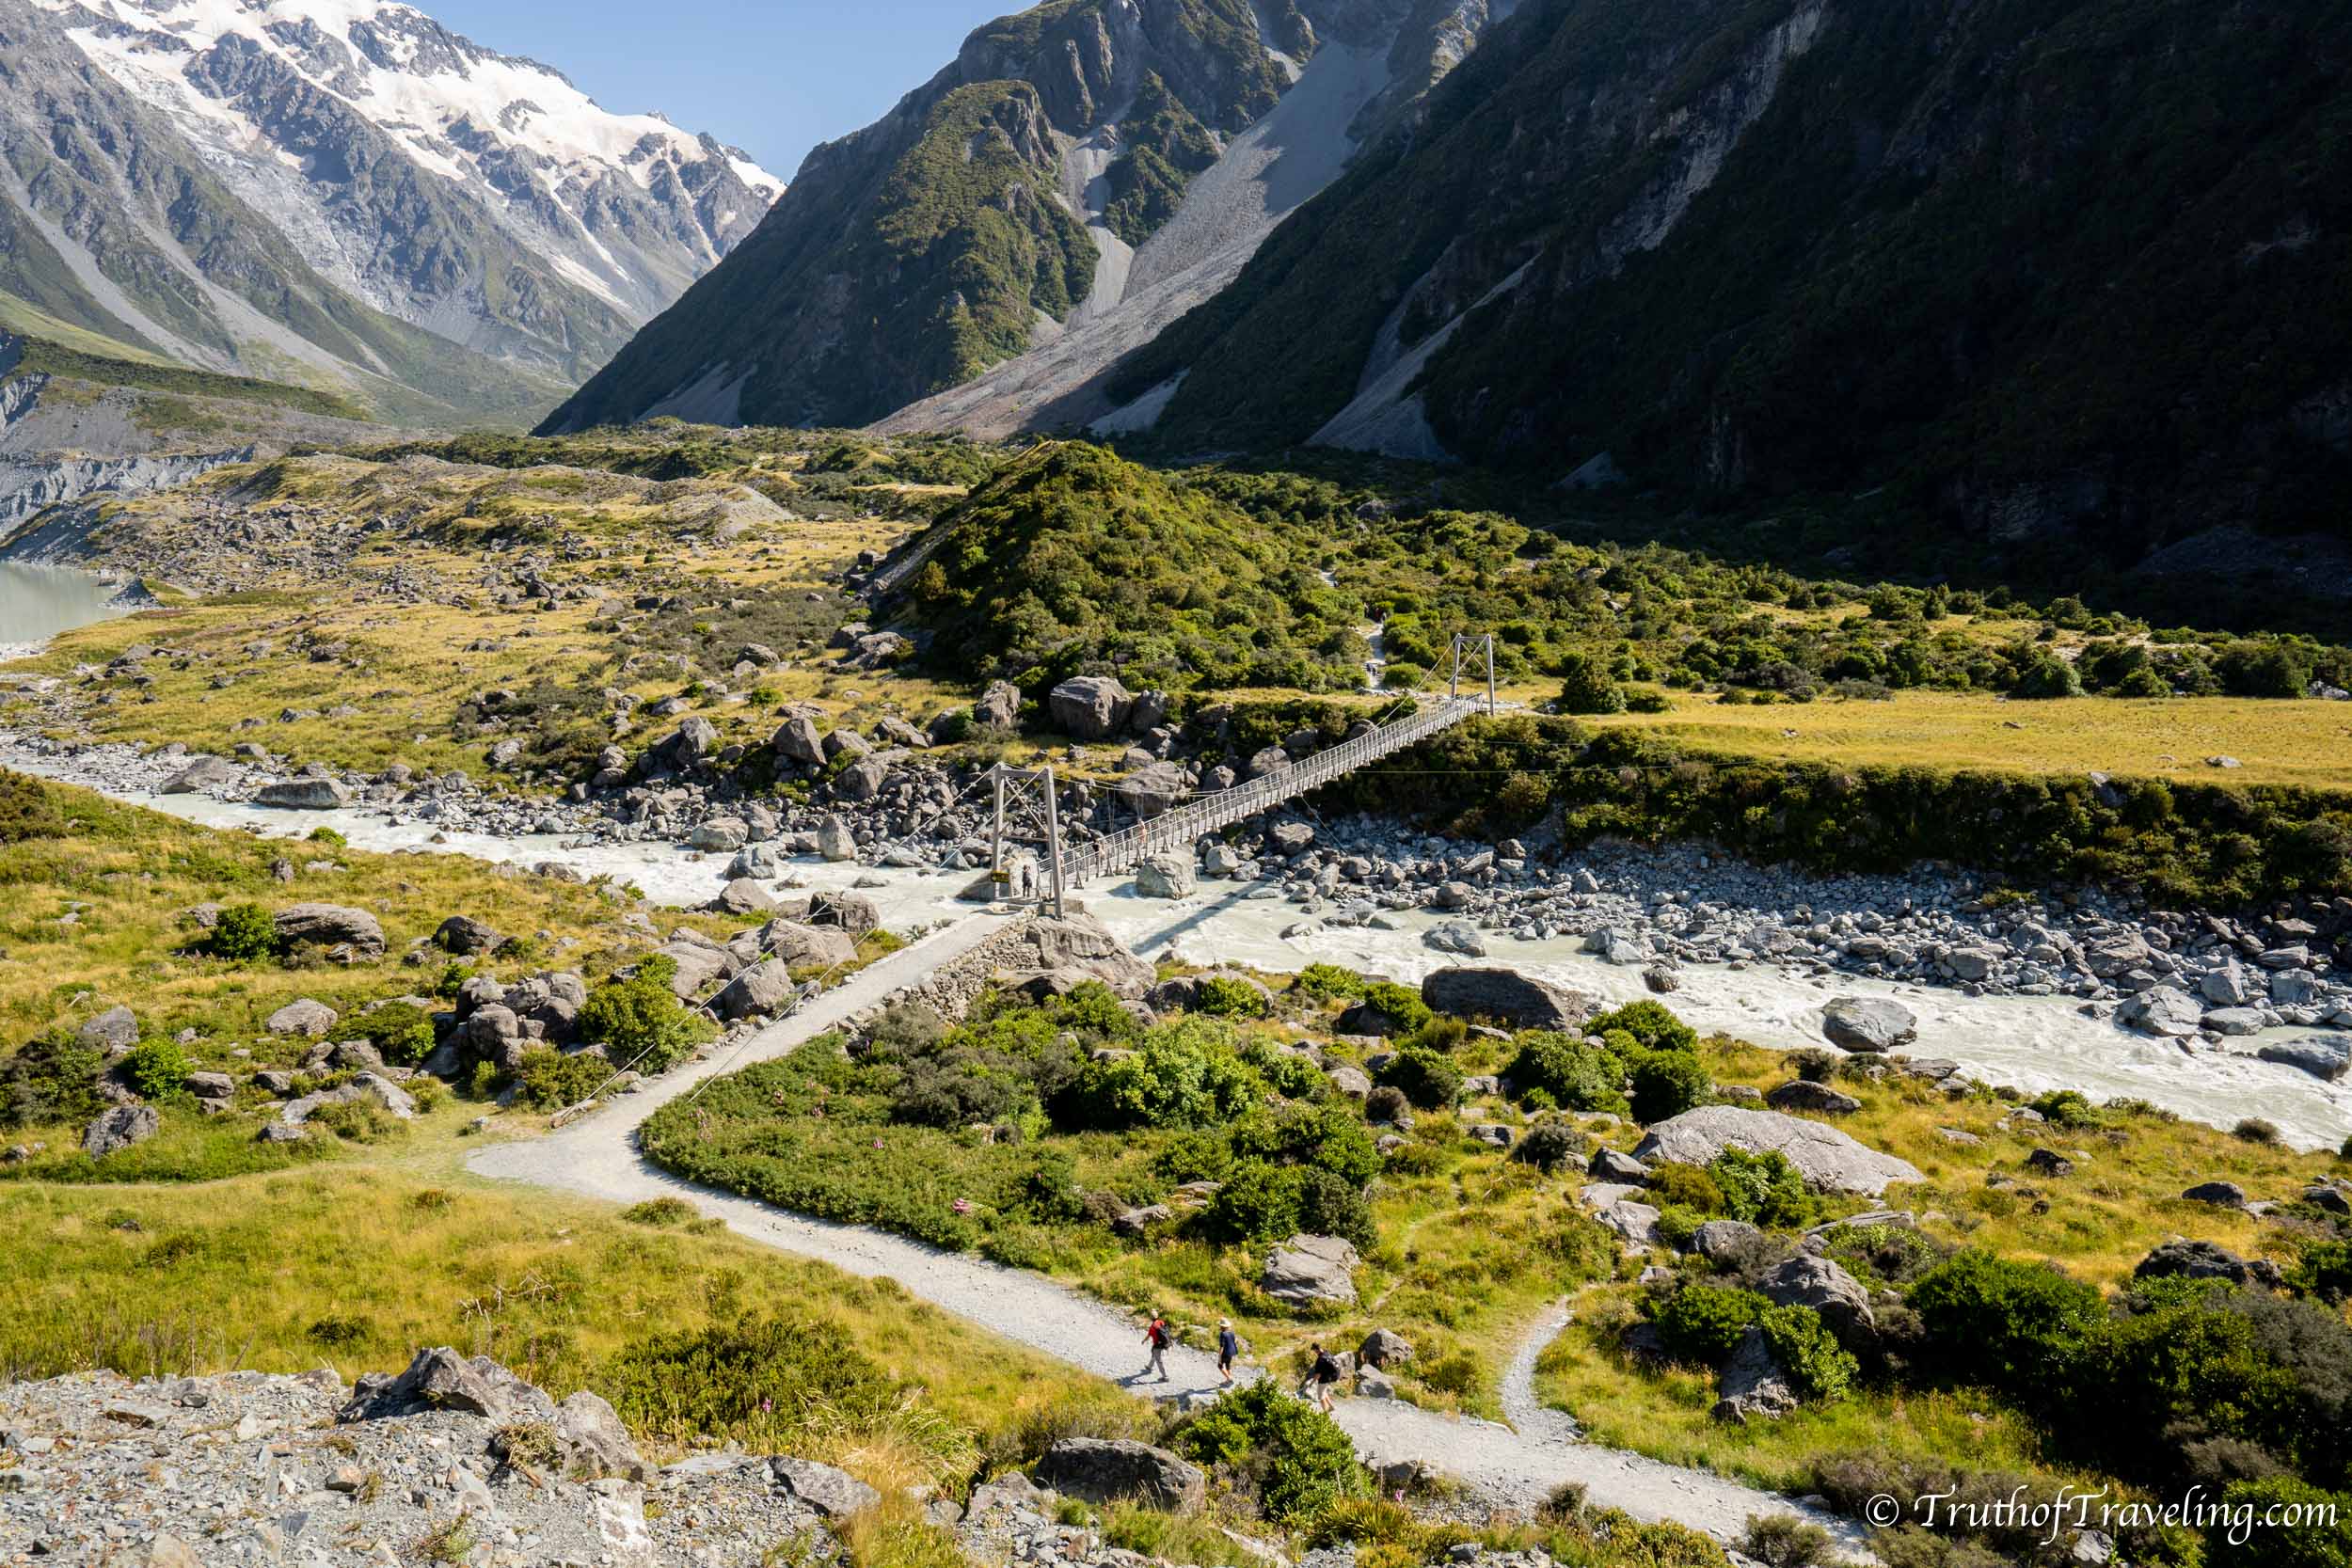
- The hike is very well marked so we had no trouble finding our way.
- We passed by other hikers the whole time but wouldn’t say it was over crowded. There were sections where it was just us and then sections where we were in the middle of a few other groups.
Crossing so many suspension bridges was really cool and definitely something we didn’t expect! They do sway a little depending on how many people are getting on and off while you’re walking but we felt completely safe the whole time!
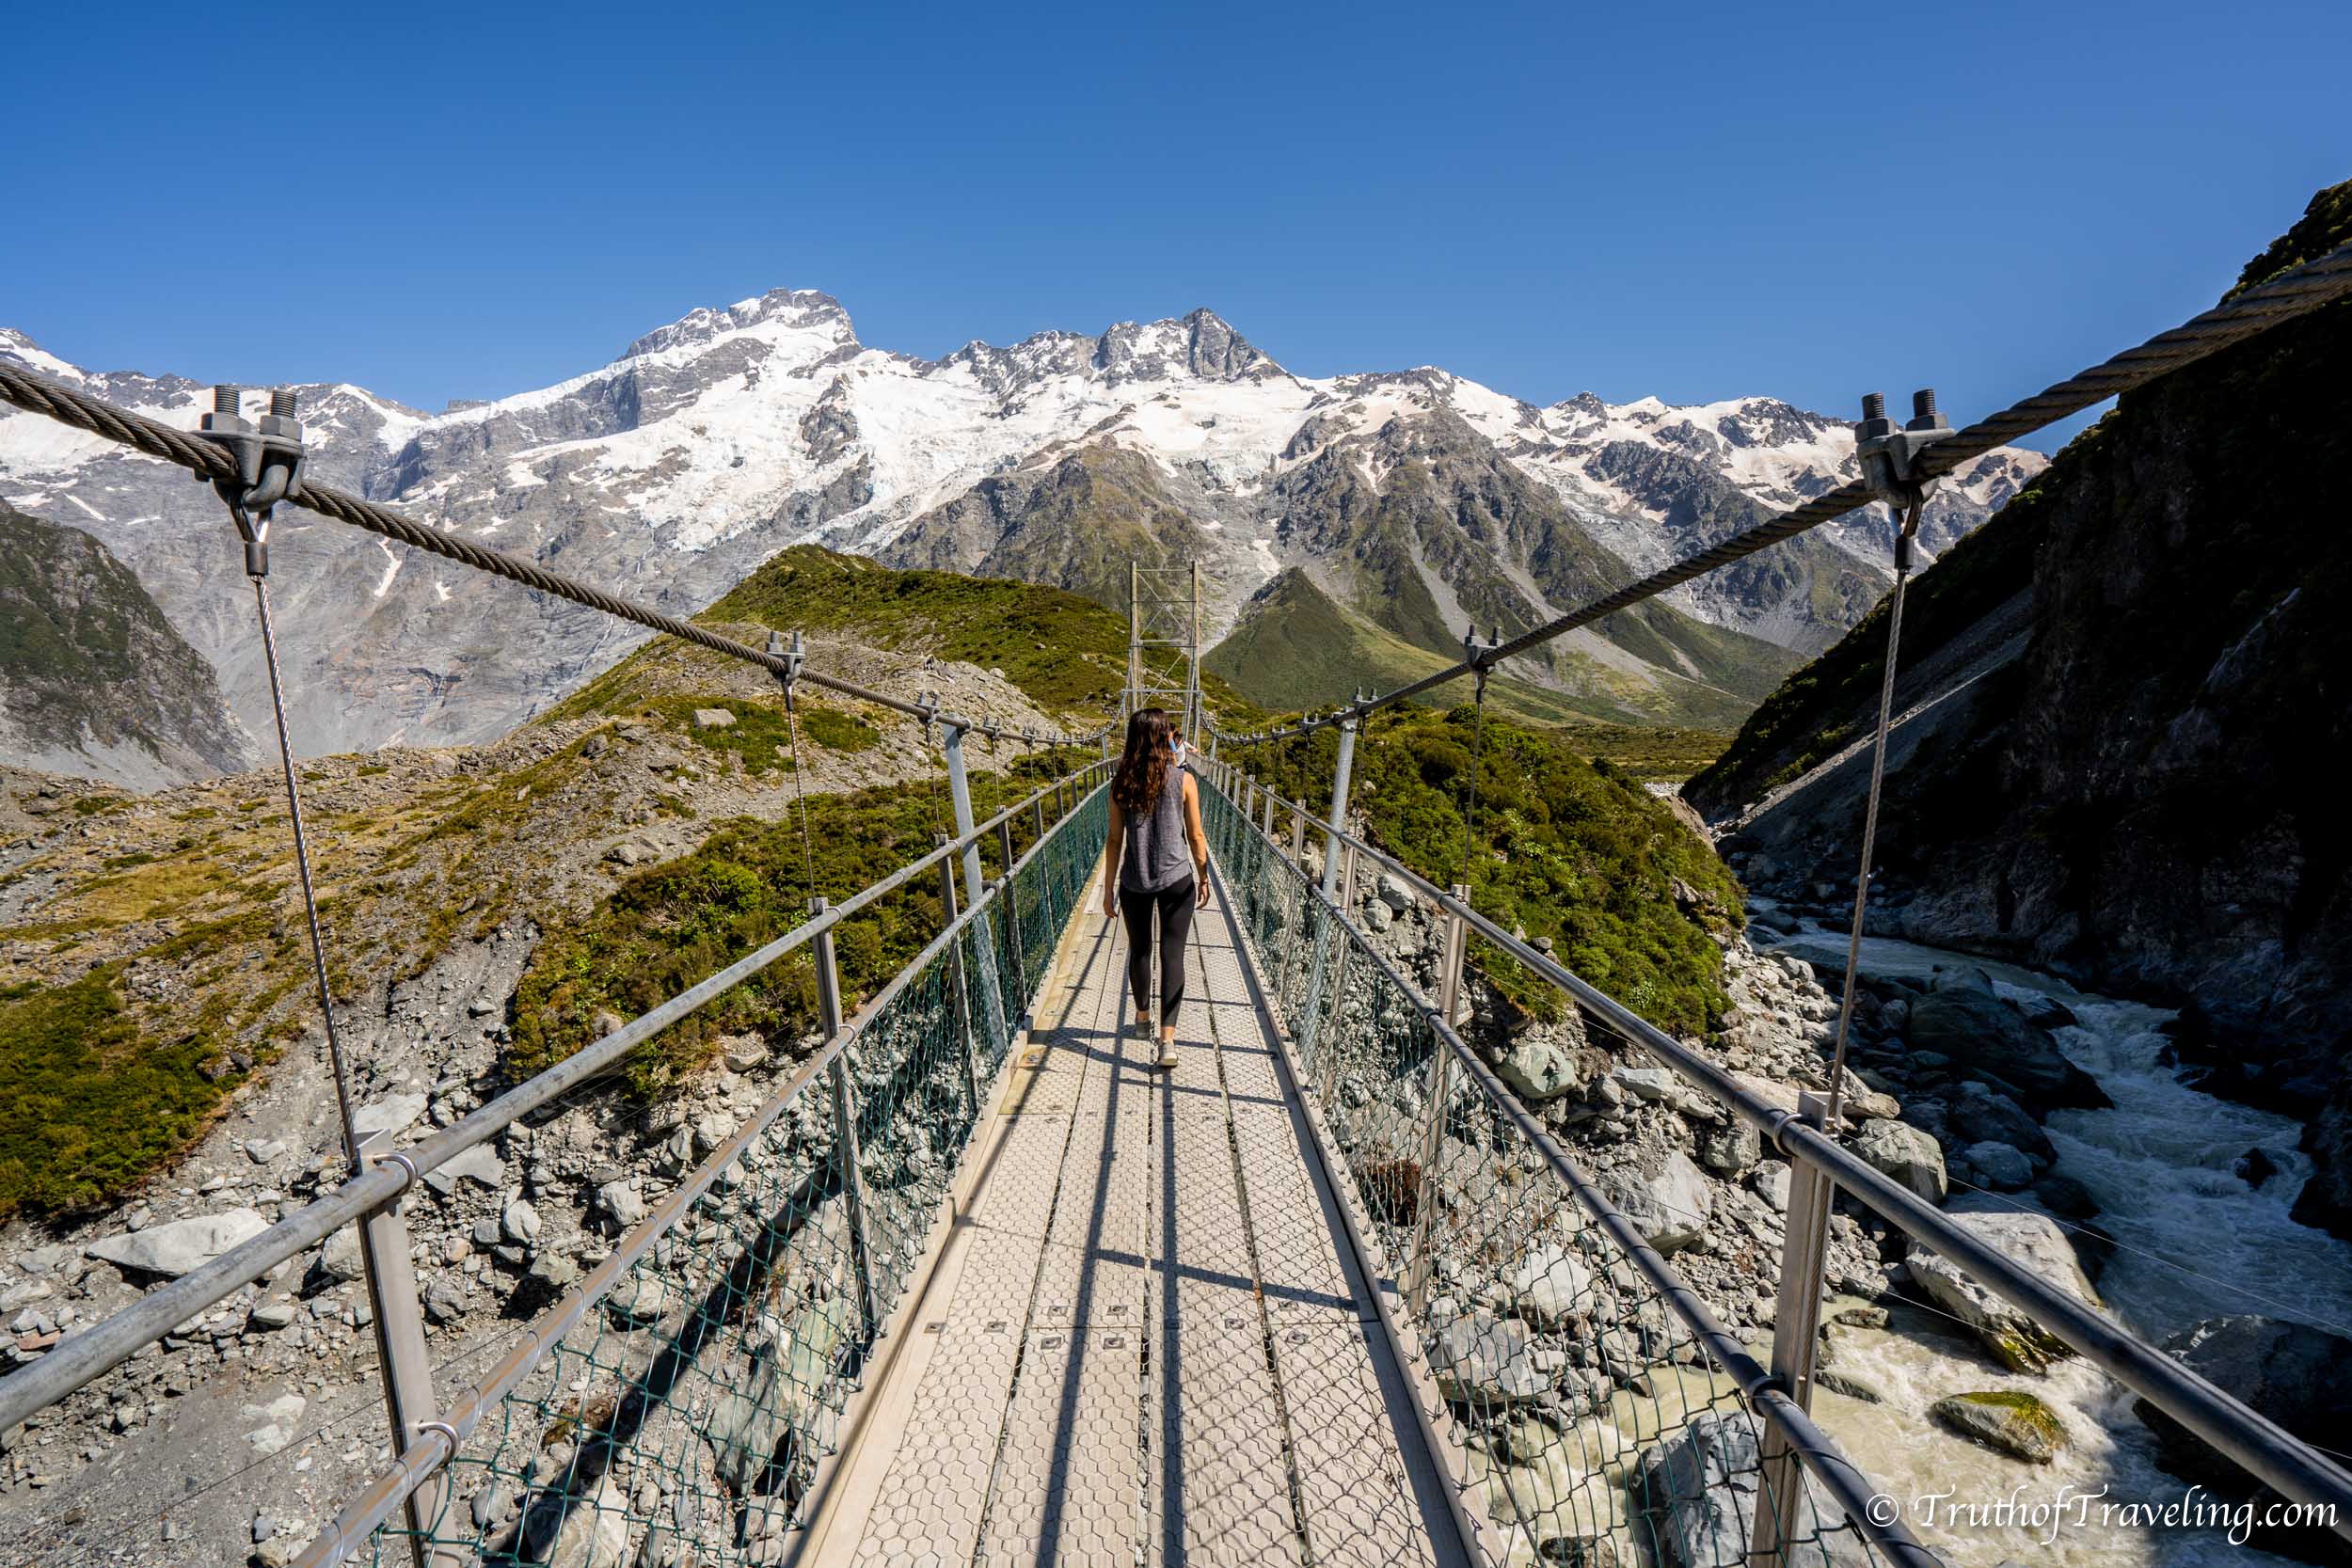
The trail goes along the glacial field where the Mueller Glacier used to be. You will start to see lots of rocks and gravel. If you turn around you can see the glacial field in the distance and where the teal water of Lake Pukaki begins.
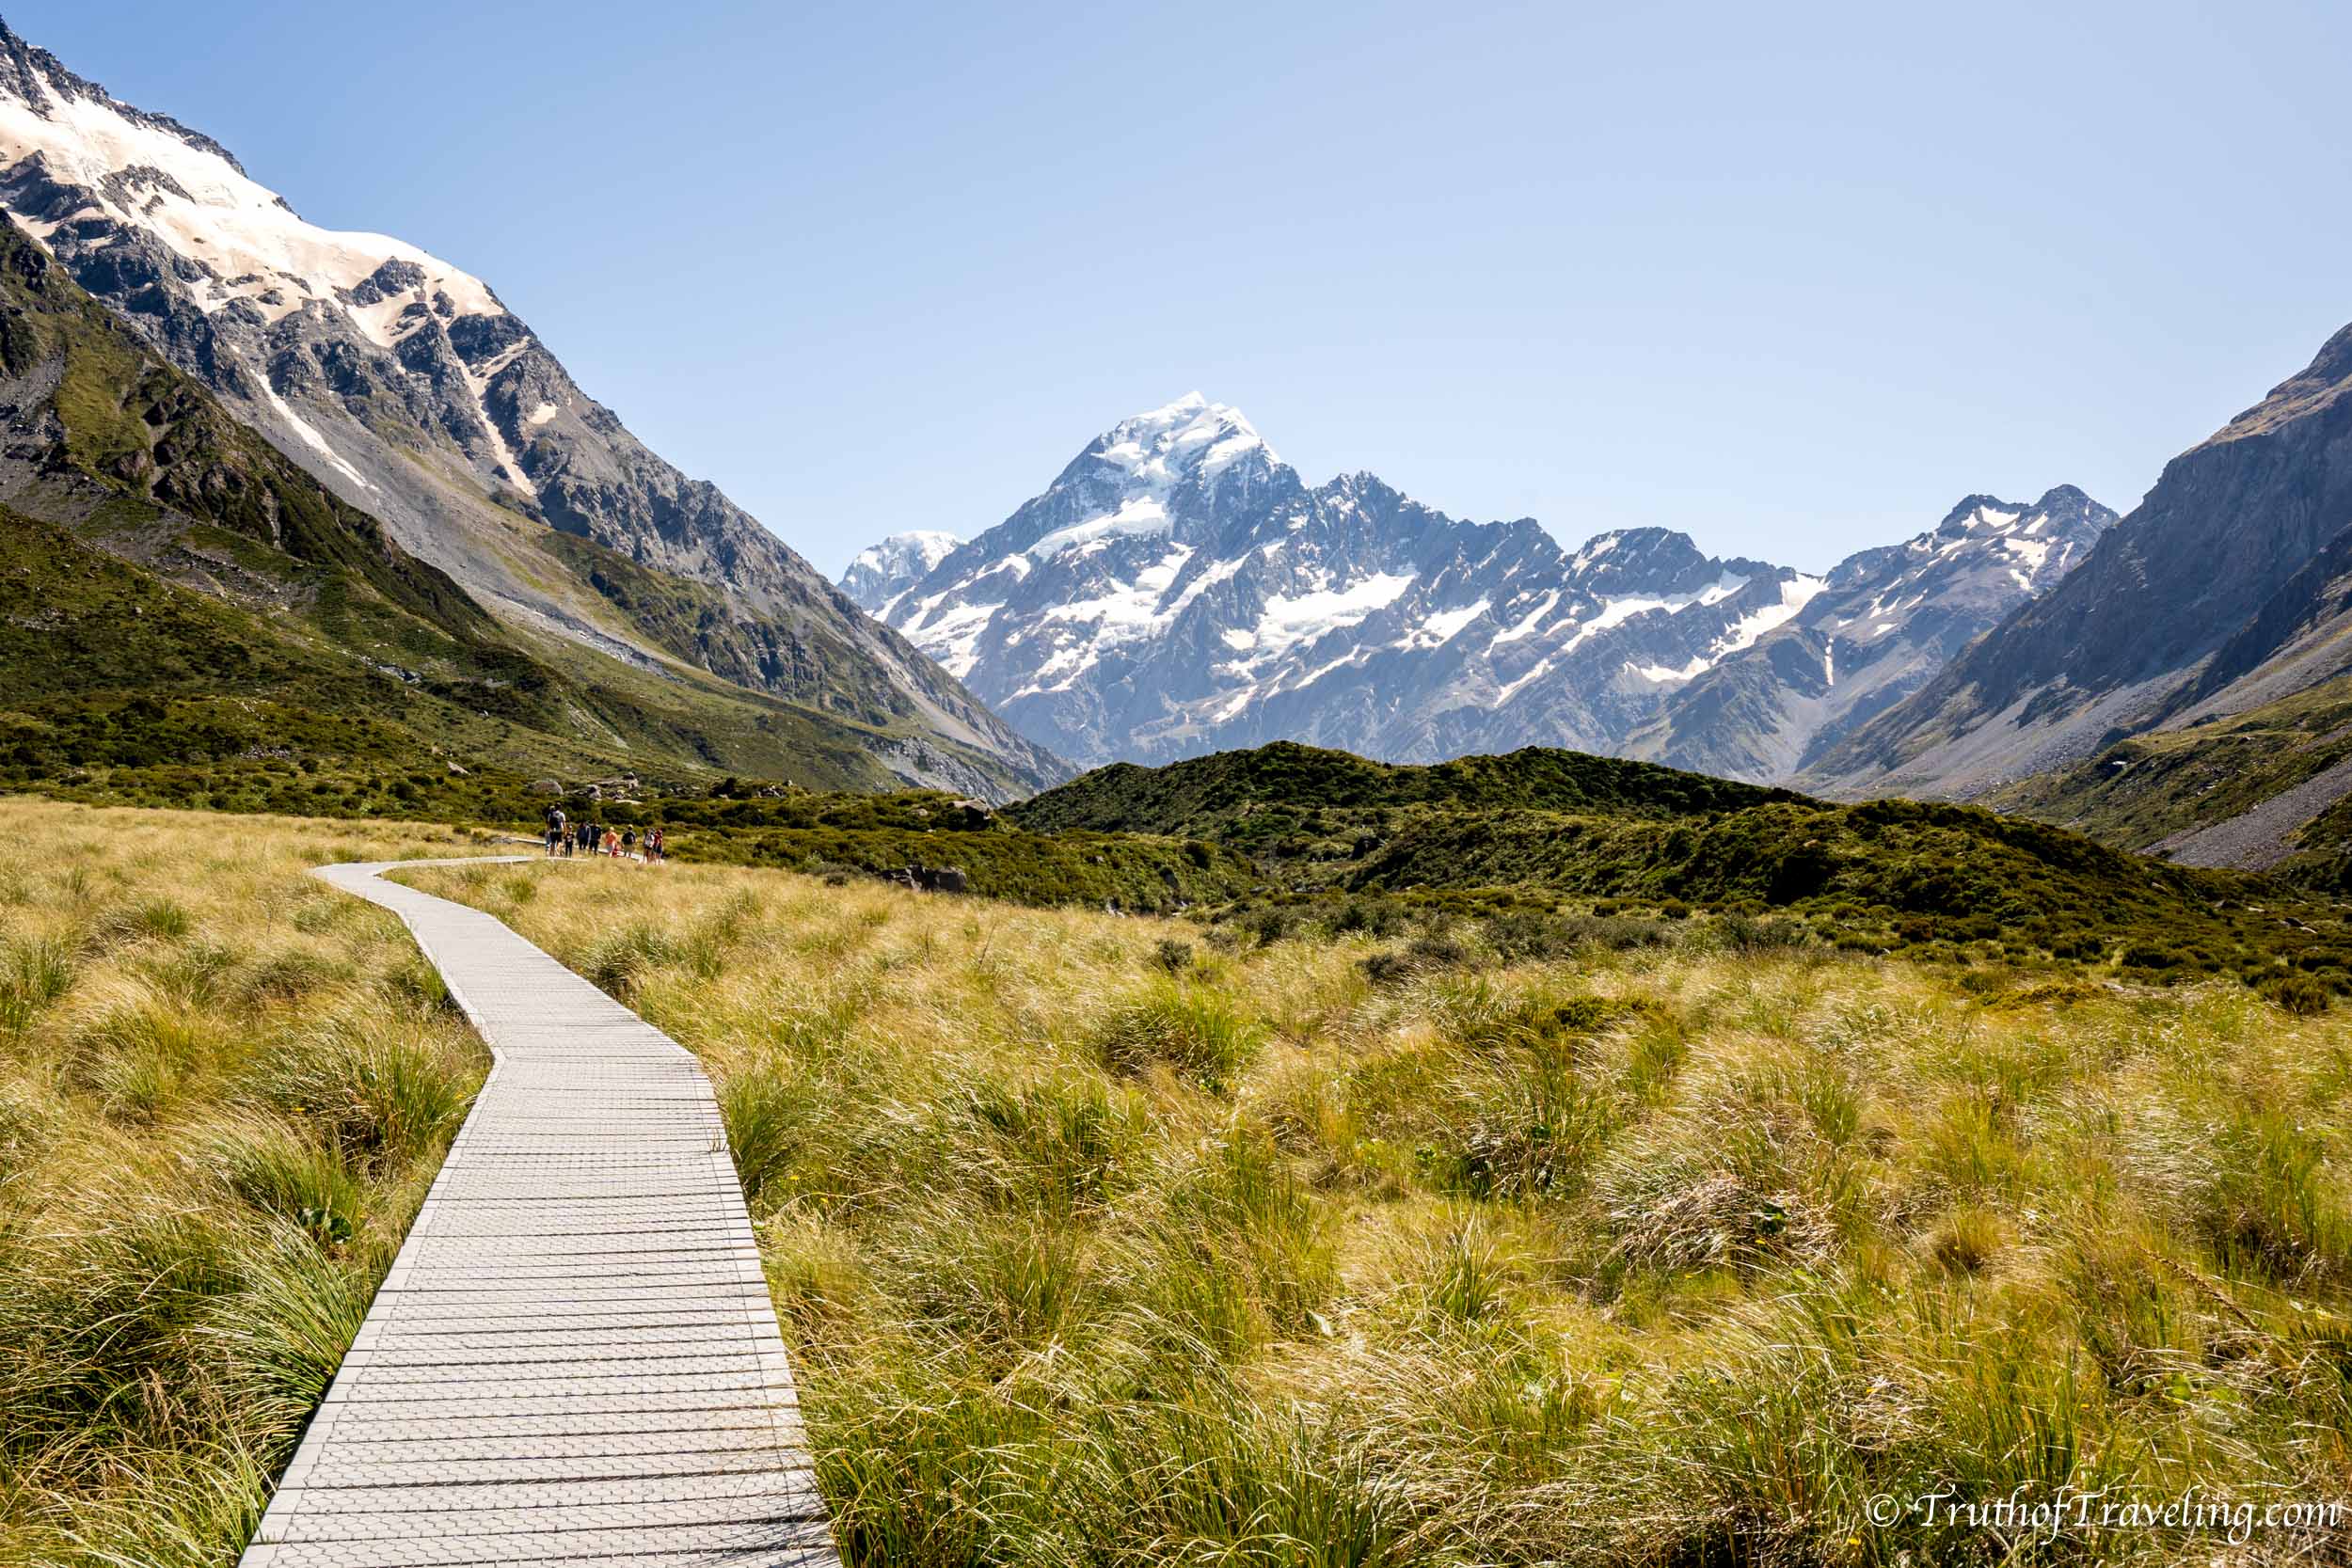
It took us about 3 hours to get to Hooker Lake which sounds really slow but it’s because we stopped to take pictures so many times! There are a few spots with picnic tables to take a break as well as toilets about two-thirds of the way to the lake.
- You can of course make it faster than we did but then again why rush when you’re in such an incredible place!
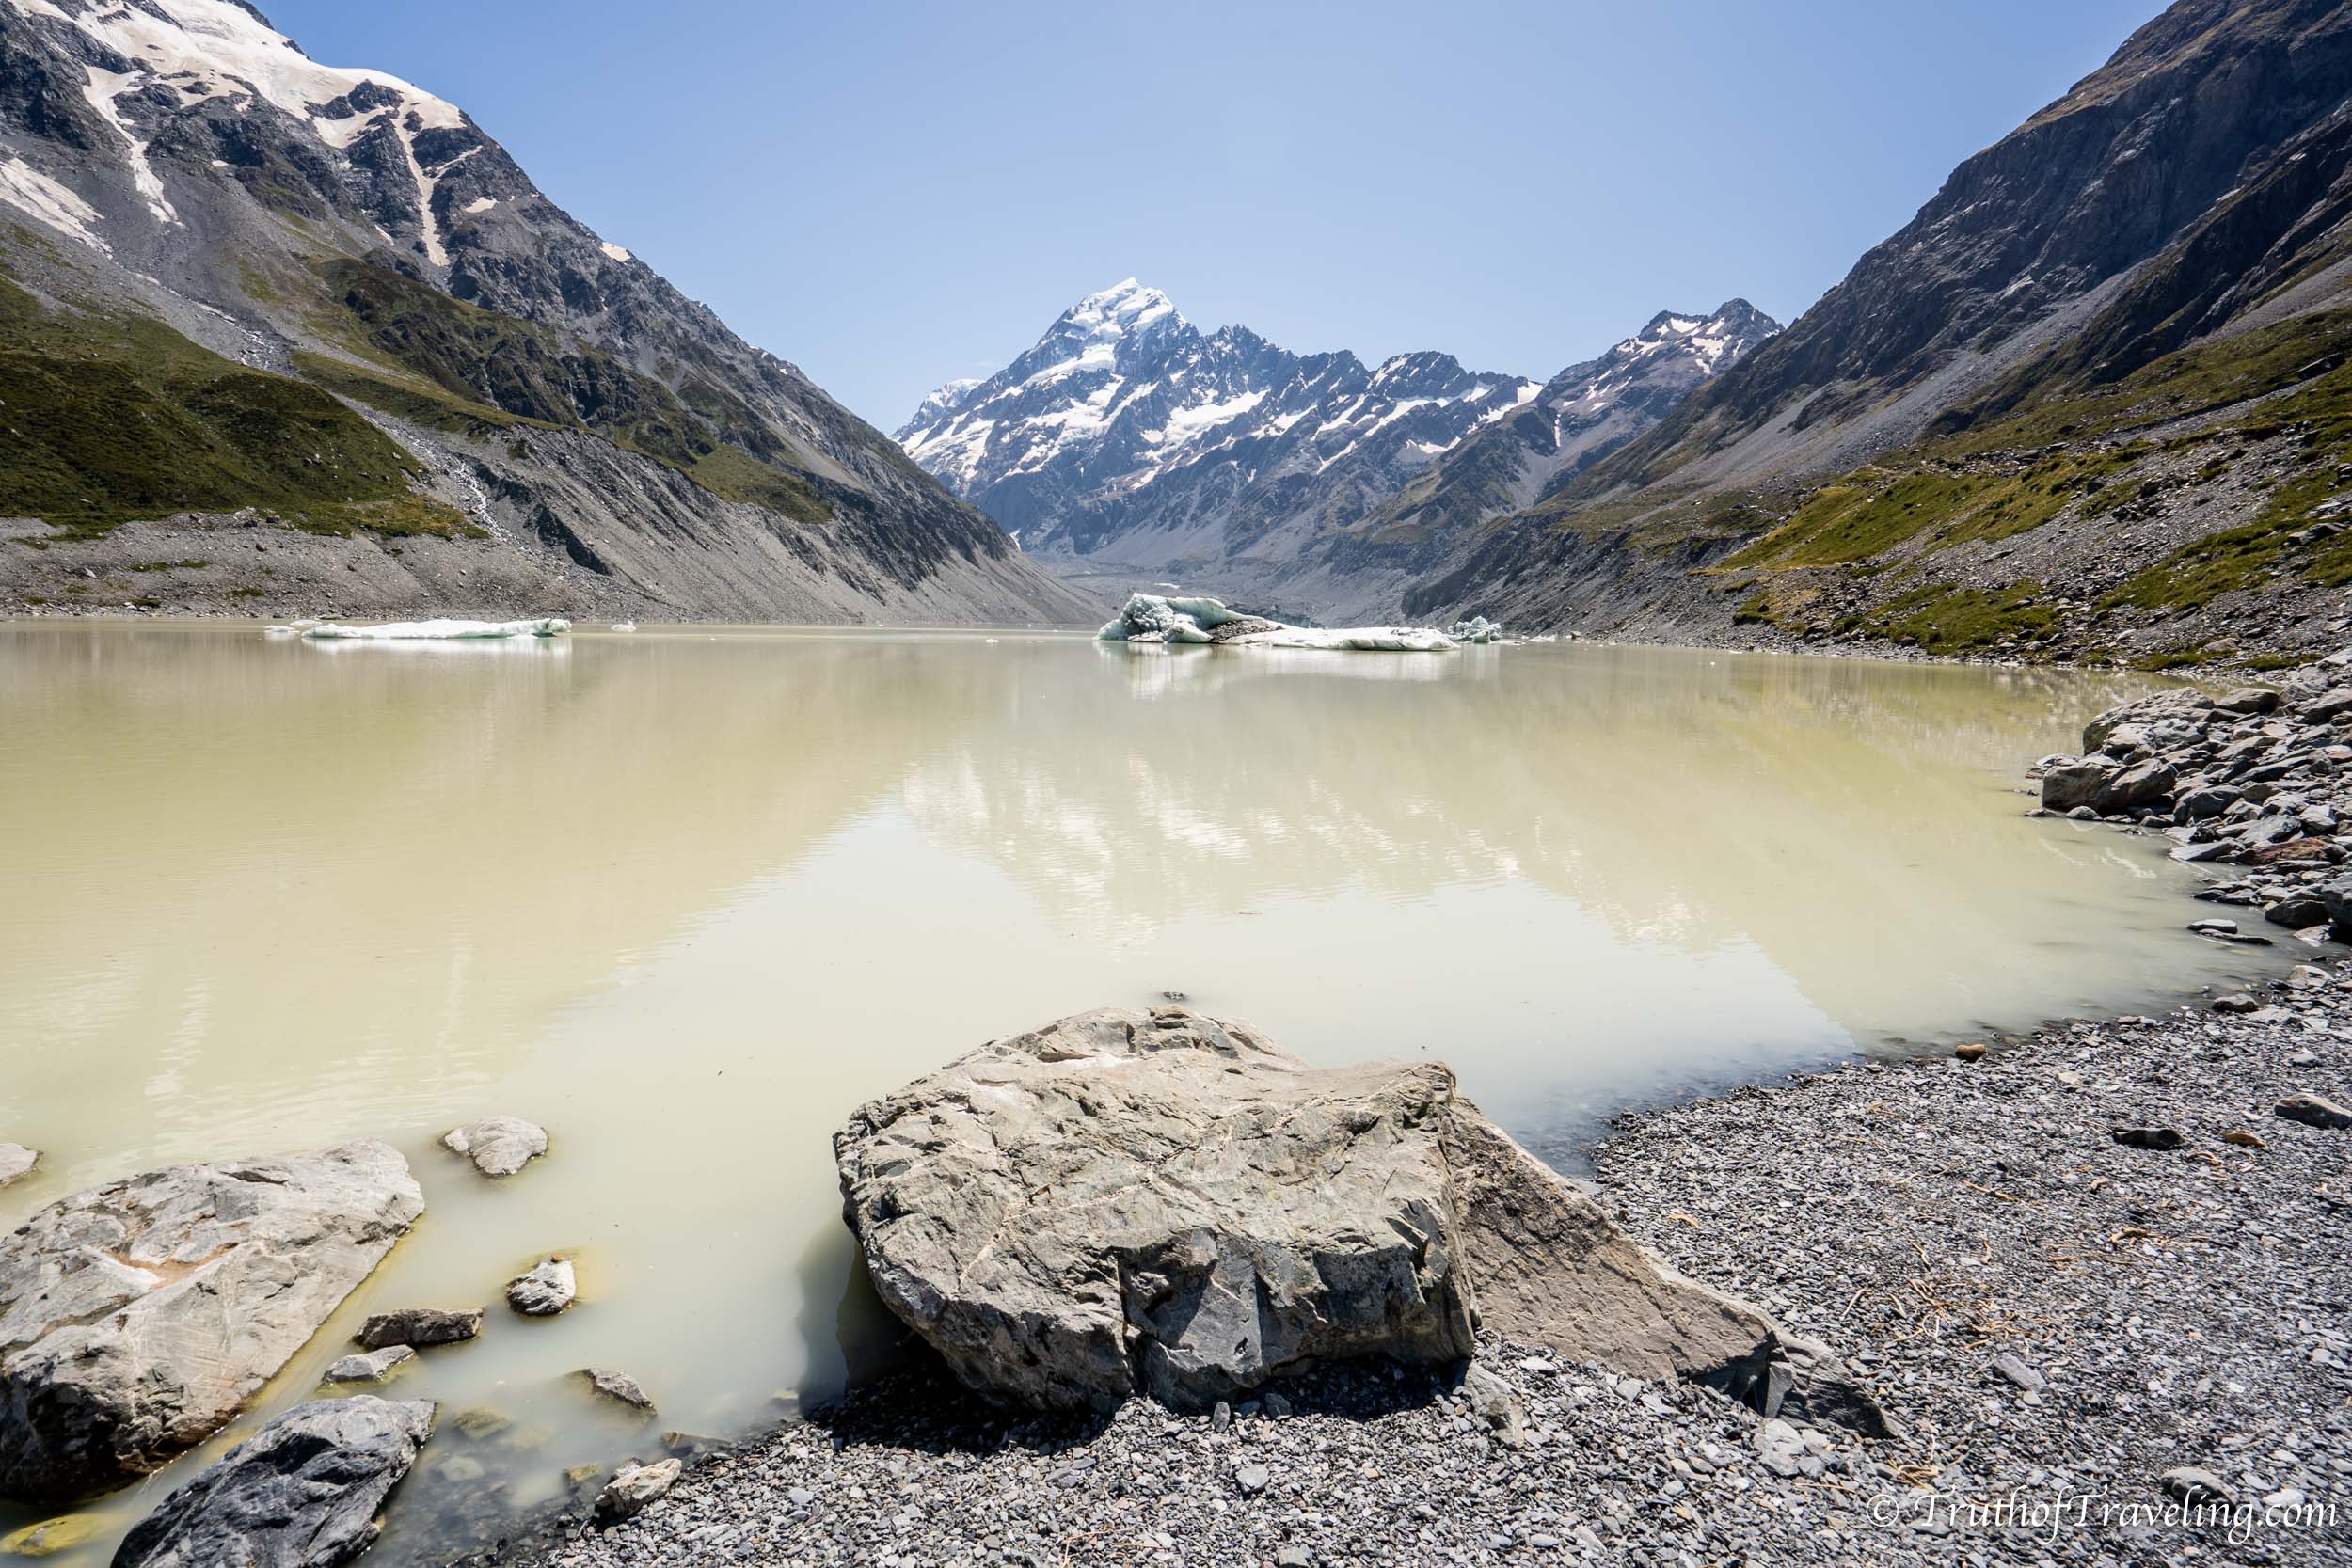
There are picnic tables at the end of the trail at Hooker Lake or you can walk down to the edge of the water on either side of the lake. We packed our daypack with sandwiches, plenty of water and of course a celebratory Snickers to have at the end!
Without stopping quite as much it took us 1 hour to walk back from Hooker Lake to the campsite. You walk back the same route as the way there so it’s definitely easier on the way back!
- The trail switches between a gravel pathway and a wooden platform both of which were very easy to walk on.
- It’s almost entirely flat so you don’t have to worry about climbing all uphill.
- While I love my hiking shoes, because of the flatness and the type of trail you could easily do this hike in sneakers or other close-toe shoes and be completely fine!
The only thing that would make the White Horse Hill campsite perfect would be if it had showers especially after a hot hike but there is fresh water so you can make do for another day!
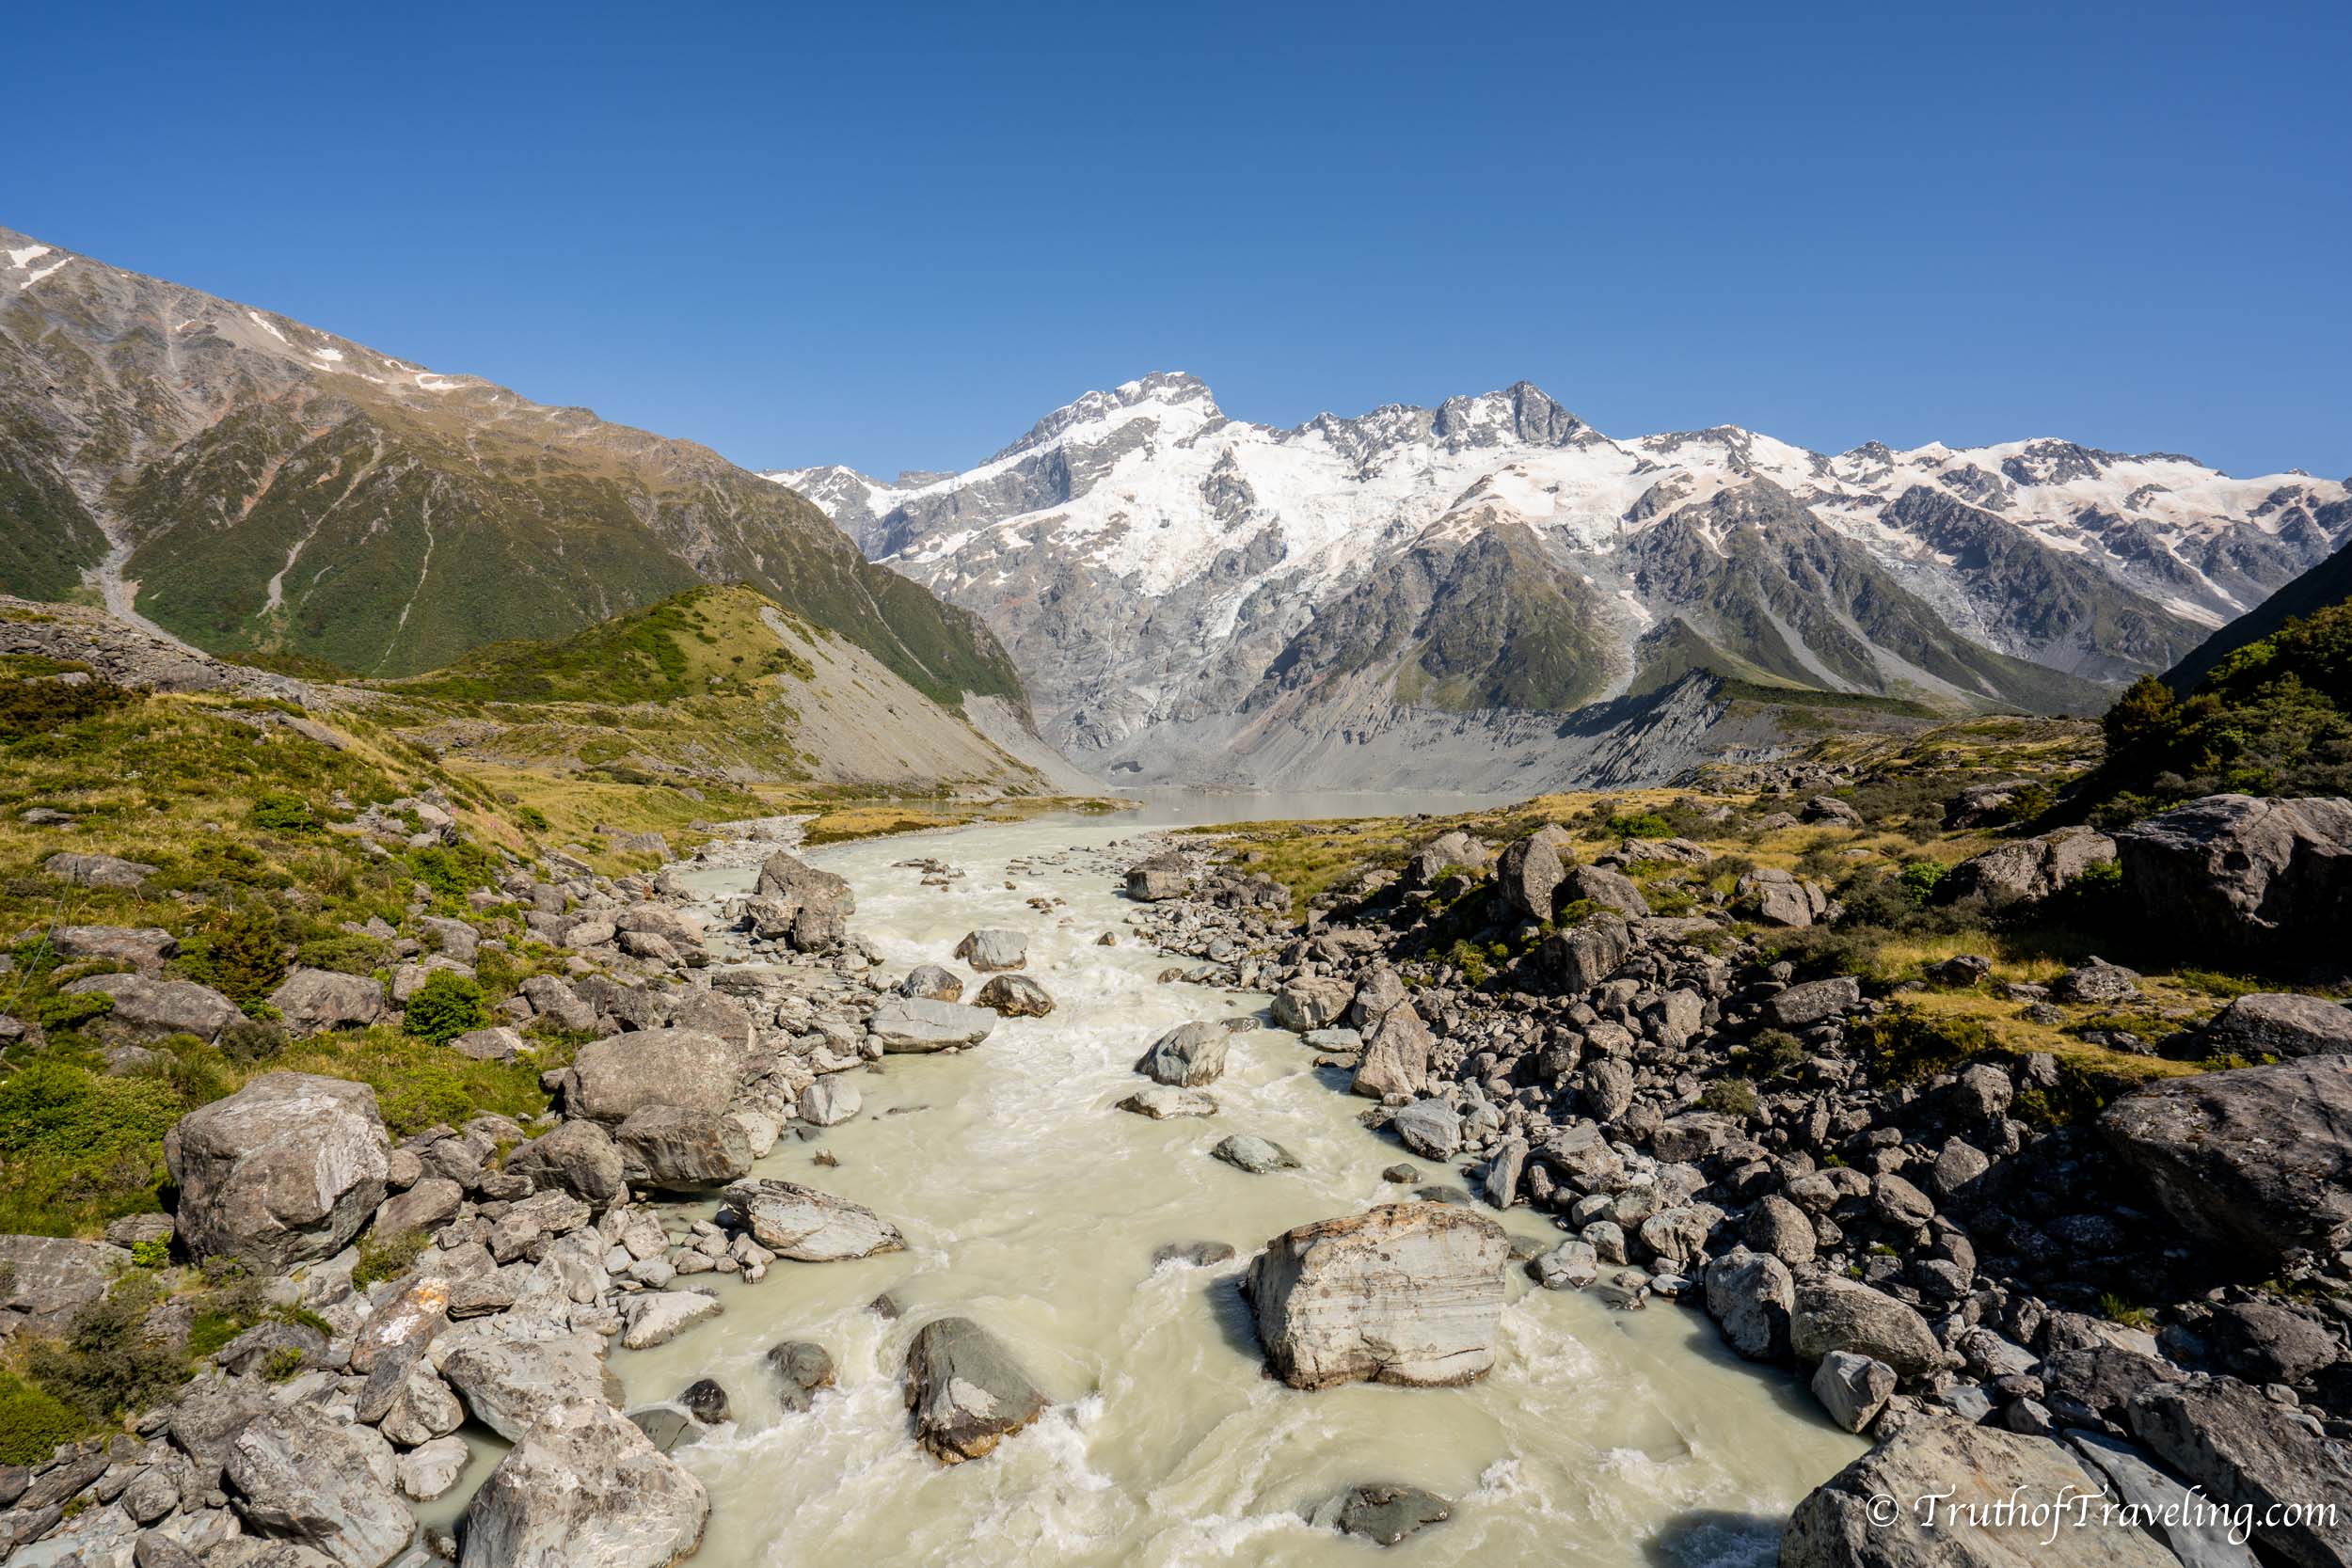
You have a choice after you finish the hike. Depending on how early you’re done you could pack up and start driving south that day or spend another night at the same campsite and leave early the next morning. The drive from Mount Cook to Queenstown is an incredible drive that we seriously underestimated. It looks nothing like we expected it to! We would recommend staying another night at White Horse Hill Campground so you don’t have to rush after hiking!
Drive: none!
Stay: White Horse Hill Campground ($15 NZD pp)
Day 7: Drive to Queenstown
Say goodbye to Mount Cook which is the tallest mountain in New Zealand. The drive from Mount Cook to Queenstown is about 260 kms but I promise it is a drive that you will remember! Just when you think you’ve seen it all with teal lakes and incredible snowcapped mountains New Zealand will surprise you again!
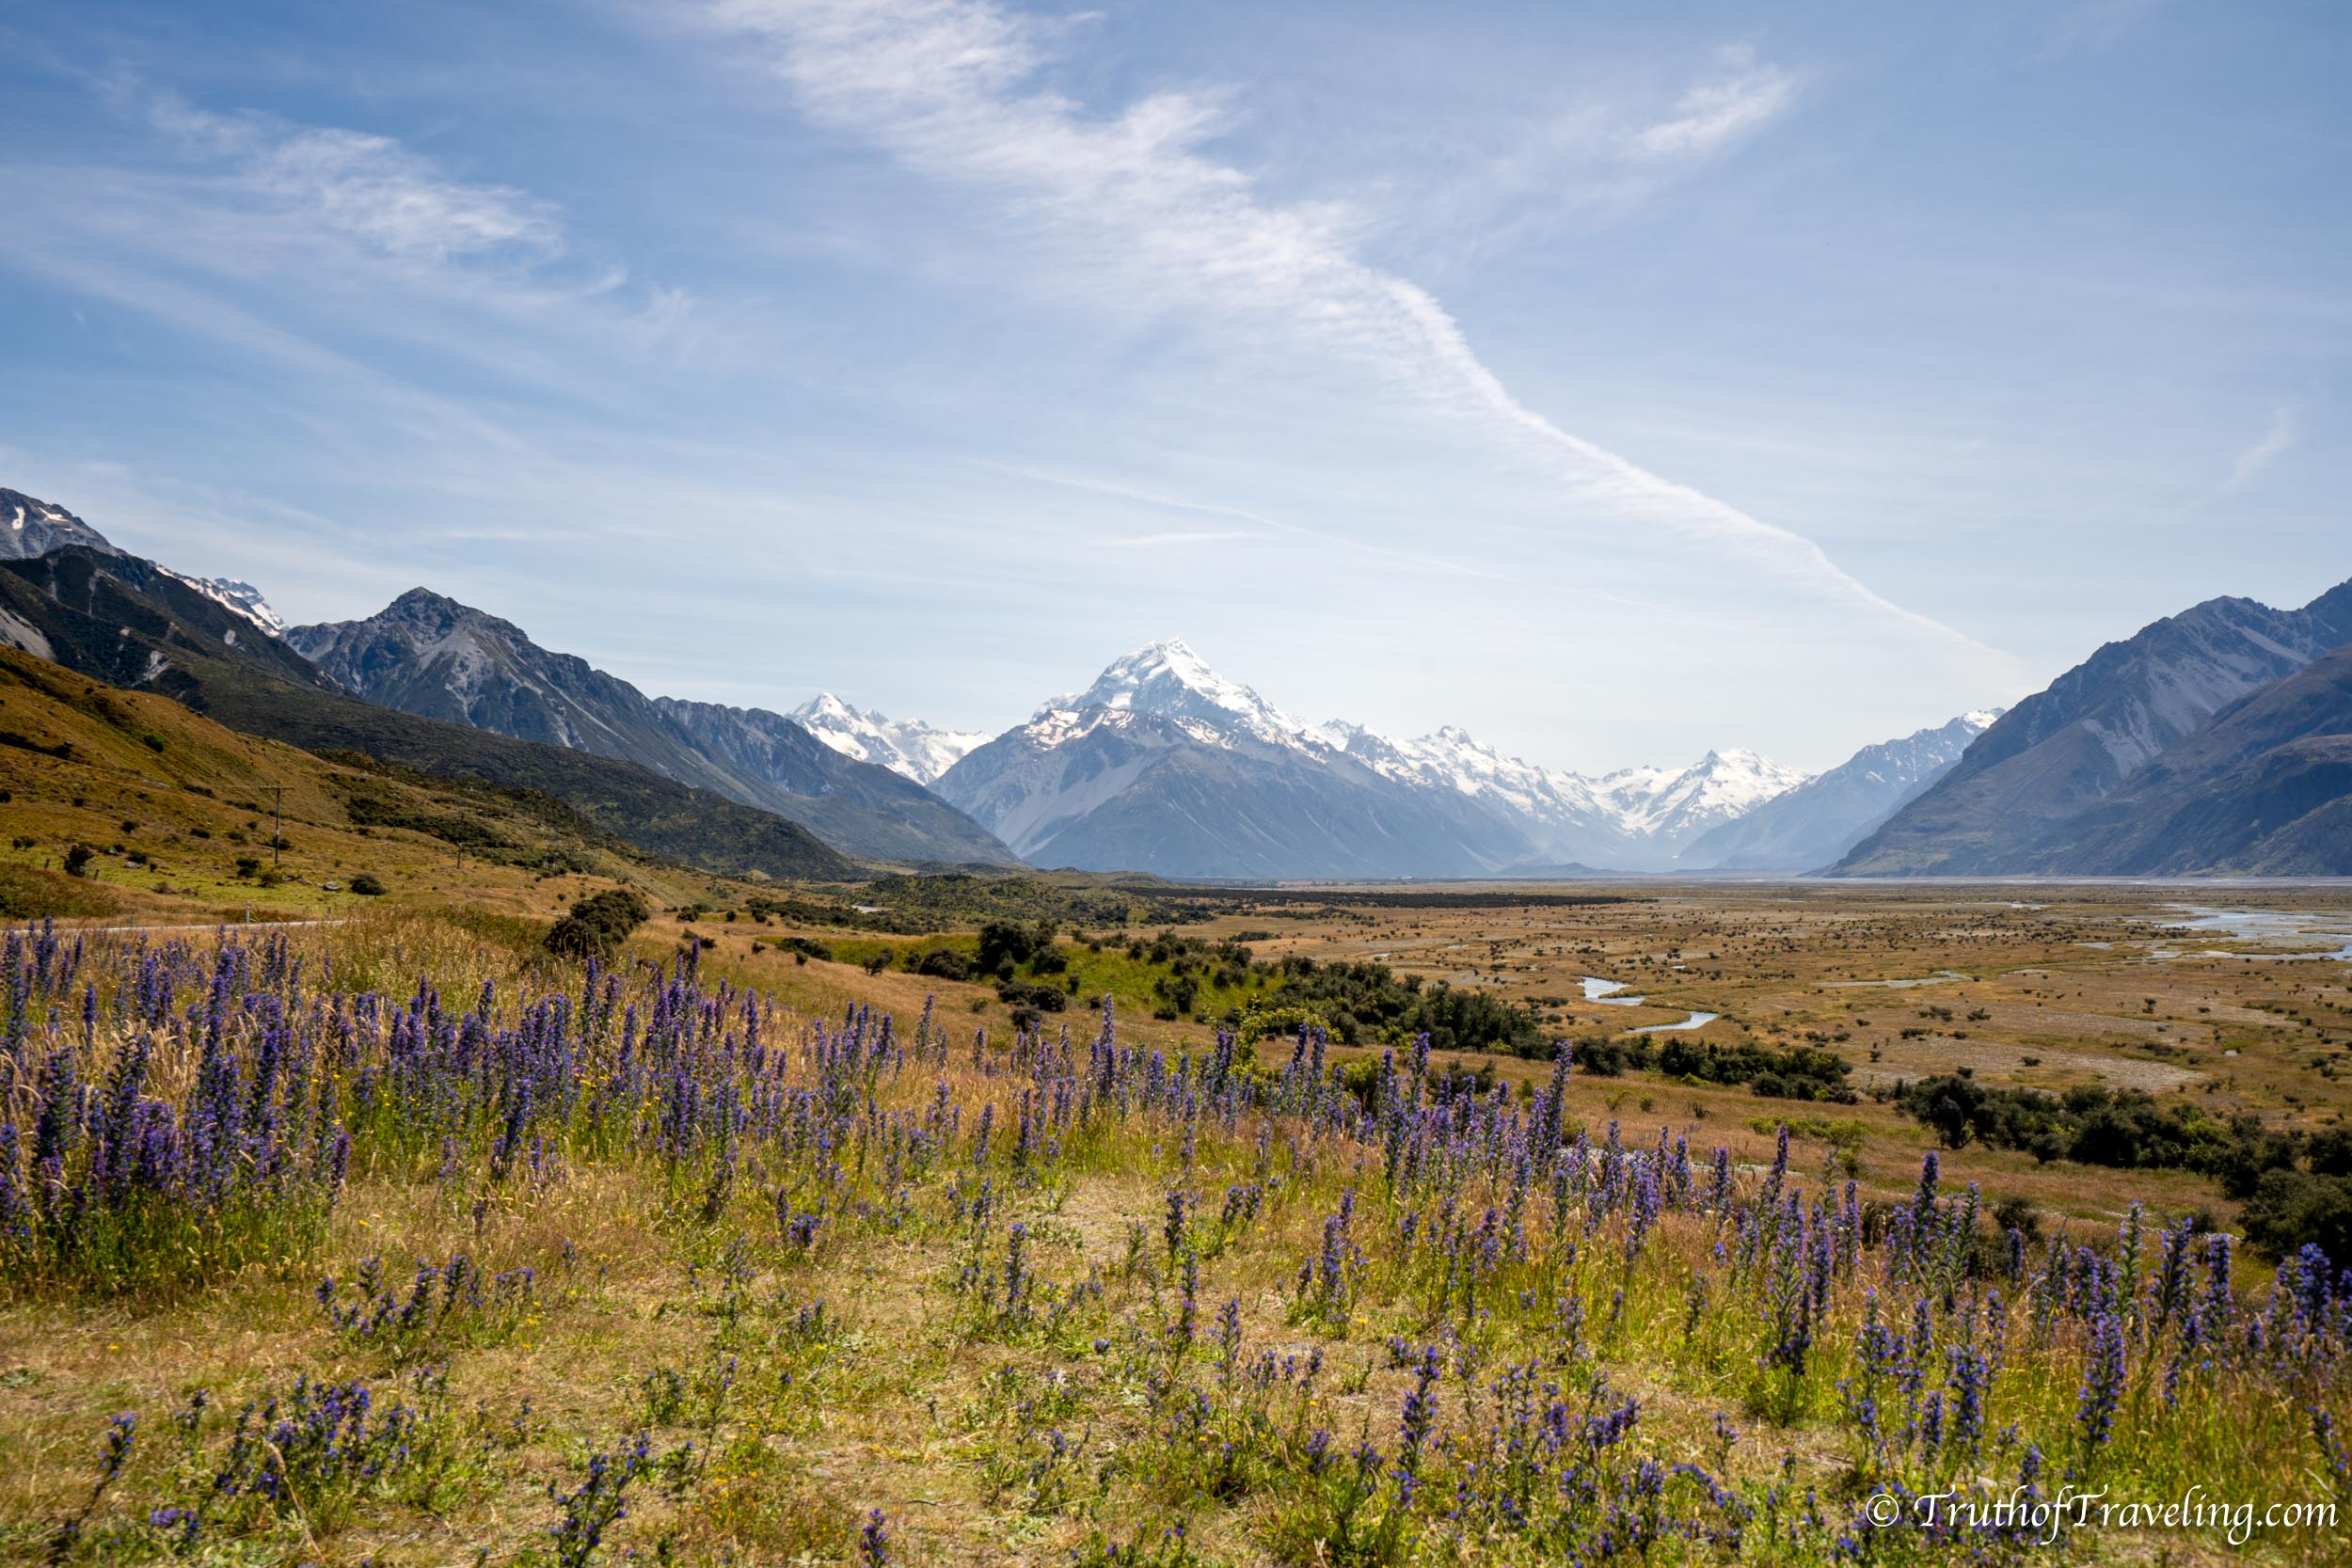
The beginning of the drive starts off going back the same way you got to Mount Cook along Mount Cook Road past Lake Pukaki. You will have one more chance to take any last pictures before continuing south in the other direction.
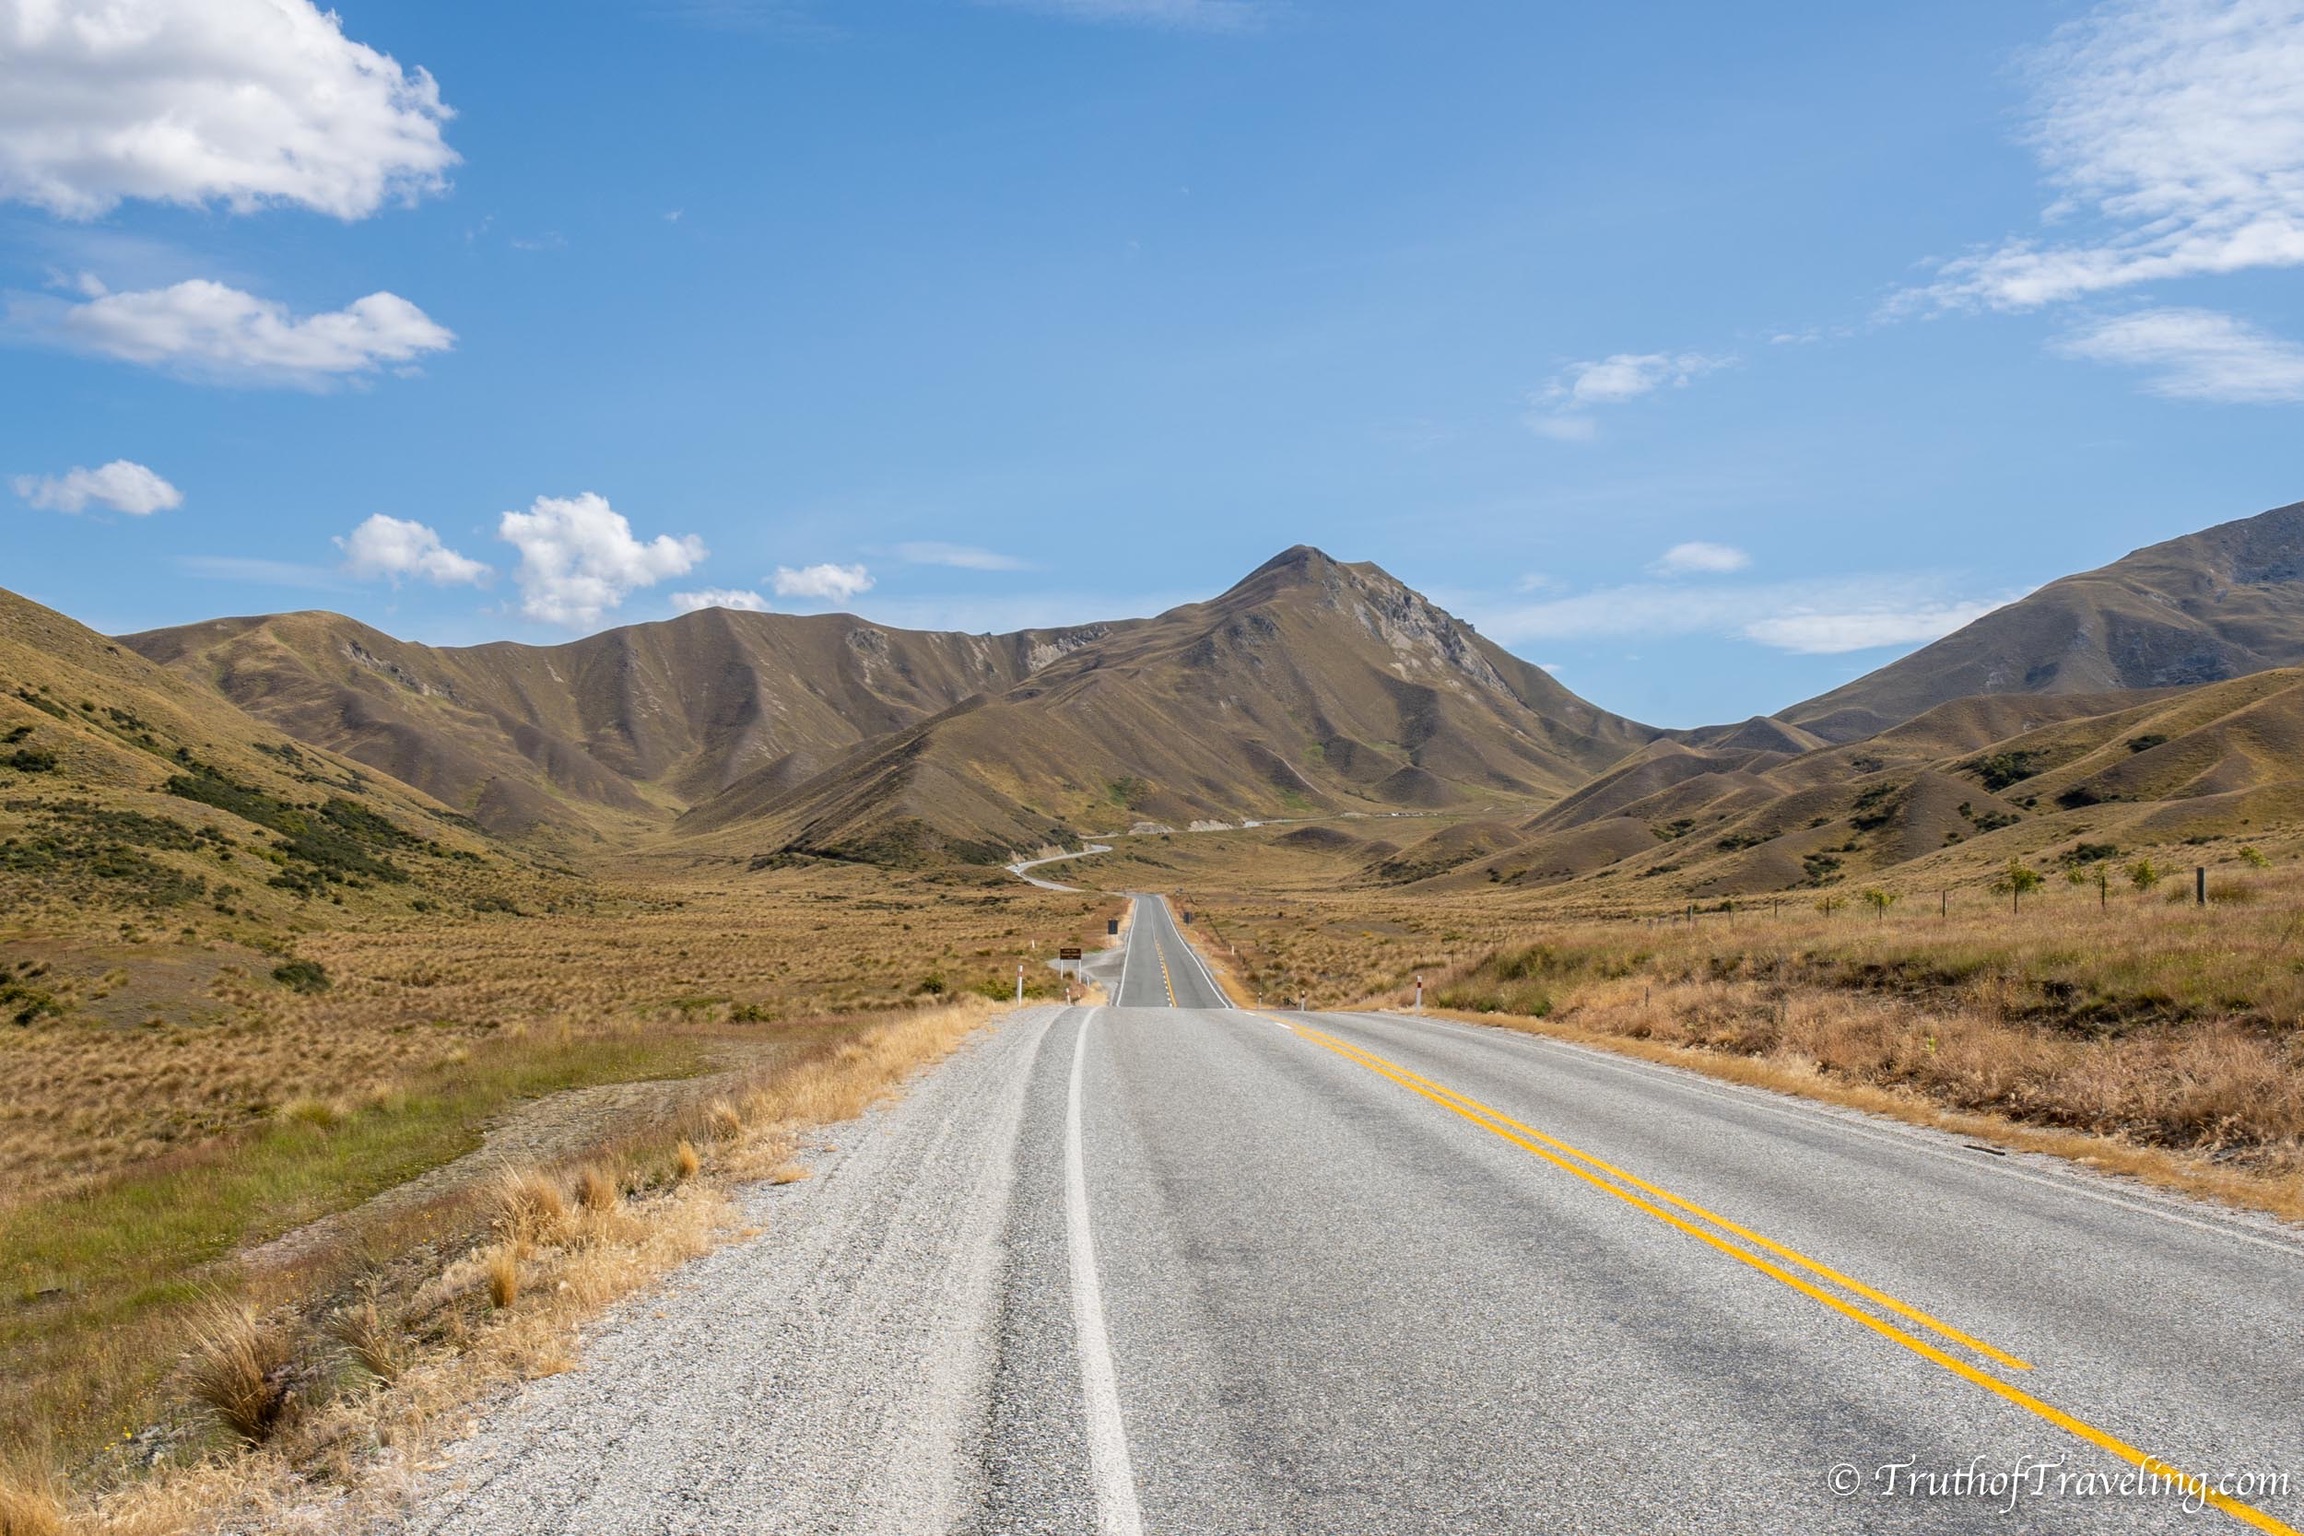
After about 50 kms the lake will be behind you and then the landscape of the drive changes significantly. The Lindis Pass is an incredible area to drive through! We seriously couldn’t believe that all the things we had seen thus far were all on one island. The terrain becomes very arid and mountainous. The road twists and turns around the mountains giving you amazing views all around.
- During this stretch of the drive we noticed we didn’t have any cell phone service. Being surrounded by big mountains probably explains why but plan ahead for it to go in and out a lot on this drive.
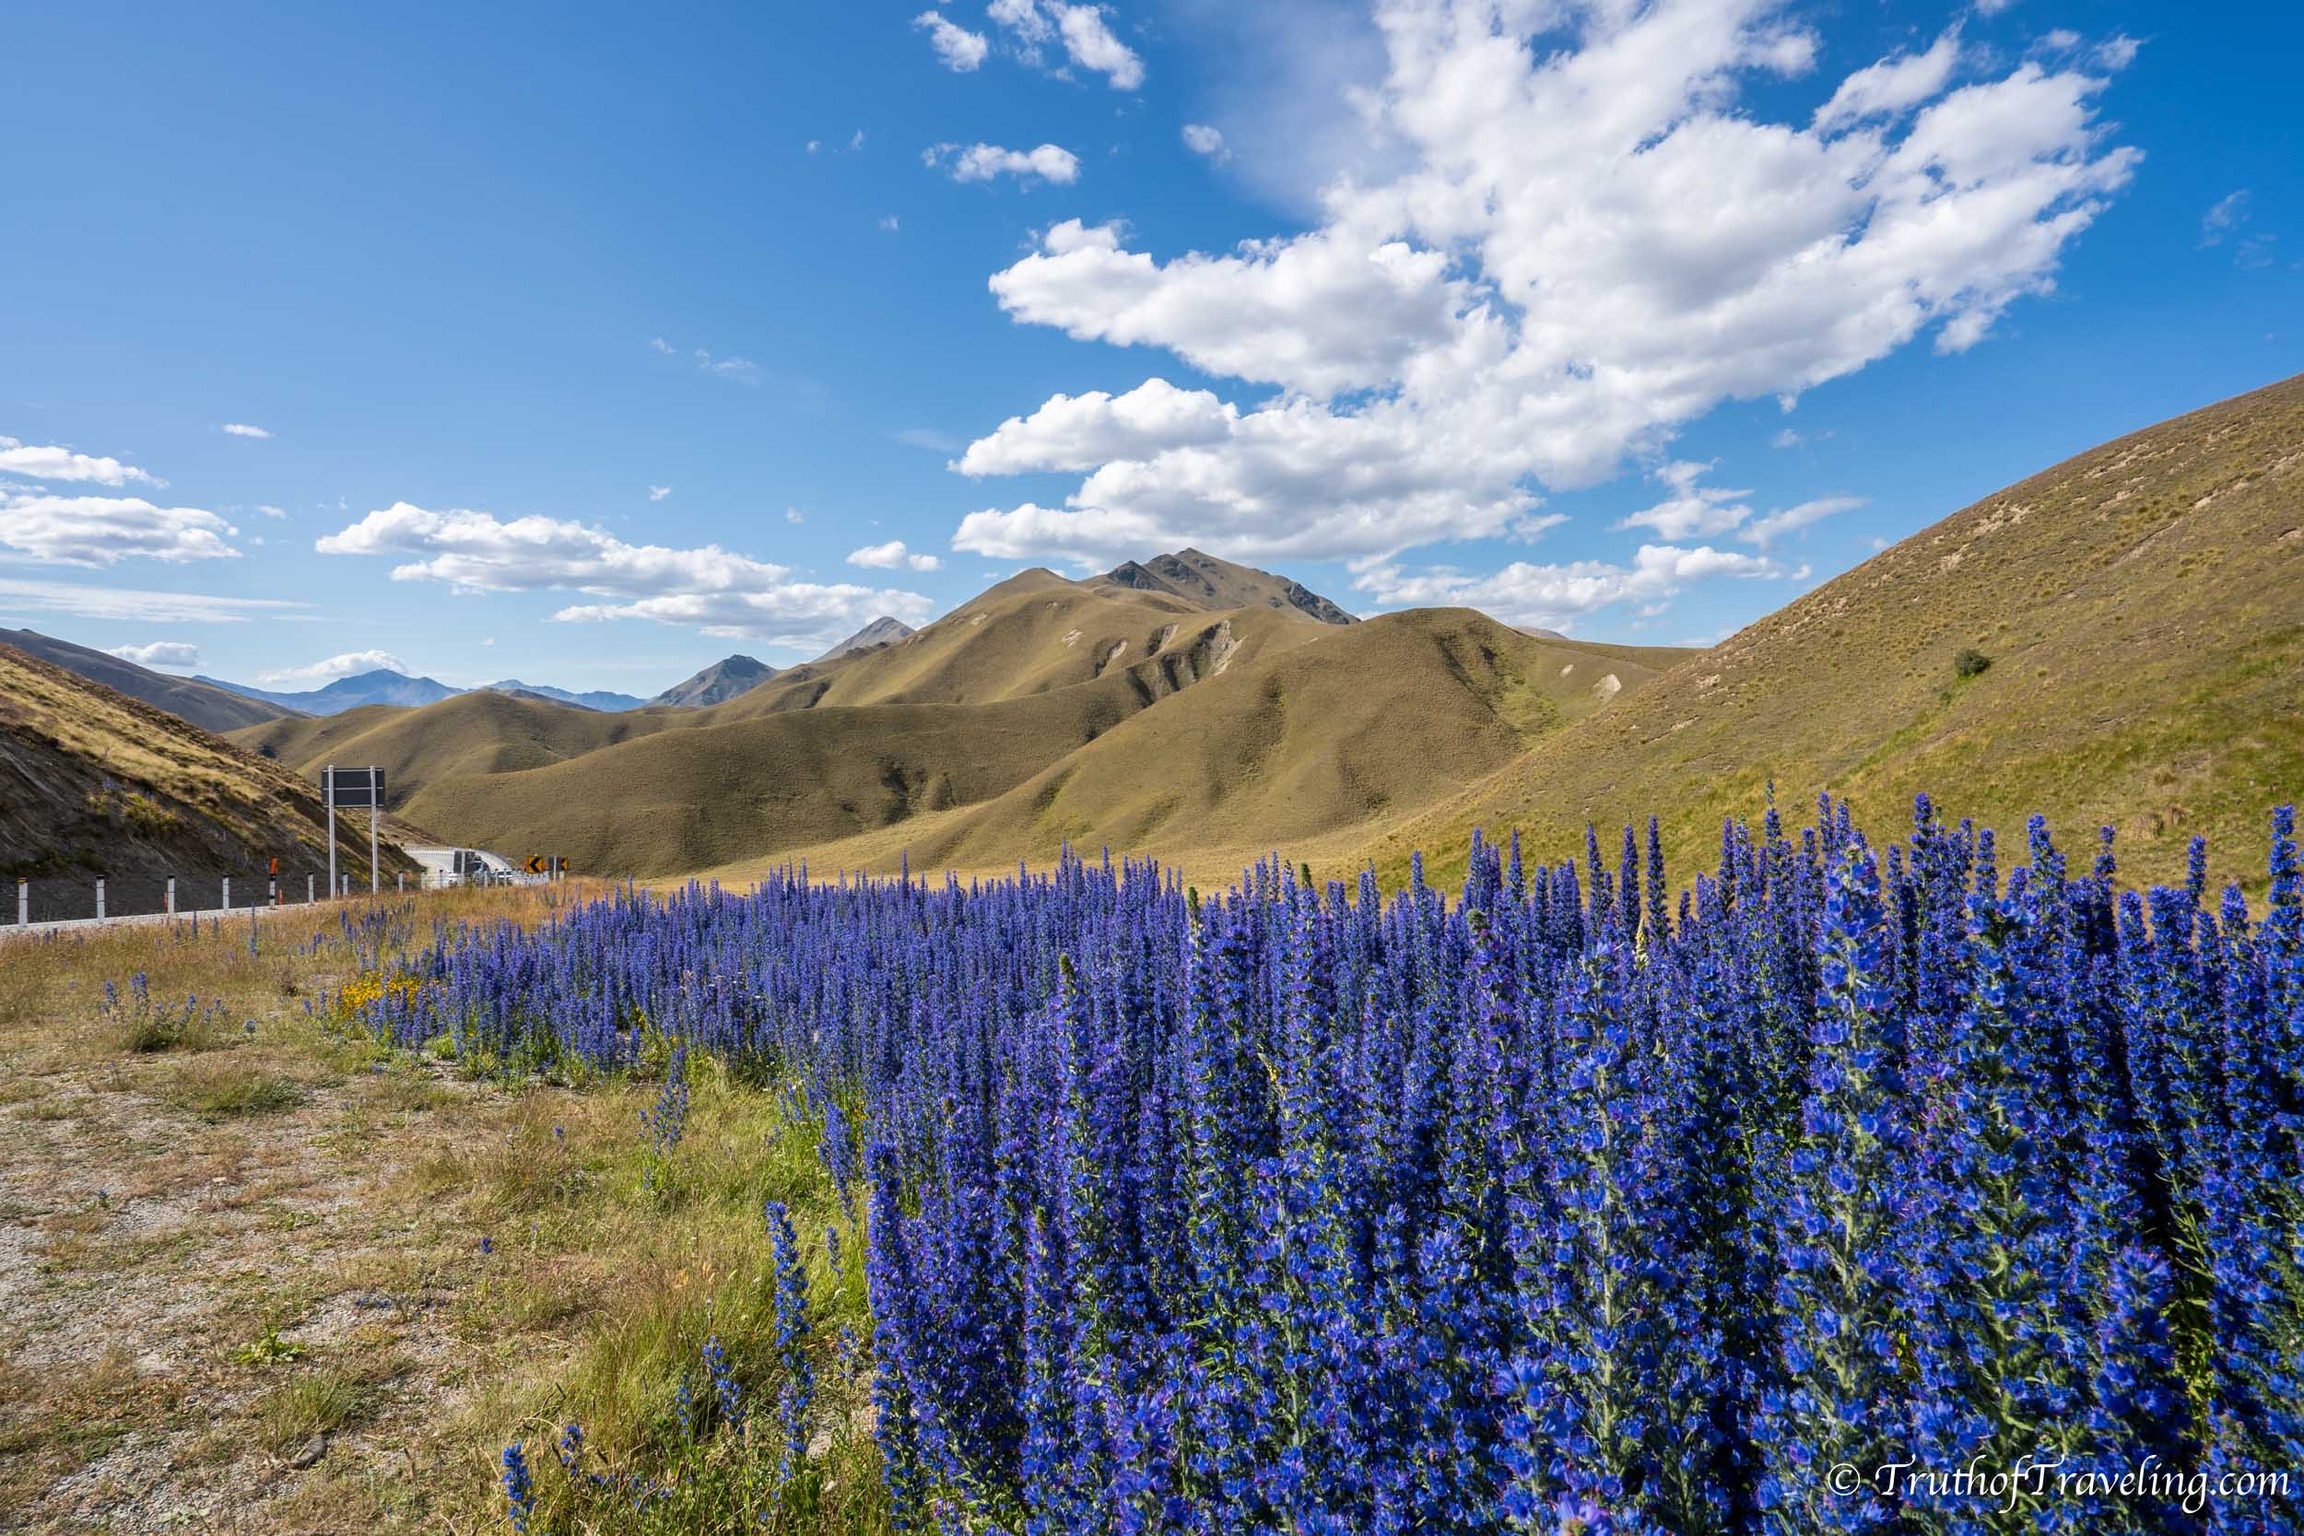
Driving from Mount Cook to Queenstown is quite a long drive at over 250 kms. You will likely make some stops to get out and take pictures throughout the Lindis Pass but there are a few other places you can stop along the way too. You will drive parallel to Lake Dunstan which is a nice spot to stop and take a break. At the southern edge of the lake is Cromwell where you can find all kinds of varieties of fruit as well as a few vineyards.
- We stopped at a small fruit stand on the side of the road and the fruit we bought was so delicious! It was so ripe and sweet!
- If you’re feeling tired and don’t want to drive all the way to Queenstown, Cromwell is a good option to stay in!
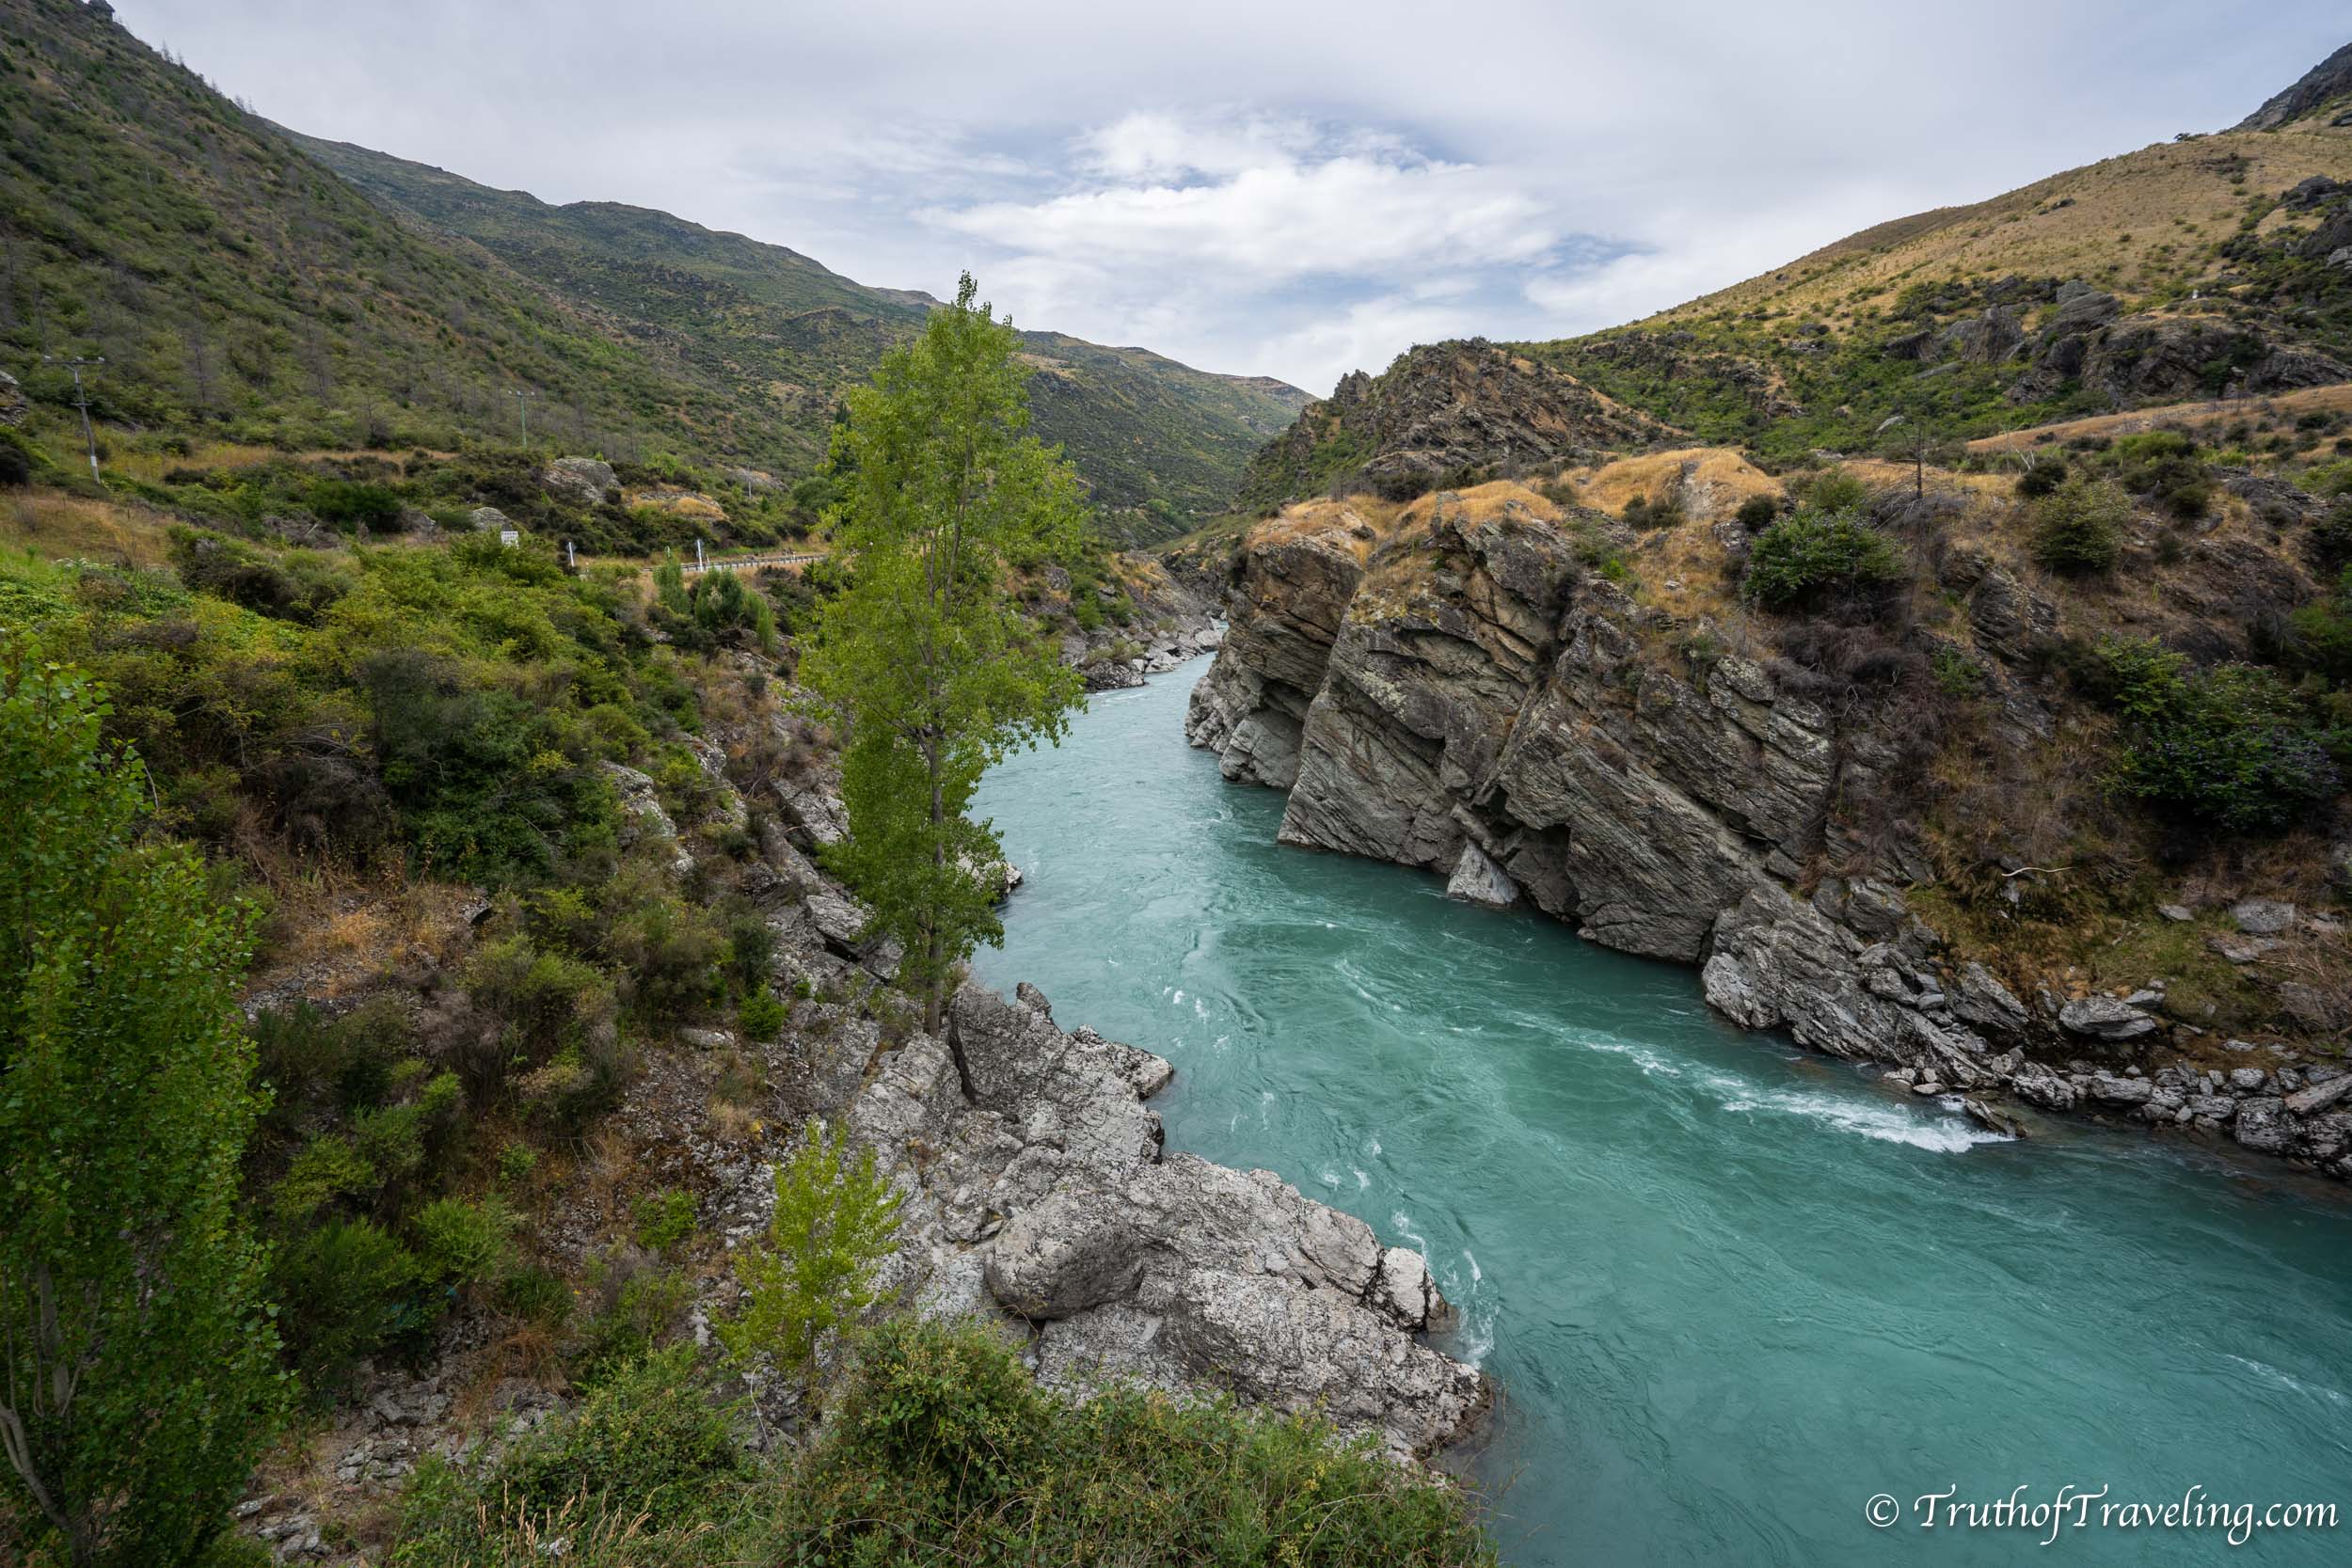
Stop at the Kawarau Gorge and see the bright blue water! You will drive parallel to the river for a while before seeing the pullover which leads to a viewing platform.
As you get closer and closer to Queenstown you will notice vineyards popping up on either side of the road. All of a sudden it starts to look really similar to Tuscany! Queenstown is the place for adventure sports so if you’re looking to bungee jump or anything like that this is the place!
Once you arrive in Queenstown head to Queenstown Gardens. It is a really nice park along the water with great views of all the surrounding mountains. You can park in the lot for 4 hours for free and follow the trail along the water. There are benches to sit or you can keep walking around. We sat on a bench for a little while and had a (late) picnic lunch before continuing on to our campsite for the night.
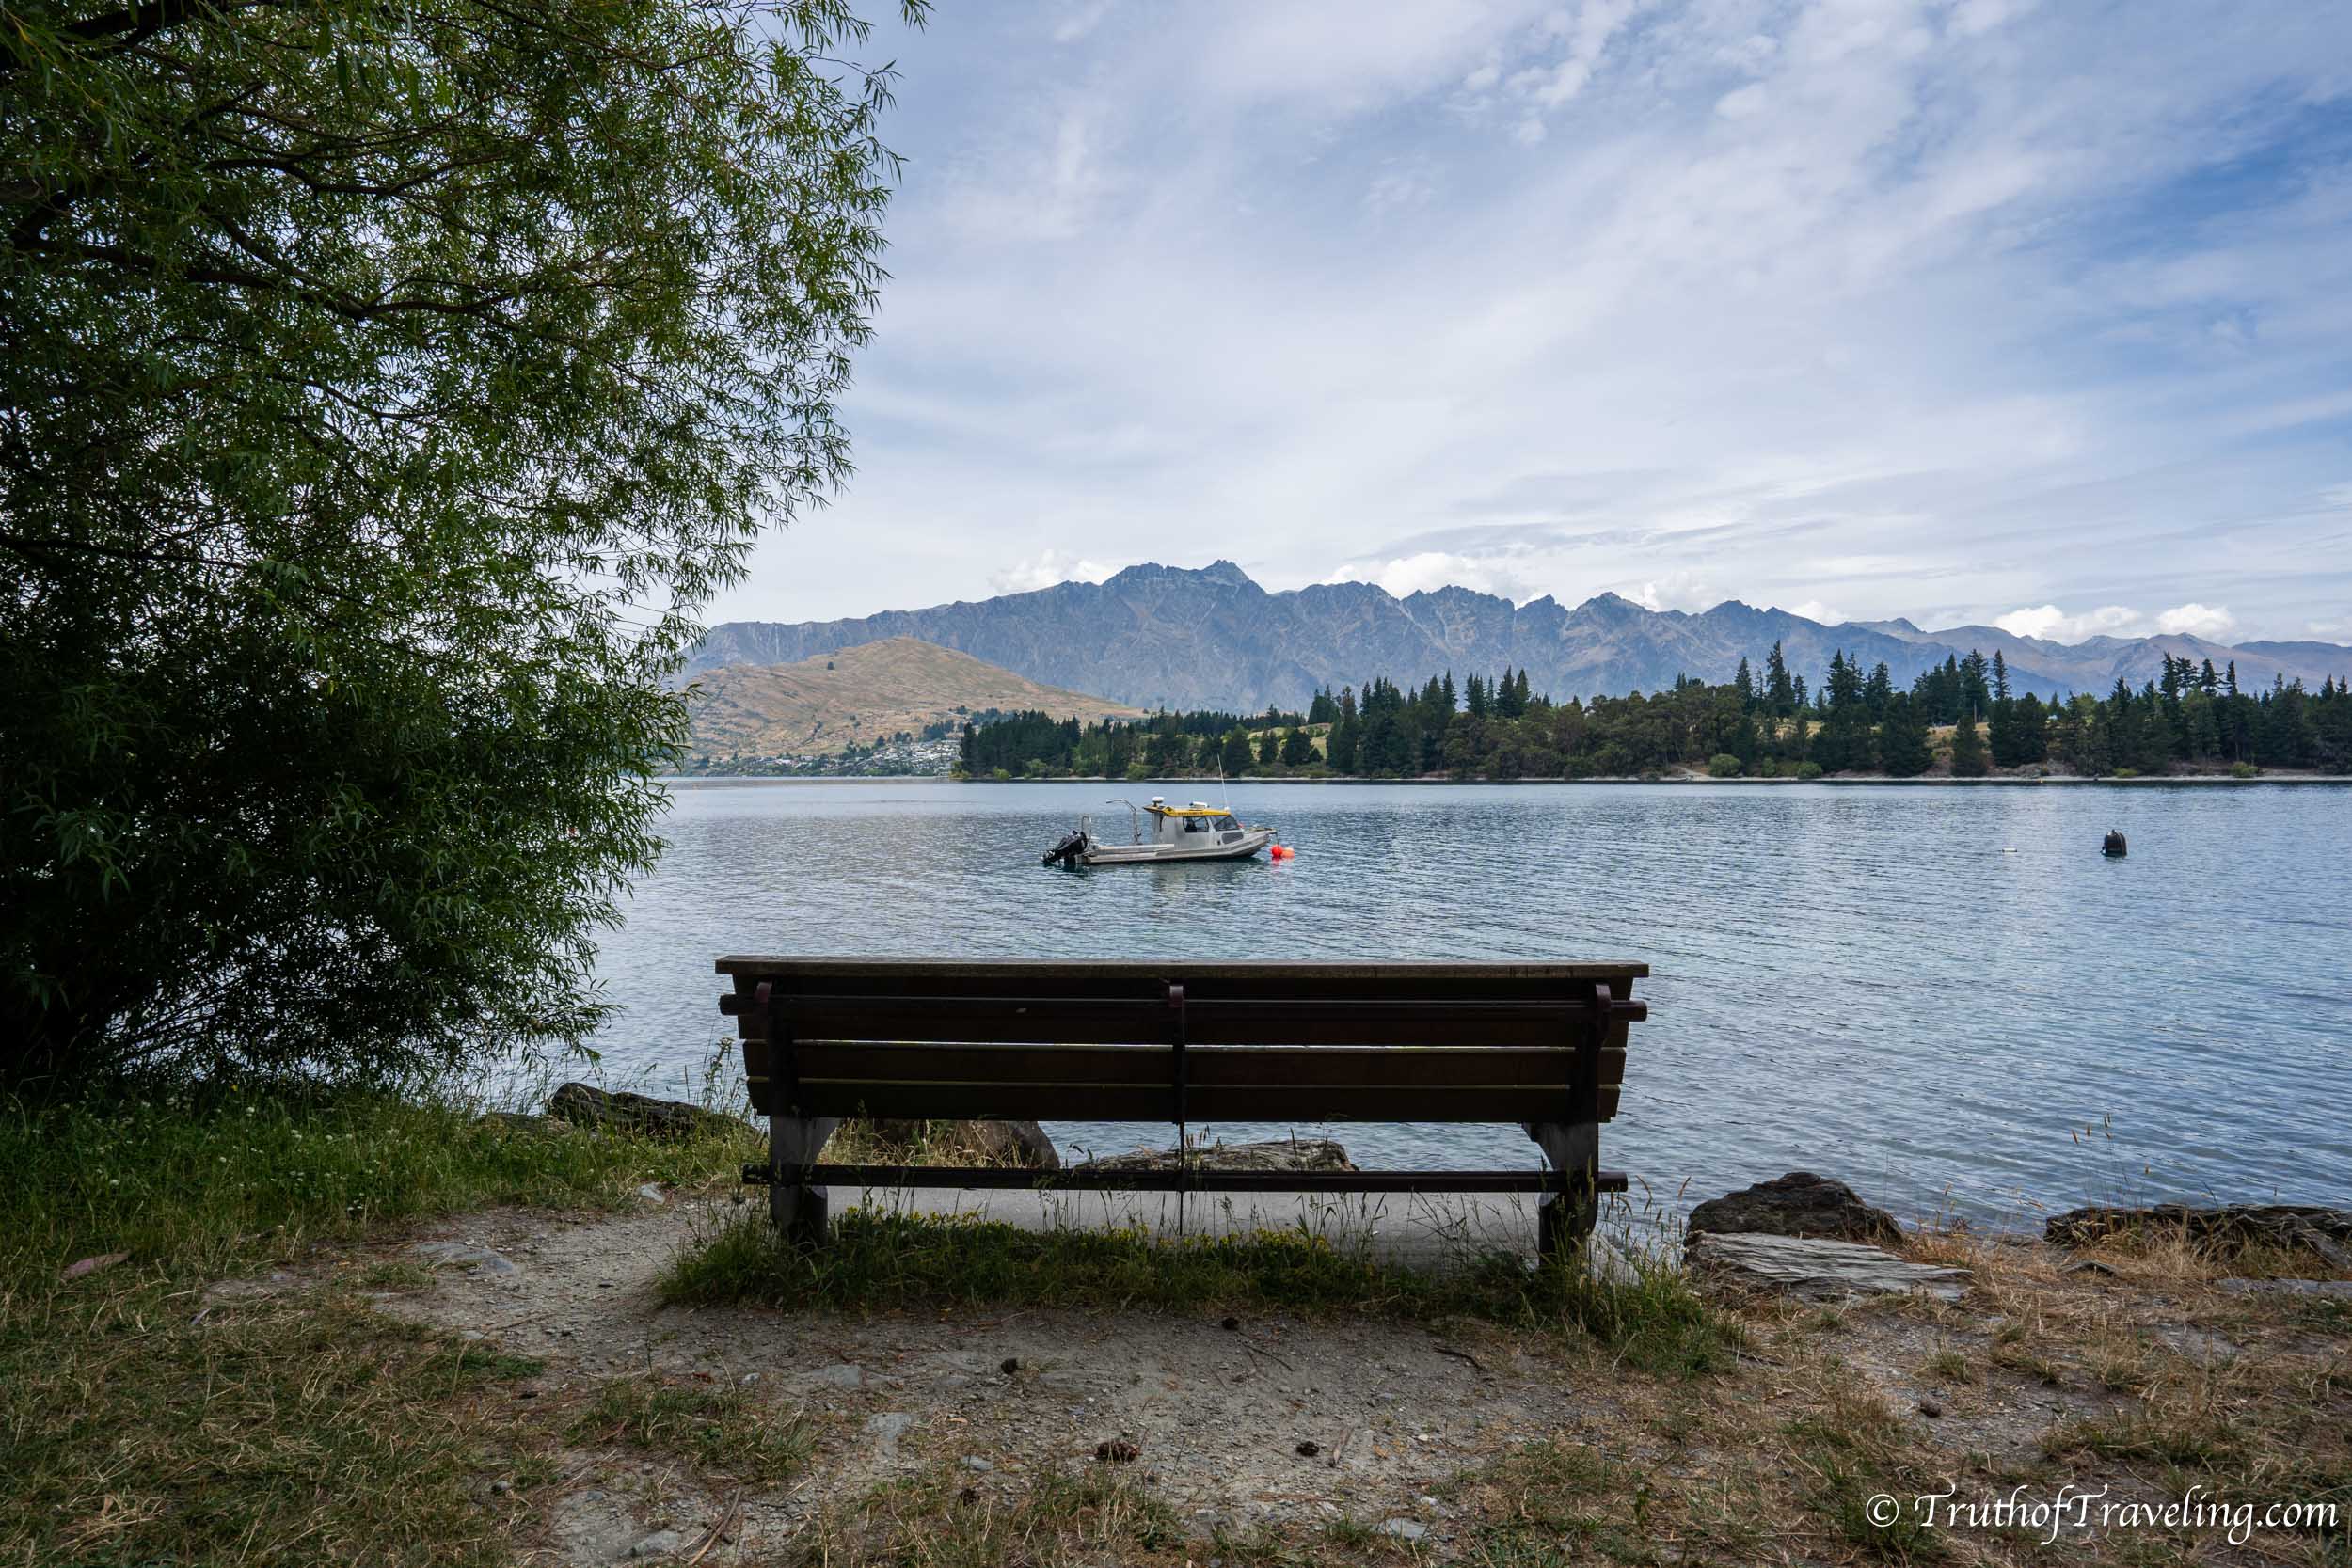
- There are (very clean) toilets nearby too! While walking back to our campervan we also saw the largest roses we have ever seen in the gardens.
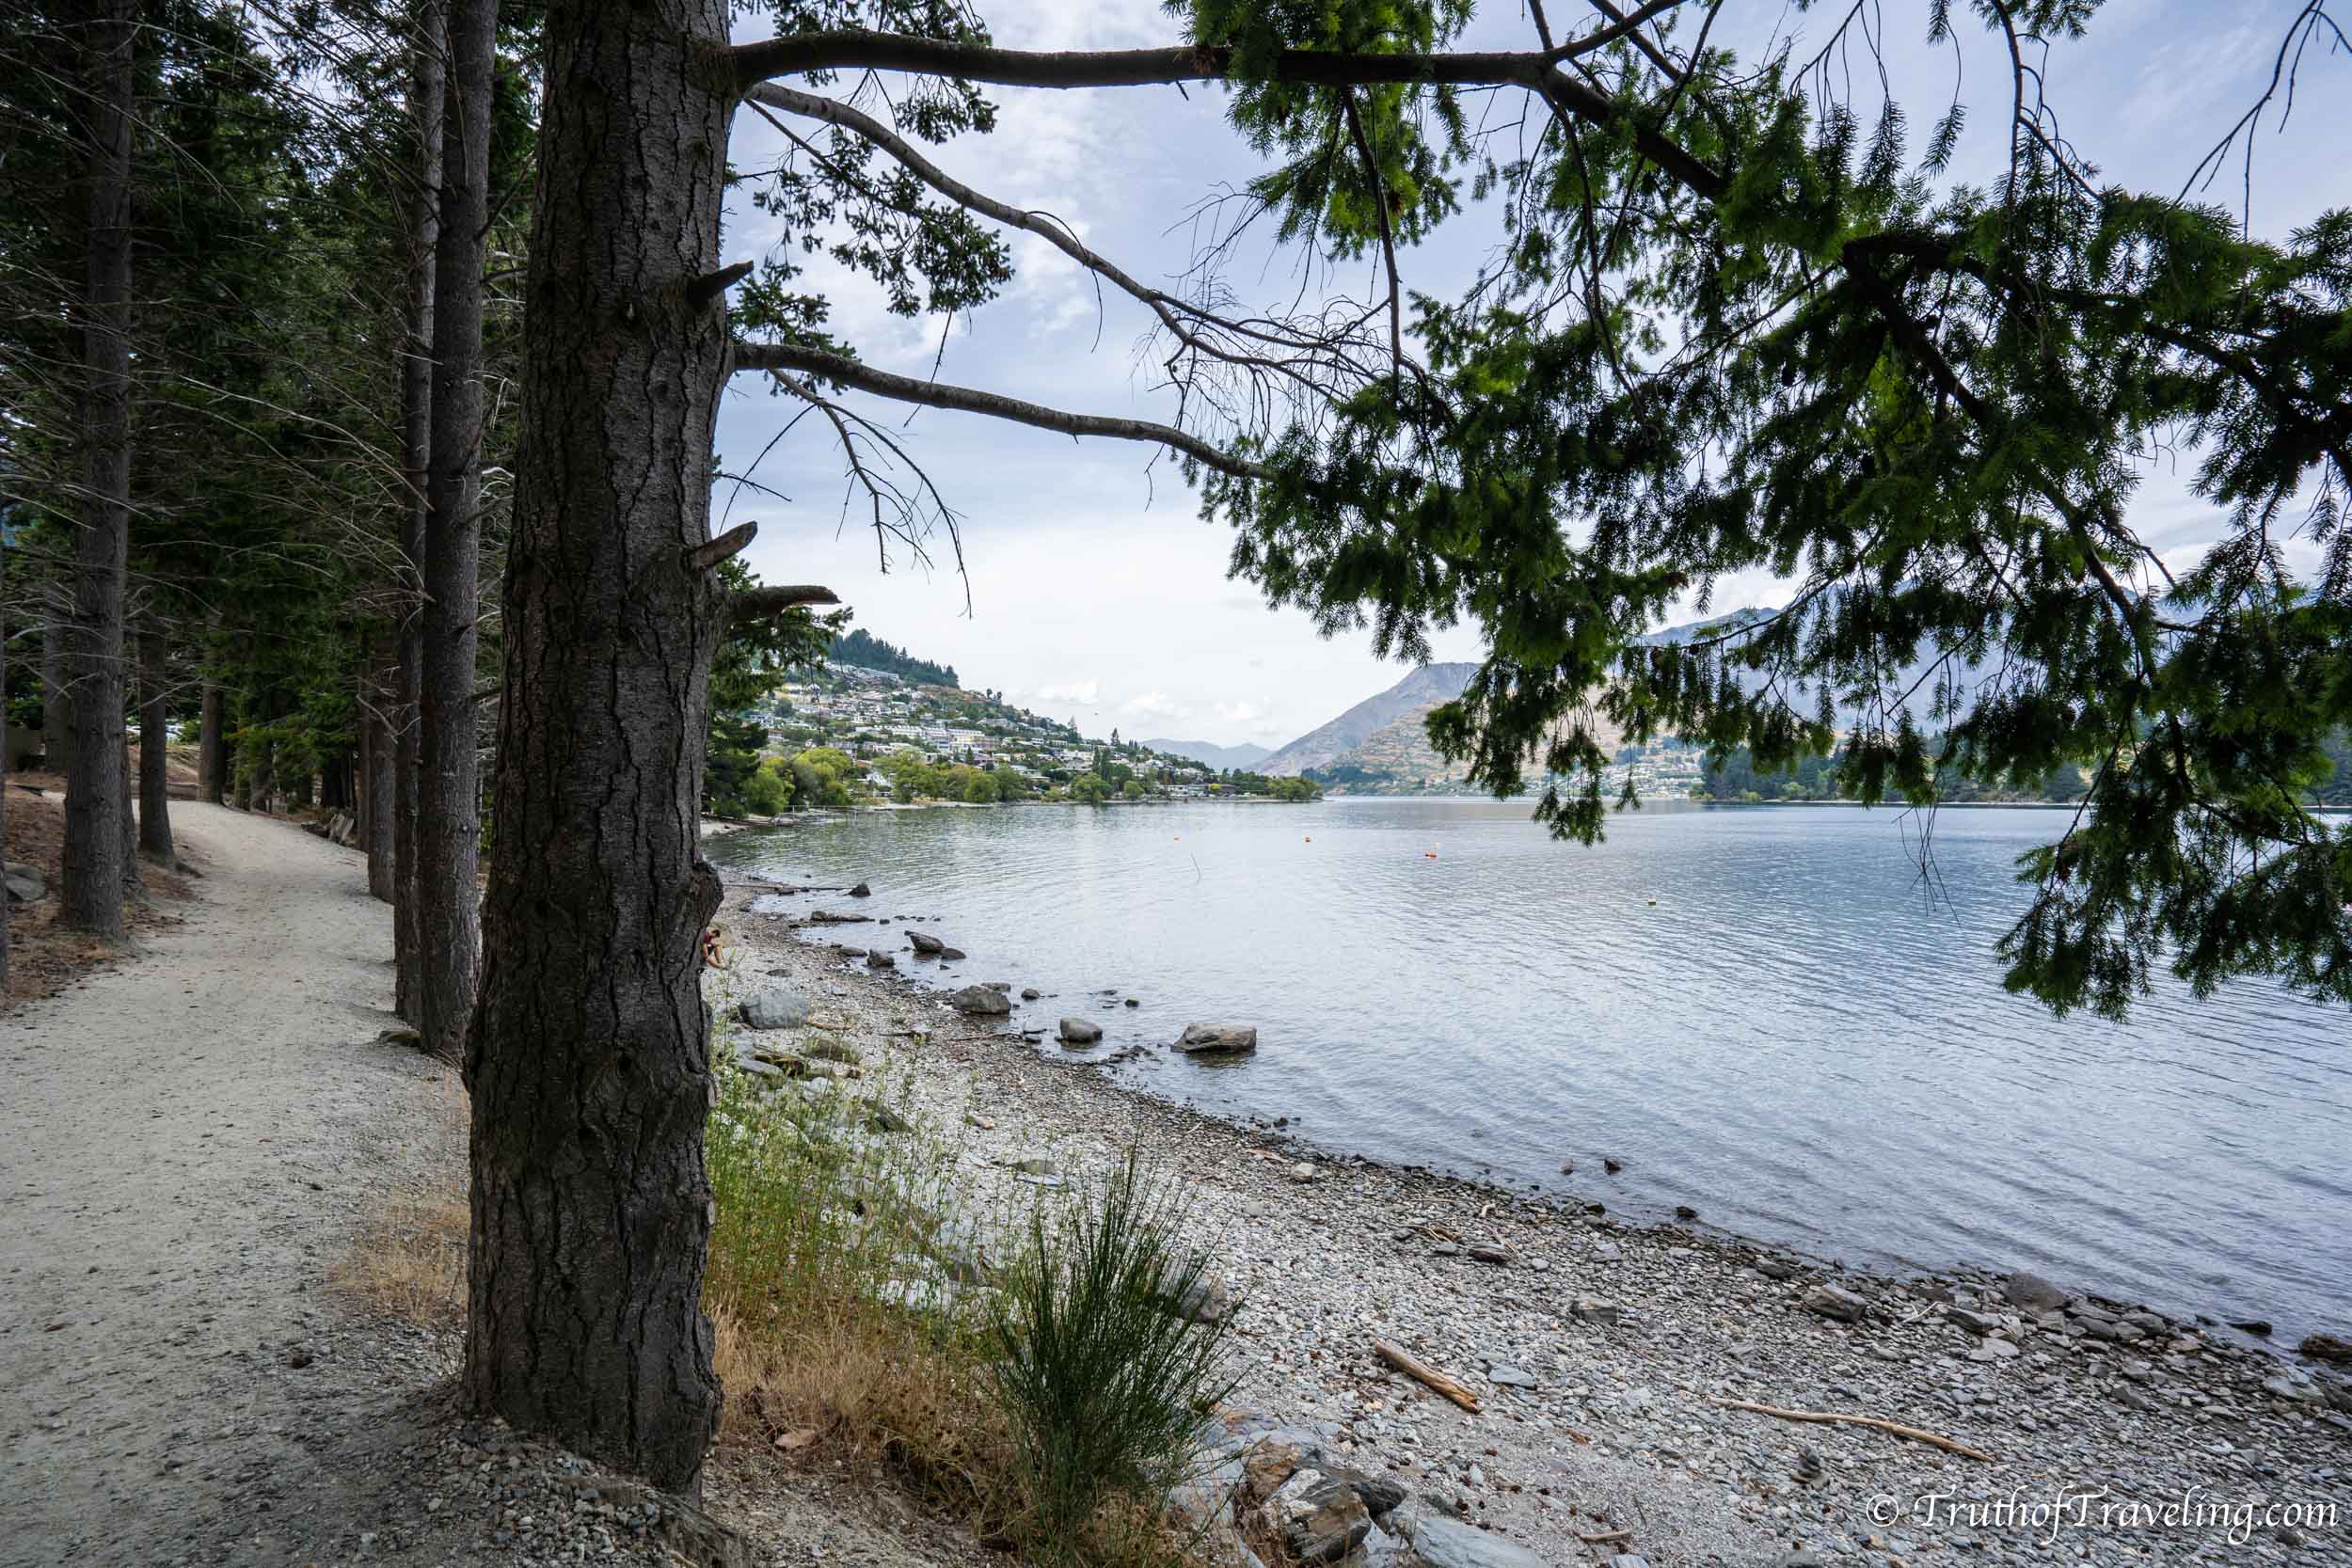
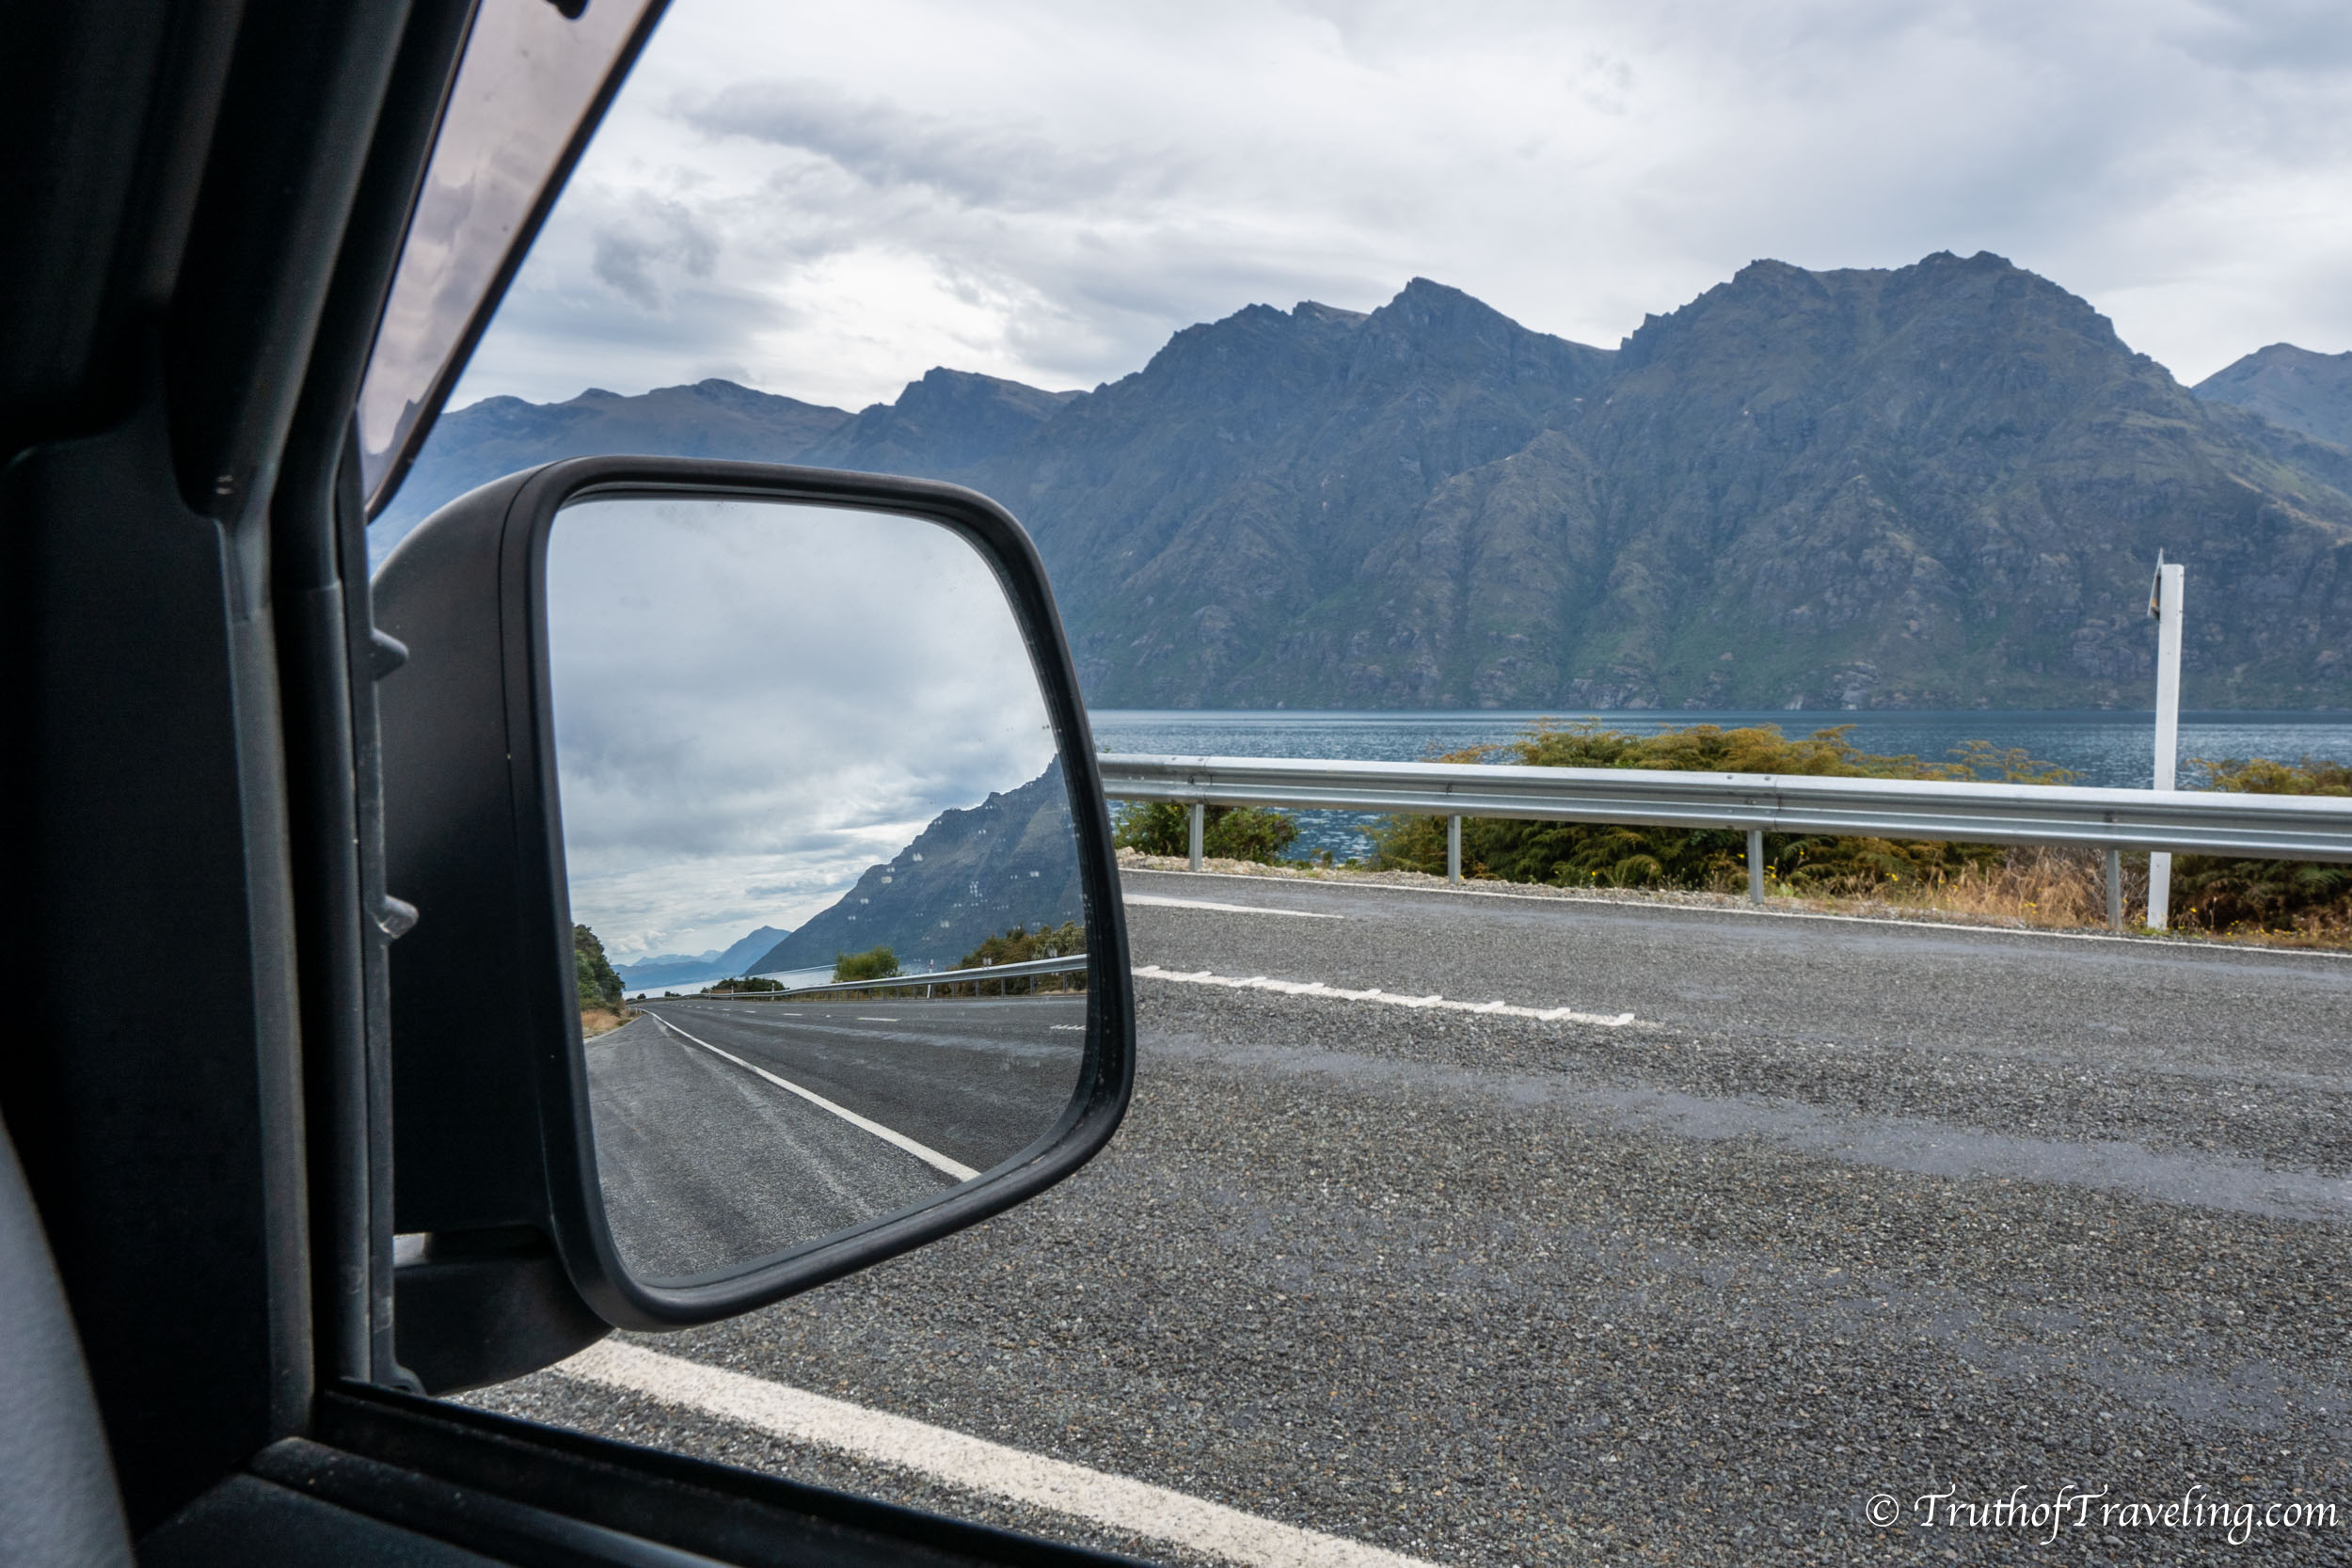
The drive leaving Queenstown driving south along Lake Wakatipu is absolutely beautiful! The mountains surrounding the lake reminded us so much of Alaska which looks totally different from the vineyards that reminded us of Tuscany earlier in the day but thats New Zealand! Kingston Campsite is a free campsite located right on Lake Wakatipu. It’s only for self-contained vehicles therefore doesn’t have any amenities. We drove a little farther to Kingston TOP 10 Holiday Park. It cost us 40 NZD ($26 USD) for a powered spot for 2 people.
- It’s definitely more expensive then the free campsite up the road but we needed a campsite with toilets (we didn’t use the toilet in our van) and we also needed a powered site to charge everything back up after being unpowered for a few nights. We took advantage and did laundry here too!
- TOP 10 Holiday Parks are especially fancy (and thus expensive) but you get a lot of amenities. You can expect to find modern bathrooms, laundry, inside cooking facilities as well as the usual water and dump station.
Driving: about 300 kilometers / 4 hours
Stay: Kingston TOP 10 Holiday Park ($15-20 NZD pp) OR Kingston Campsite (free!)
Read More: Complete 3 Day Guide to Driving the Great Ocean Road
Day 8: Drive to Te Anau
The next few days are basically a voyage down to see Milford Sound. Milford Sound is one of the most visited places in New Zealand and we completely understand why. It is incredible!
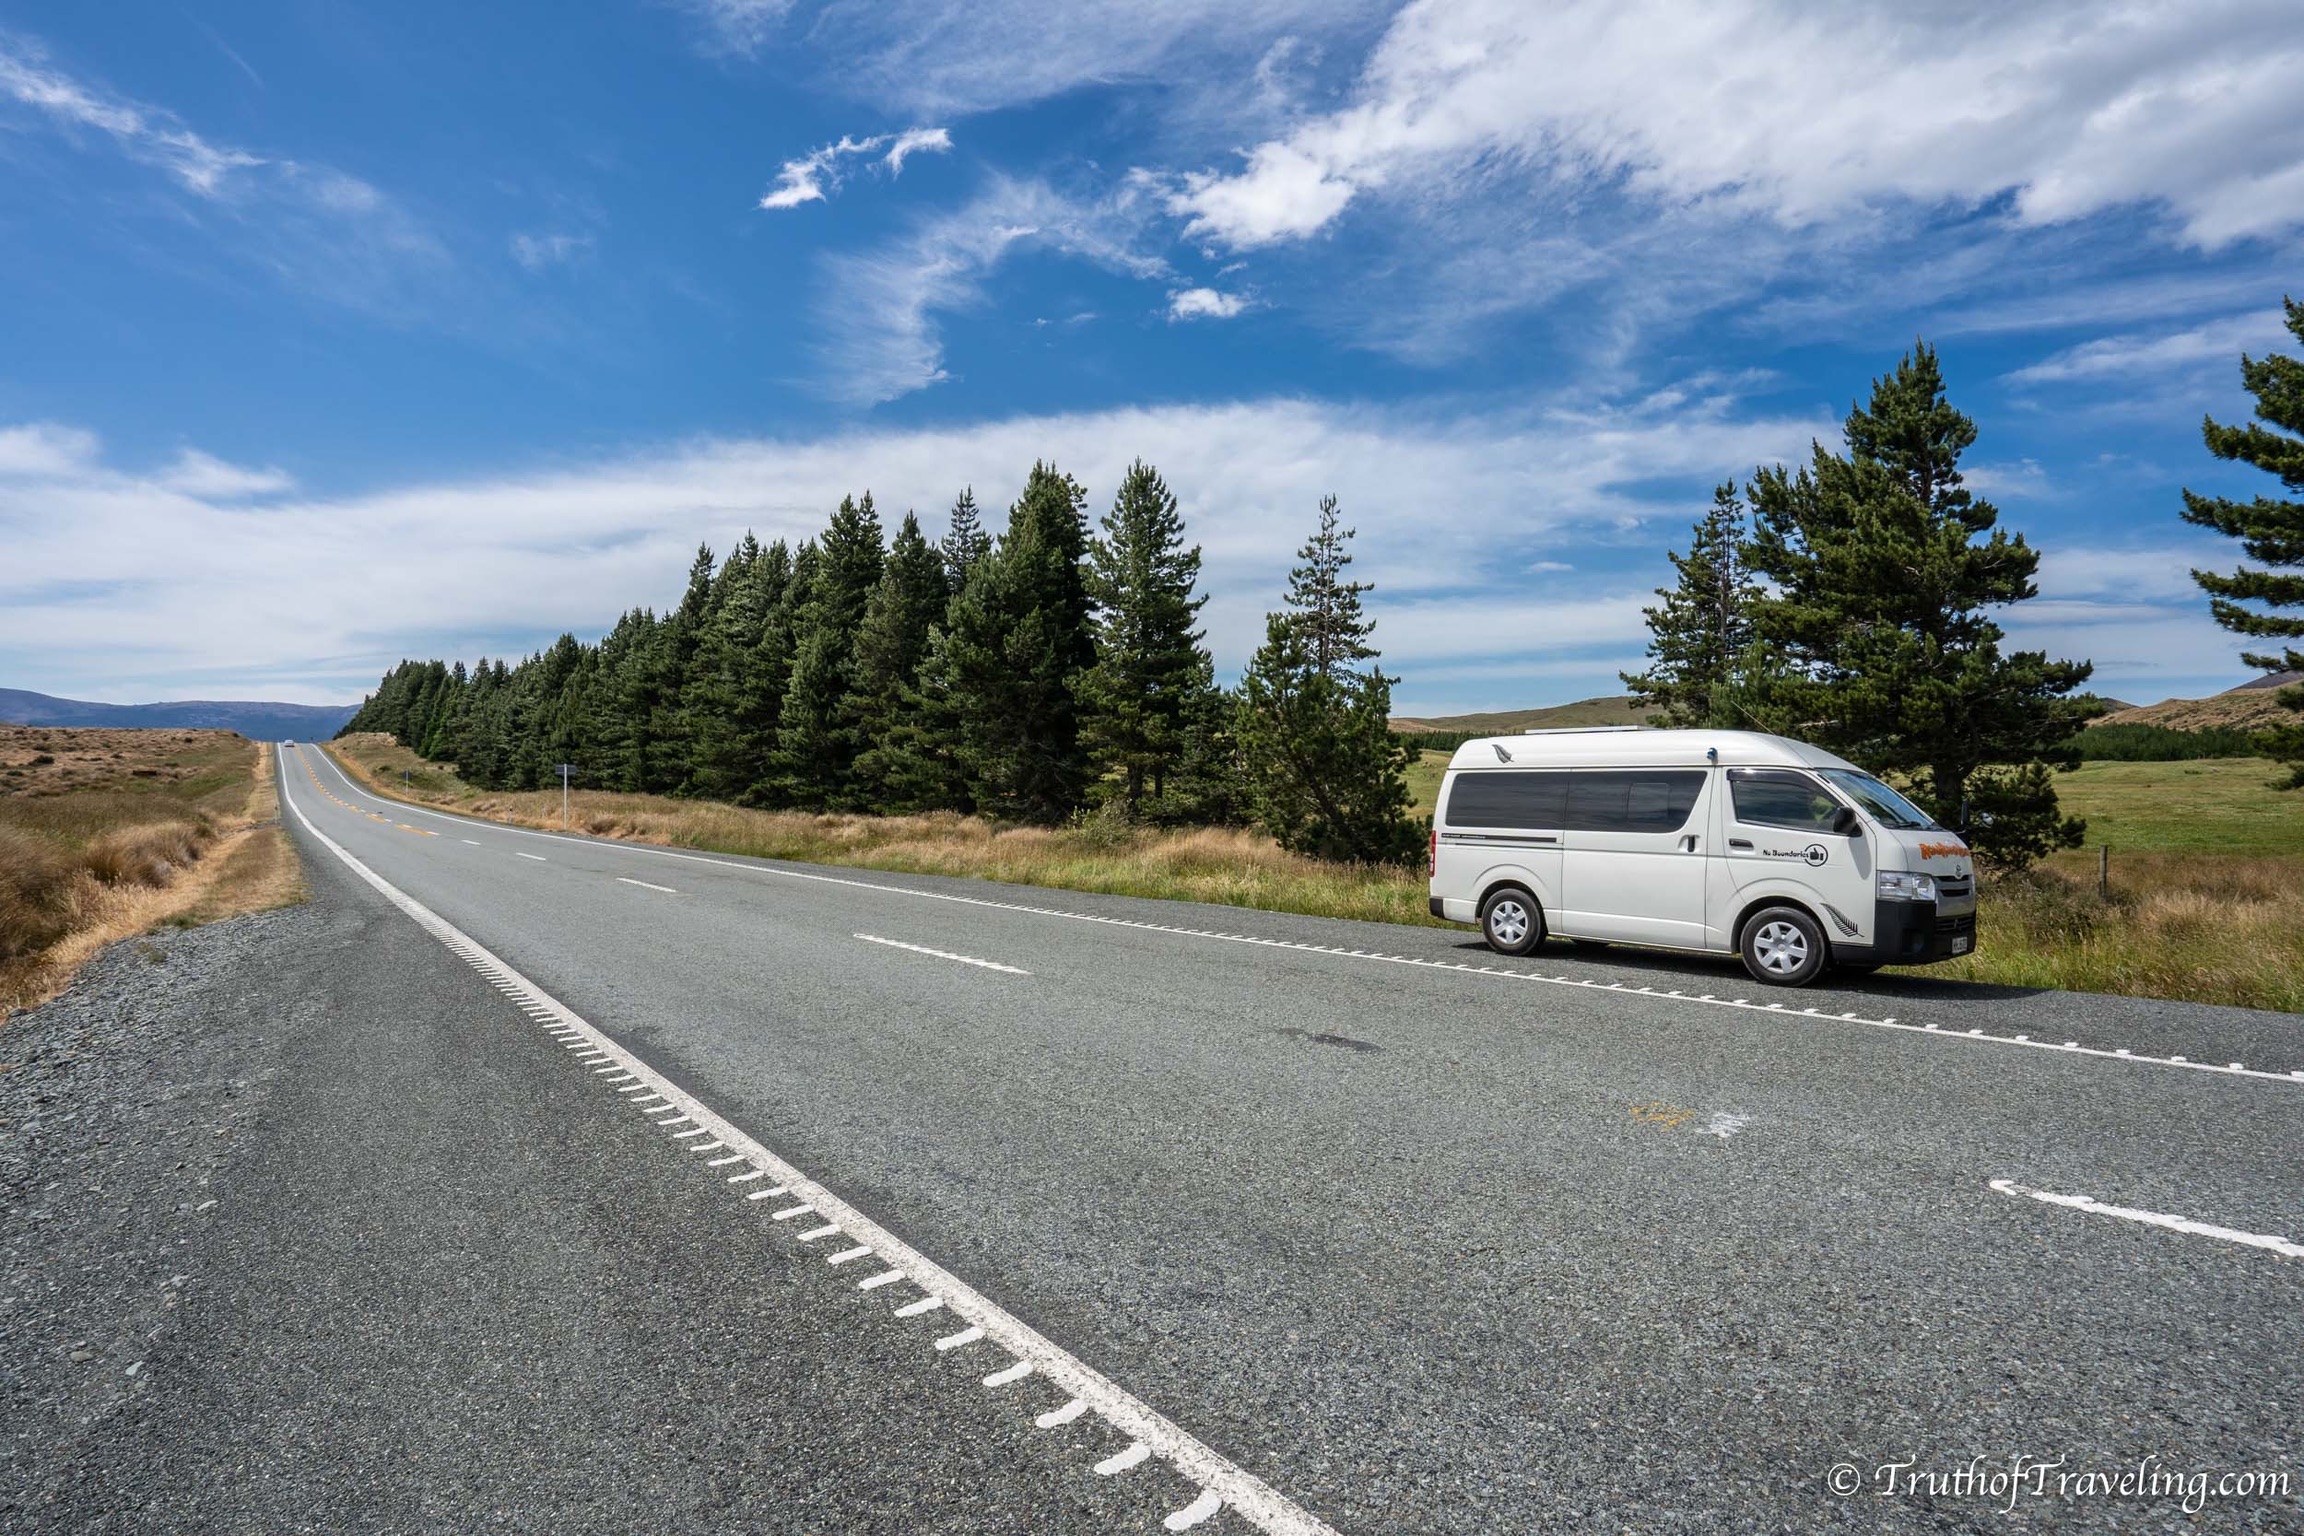
Staying a little farther south in Kingston means today should be a little bit less driving. You can leave a little later in the morning or you can go back into Queenstown if you want to see more!
This drive is an easy drive basically on two roads. Te Anau is a small town that sits on Lake Te Anau. It is considered the gateway to Fiordland National Park because of it’s location and quick access to and from Queenstown.
- There is not much in the way of gas or food along this drive so plan ahead. At the end of the road from Kingston TOP 10 Holiday Park there is a gas station where you can fill up before leaving.
There is no doubt you will pass countless sheep and cows grazing in the pastures. We weren’t sure if that was just something people say about New Zealand but it really is true- there are a ton of sheep and cows!
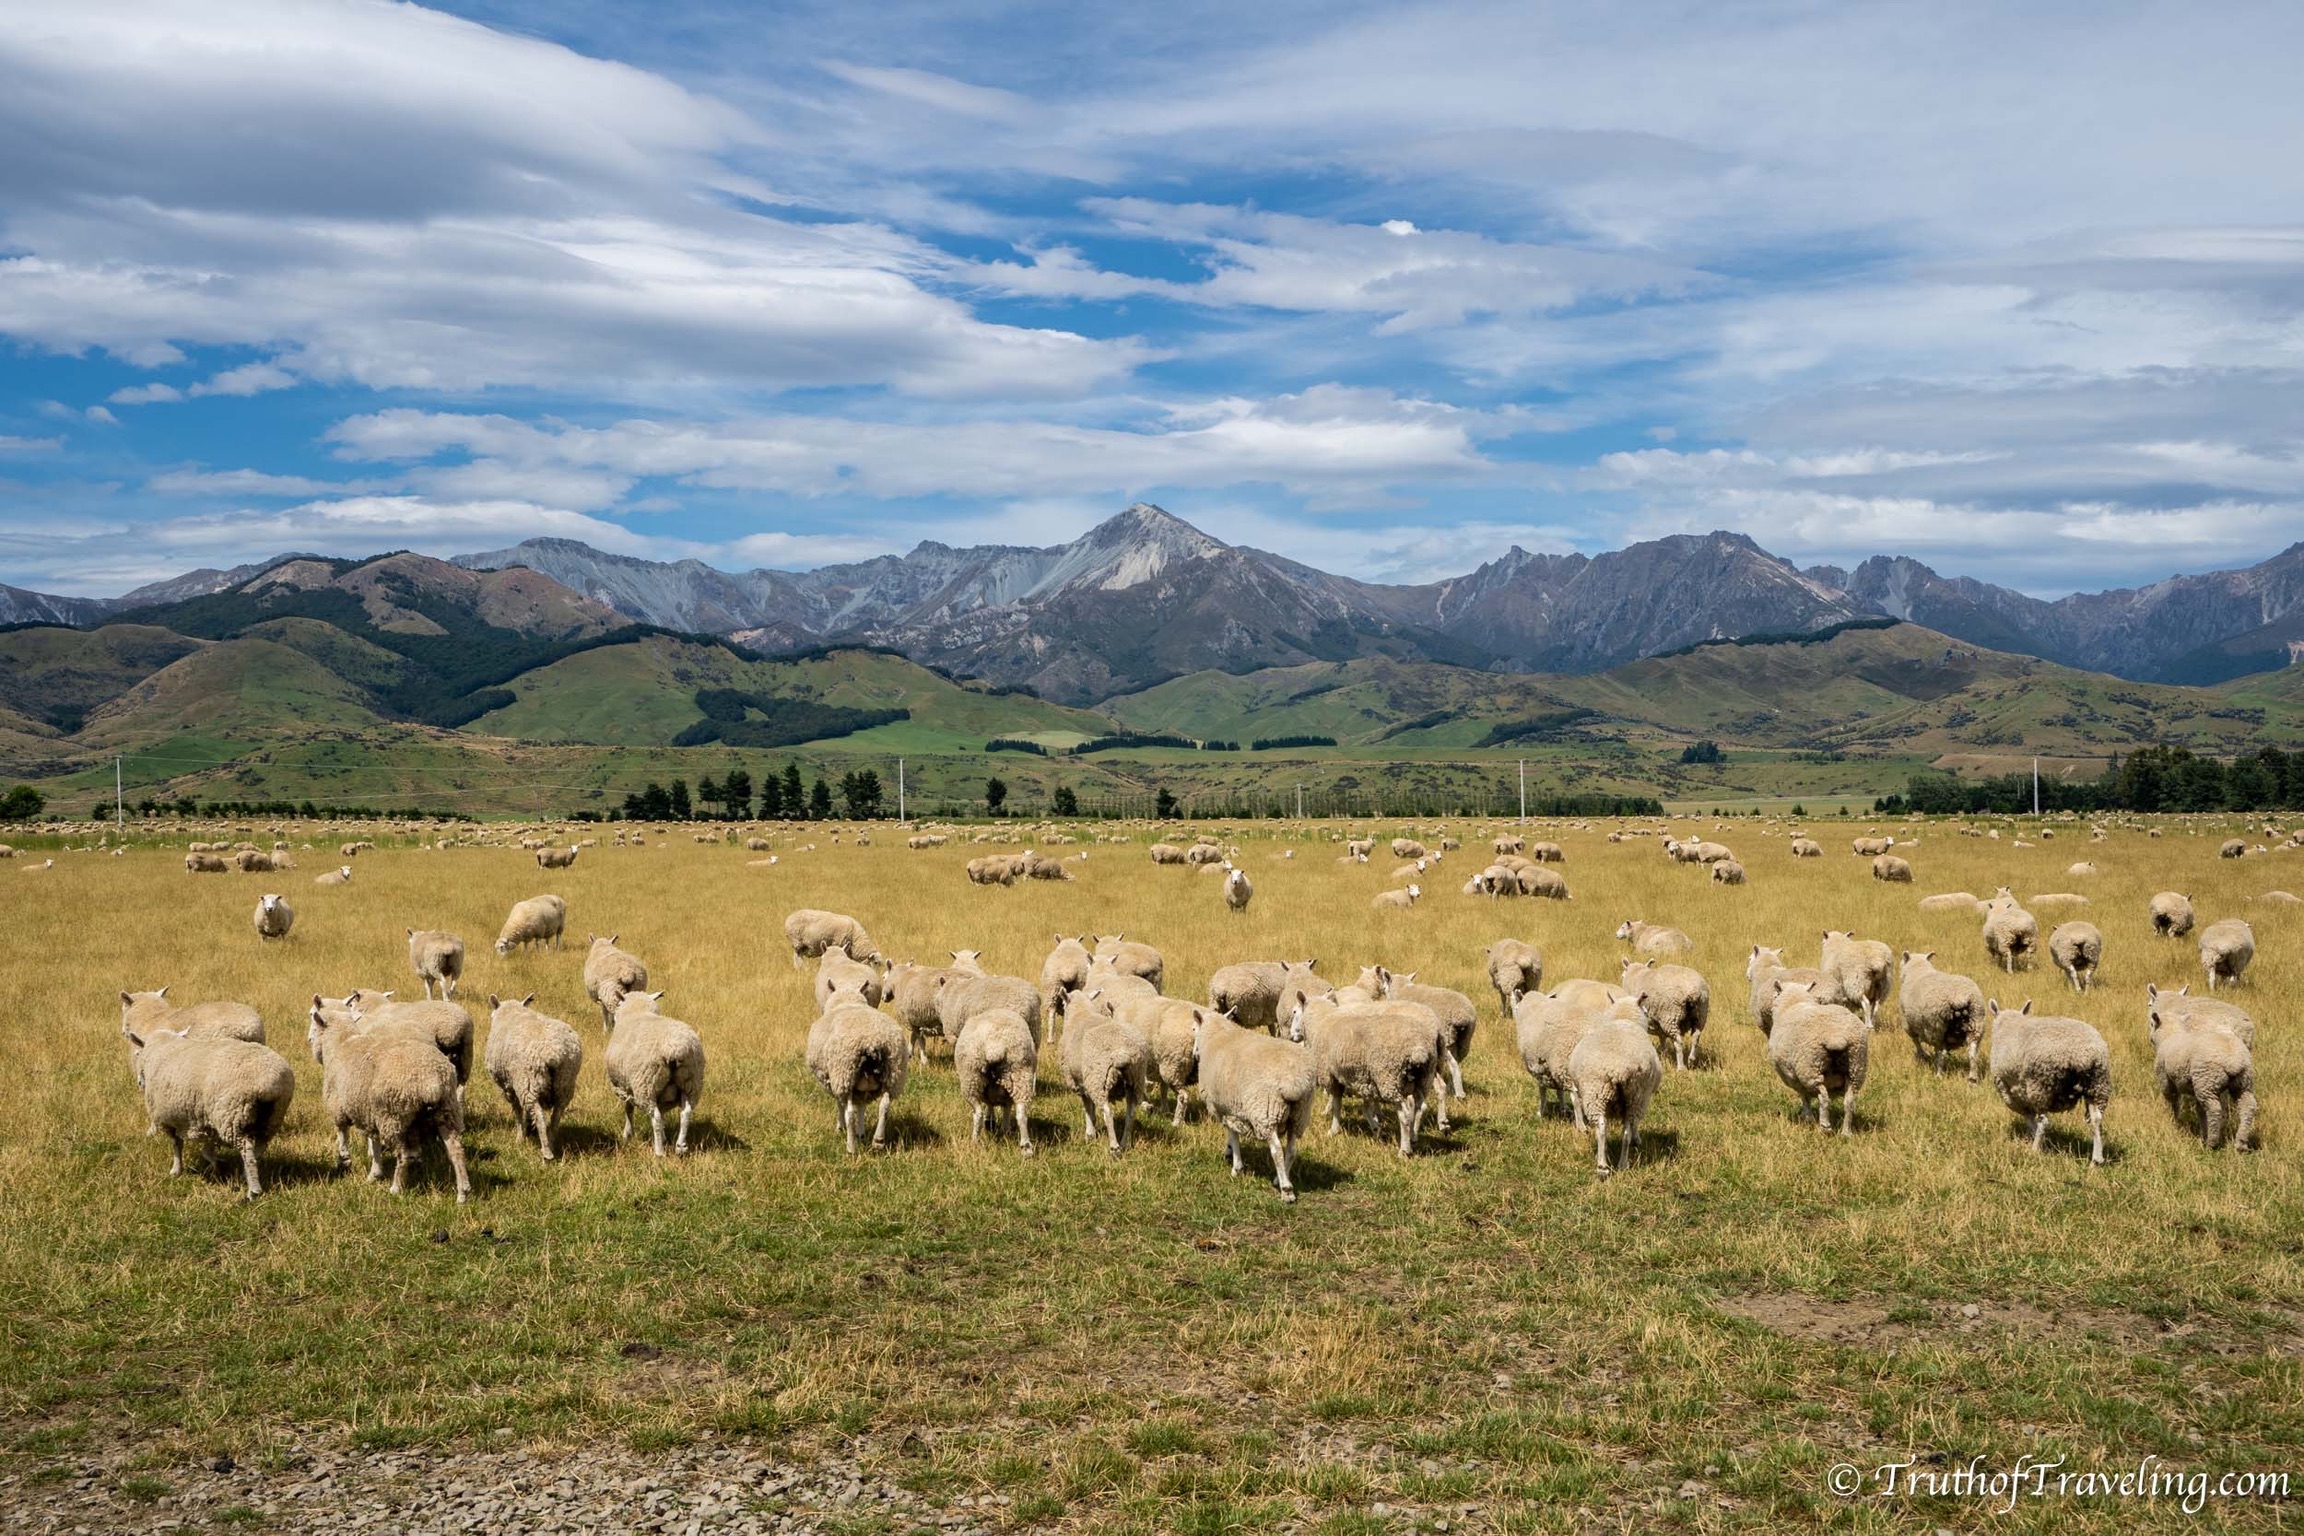
The hardest part about driving down to Te Anau and Milford Sound was that we found less options for campsites. Nearby to Te Anau there is only one low cost campground that is for self-contained vehicles only. Otherwise you have a few holiday parks to choose from.
- It wasn’t ideal for us to spend back to back nights at more expensive holiday parks but it made the most sense. We took advantage and took as many showers as we could!
Driving: 125 kilometers / 1 hour 30 minutes
Stay: Fiordland Great Views Holiday Park ($23-24 NZD pp) OR Te Anau Lakeview Kiwi Holiday Park and Motels ($24-25 NZD pp)
Day 9: Drive through Fiordland National Park to Milford Sound
You want to get an early start on this day to give yourself as much time as possible to enjoy the drive to Milford Sound. From Te Anau it is 118 kms to Milford Sound which in theory should take about 2 hours. But there are so many amazing places to enjoy along the drive that it will take you much longer than that!
The beginning of the drive follows Lake Te Anau until Te Anau Downs where you go more inland. Even this quickly into the drive you are rewarded with mountain views! Within Fiordland National Park there are quite a few places to stop. The first stop is the Eglinton Valley Lookout. There is an area on the lefthand side of the road to park. Because you’re in a valley this is a really good photo spot of the mountains.
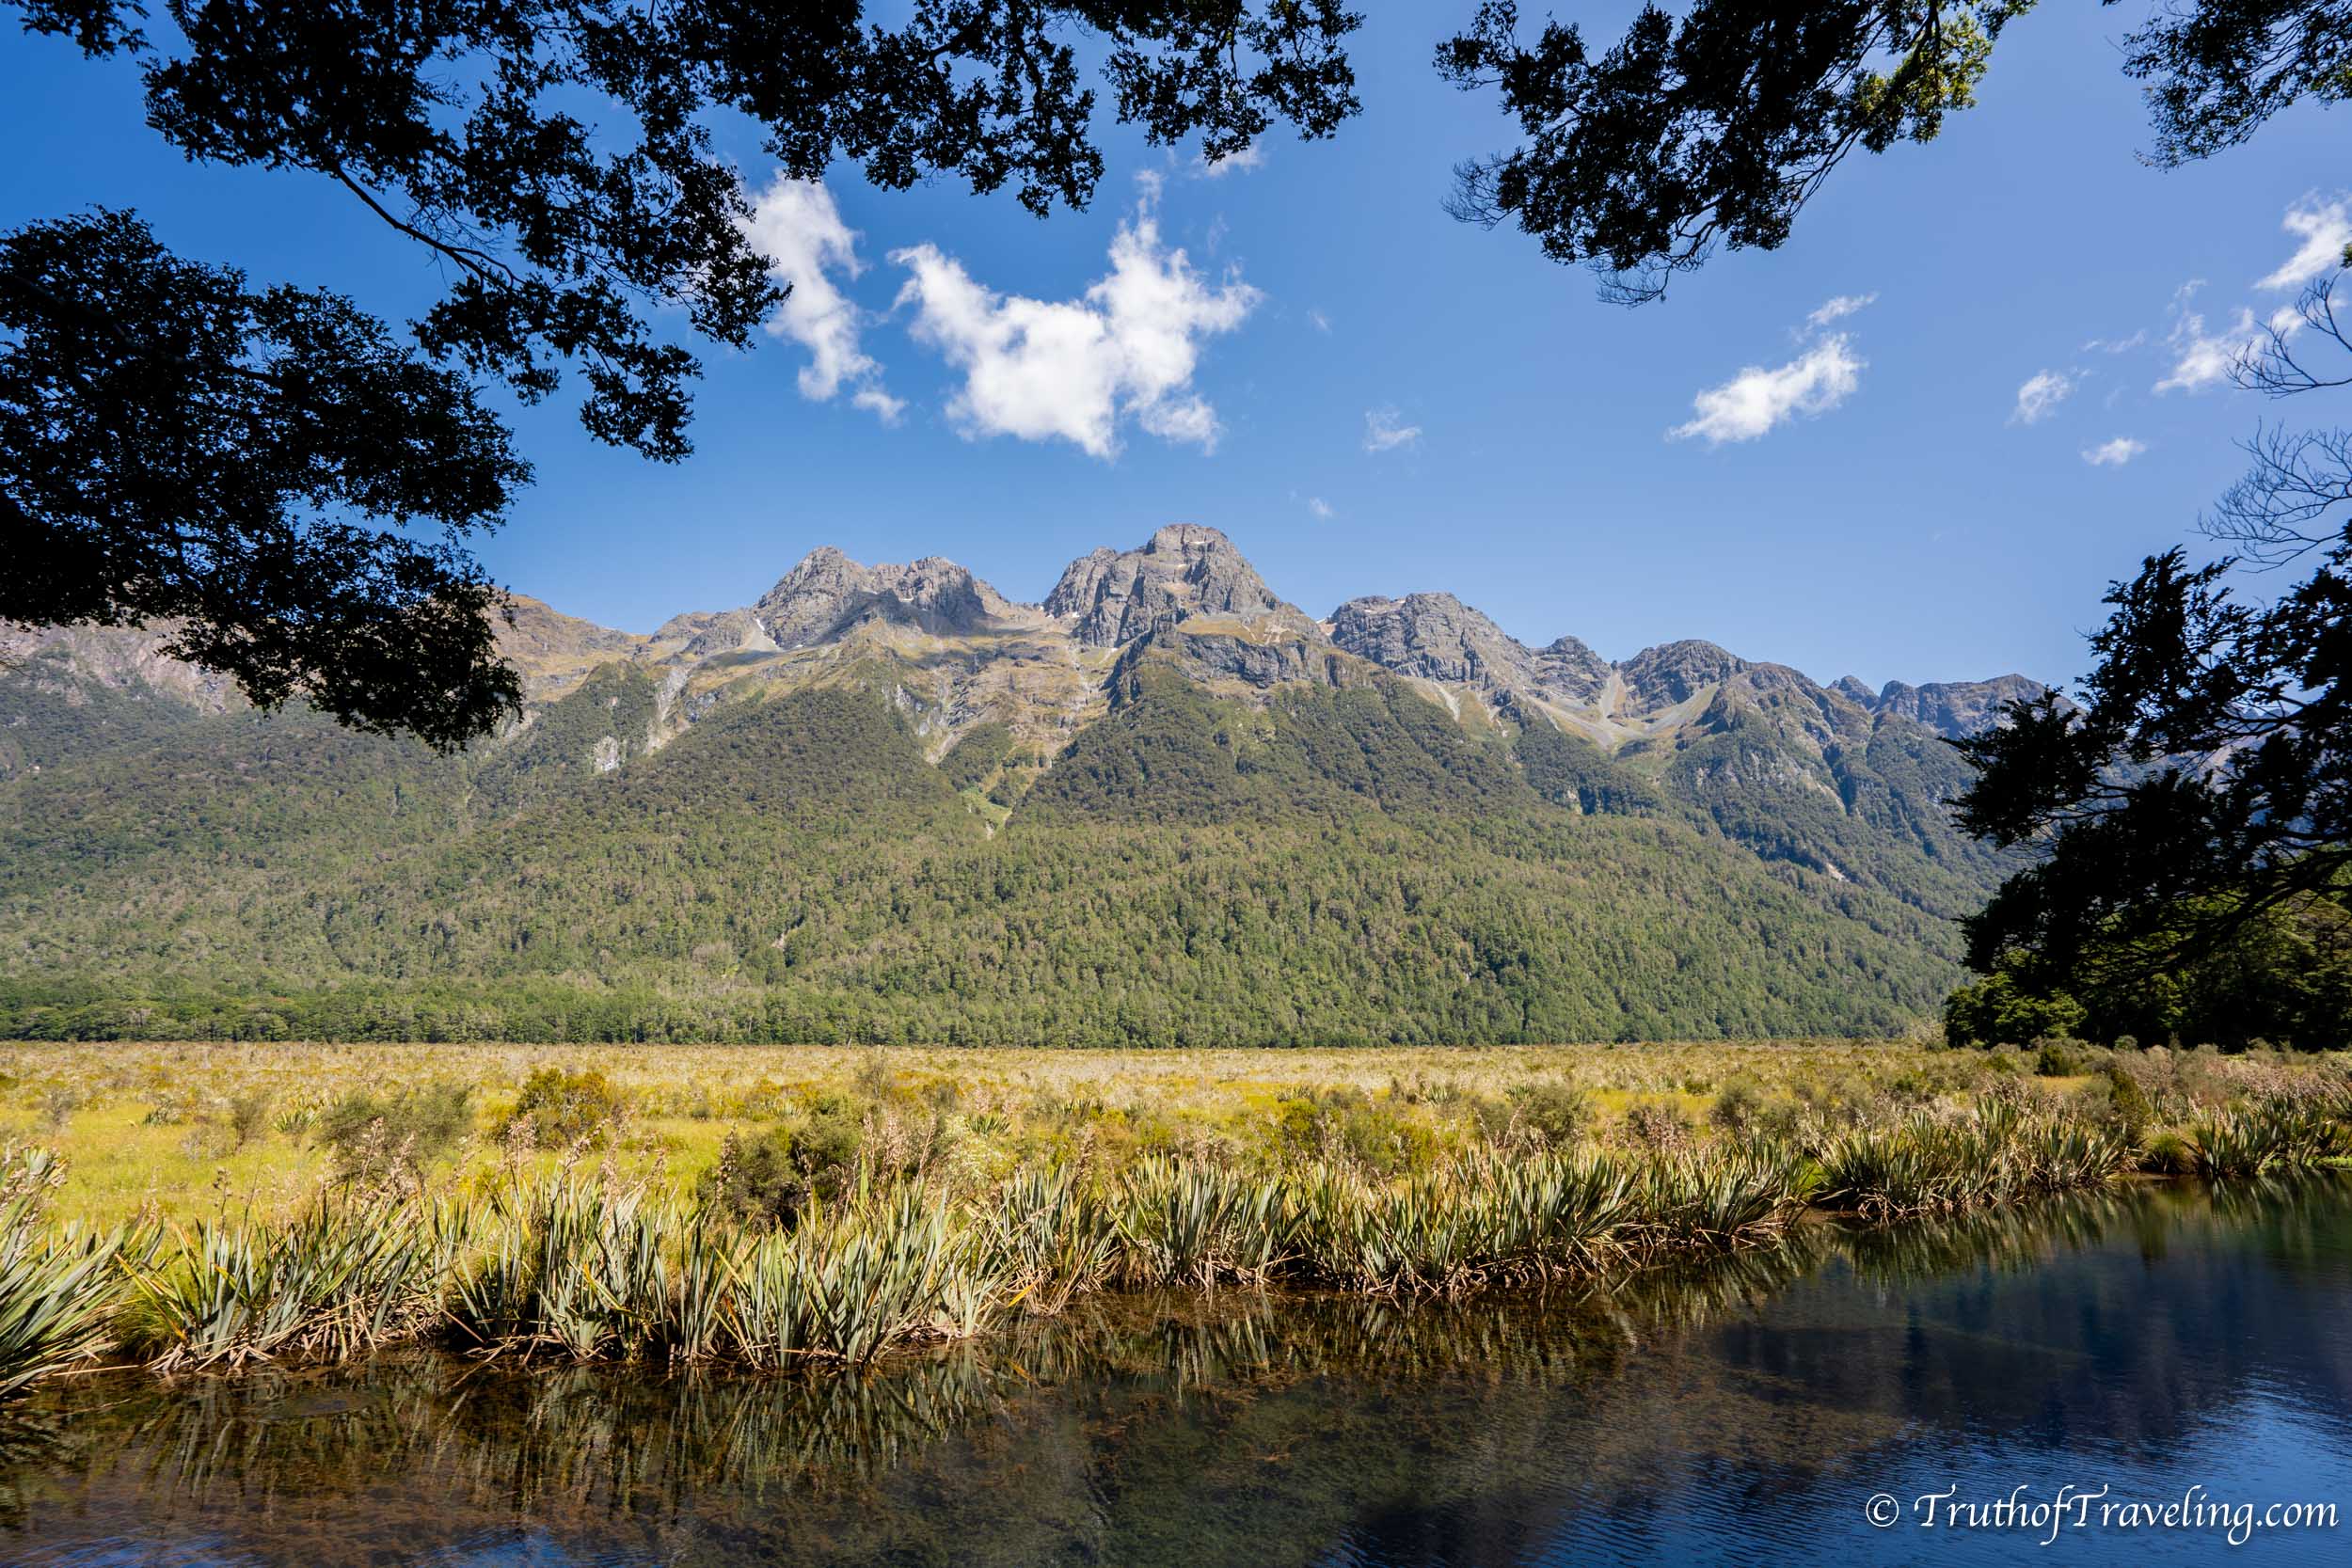
Then make your way to Mirror Lakes where on a calm day you can see a reflection of the mountains on the water. There is a platform to walk along and it goes parallel to the road so you can park, walk the entirety of it and then just walk back to your vehicle.
- Because of the water nearby there were so many sandflies here so make sure you have bug spray with you! We really like these bug spray wipes because they’re easy to apply and don’t count as a liquid when flying!
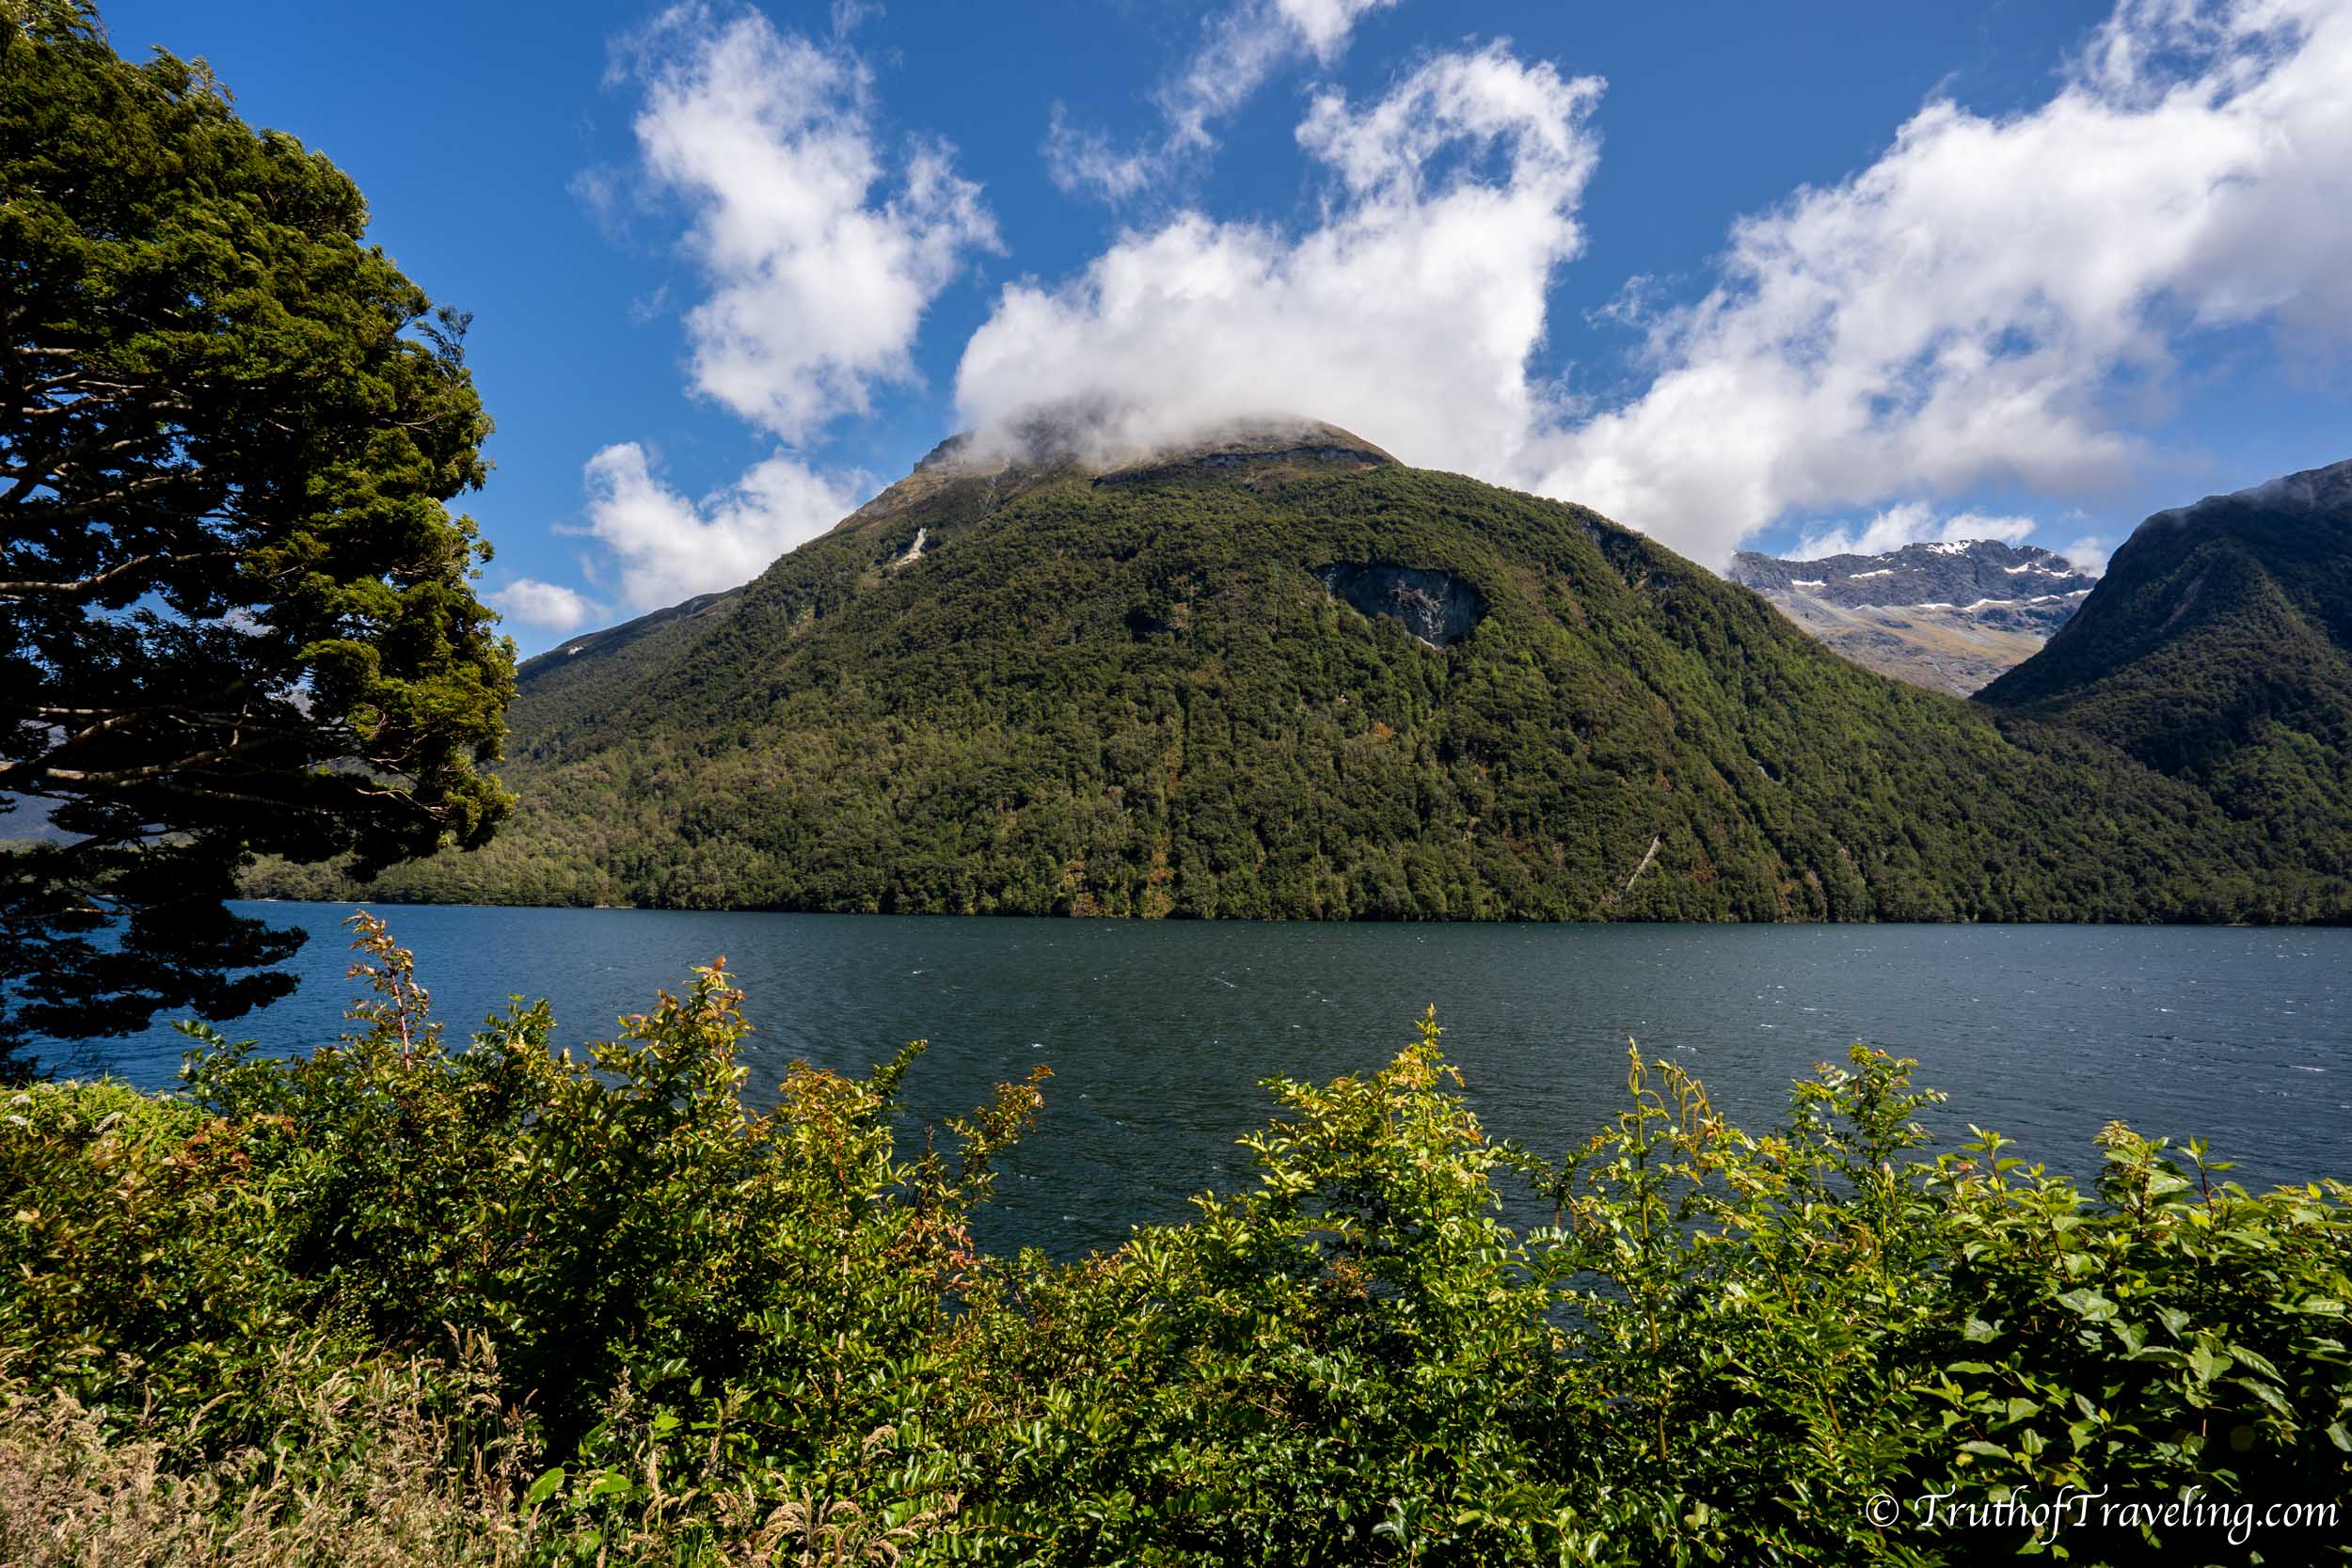
Next we continued driving up to Lake Gunn. This is a good place to get out and stretch your legs if you need a break. I think we saw more lakes in New Zealand than we have anywhere else and they never disappoint!
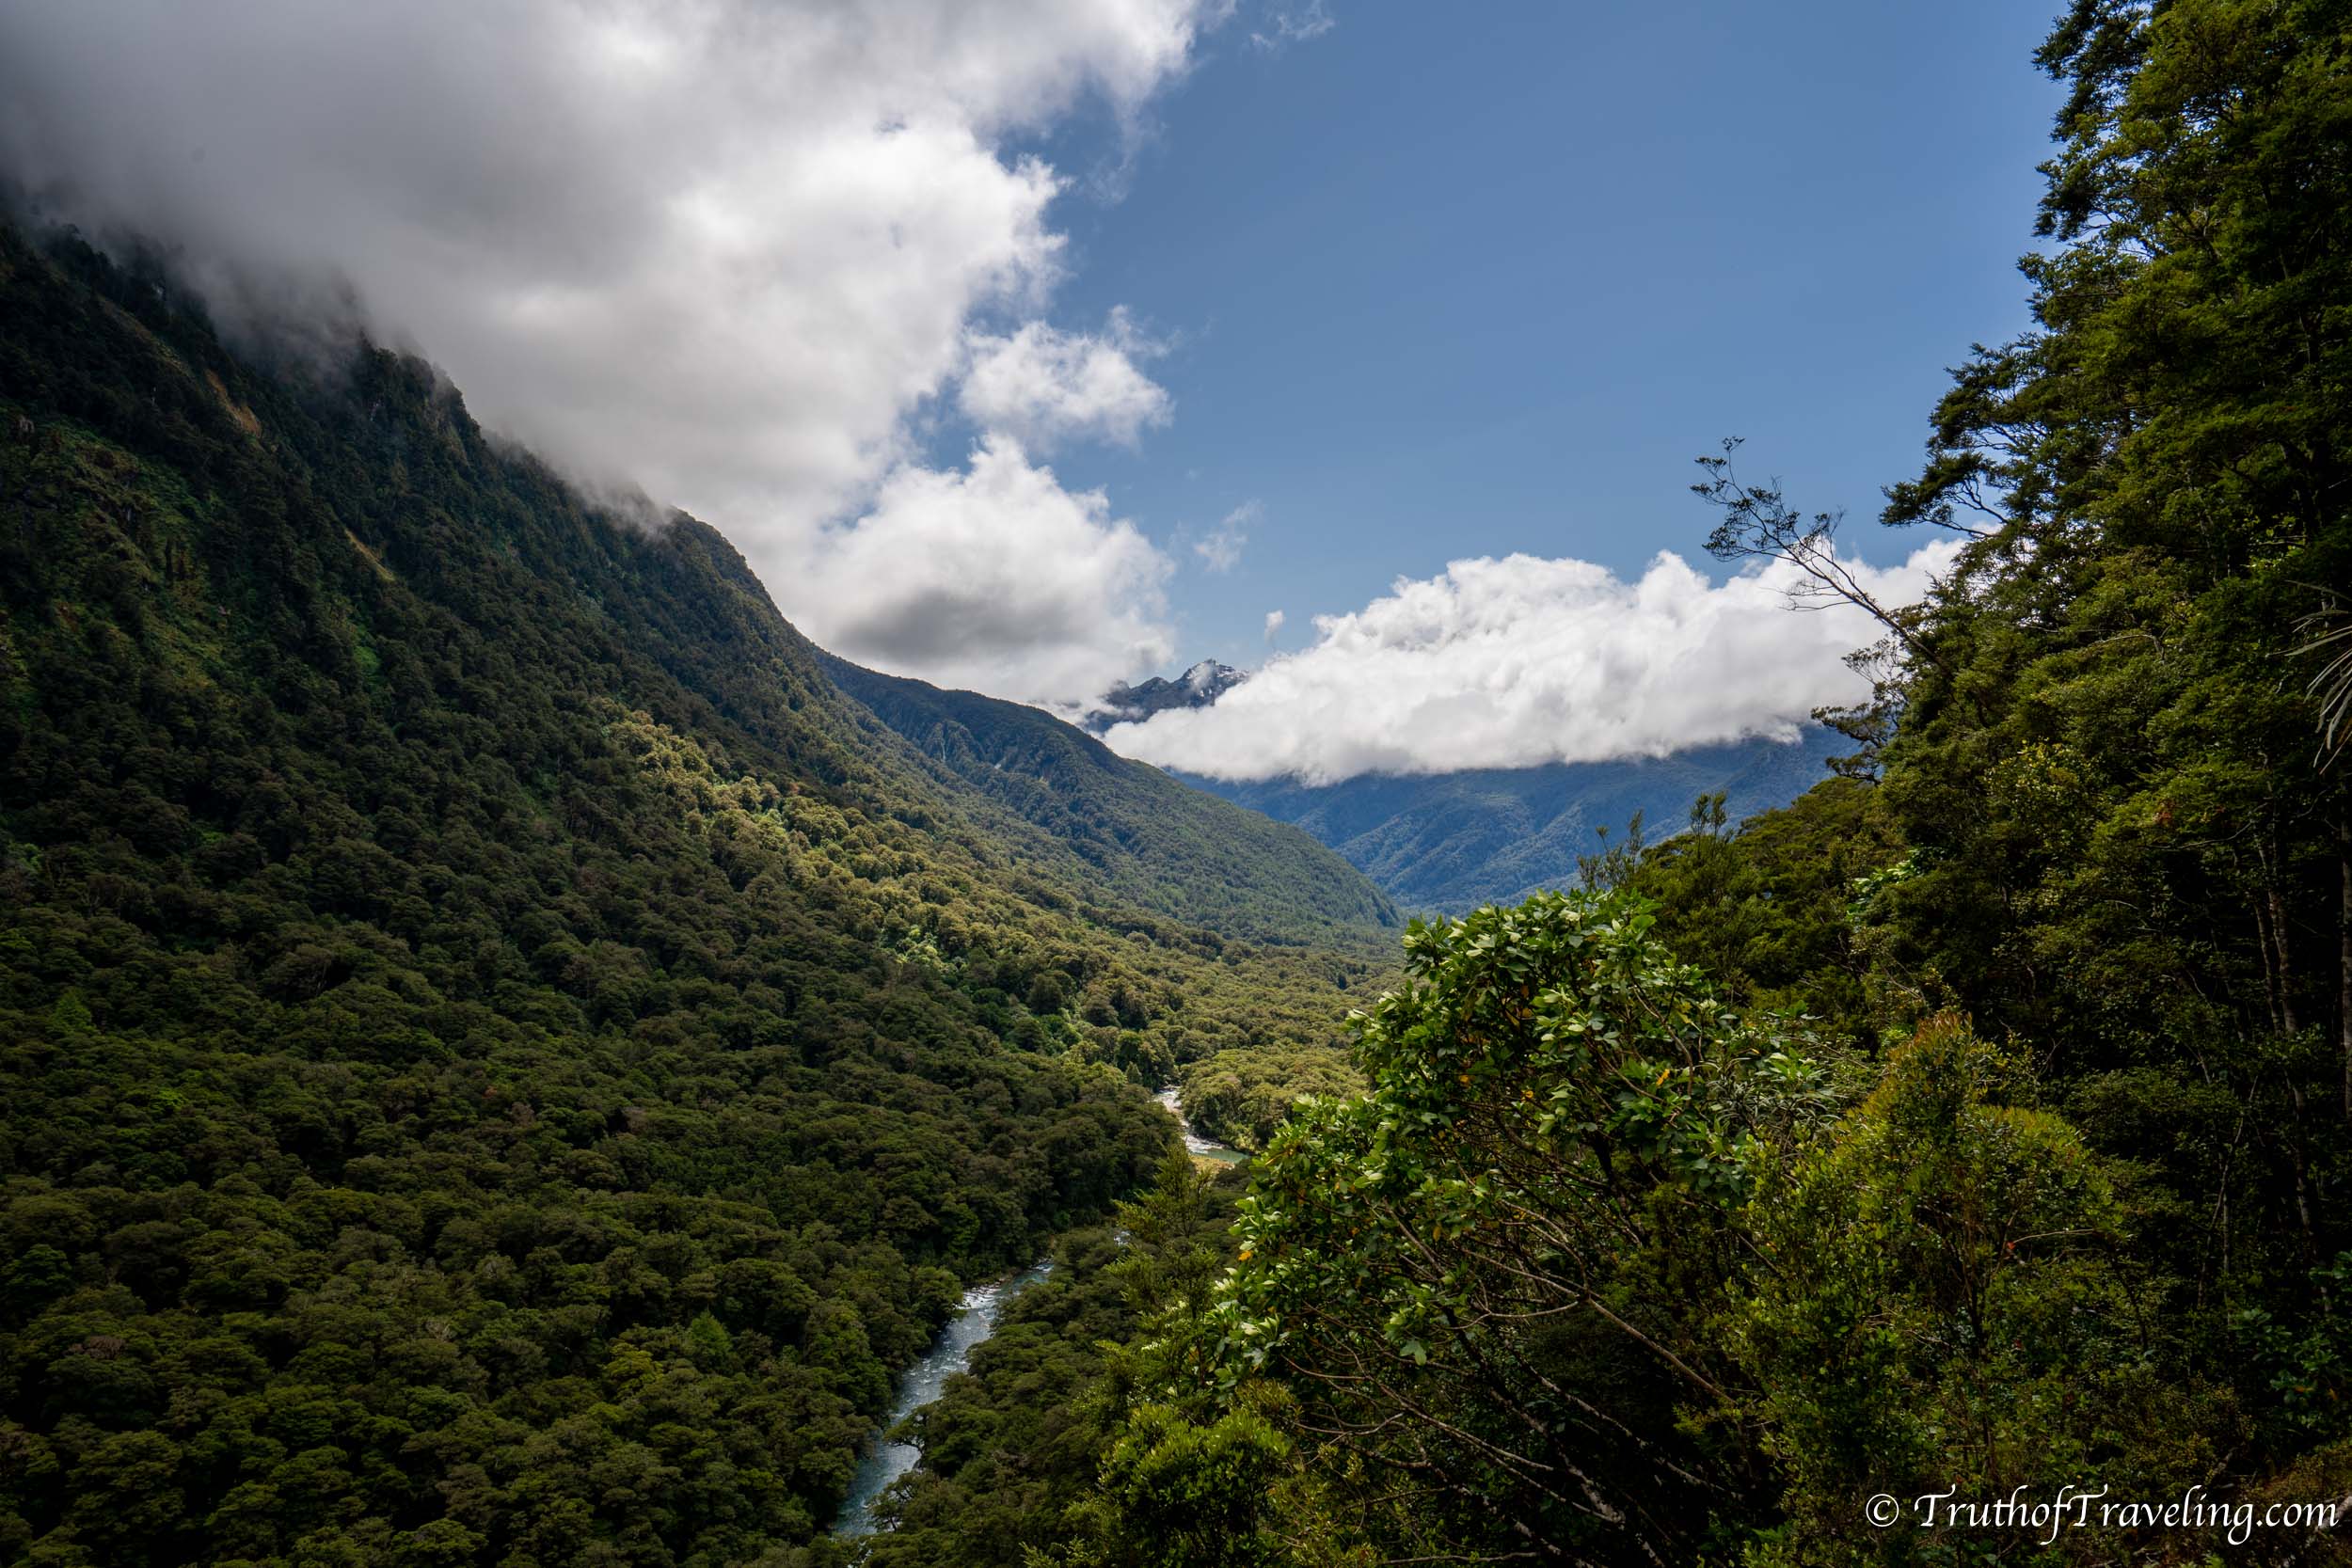
Not too far up the road is Pop’s View which gives you views looking over the Hollyford Valley. There is room to park and a viewing platform so you can look down the impressive valley!
- Here we saw a low, dark cloud to one side and on the other side of the valley we saw blue skies. The weather down in this area of New Zealand can change a lot so keep that in mind!
You will want to stop at Monkey Creek to see the creek but also to see all the snowcapped mountains that are so incredibly close! We couldn’t get over the mountains here because it felt like we were in the middle of them all.
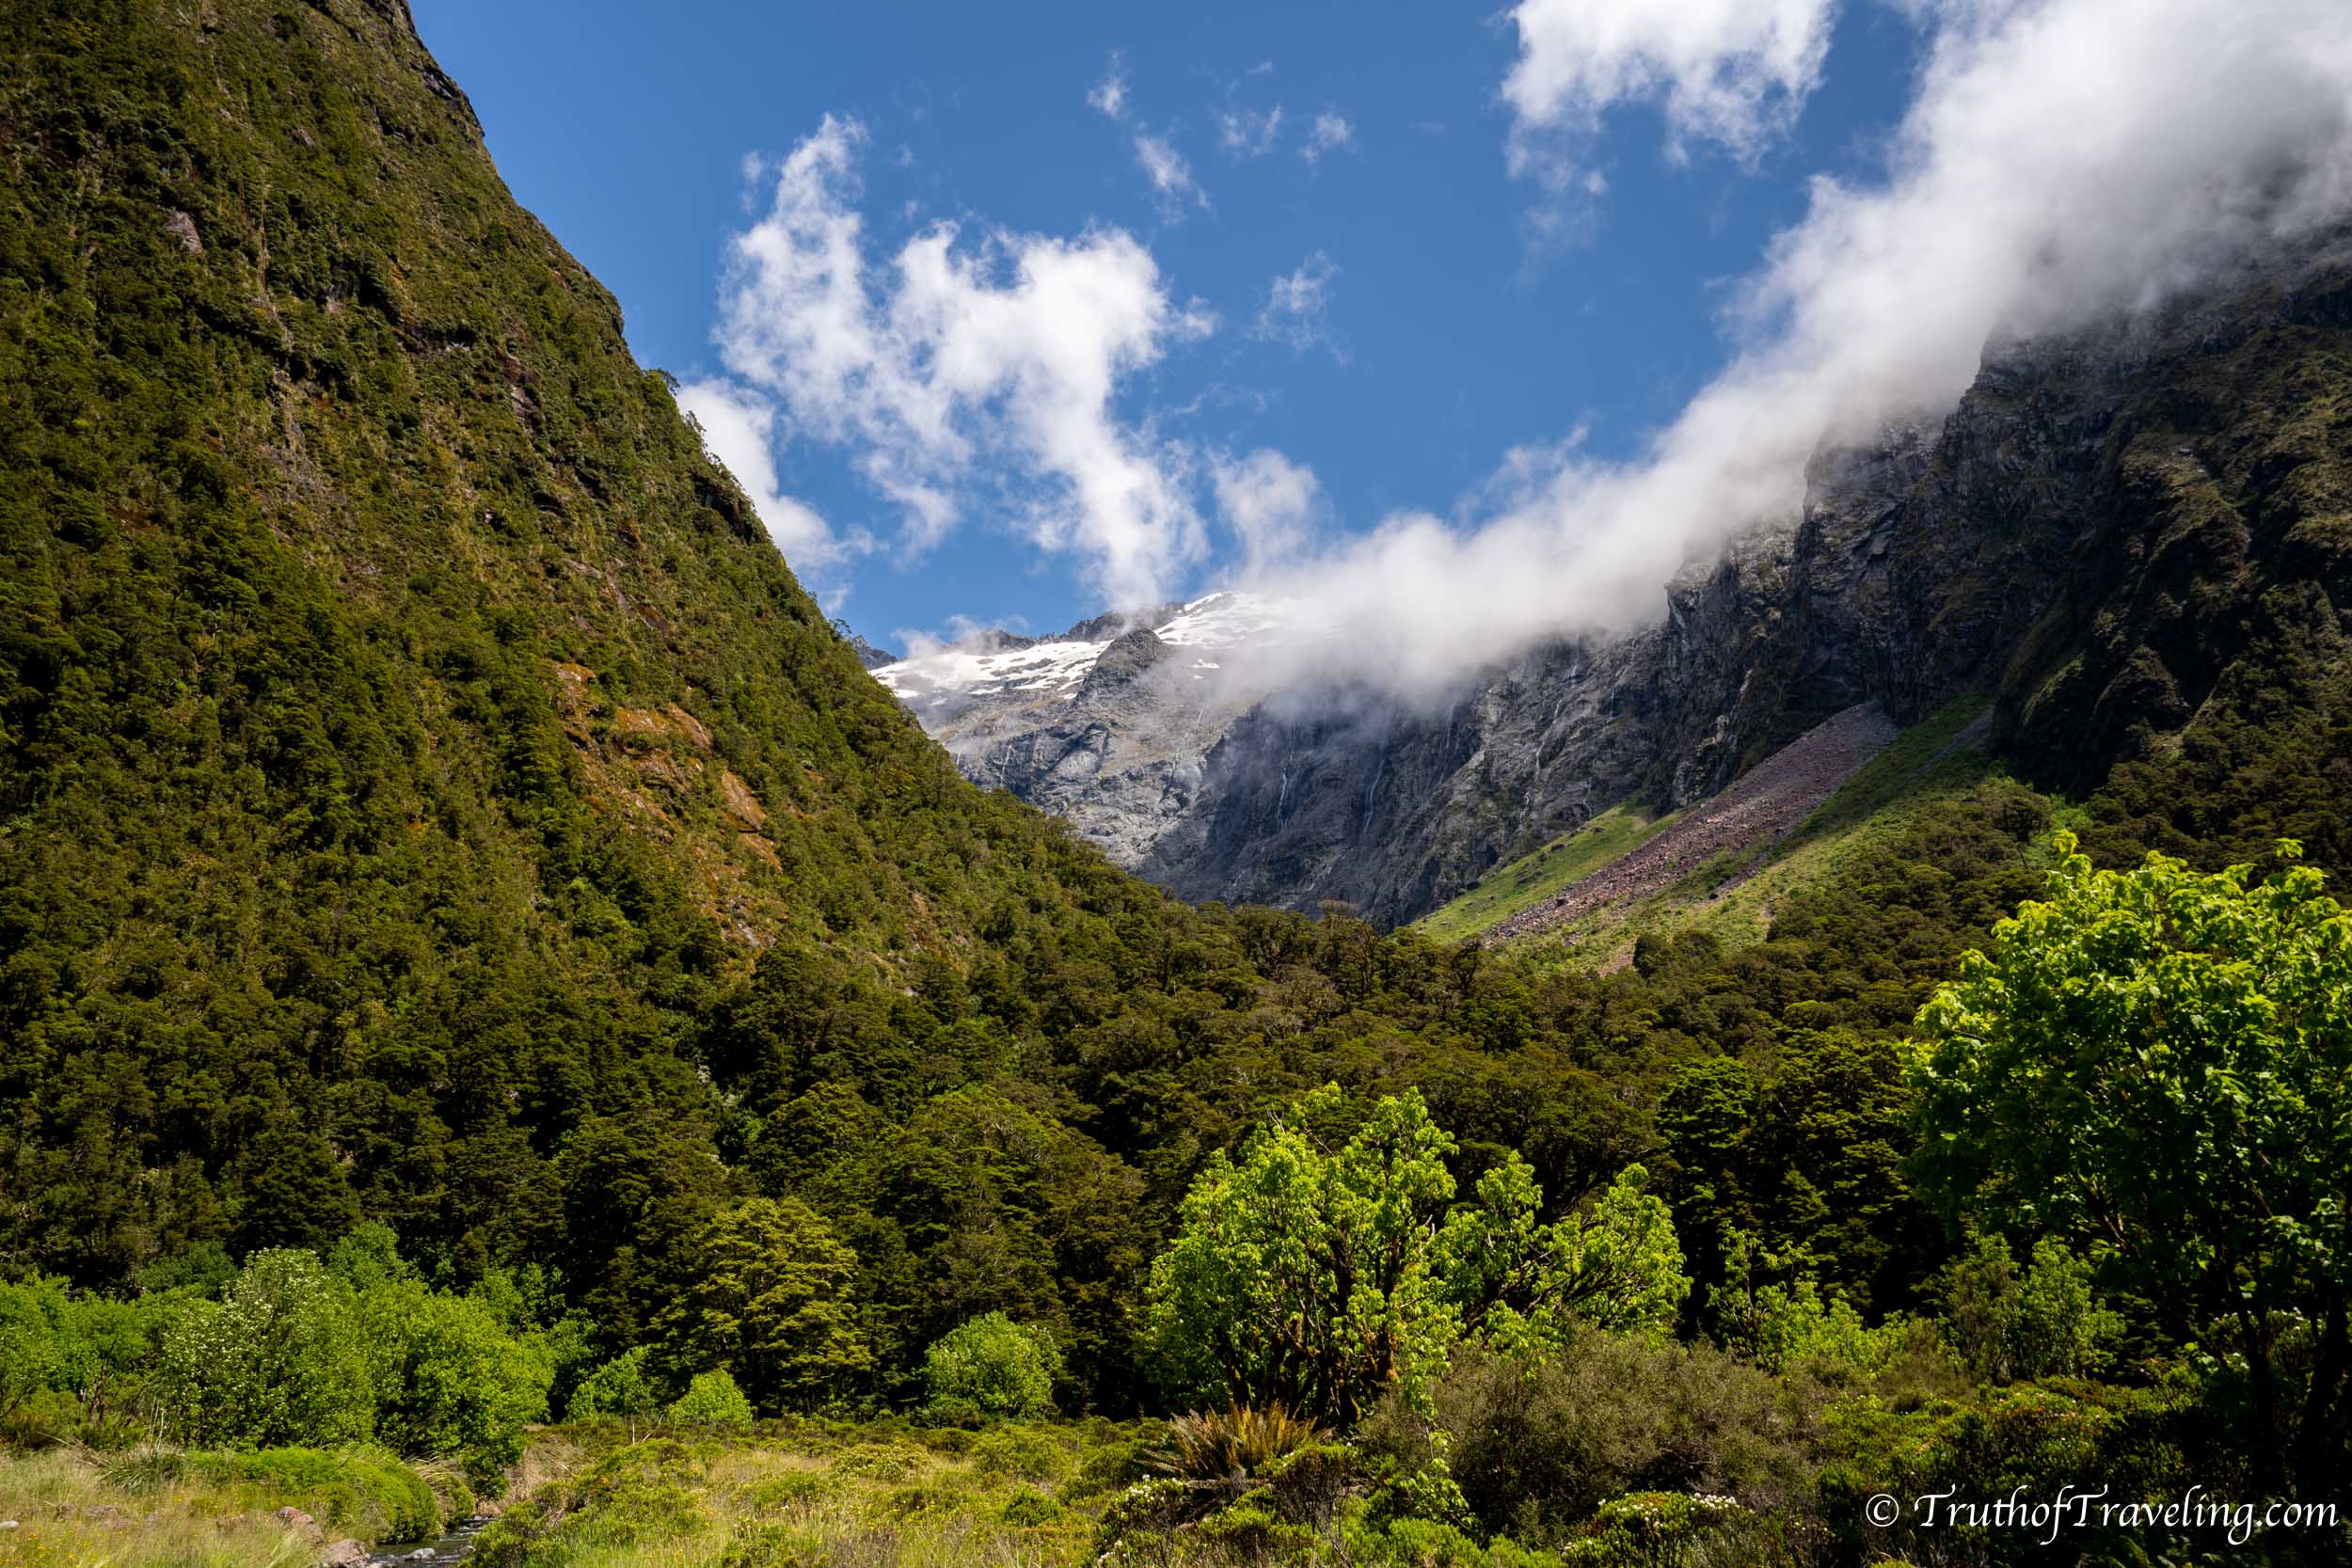
About 20 minutes after Monkey Creek is the entrance of the Homer Tunnel. The Homer Tunnel is a 1.2 km tunnel that connects the road to Milford Sound. It was completed in 1953 and is the only way for cars to access the sound! It is a one lane tunnel so one direction goes while the other waits and then vice versa. Plan for some delays at the tunnel because of this especially if you’re trying to make something at a specific time.
- I won’t lie driving through the Homer Tunnel was a little scary! Going to Milford Sound it’s all downhill which I wasn’t expecting. Then coming back I was just hoping and praying our little van would make it up and through the whole thing!
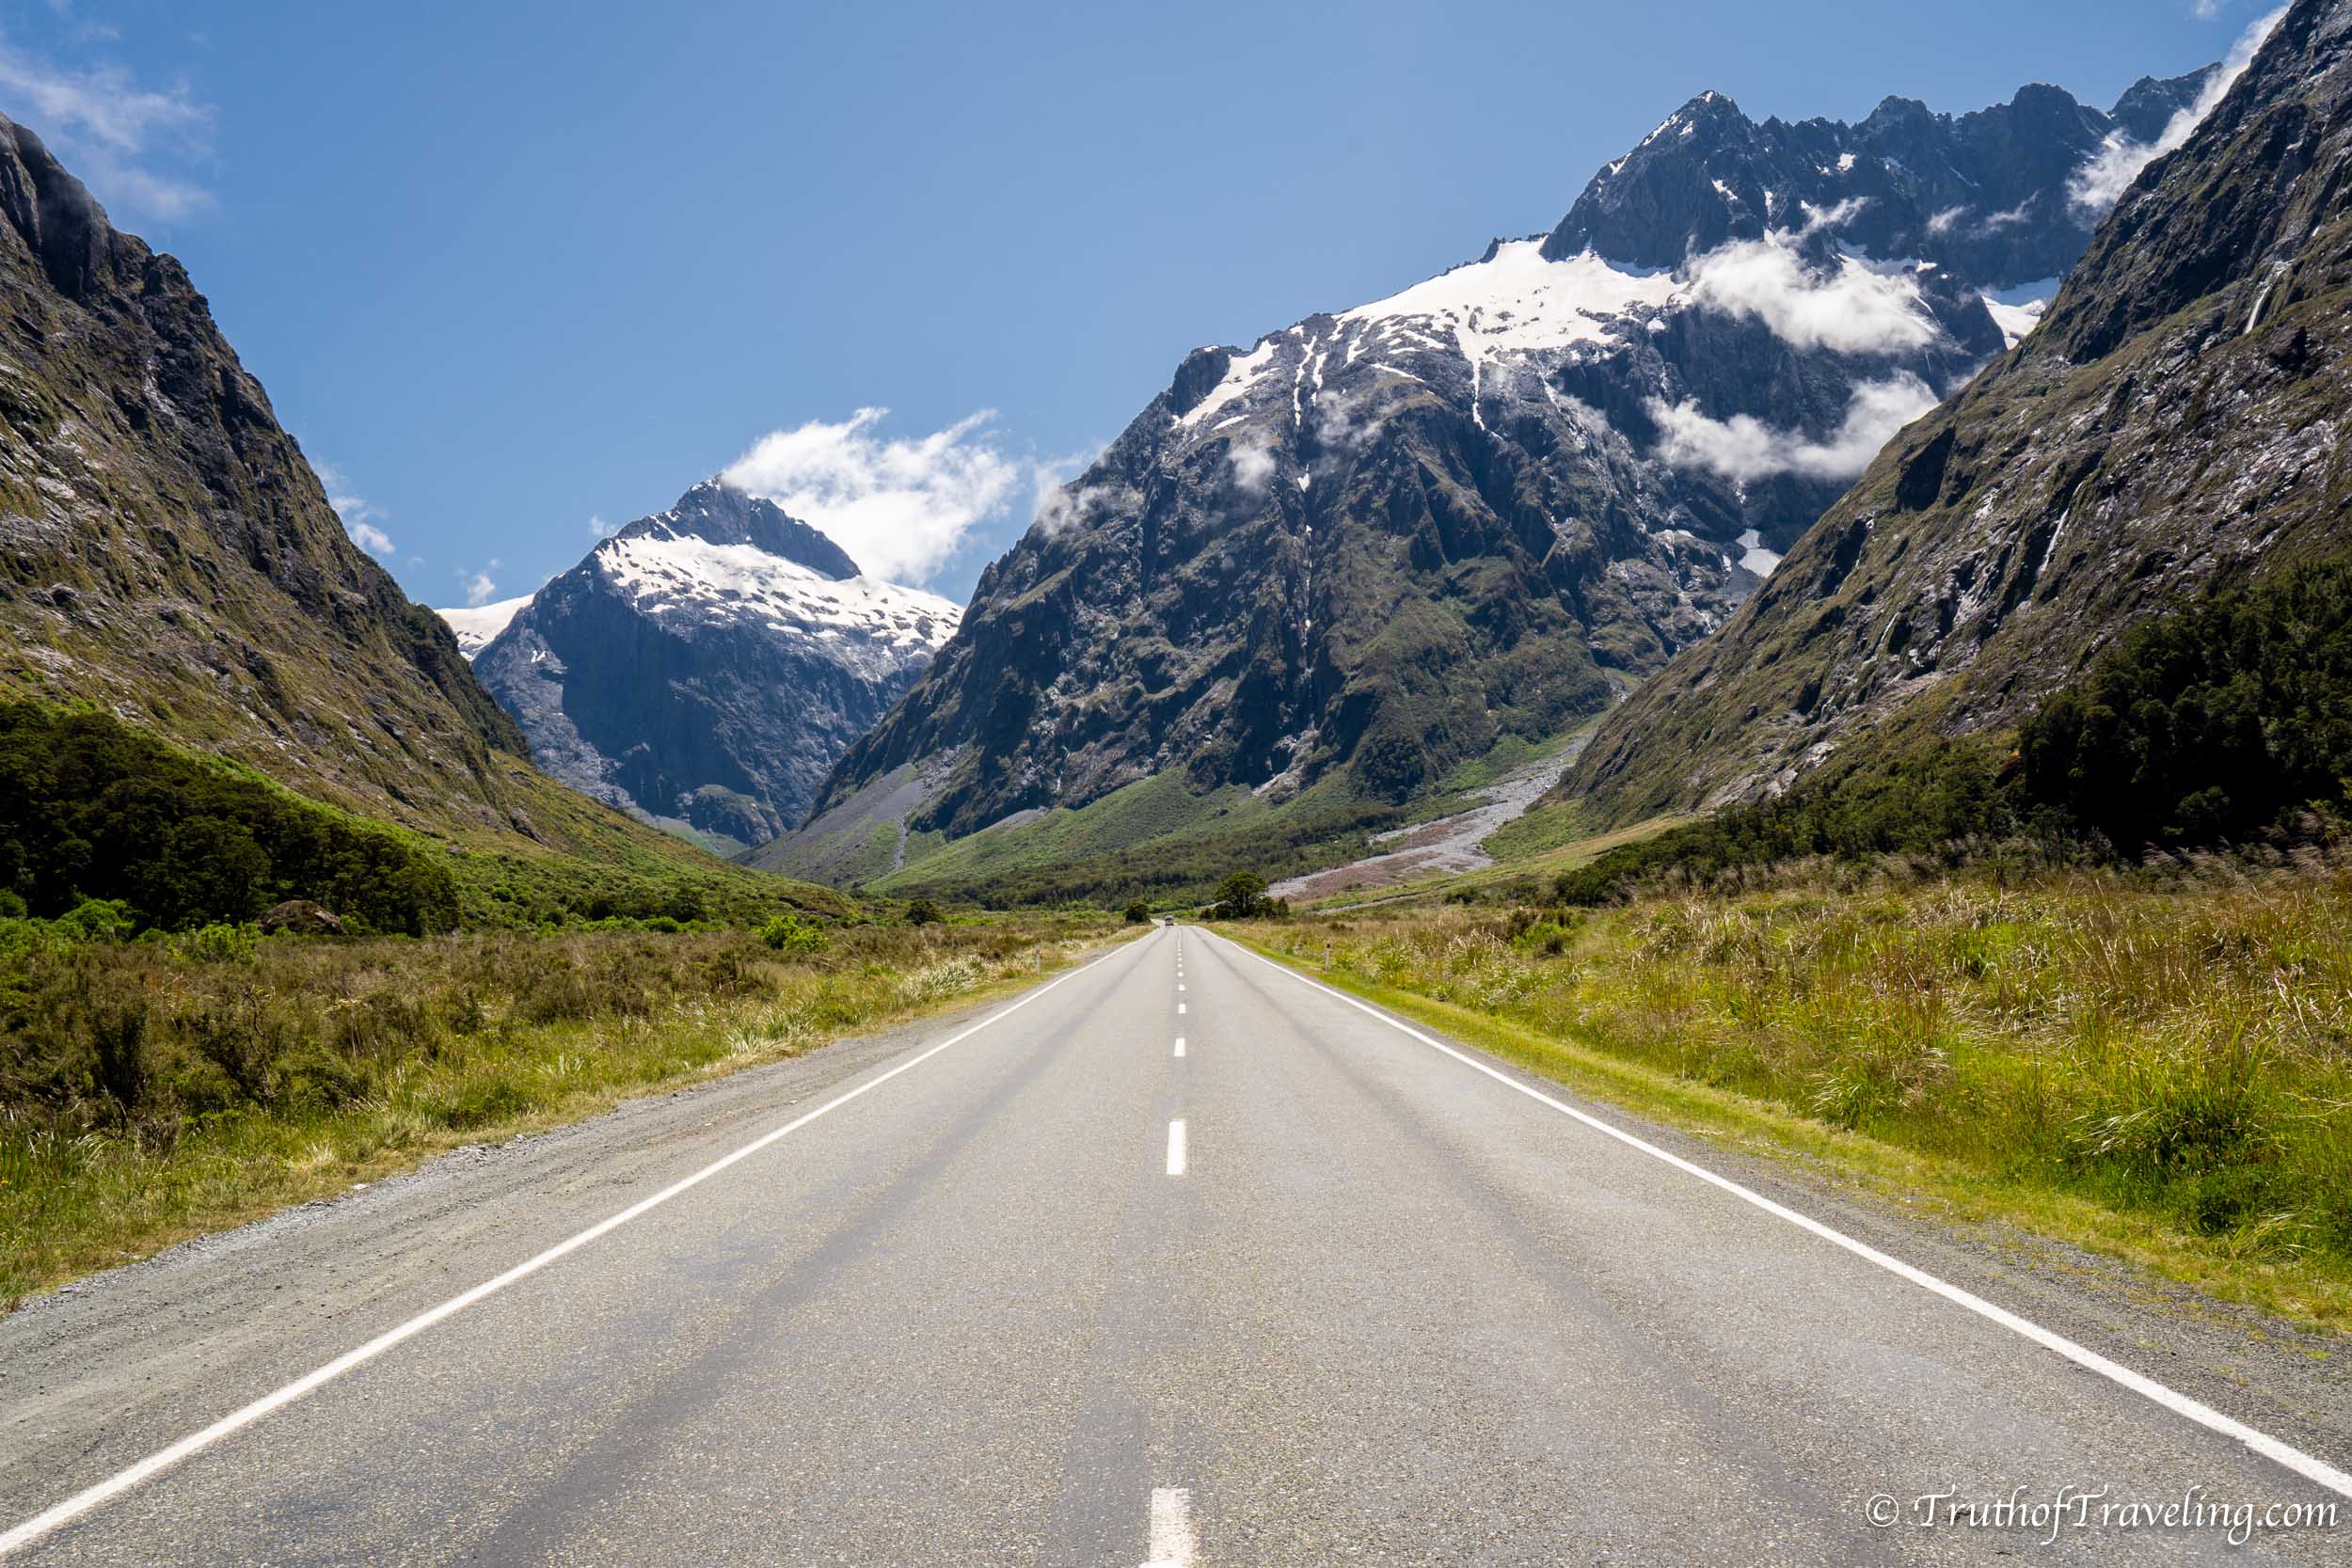
Once on the other side of the Homer Tunnel you’re basically only 15 kms from Milford Sound. The winding road right after the tunnel is thin with tons of sharp turns so it takes a little longer especially when you’re leaving and going uphill.
- Because we made so many stops it took us just under 4 hours to drive from Te Anau to Milford Sound. It sounds like a lot but we were constantly getting out of the car to explore something else. It’s an amazing drive so make the most of it and give yourself the extra time!
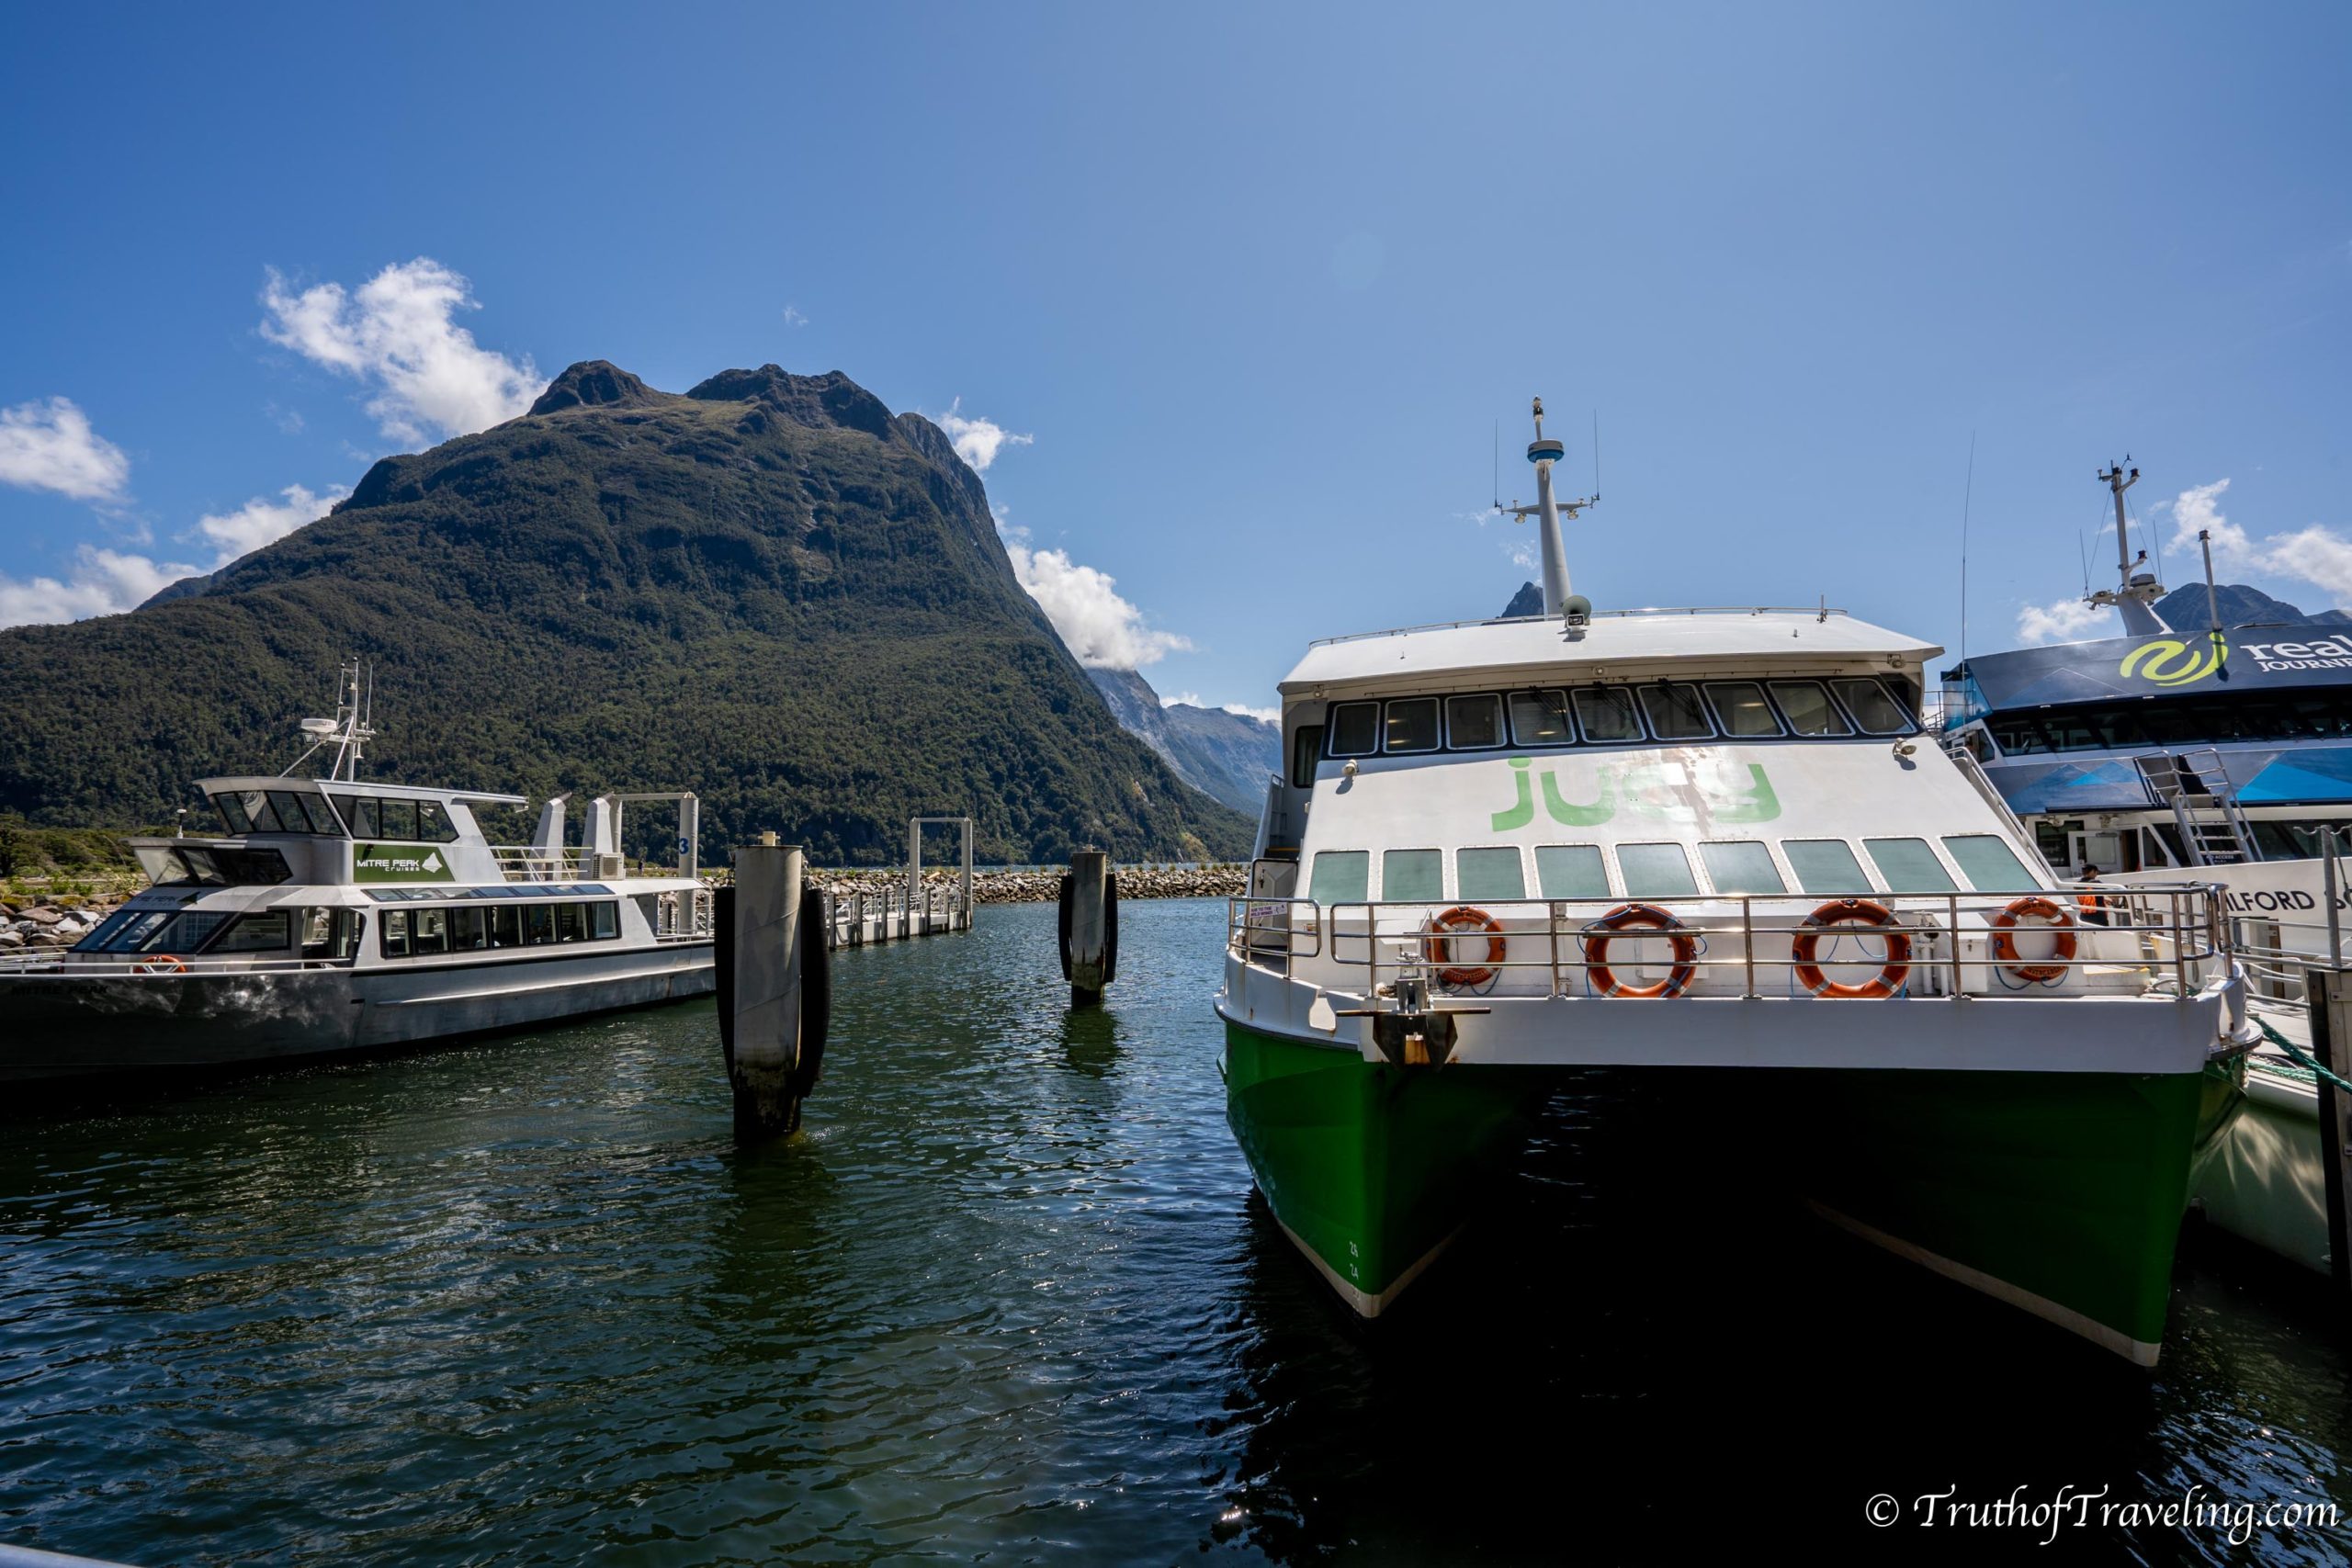
In Milford Sound there is a farther parking lot as well as another one closer to the boat docks. We parked at the closer parking lot and it cost 10 NZD an hour. Other than the boat docks there is not too much else in the area which is why most people don’t spend too much time there.
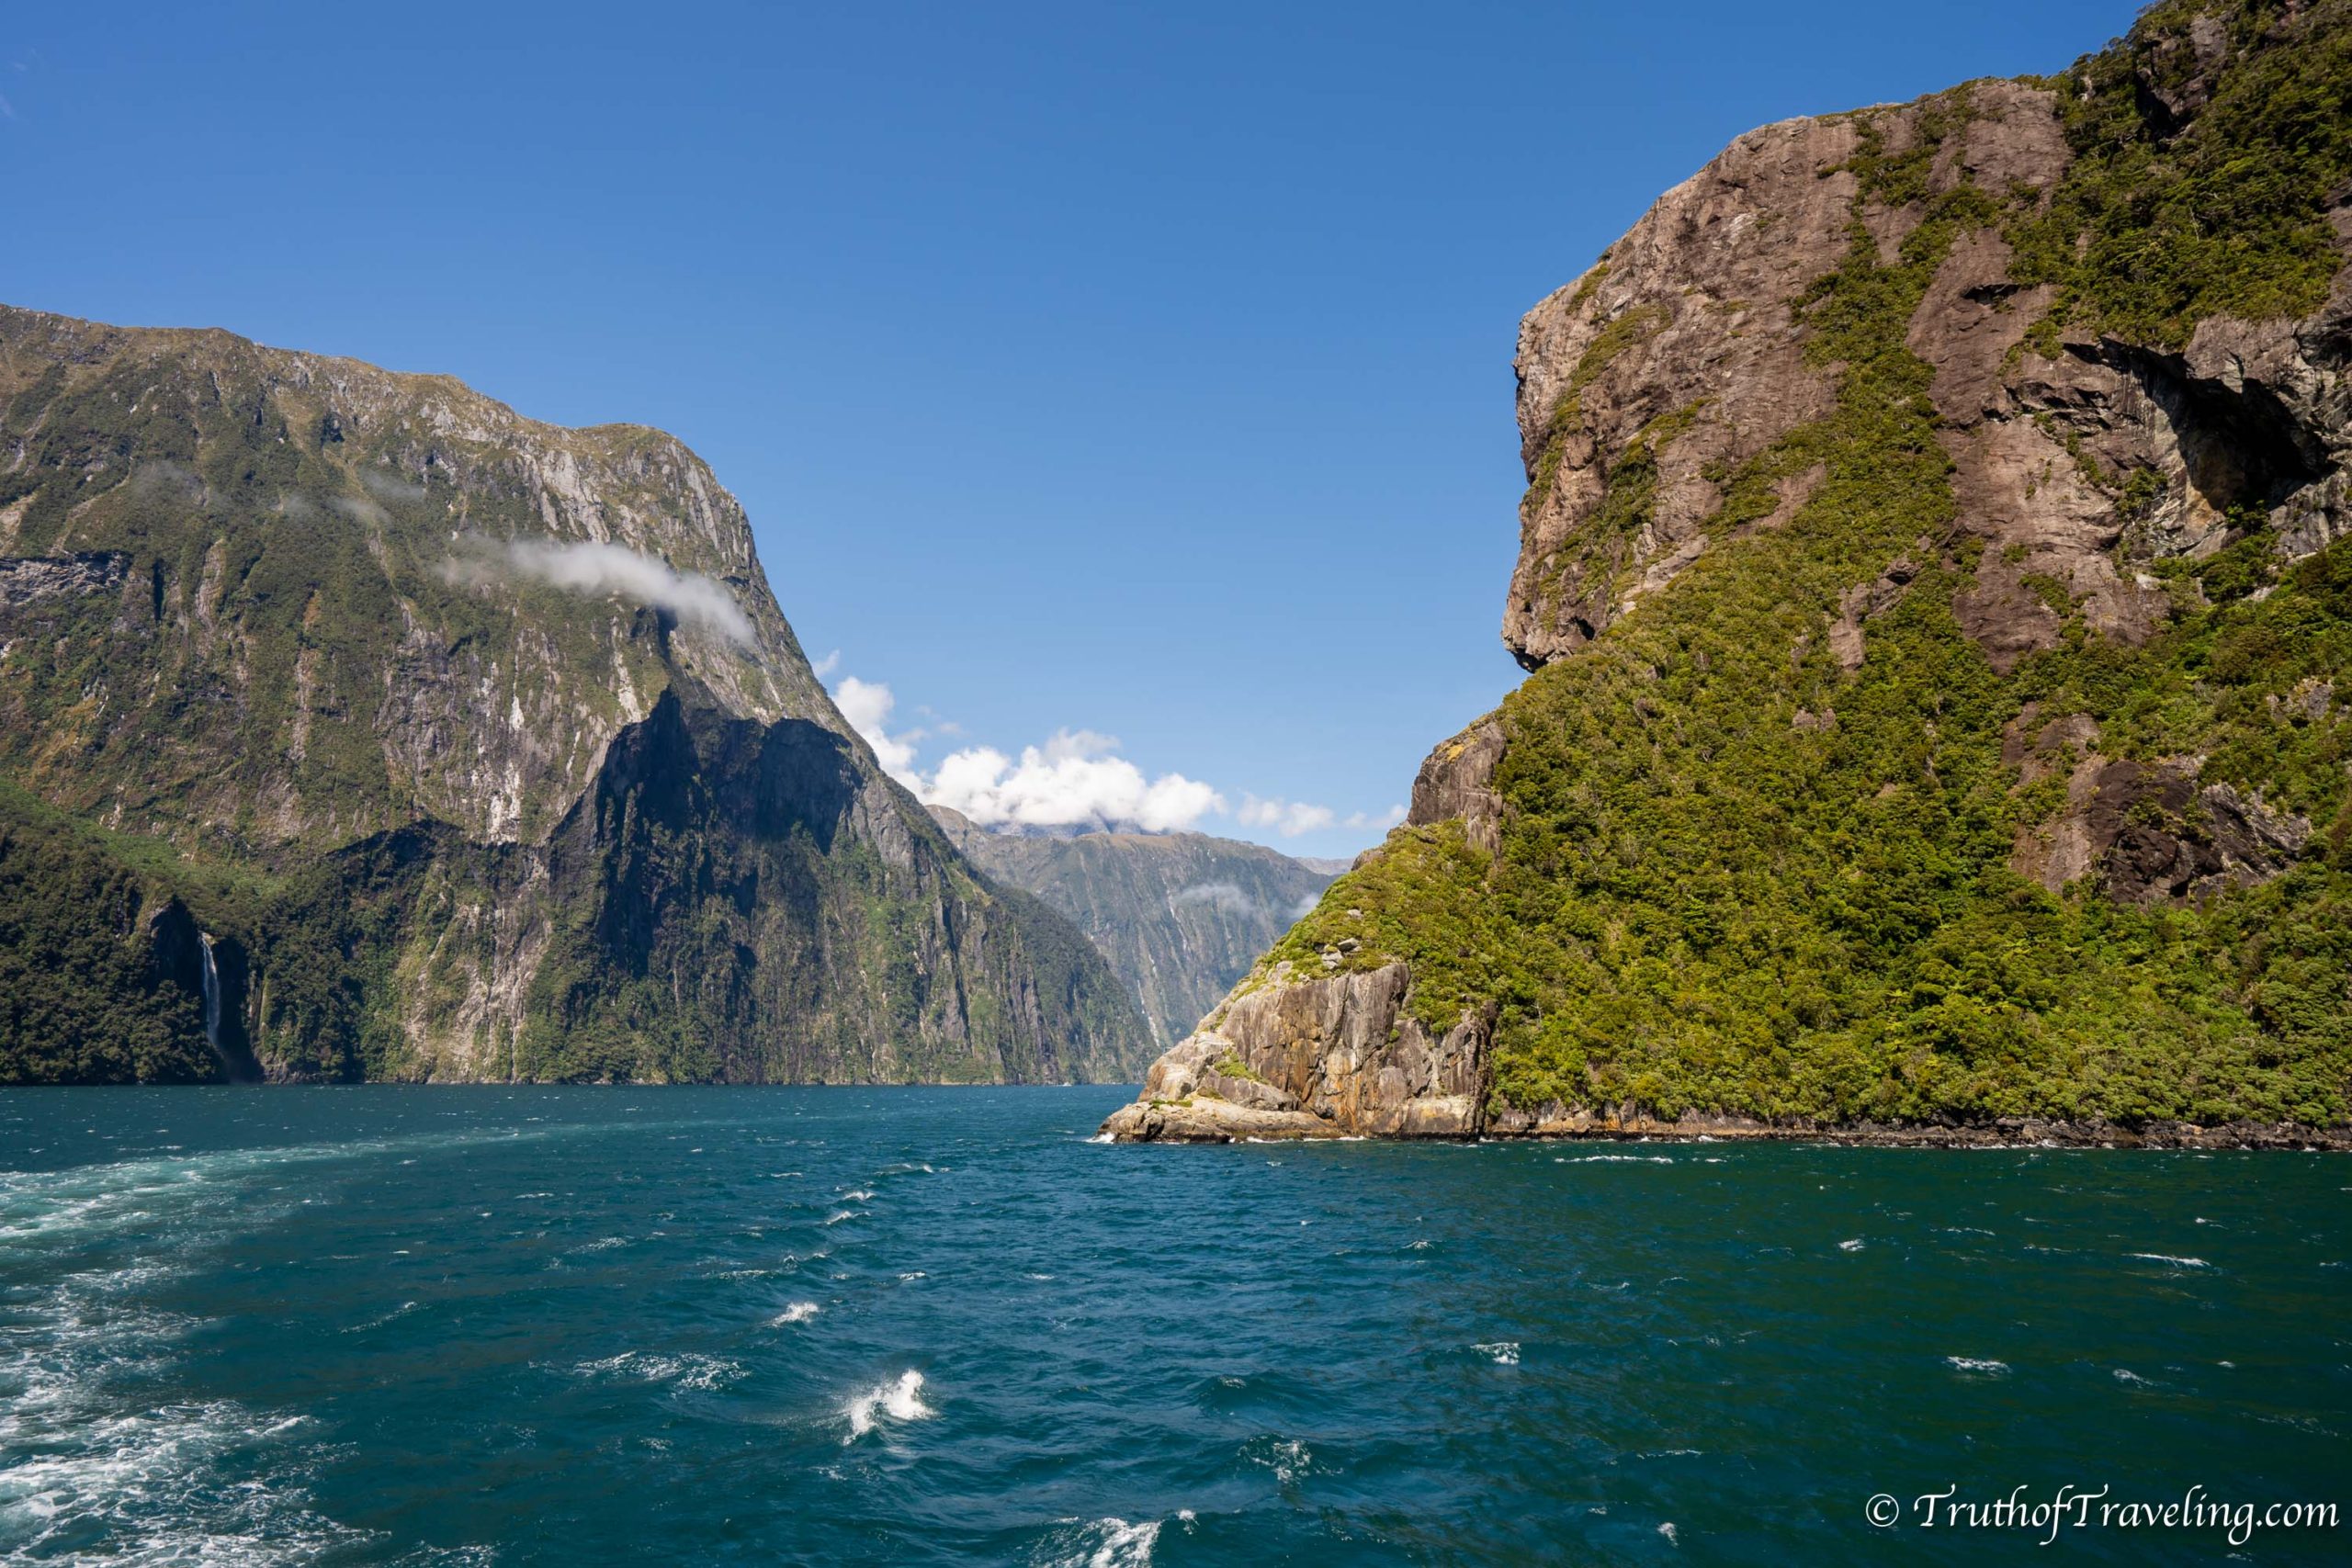
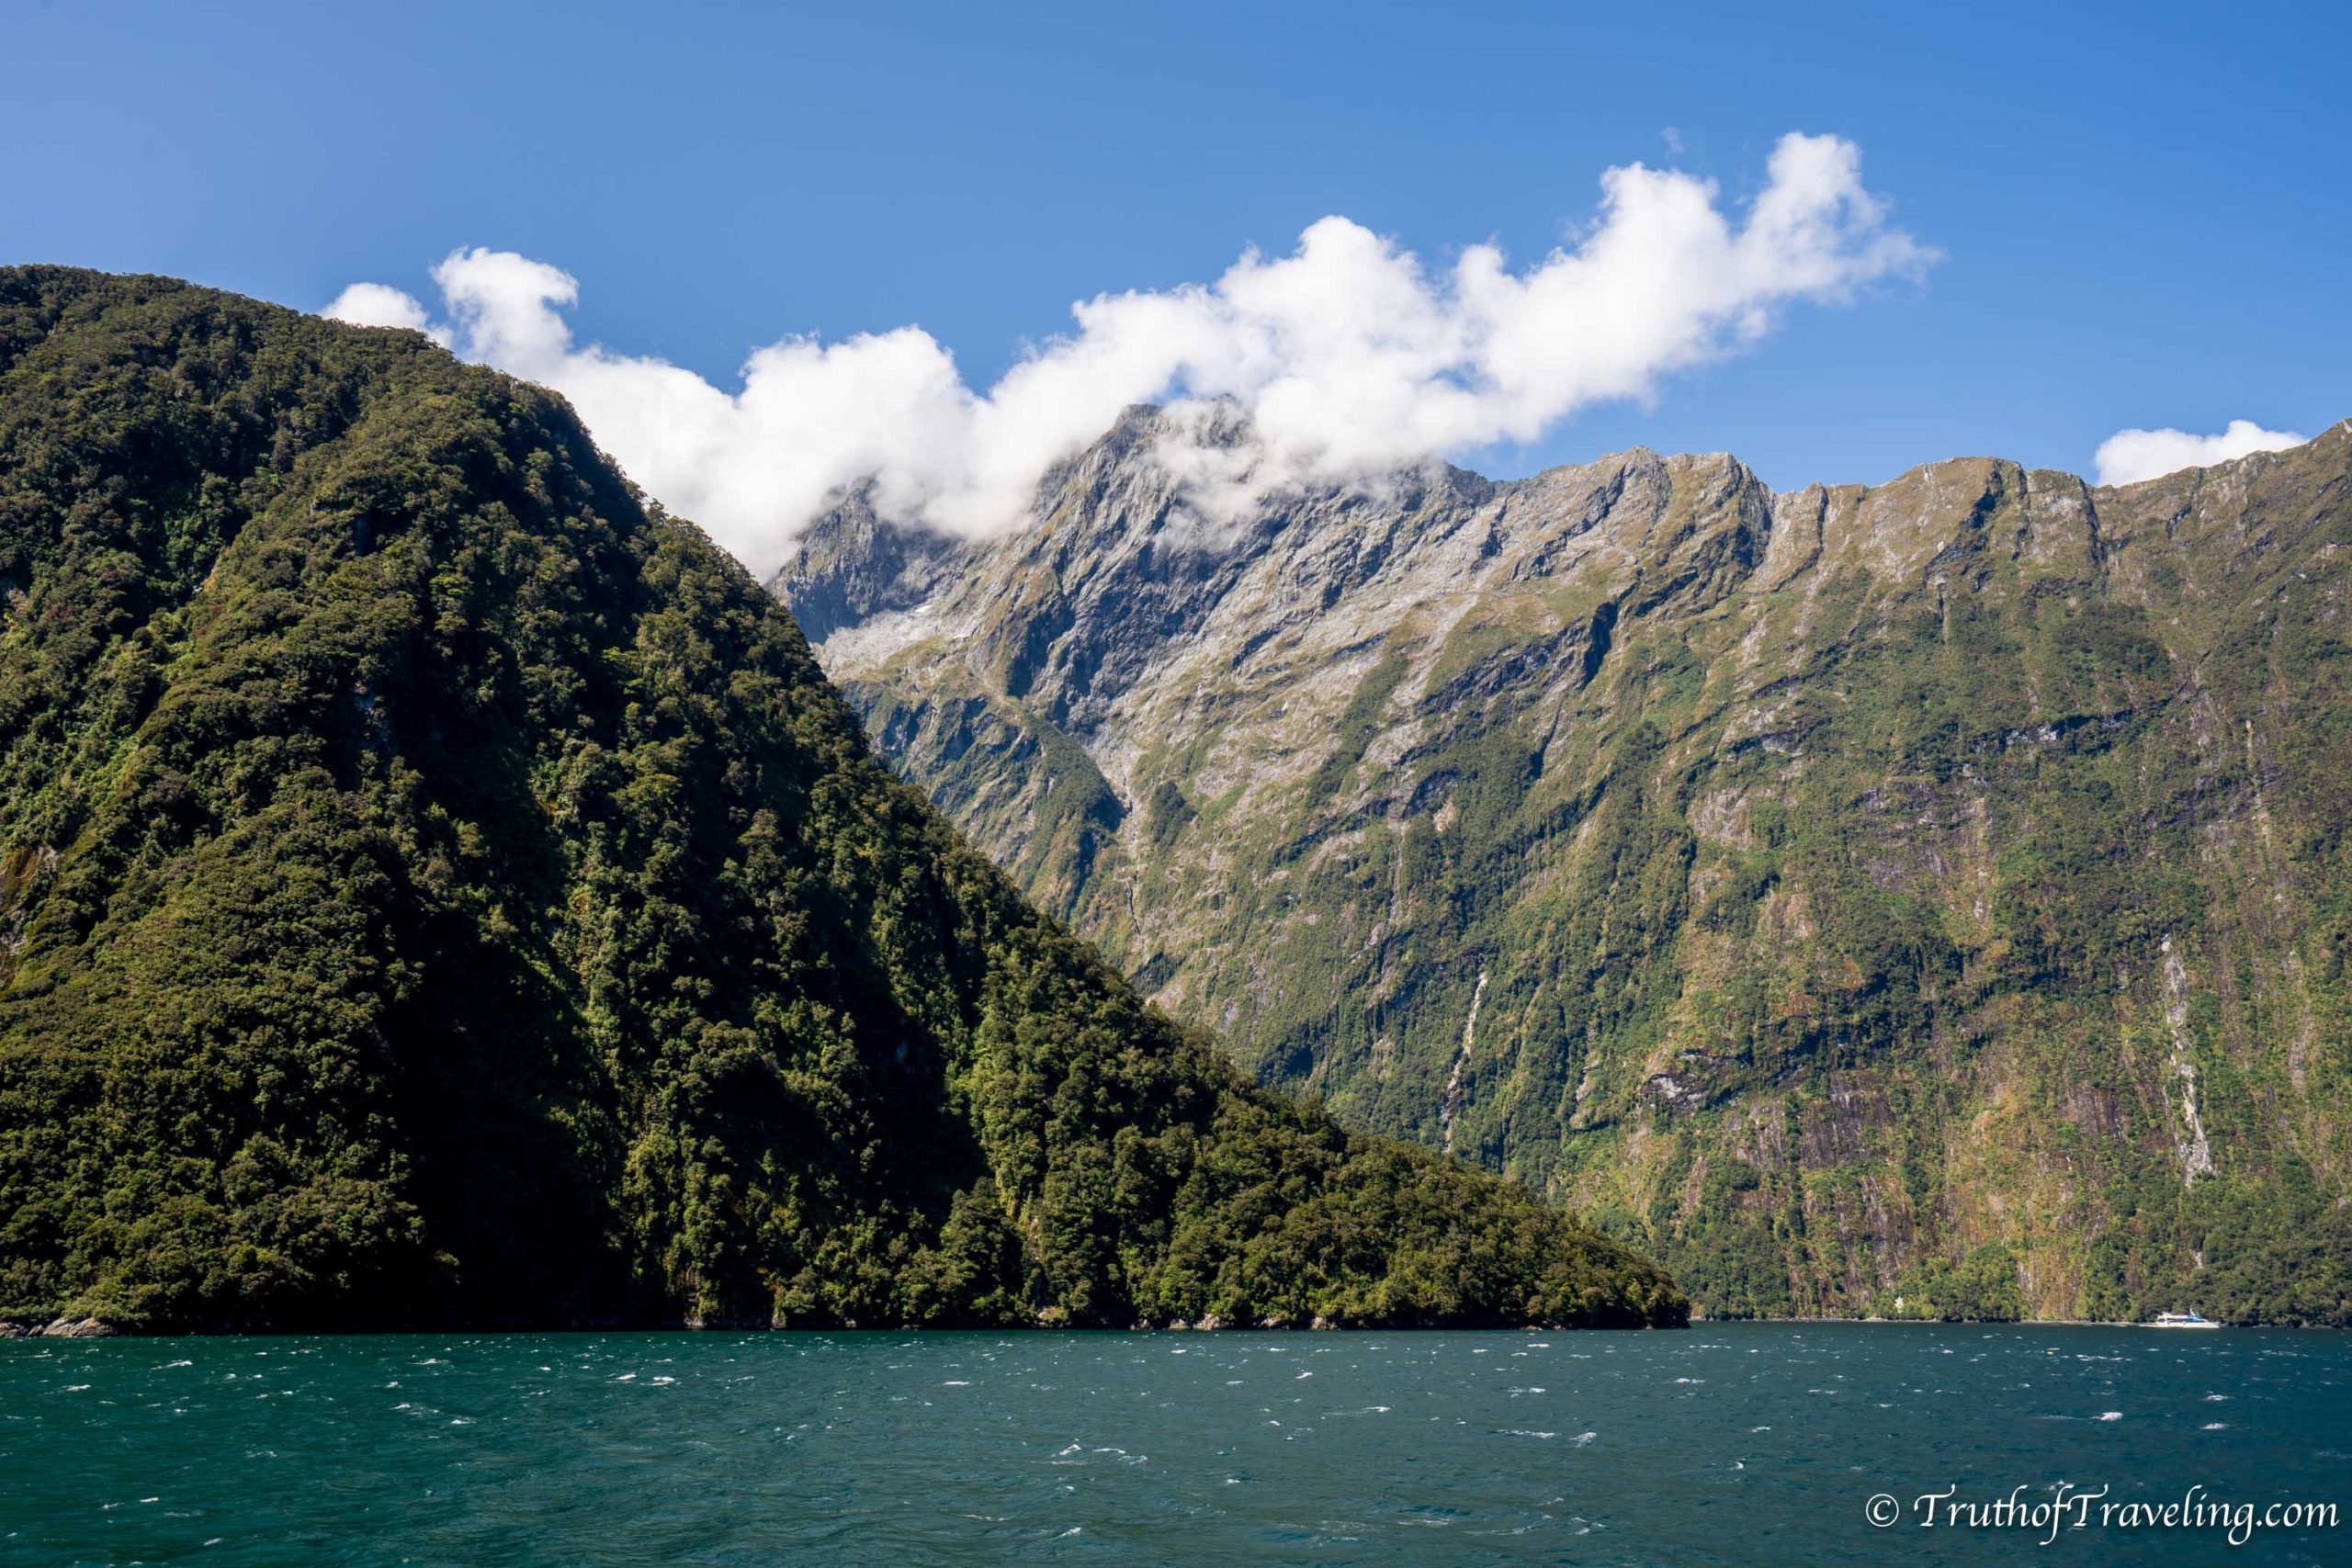
To see Milford Sound you can either take a helicopter to see it from above or take a boat cruise to see it from the water. We took the Maiden of Milford which is a Jucy Cruise. Honestly we picked it because it was the cheapest option and cruises on Milford Sound are not cheap. It cost $100 USD for the 2 of us but we really think it was worth it! The cruise was 1 1/2 hours of cruising around stopping at a few different waterfalls with the captain explaining the names of certain things.
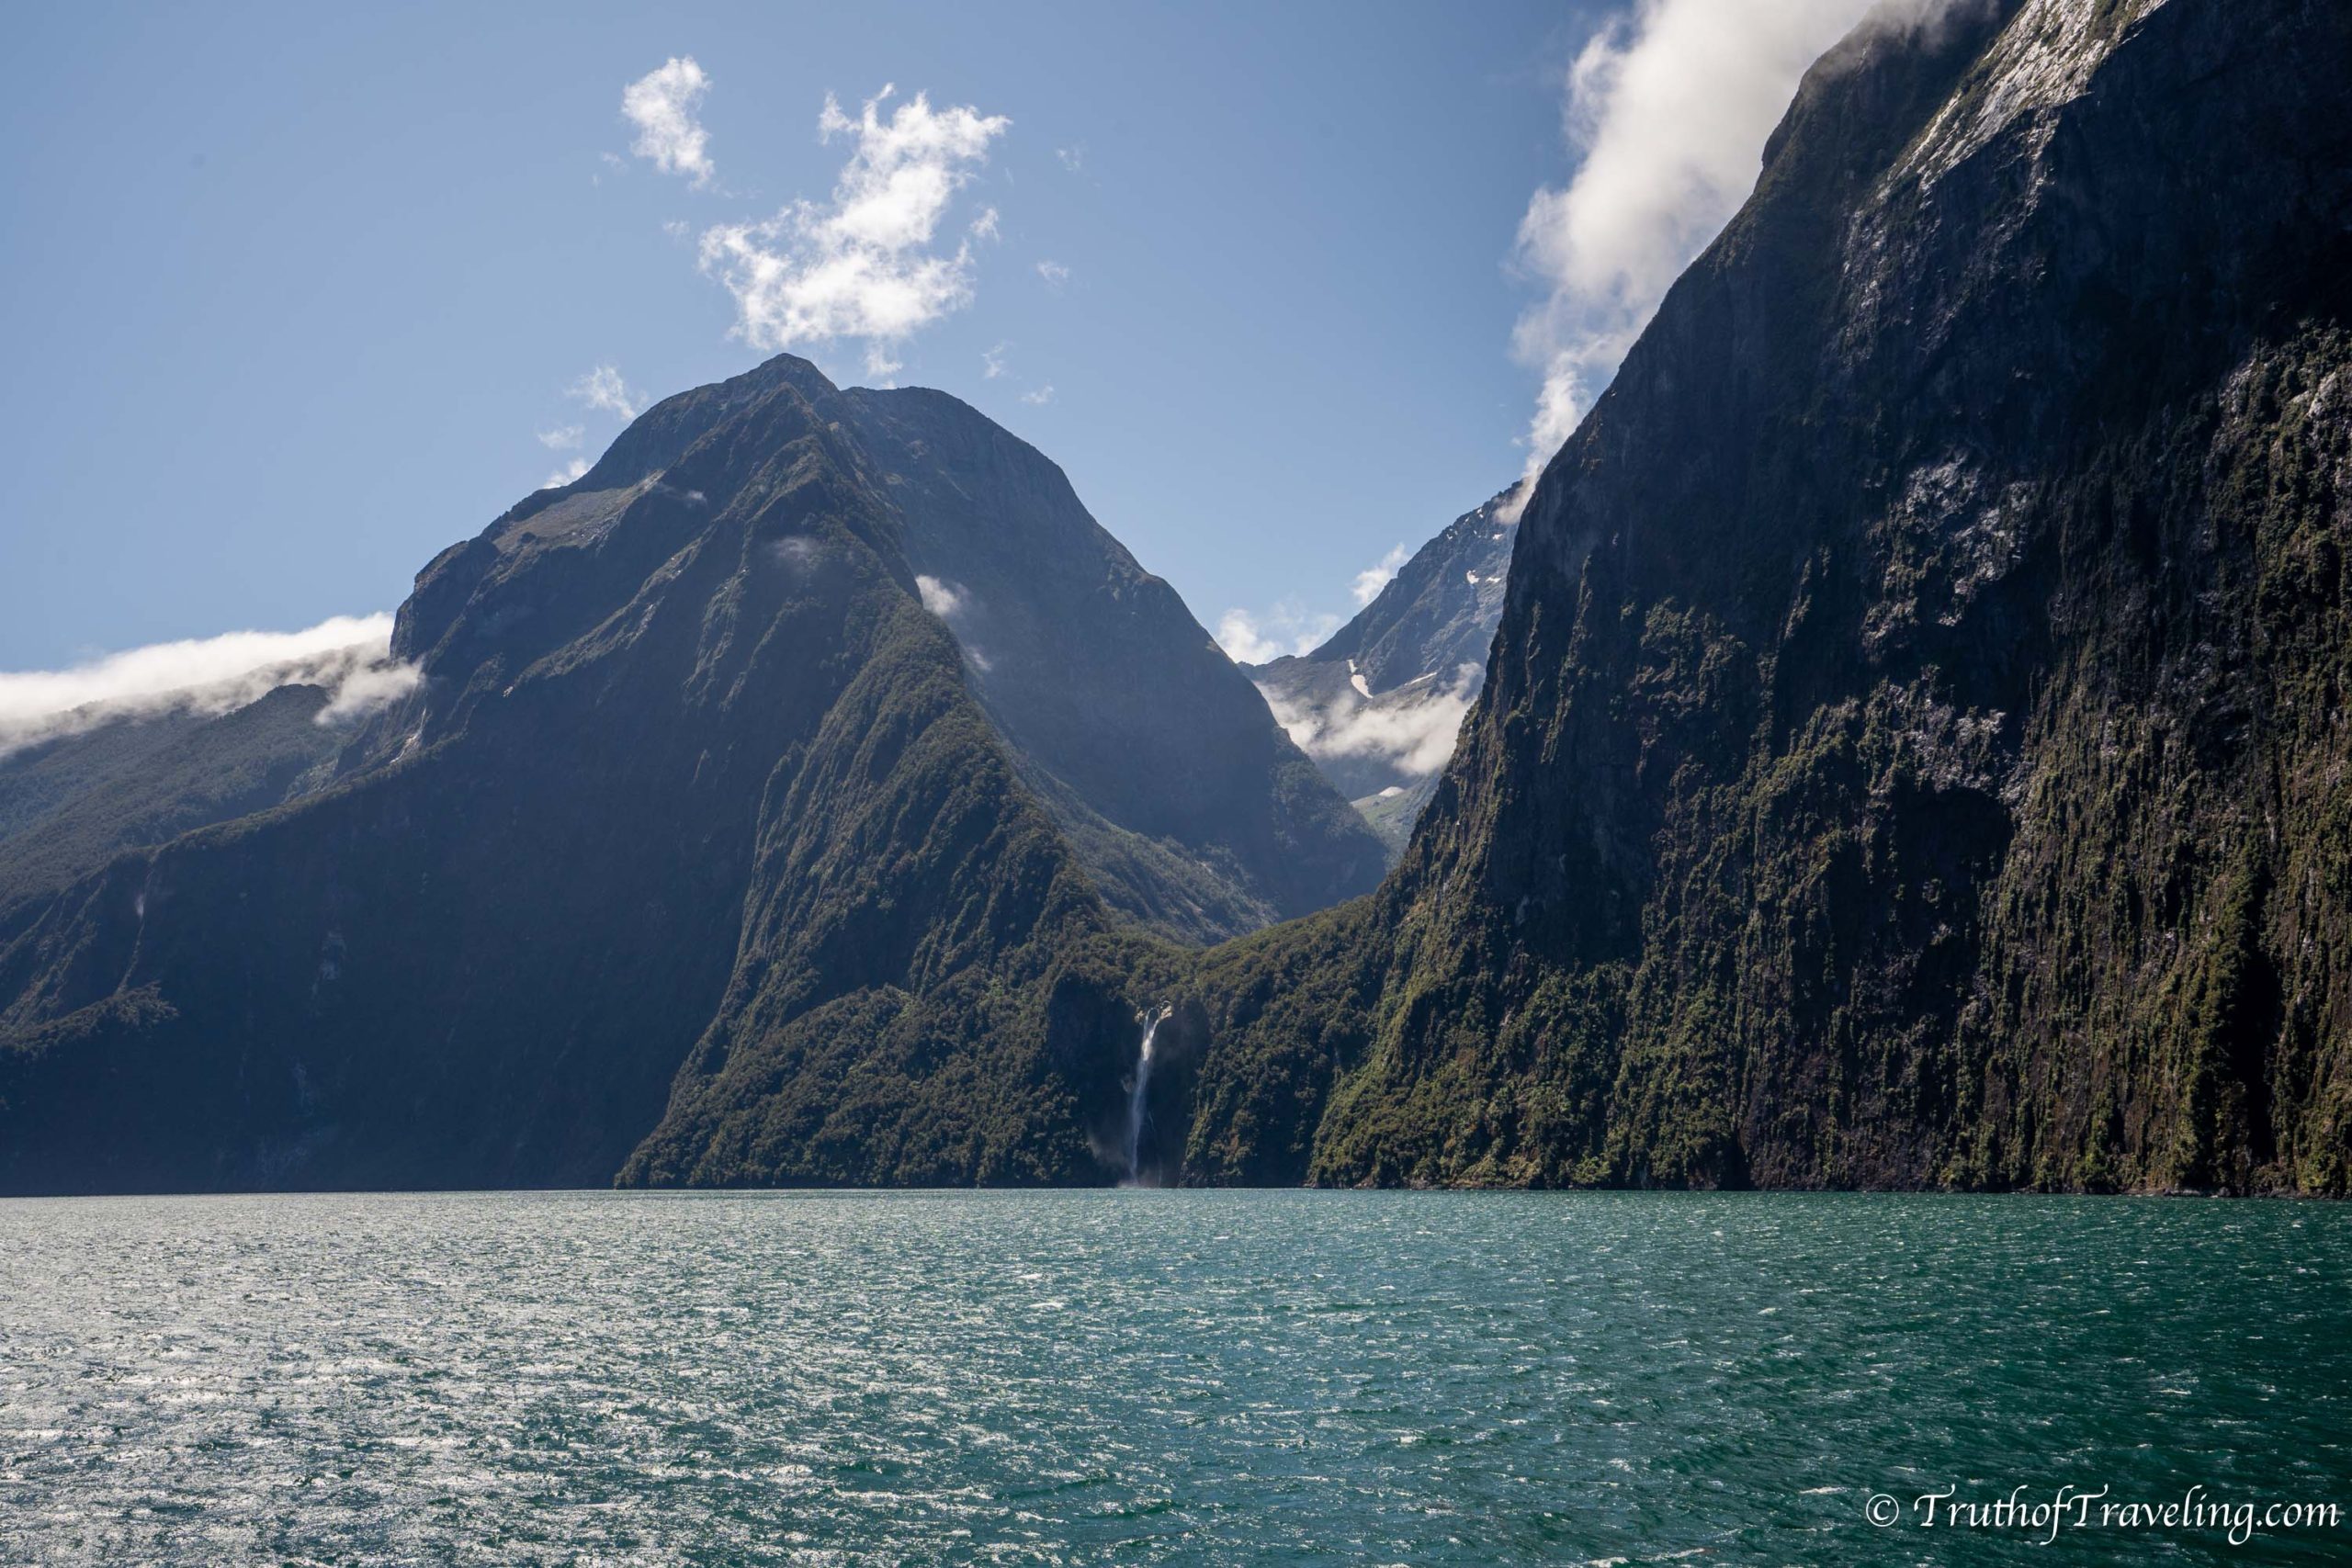
- It didn’t feel touristy or cheesy at all and was the perfect amount of information!
- There were maybe 40 other people on our entire boat so it was almost empty. In the busier summer months we were really surprised to see how empty it was!
- You need to go into the building, show your ticket confirmation (we showed the mobile ticket we were emailed) and you will receive a paper card. Then walk to the correct dock and hand your card in when you board.
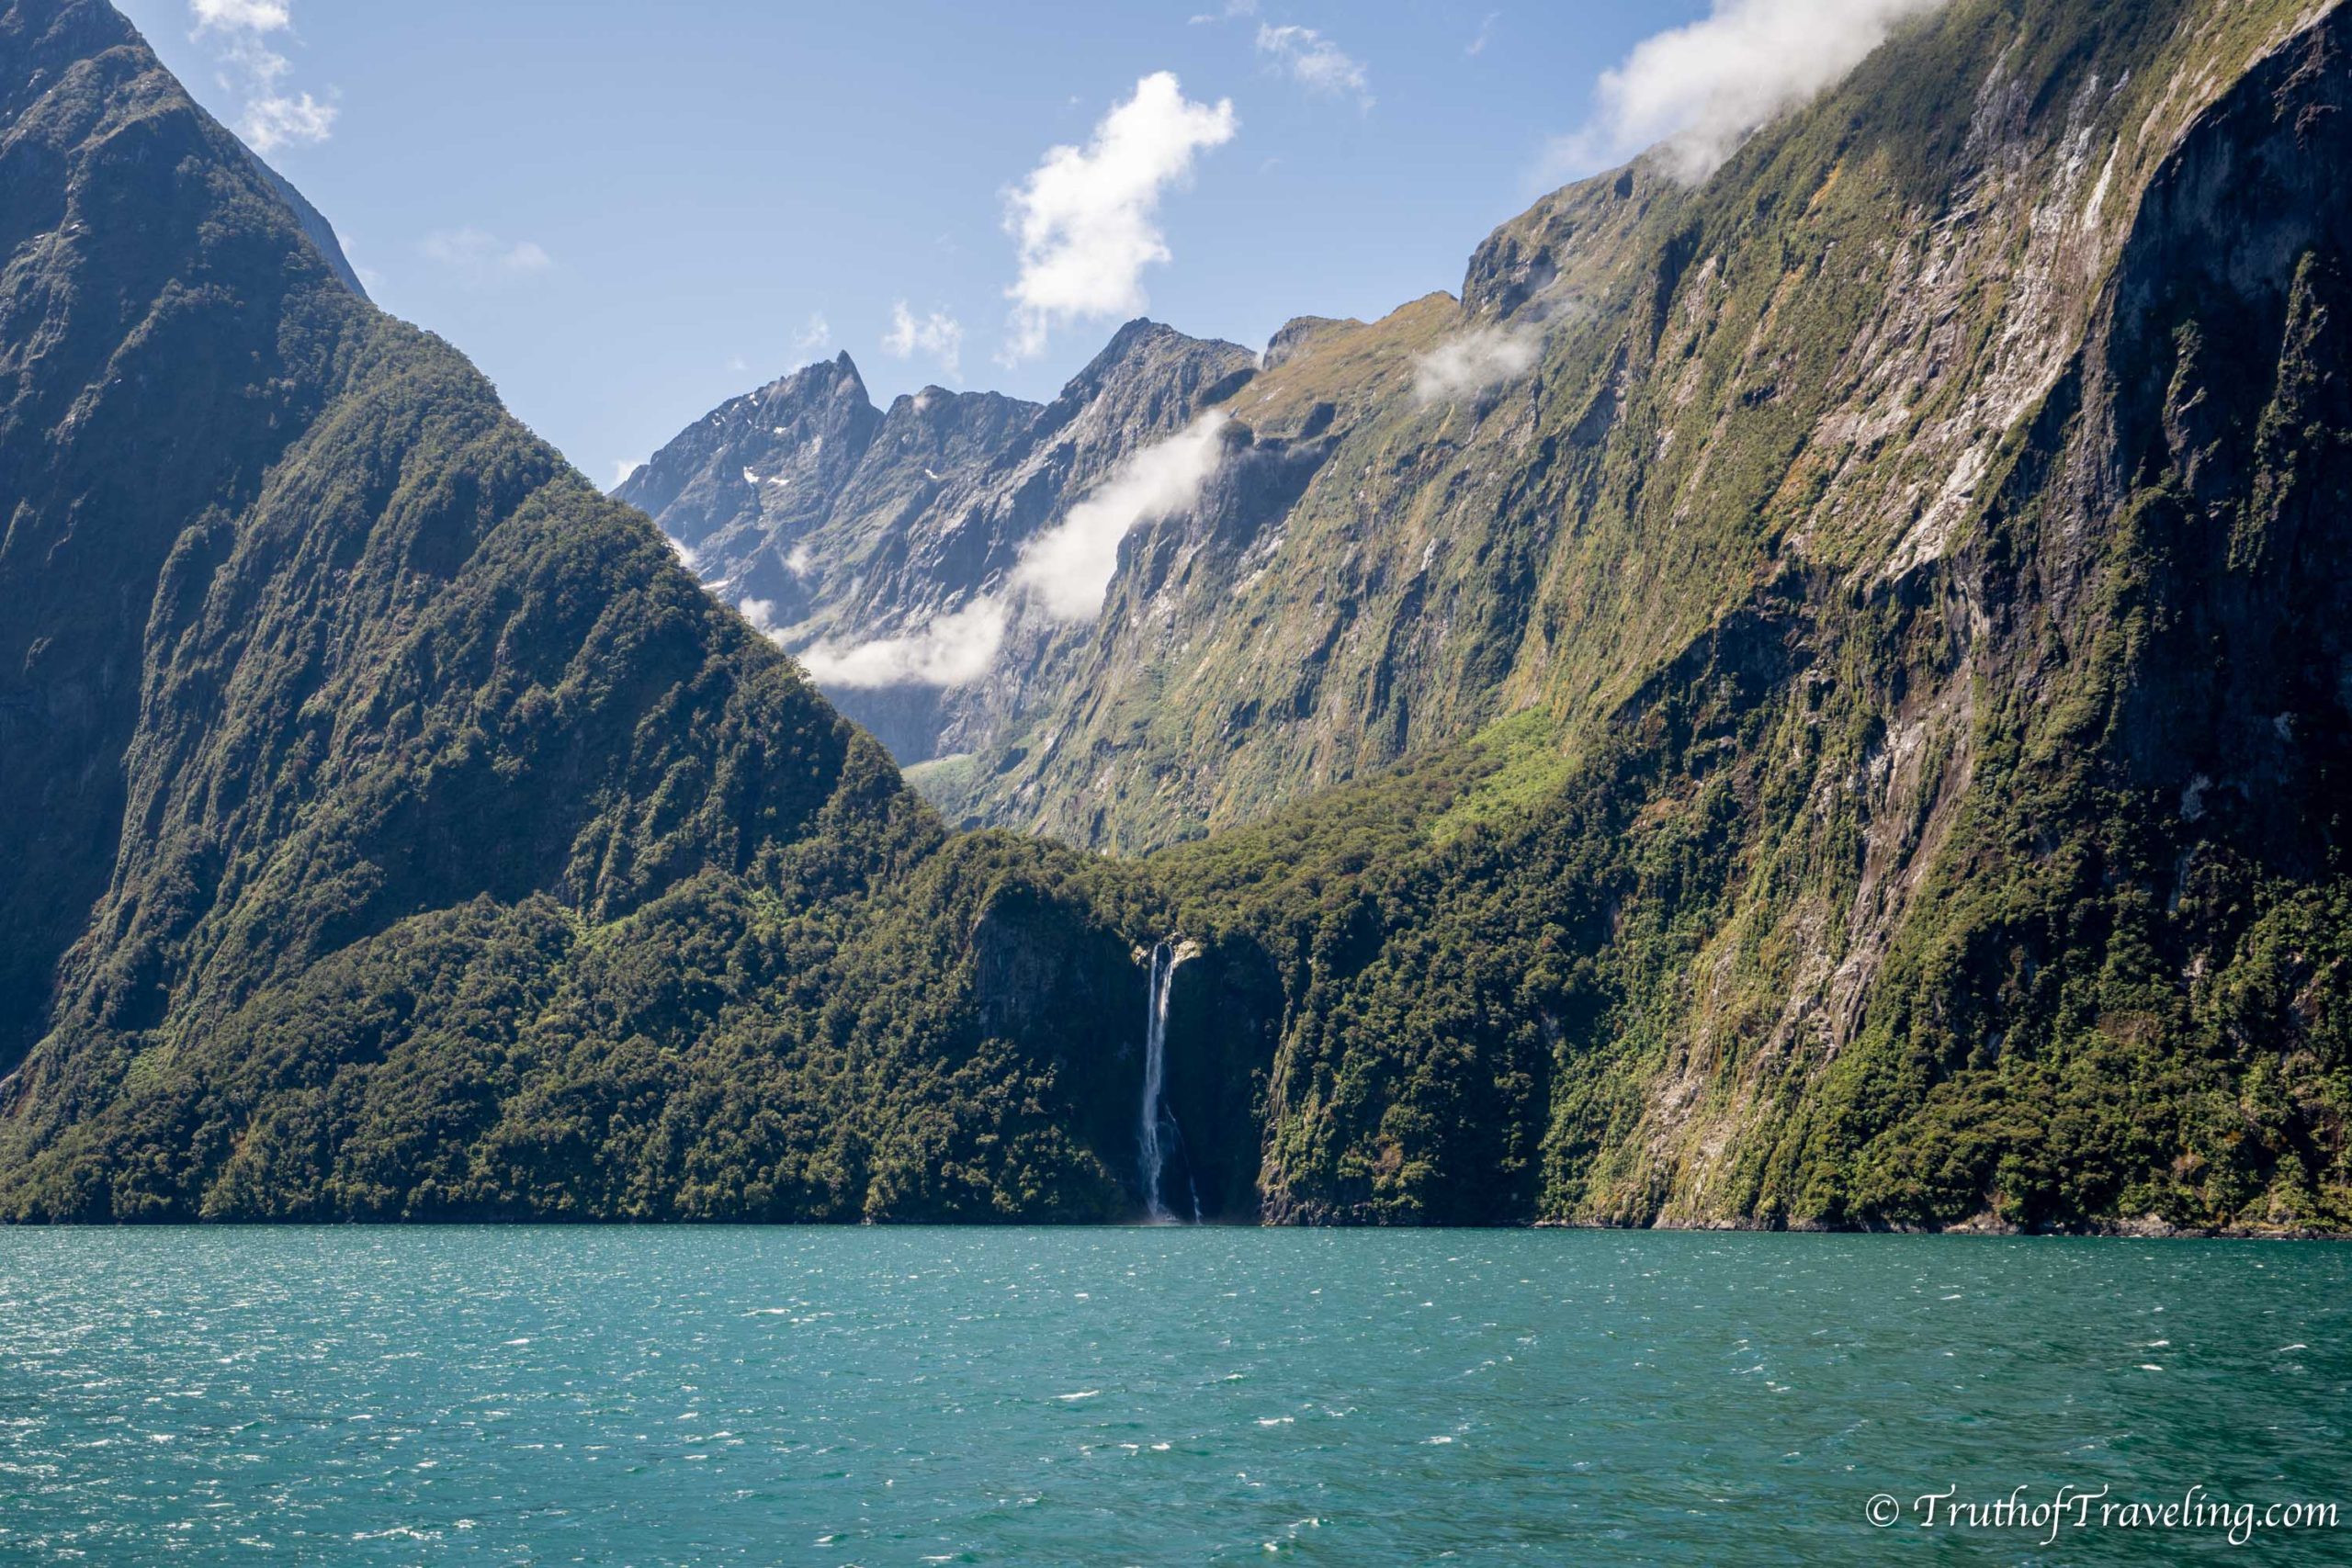
We honestly debated going to Milford Sound because of all the driving it requires and because the cruises are expensive. But we are so glad we went because it really is incredible! It’s beautiful and we didn’t feel like it was crowded at all! We only saw one other boat during our 1 1/2 hours onboard. It is a lot of money but we would definitely recommend it!
Read Our Complete Guide to Visiting Milford Sound
There are some free campsites along the drive back from Milford Sound going back towards Te Anau. We looked at a lot of them and none of them had very good reviews. We’re not super picky but so many of the campsites close to Milford Sound had reviews about mice infestations and rats and really bad sandflies. After getting destroyed by sandflies on the drive down we decided to just drive back to Te Anau that same day. The positive is that it made driving the next day a little shorter.
- Make sure to download the CamperMate App offline so you can look up campsites without needing service or wifi!
Driving: 236 / 4 hours (without stops)
Stay: Fiordland Great Views Holiday Park ($23-24 NZD pp) OR Te Anau Lakeview Kiwi Holiday Park and Motels ($24-25 NZD pp)
Day 10: Spend the Day in Te Anau
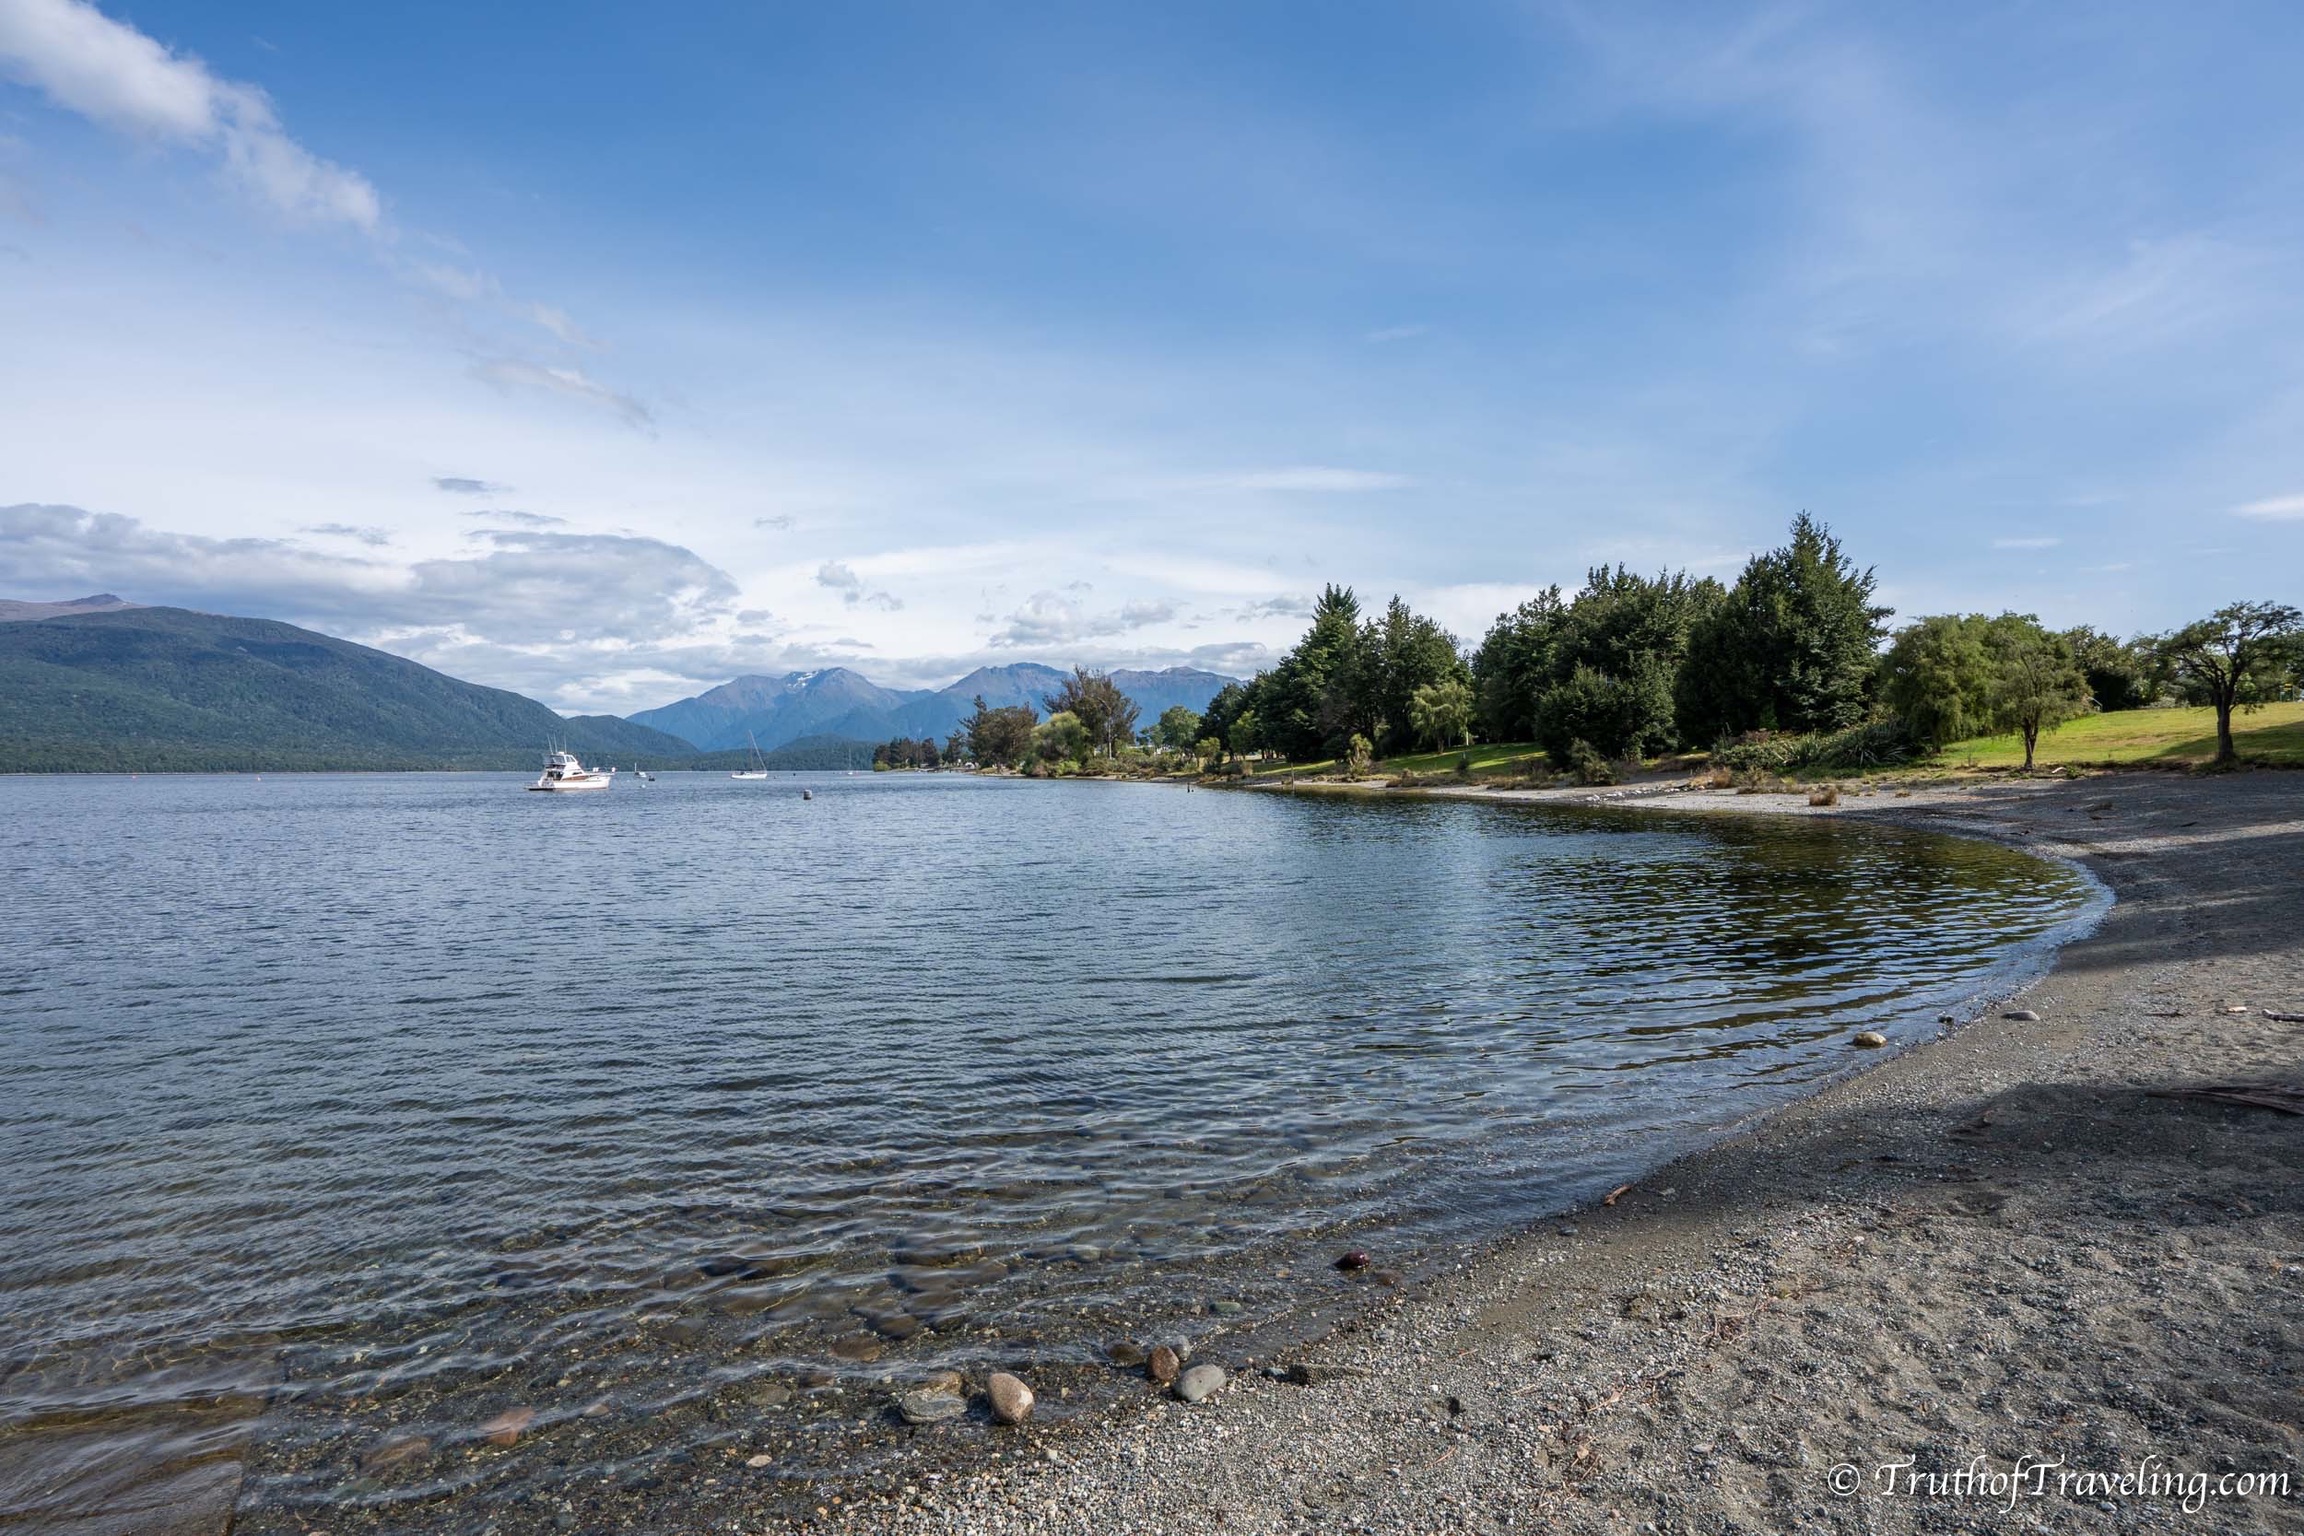
After an early morning to go to Milford Sound and a lot of driving back and forth today is a day to slow down a little. From the town area of Te Anau you can walk to the beach of Te Anau Lake. We actually walked down one morning and had breakfast at a picnic table at the lake and it was a really nice way to start the day.
Consider visiting the Te Anau Glowworm Caves. There are quite a few places within New Zealand to see glowworms but the Te Anau Glowworm Cave is one of the best! Or if you’re feeling like you didn’t get enough from Milford Sound yesterday you can take another boat cruise to see Doubtful Sound. Doubtful Sound is a little harder to get to as you can’t drive to it like you can with Milford Sound. But some people would argue it’s less visited and more beautiful.
- Our Uber driver in Christchurch actually recommended visiting Doubtful Sound and if you google Doubtful Sound vs. Milford Sound you will find a lot of articles and blog posts comparing the two.
One of the things we loved about traveling in the campervan was that we had so much flexibility in our days. While it might seem like you’re not doing that much today, once you’re in the campervan for over a week you will start to relish in those slow days!
Driving: **depends on your activities
Stay: Fiordland Great Views Holiday Park ($23-24 NZD pp) OR Te Anau Lakeview Kiwi Holiday Park and Motels ($24-25 NZD pp)
Day 11: Drive through Queenstown to Bendigo
Leave Te Anau to head back north towards Queenstown. This is the same exact drive you did a few days ago in the opposite direction. It’s relatively straight and goes pretty quickly.
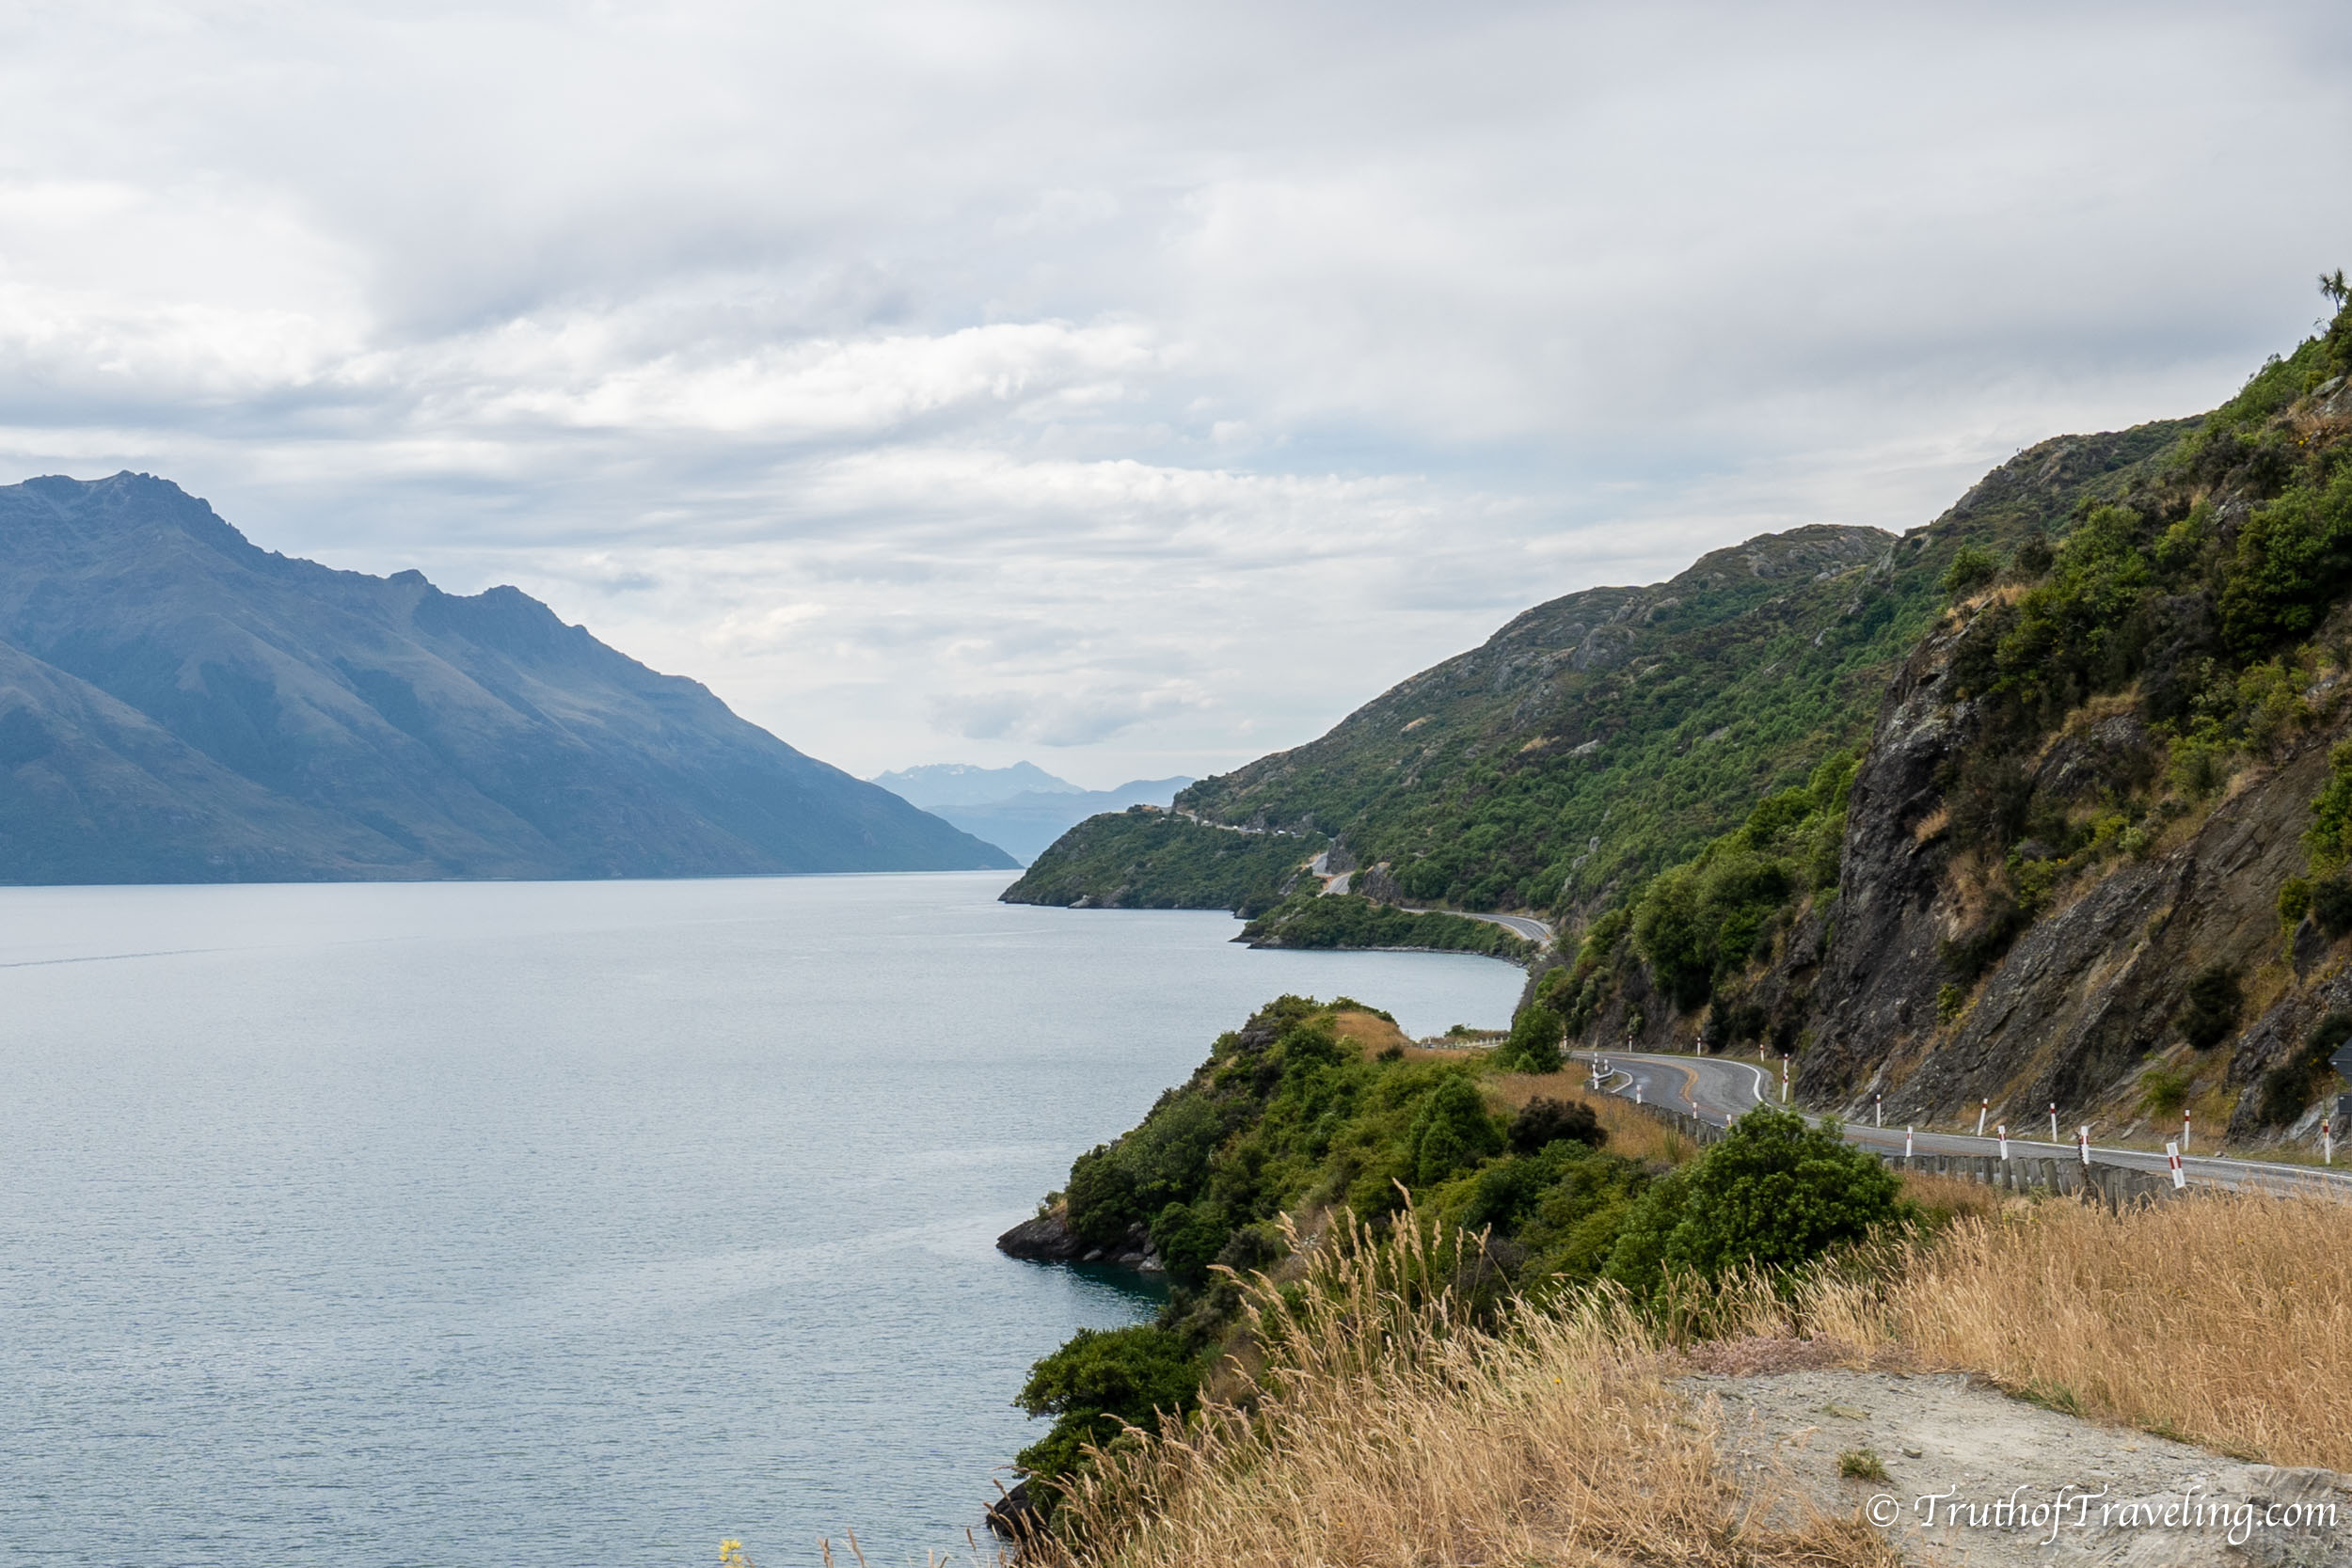
Once you get close to Queenstown the road becomes a winding, steep road that follows the lake. The mountains surrounding Queenstown and Lake Wakatipu make this one of the most beautiful drives we did in New Zealand! If you skipped any stops a few days ago take advantage this time!
- If you’re in need of gas or groceries there are a lot of options around Queenstown. There is a large Pak ‘n Save as well as some other stores that you can grab any food or other items you need before continuing on.
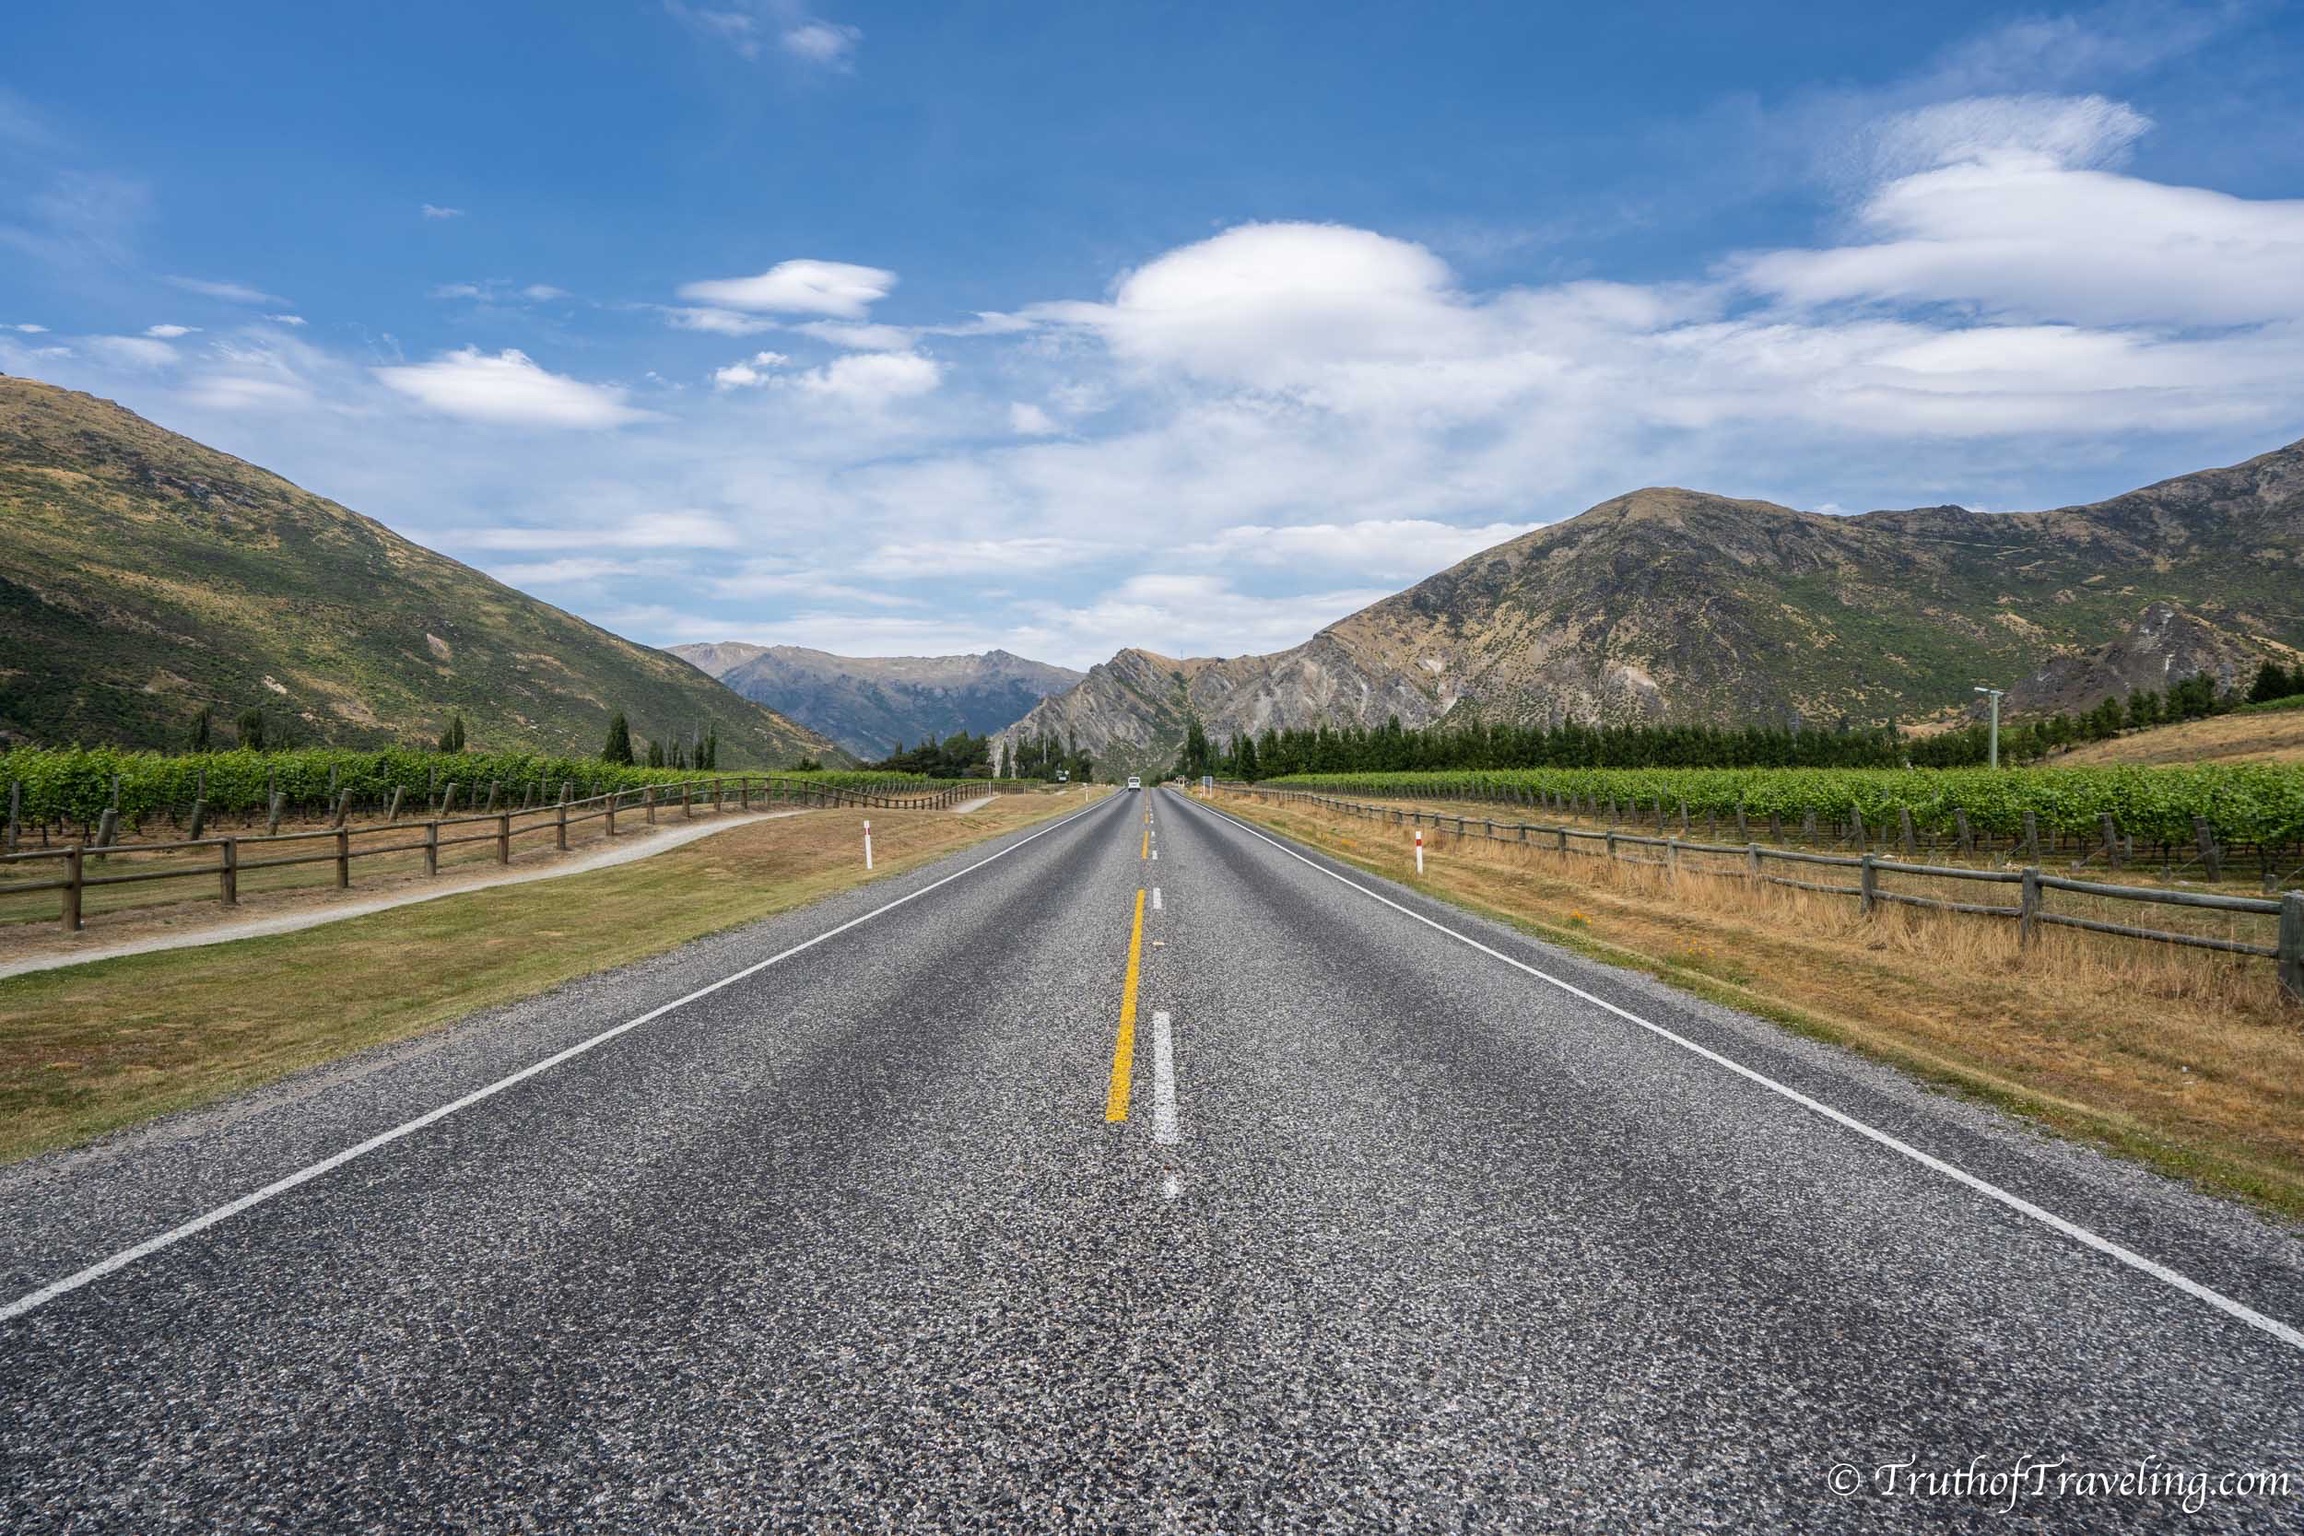
It is a fairly long drive so we made a stop along Lake Wakatipu outside of Queenstown to have a snack and stretch our legs. North of Queenstown you start to pass vineyards on either side of the road all that have tasting rooms and opportunities to try their wines. There are so many wines from New Zealand that we knew we wanted to try some while here. It seemed like the perfect way to see this amazing part of Queenstown!
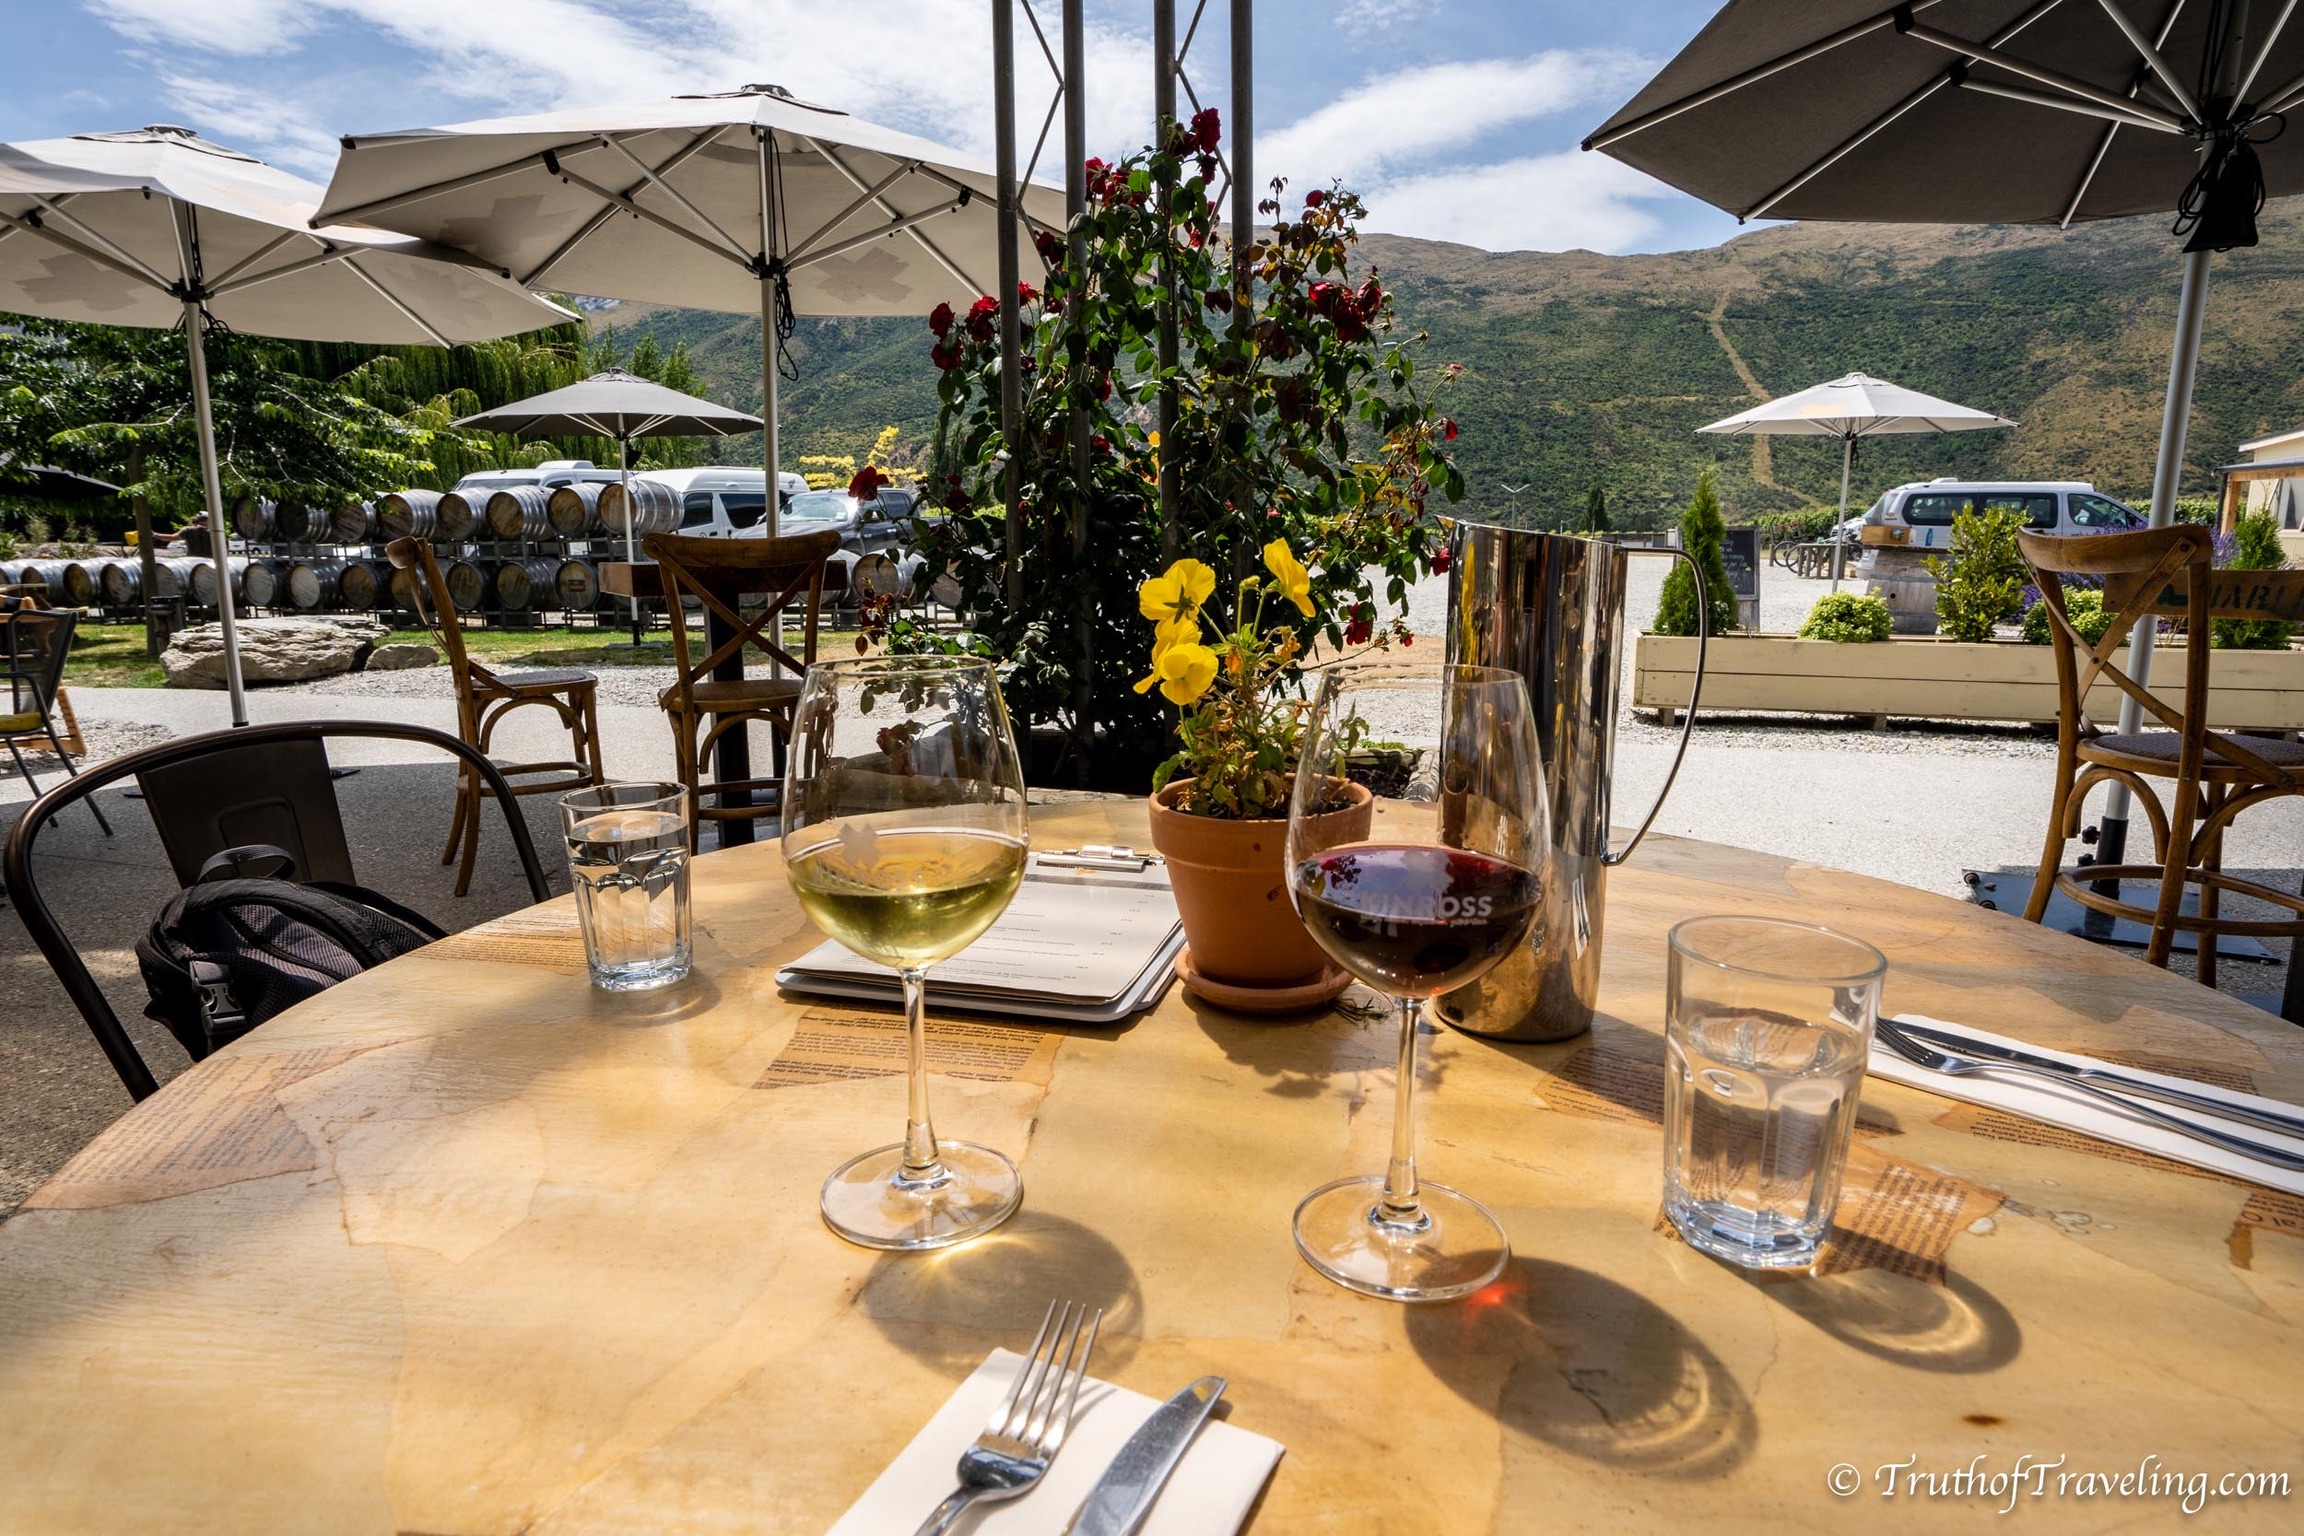
We went to Kinross Vineyards and sat outside at their bistro. We just kind of walked in and said we wanted to try a glass of wine. It was very casual and really nice to sit outside in such an incredible place! You can research the vineyard of your choice ahead of time based on your preferences or you can choose randomly like we did but you are bound to have a good experience!
From there it’s only about 45 kms to Bendigo Campsite. Bendigo is a free campsite right along State Highway 8 on one edge of Lake Dunstan.
- There are flush toilets as well as vault toilets, sinks and amazing views looking over the lake and across to the surrounding mountains!
- We absolutely loved this campsite and couldn’t believe it was free! Make sure to get there fairly early to get a spot otherwise it does fill up.
Drive: 230 kms / 2 hours 45 minutes
Stay: Bendigo Campsite (free!)
Day 12: Spend the day in Wanaka
Get on the road fairly early today because there is a lot to see! Drive north from Bendigo Campsite to the town of Wanaka. Wanaka is a really cute beach town with lots of cool restaurants and just a really nice feel to it. We easily could have spent a few hours exploring more of the town area.
- You will also find That Wanaka Tree which is a well known photo spot in Wanaka.
- There is a lot of hiking around Wanaka too. One of the most popular trails is Roys Peak which gives you amazing views looking out over Lake Wanaka and Lake Hawea. It is fairly long so make sure to dedicate enough time to complete it.
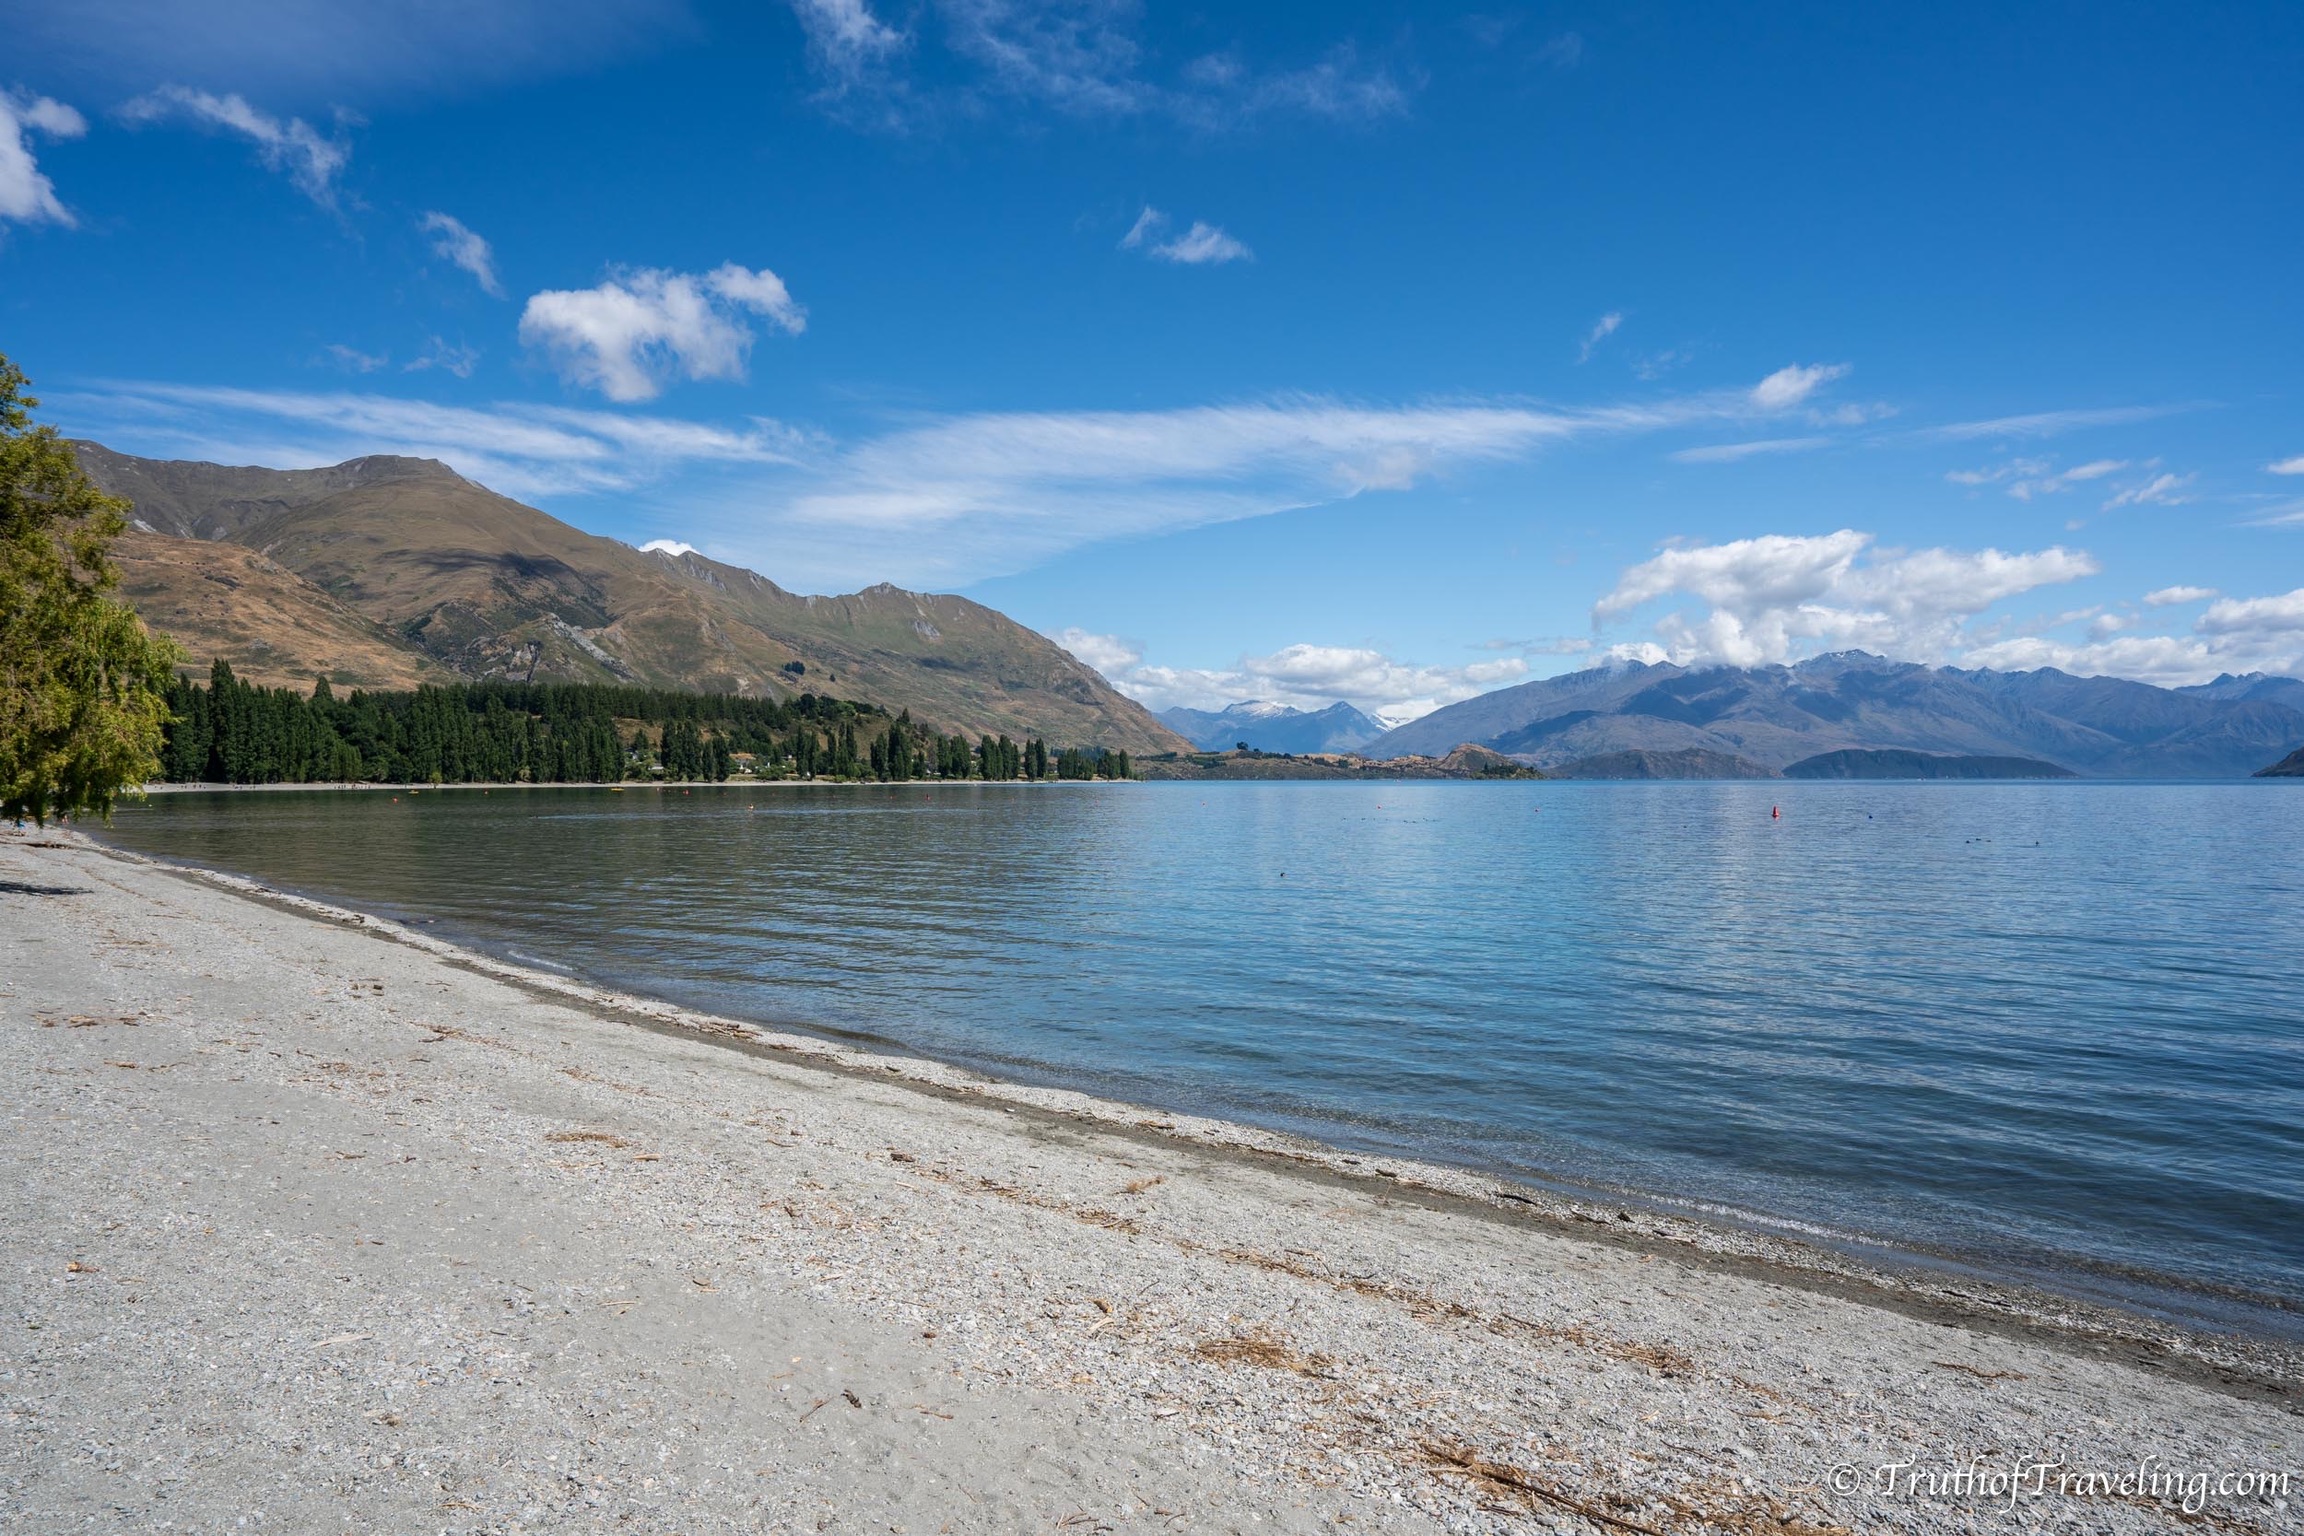
Head straight to Lake Wanaka Beach. You will find people swimming, water skiing, having picnics, running and just enjoying the area! There is plenty of parking as well as public toilets and a few picnic tables scattered along the beach.
- We stayed here for a few hours, had lunch and just enjoyed how beautiful this lake is!
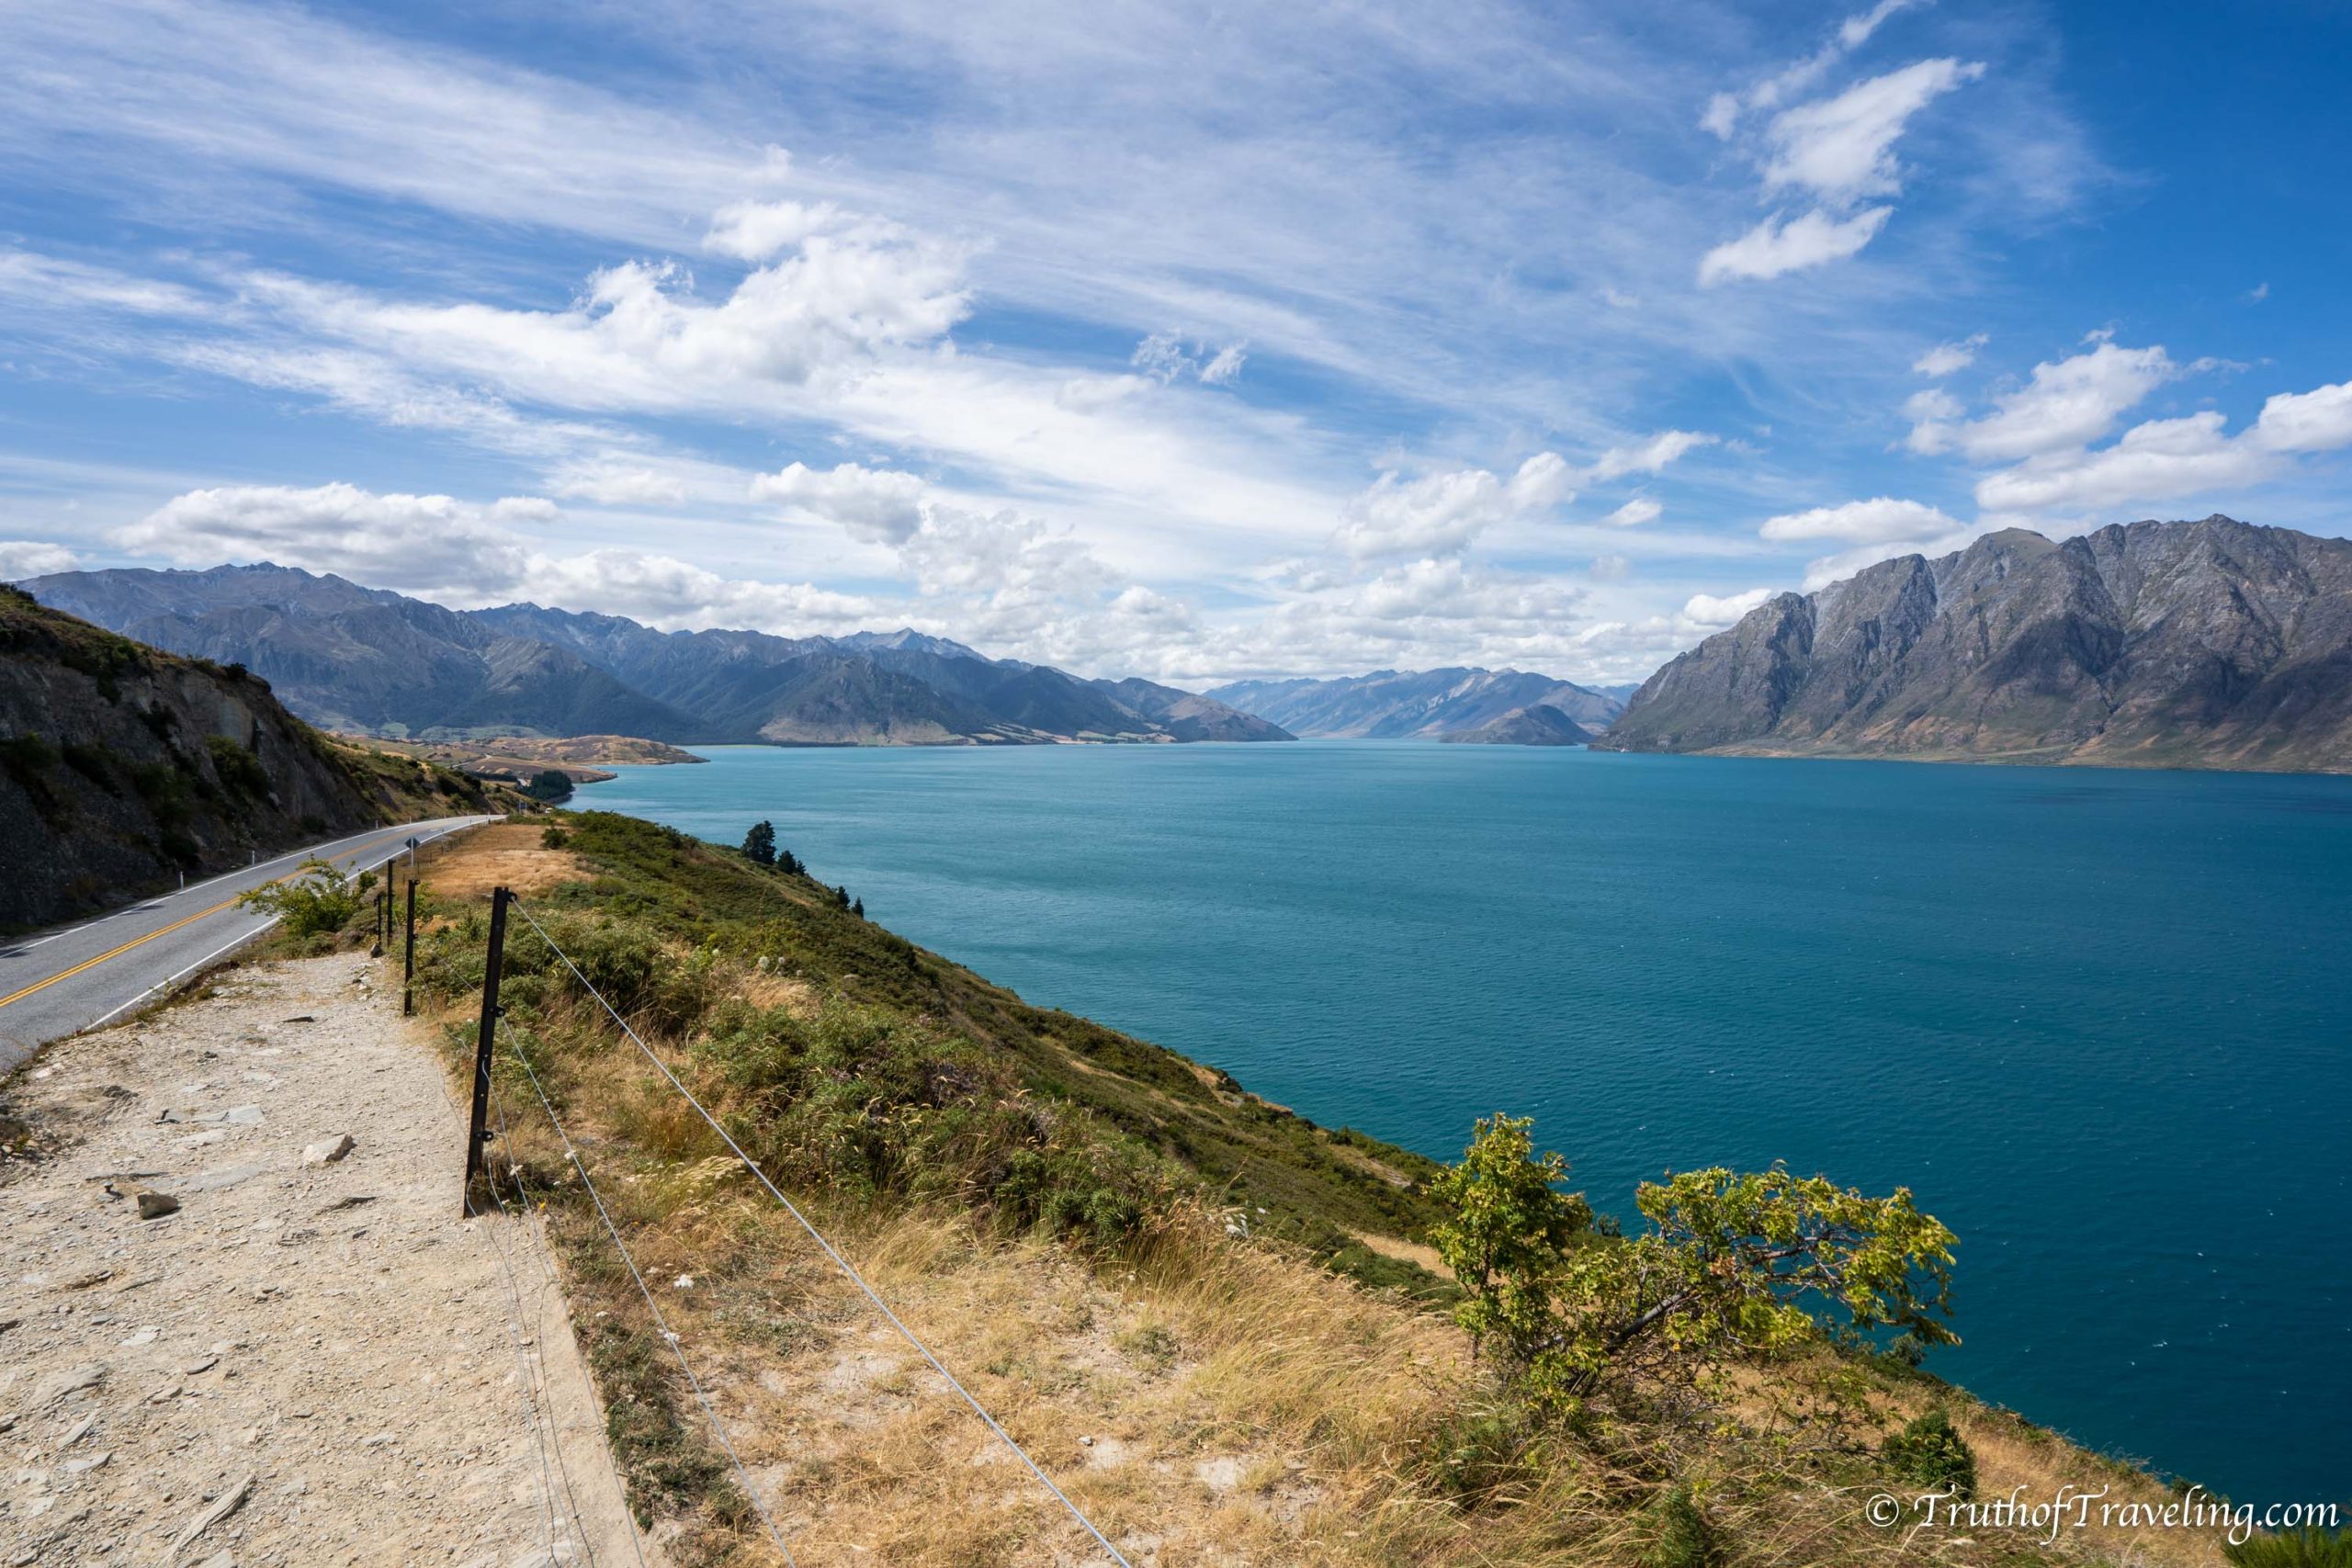
Once you’re ready to leave Lake Wanaka drive north along the edge of Lake Hawea. You have to stop at the Lake Hawea Lookout because it has incredible views! It was really windy at the top but the views were looking over the entire lake and all the mountains nearby. This is a really nice place to take pictures!
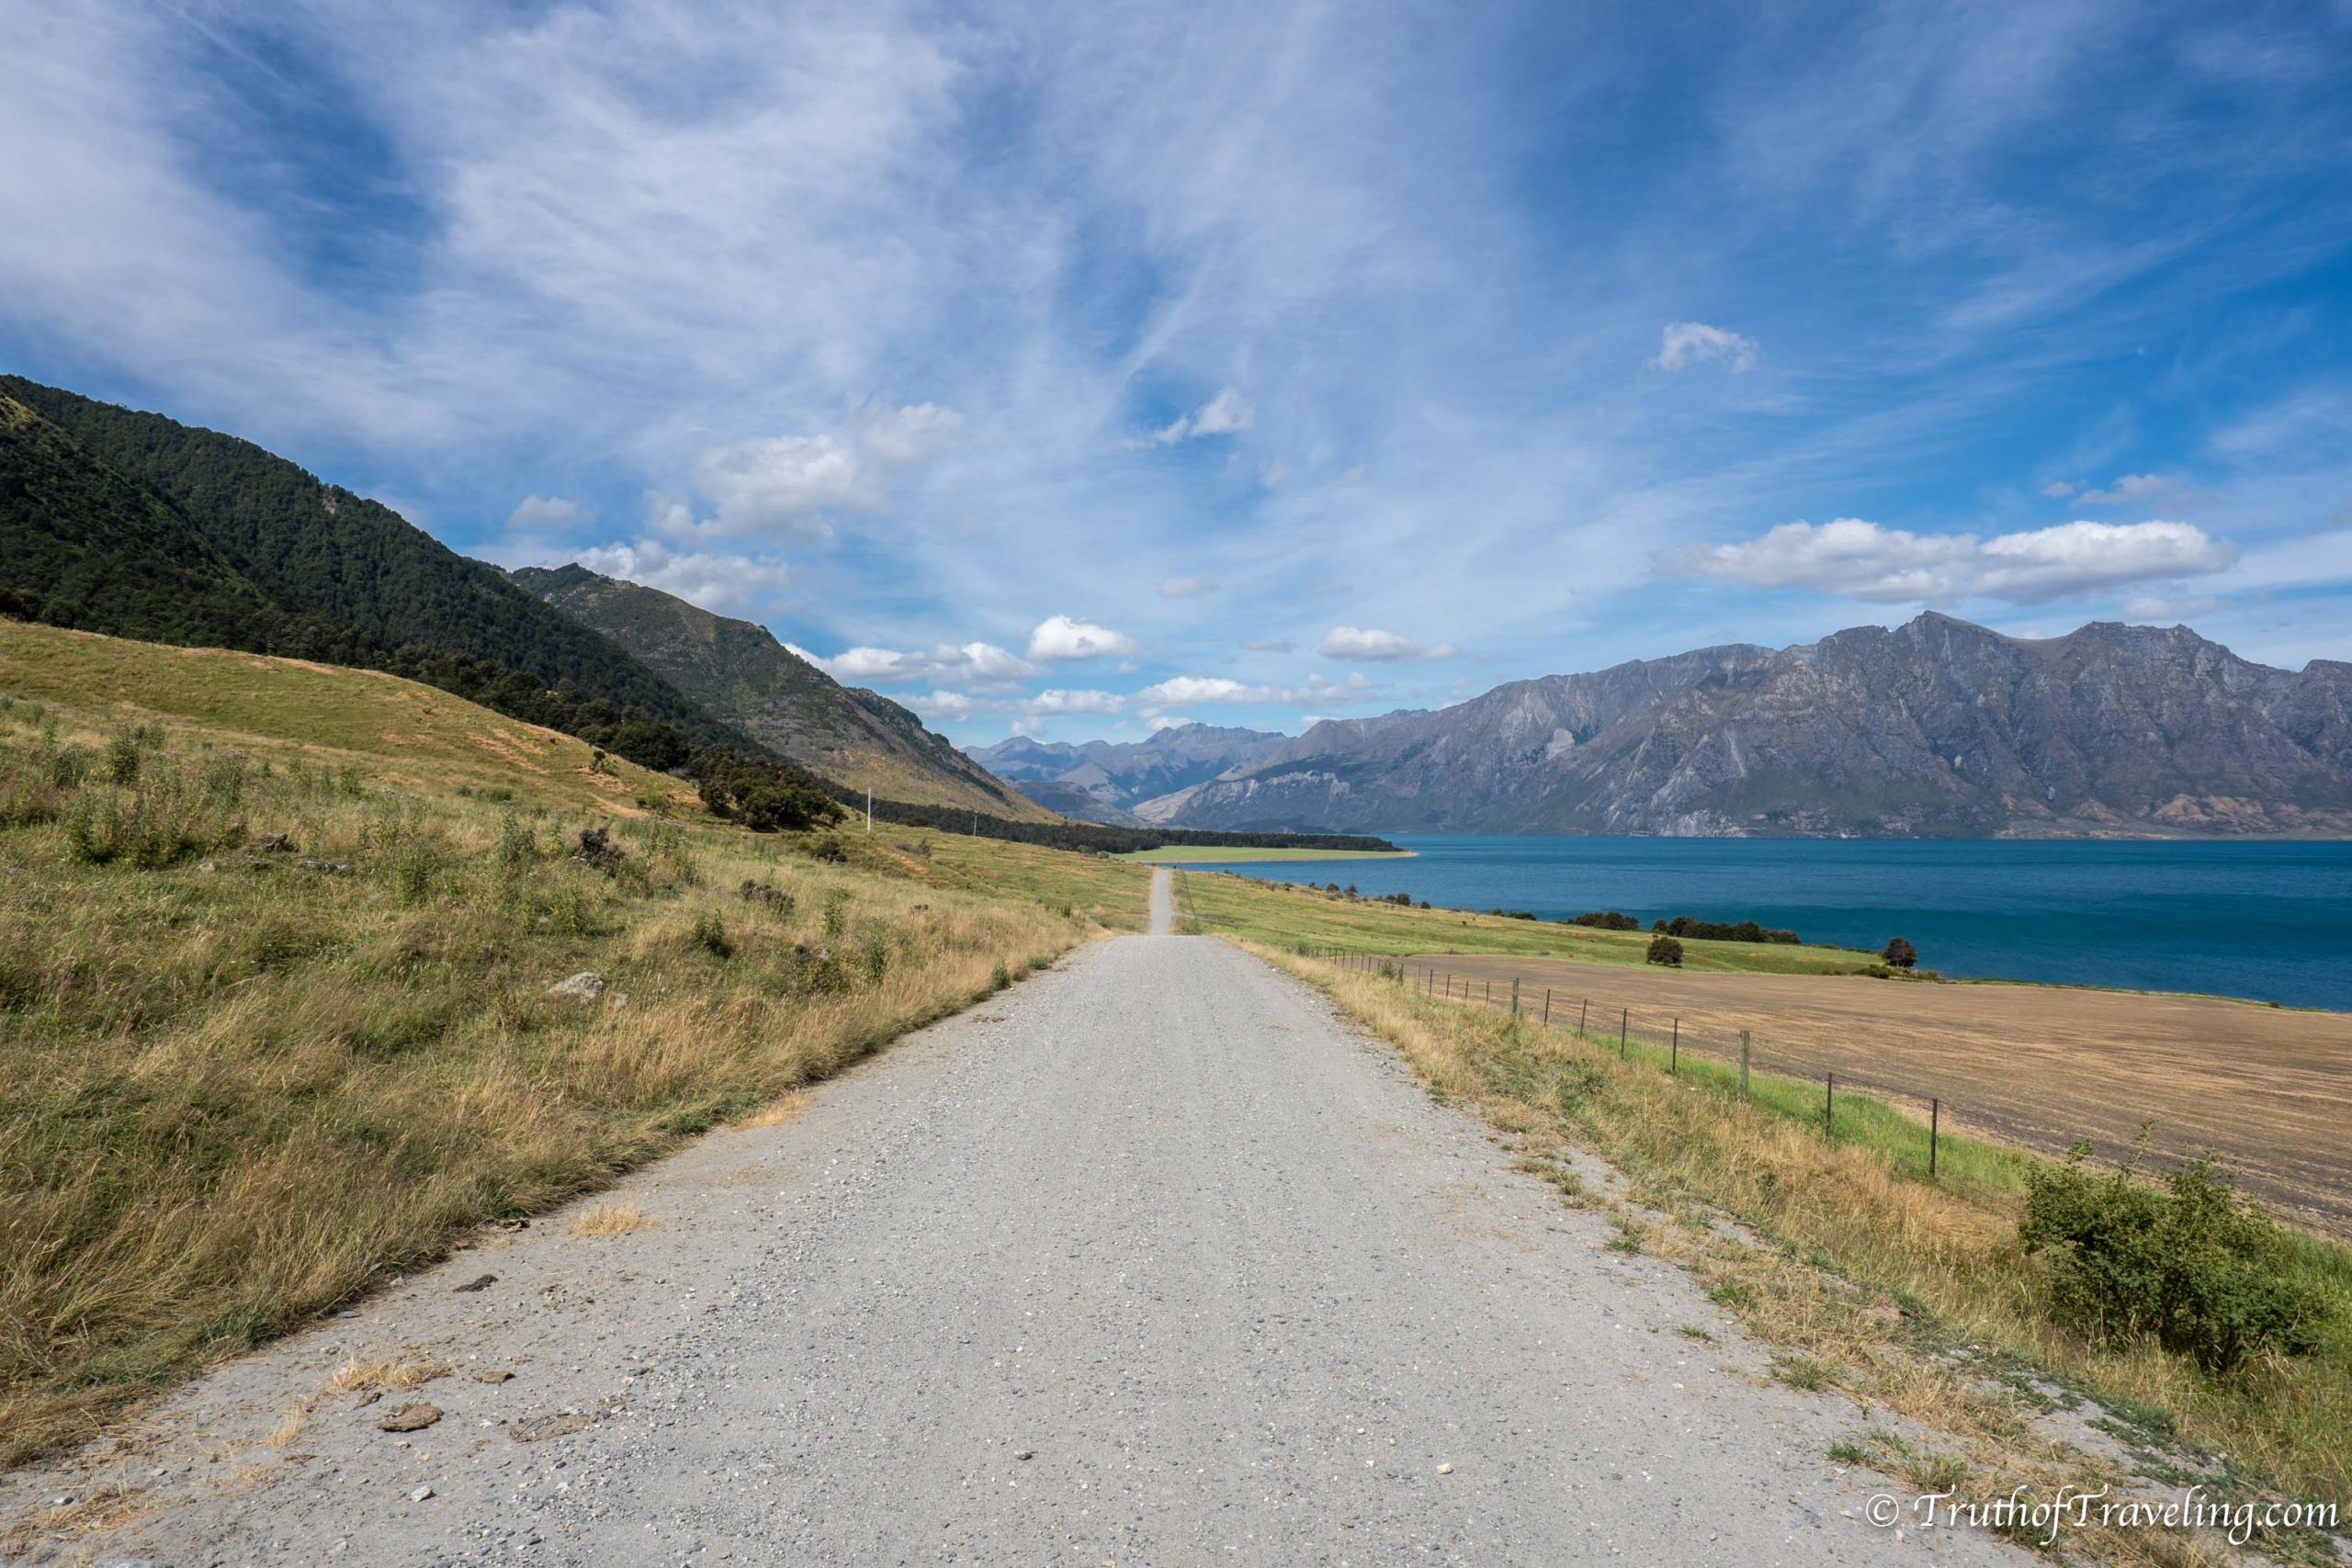
Now it’s time to head to camp for the night so continue driving around the lake until you get to Meads Road. The gravel road goes for about 6 km before hitting the campsite which sits right on the lake. It’s a pretty thin road and requires dodging cows every now and then but it was completely doable in our campervan!
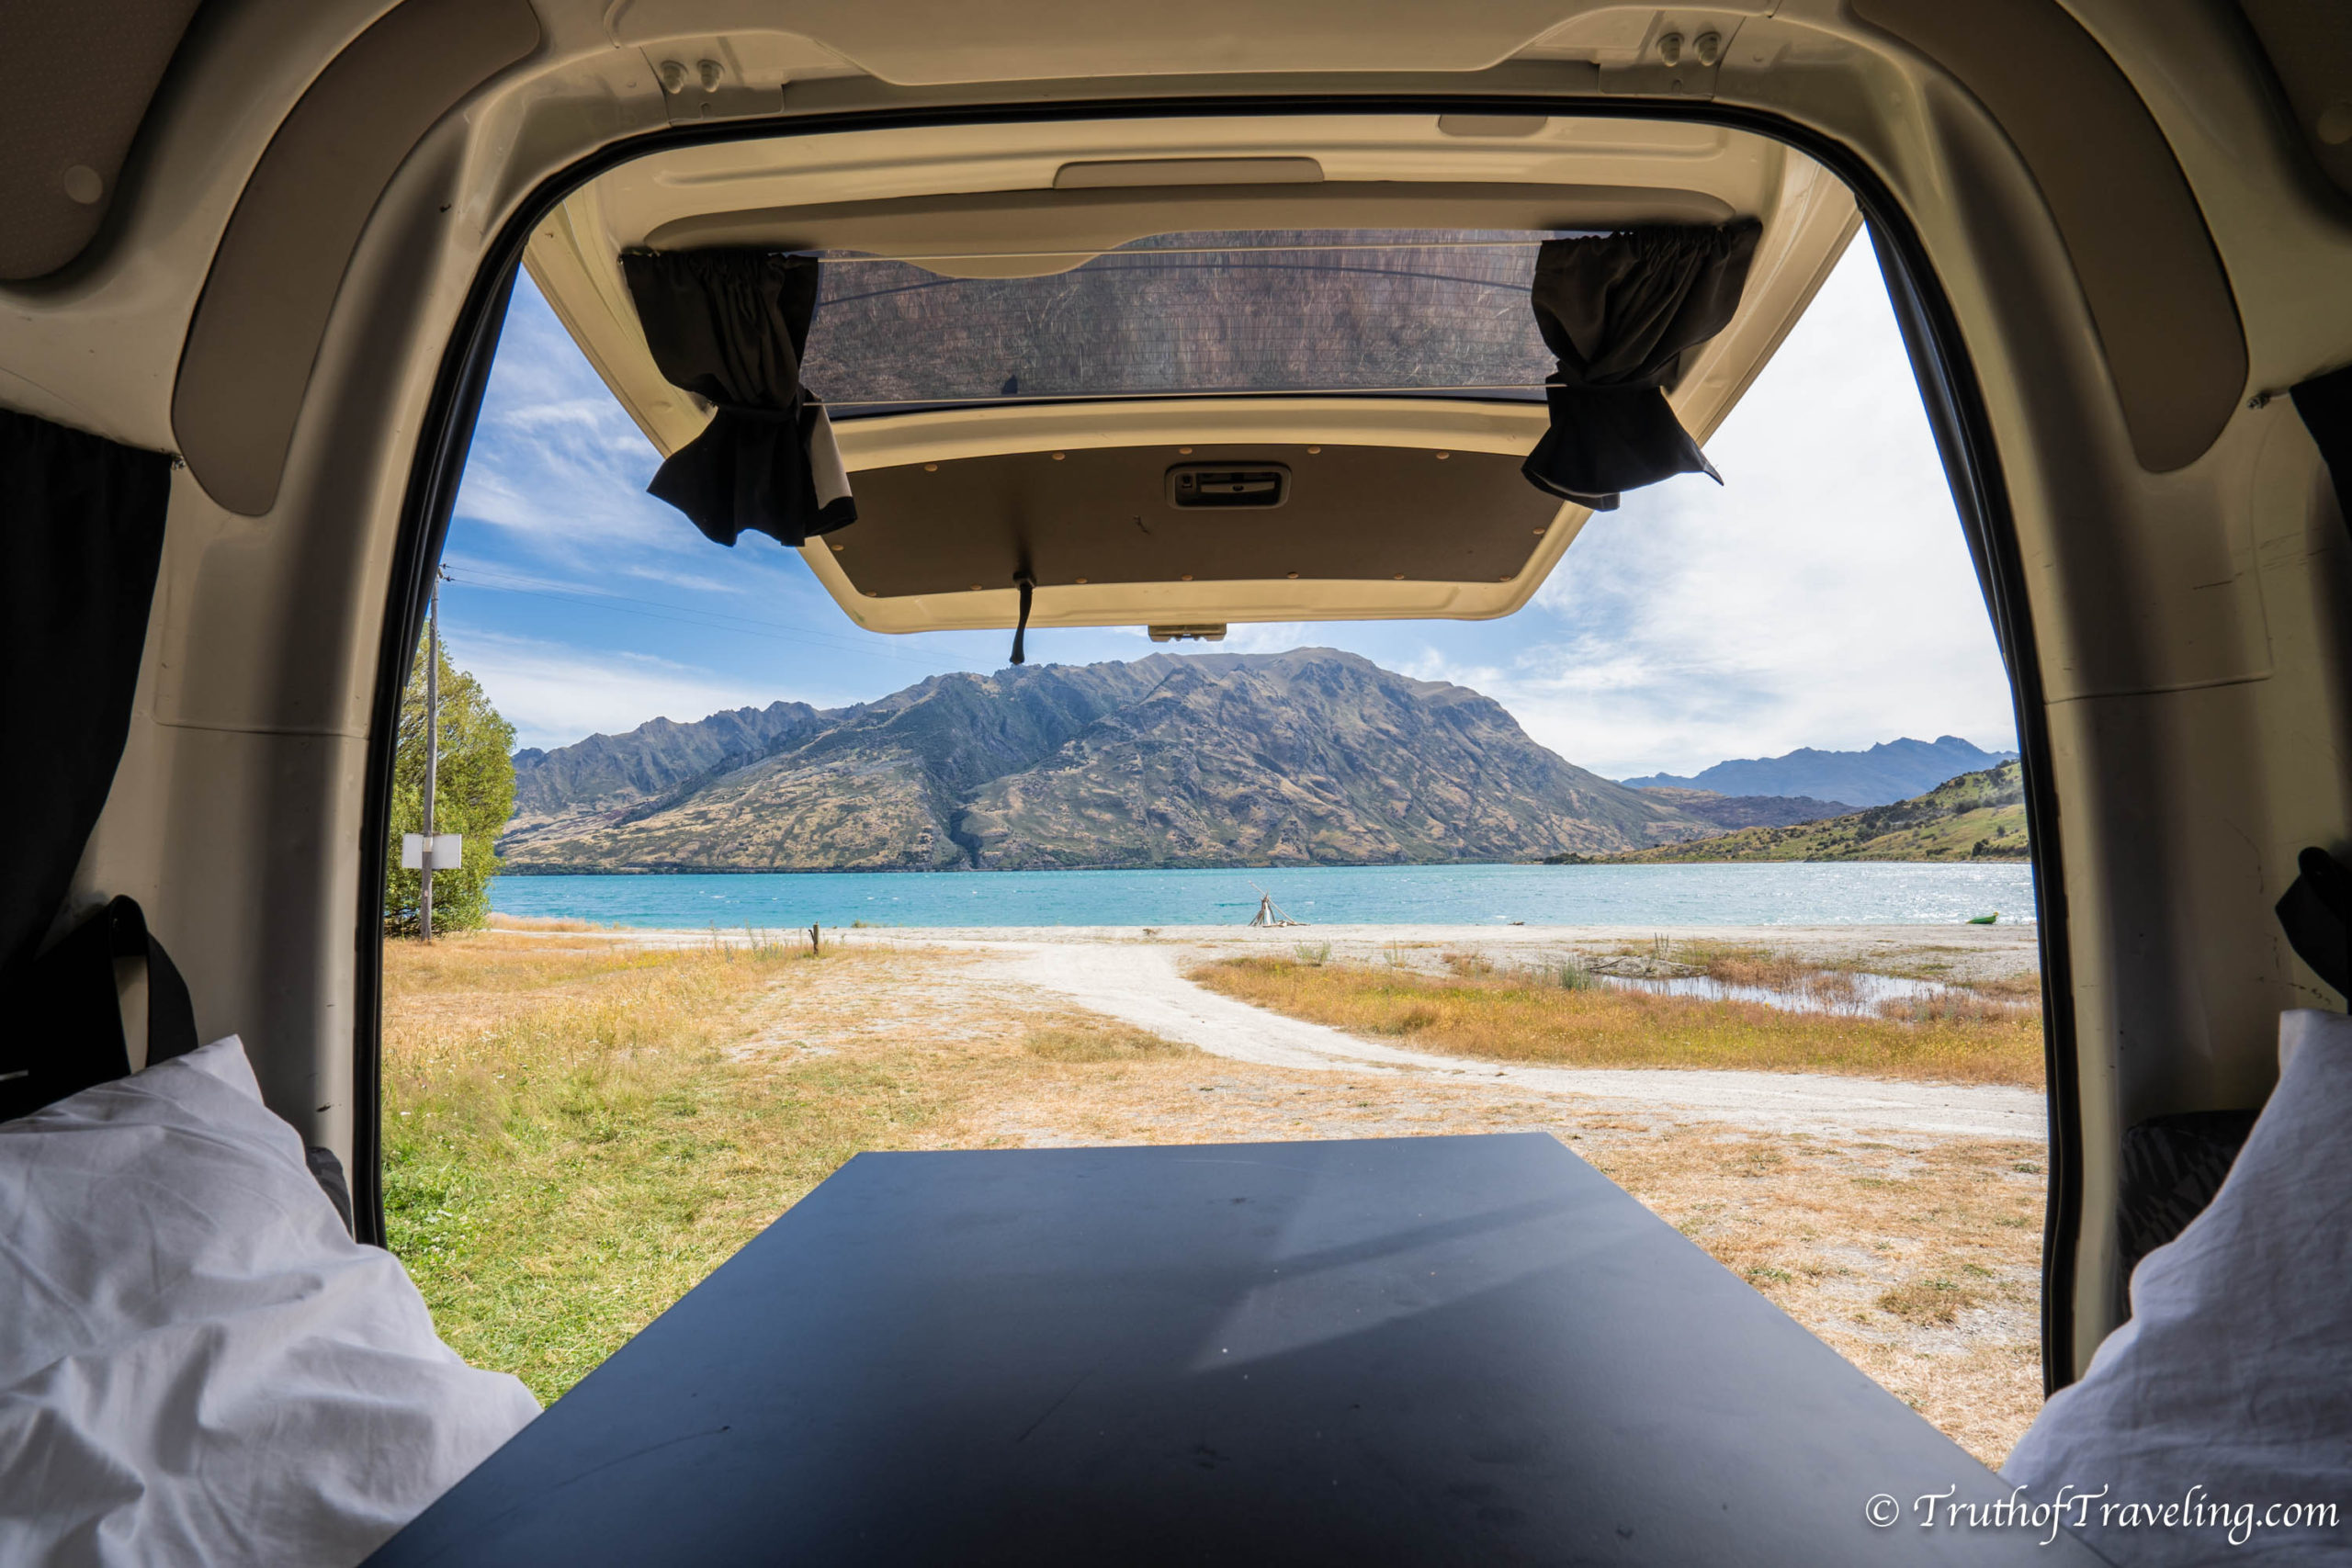
Kidds Bush Reserve Campsite costs 8 NZD ($5 USD) per person a night so it’s a low cost campsite with high price views! It can get fairly windy so it’s best to park somewhere where you’re a little more protected. There is plenty of room to park as well as toilets and sinks. There is a beach where we saw people swimming as well as kayaking.
- With our back door open we literally could hear the waves crashing. It was so peaceful!
Drive: 90 kms / 1 hour 30 minutes
Stay: Kidds Bush Reserve Campsite ($8 NZD pp)
Day 13: Drive to Franz Joseph Glacier
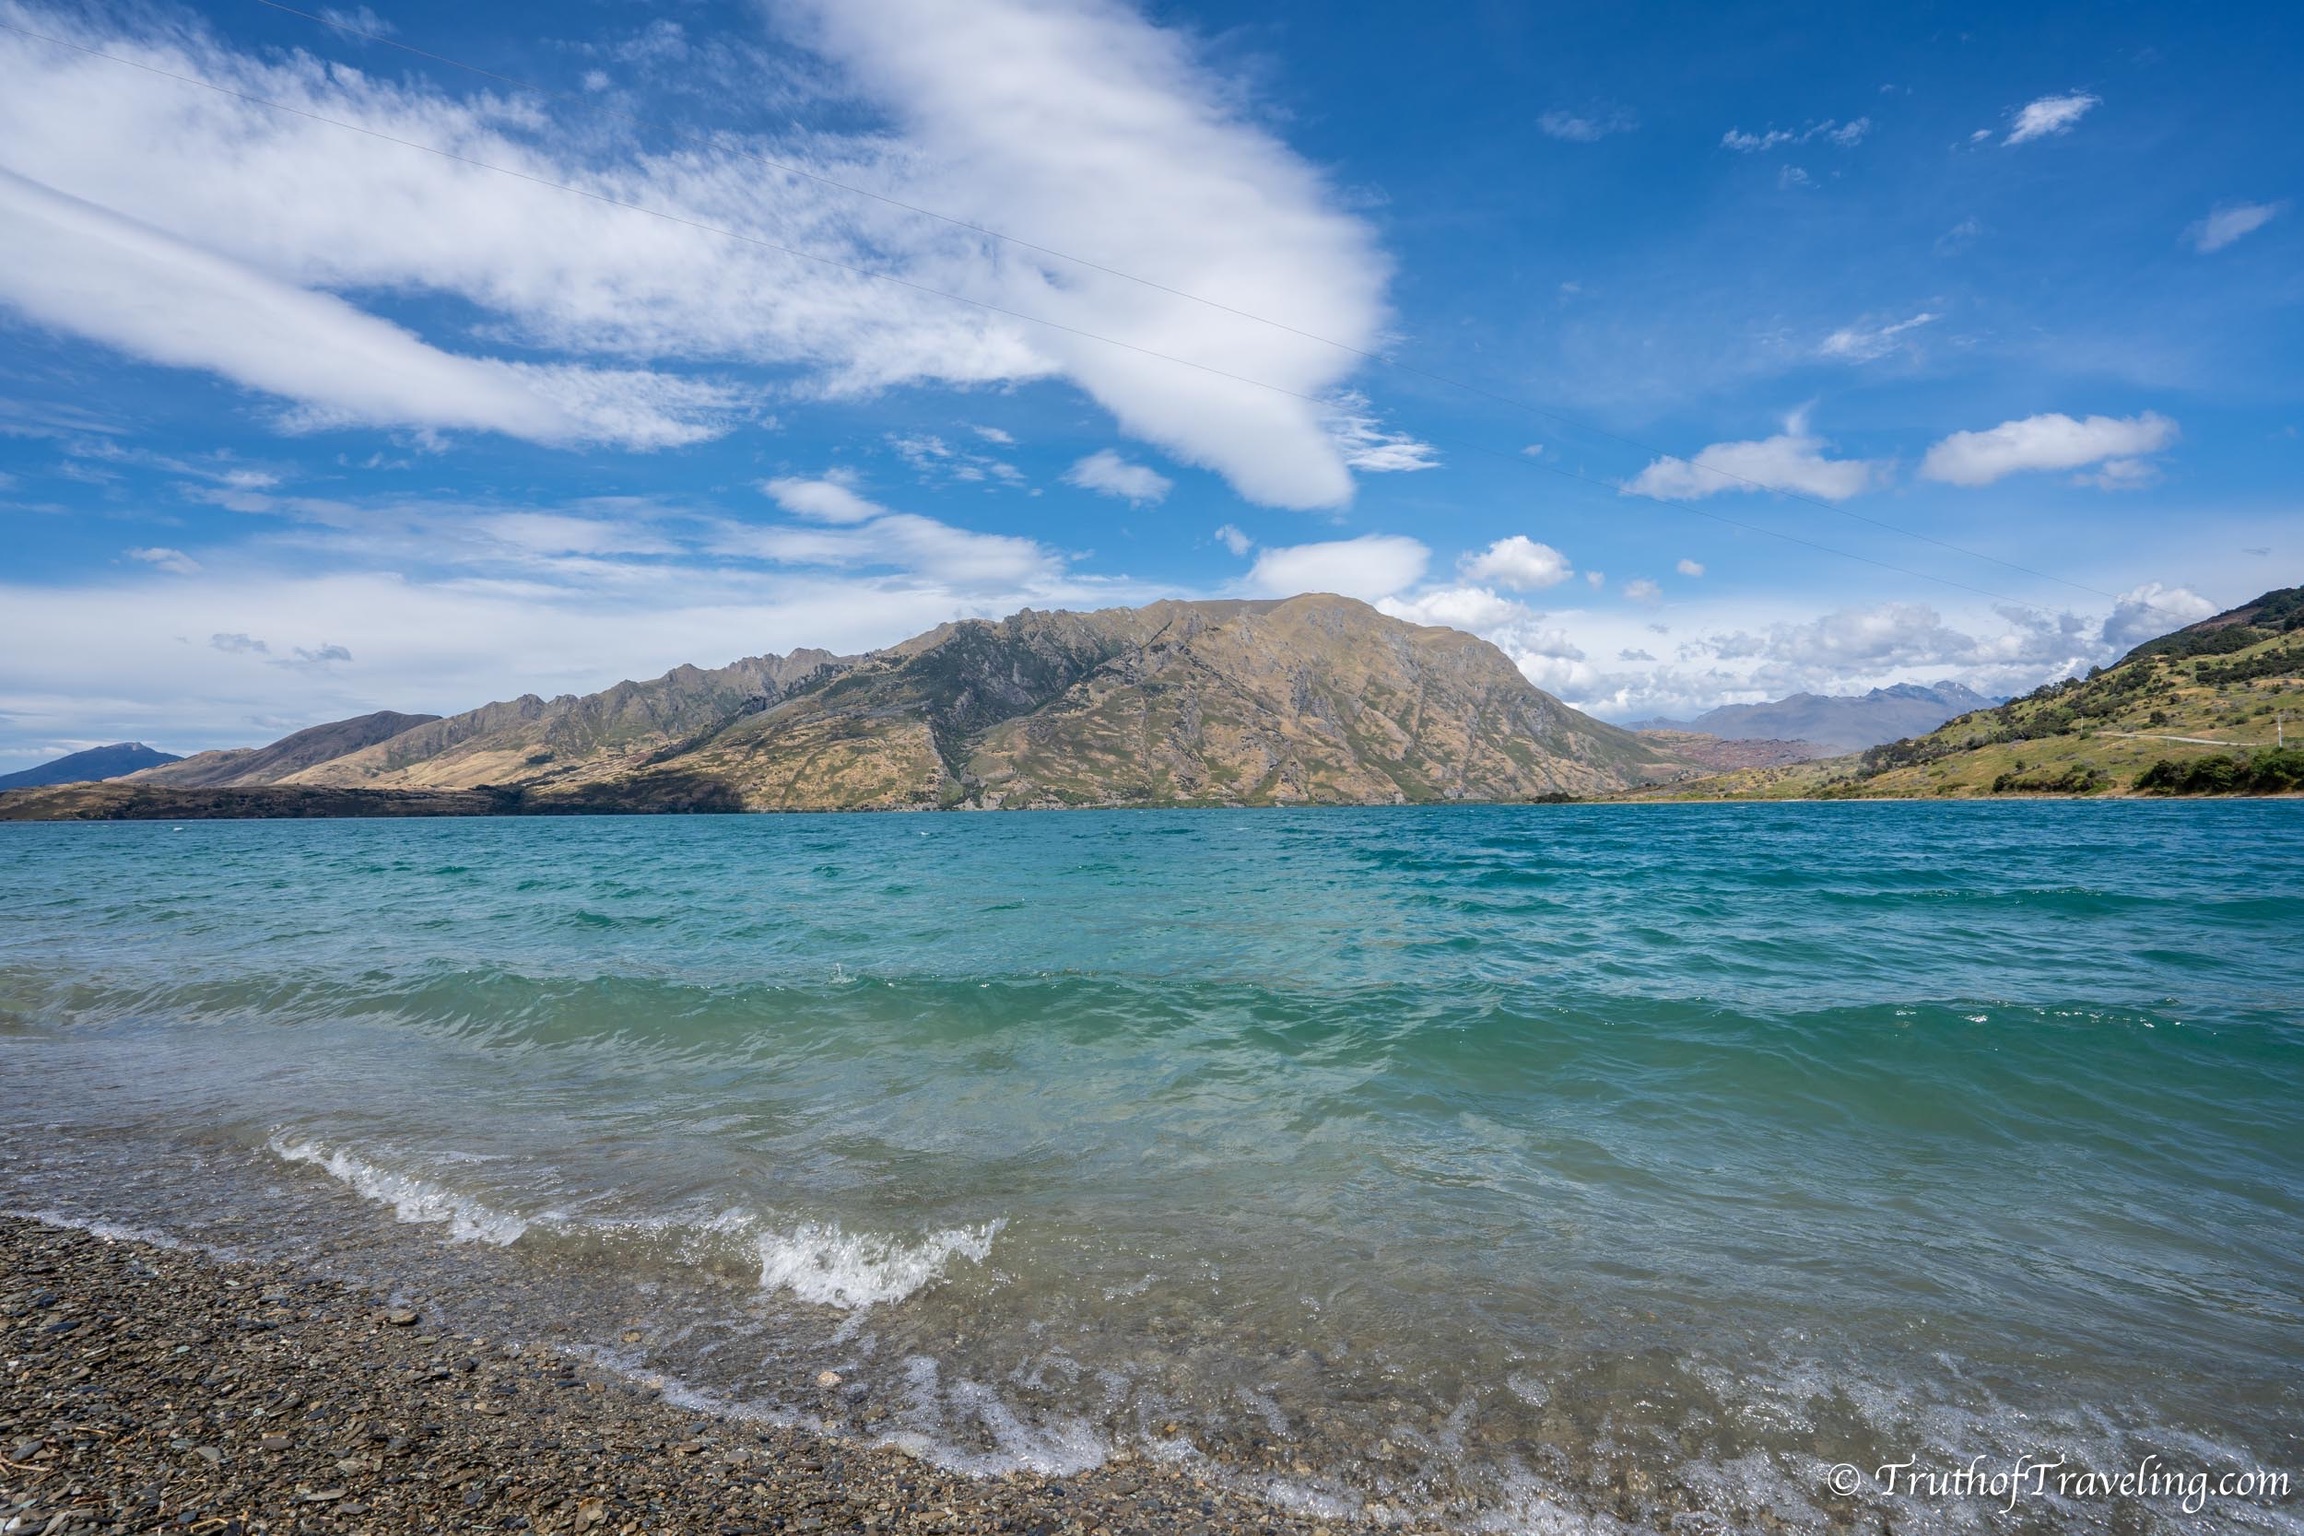
I won’t lie today is a long driving day. As the days dwindle down before the campervan needs to be returned you need to start making some serious distance. From Kidd Bush Reserve Campsite on Lake Hawea you will drive to the west coast of the island to the town of Franz Josef.
It’s a little over 3 hours of driving but there are a lot of opportunities to stop at things along the way so give yourself plenty of time! You of course can choose to stop as much or as little as you want! That is the best part of taking a road trip!
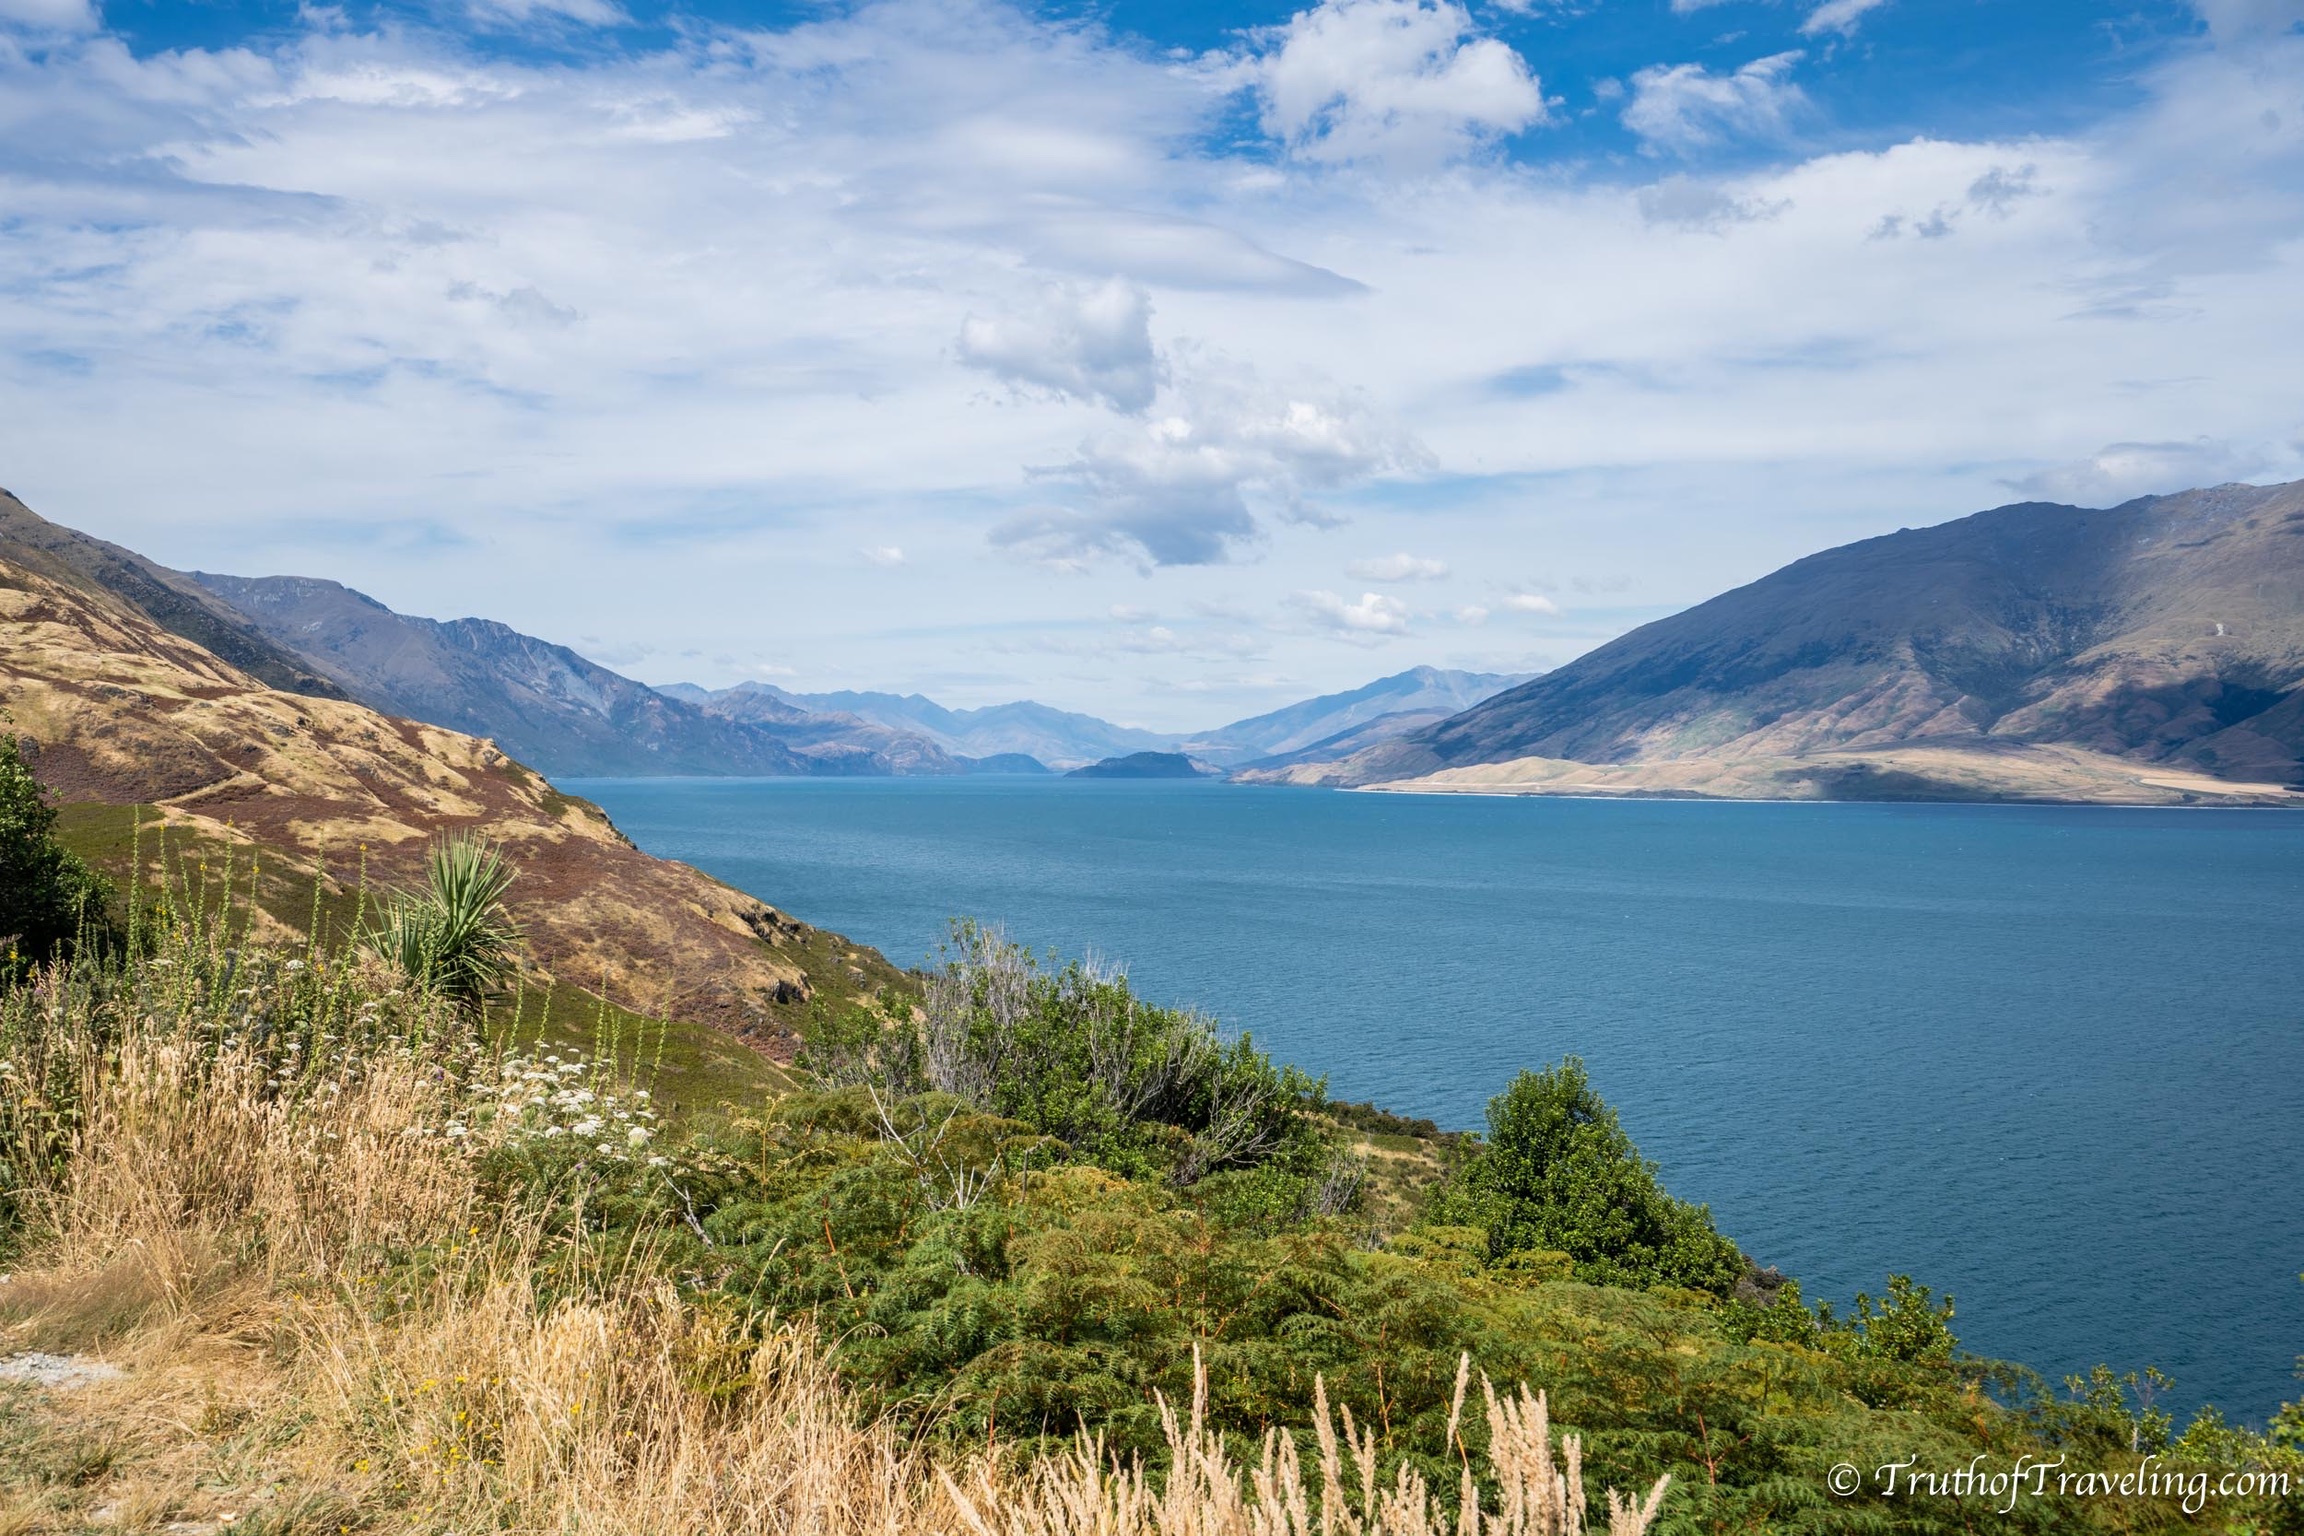
Only about 10 minutes from the campsite is the Lake Wanaka Lookout. Honestly I think the location of the Lake Hawea Lookout is slightly better than the Lake Wanaka Lookout just because of the angle you’re looking at. But they are both beautiful spots and both are worth pulling over to look at!
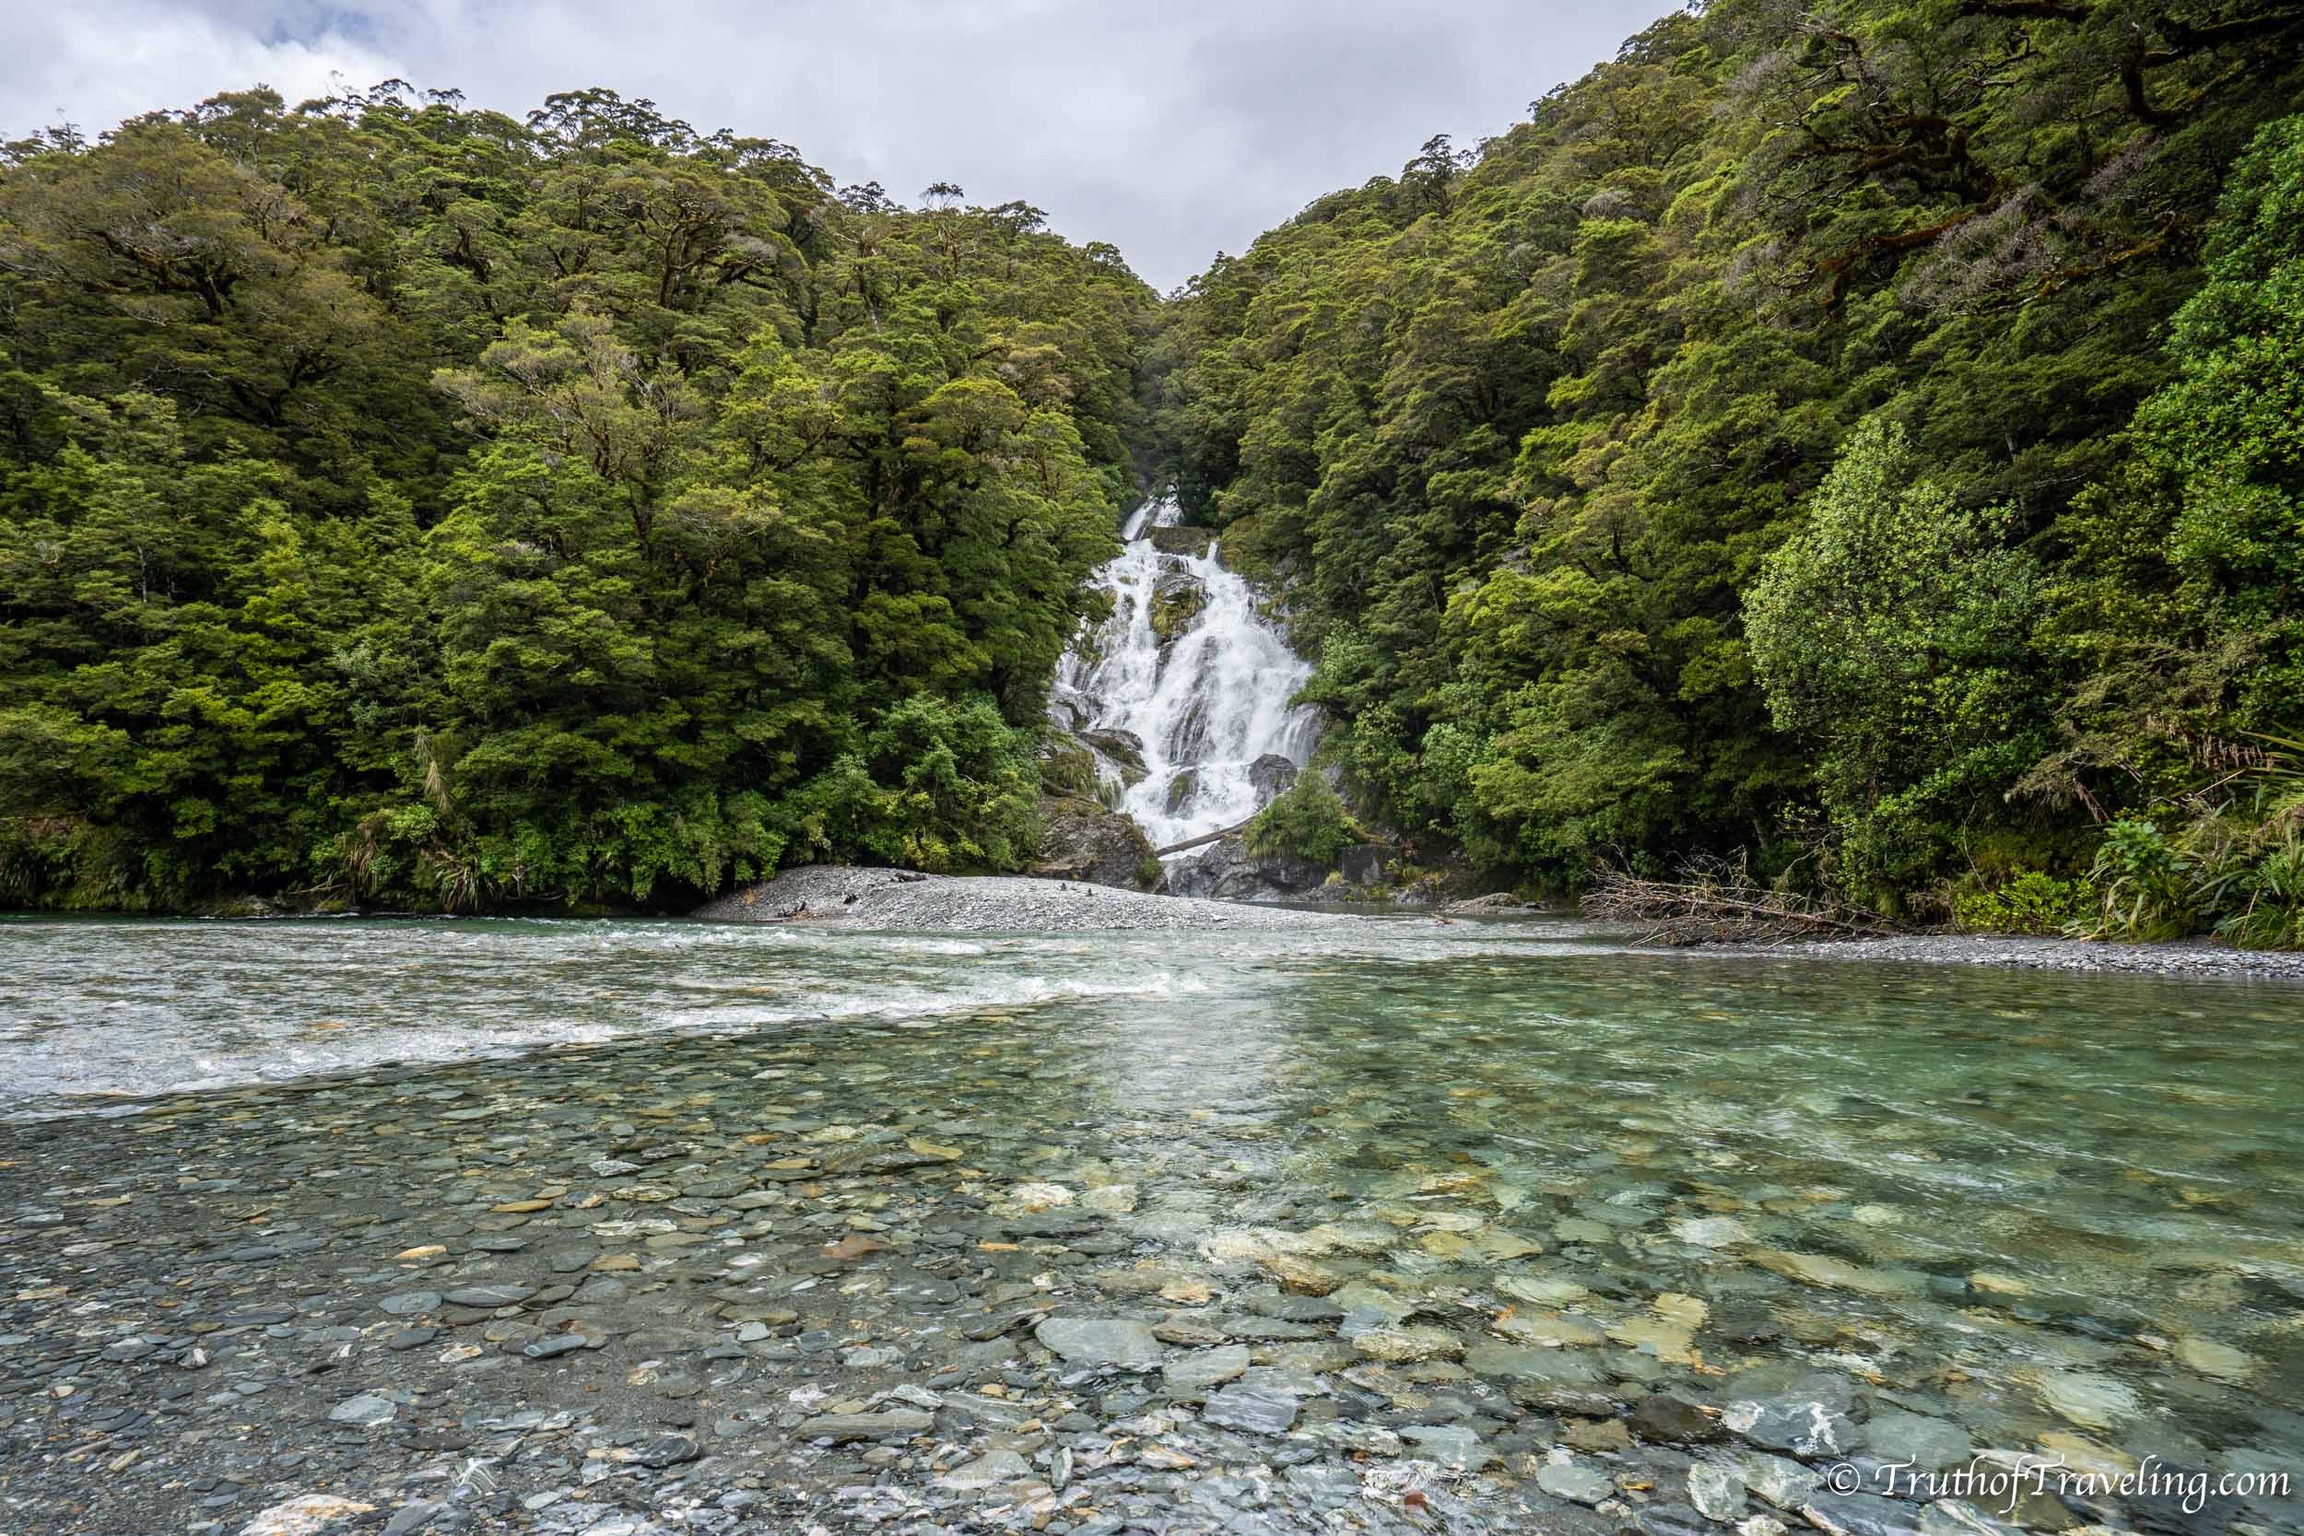
About an hour later is Fantail Falls. The parking lot is fairly small but it’s right off the road so you will find it easy. It’s about a 5 minute walk down to the falls. You can walk around on the rocks all the way up to the falls before hopping back in the car.
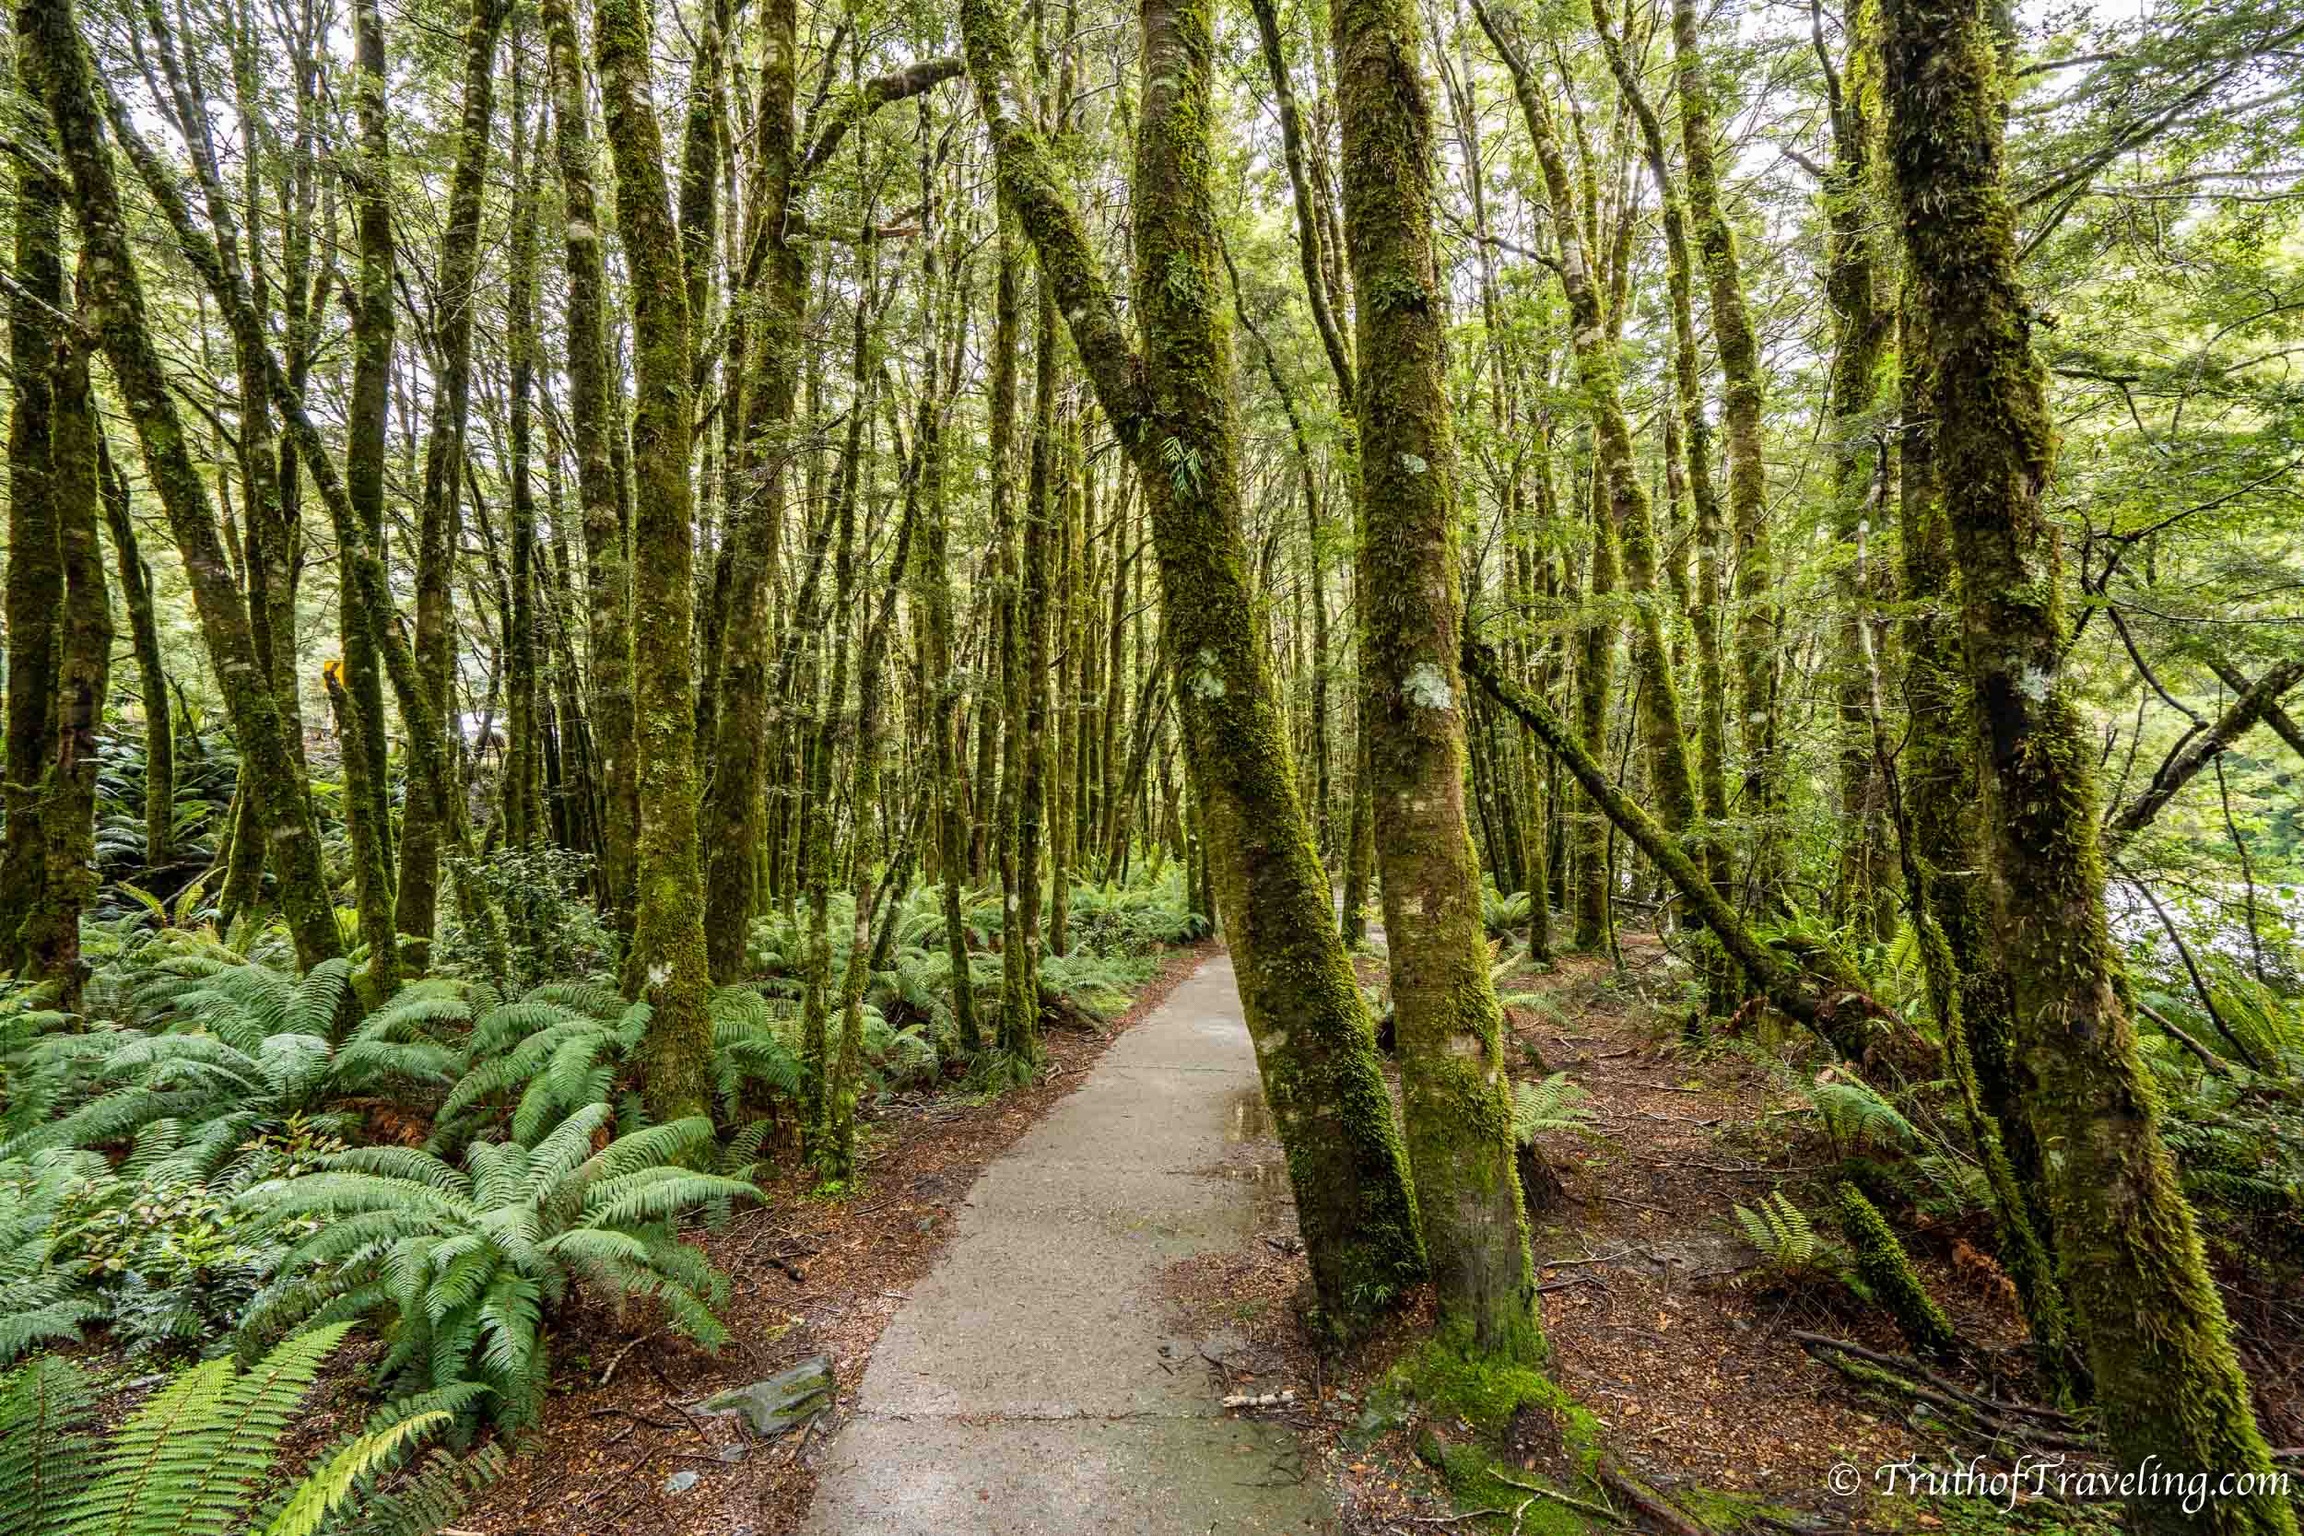
There are quite a few other waterfalls along the way that you can choose to also stop at. We kept going after Fantail Falls in order to continue along. This part of the drive is very lush and green. We had some really low clouds while driving through that made the mountains look really cool!
The road hits the town of Haast and changes direction to run along the west coast. To get a glimpse of the ocean stop at Ship Creek. You can climb up to a lookout tower that gives you a view over the dune to the ocean! If you have more time there is also a forest walk.
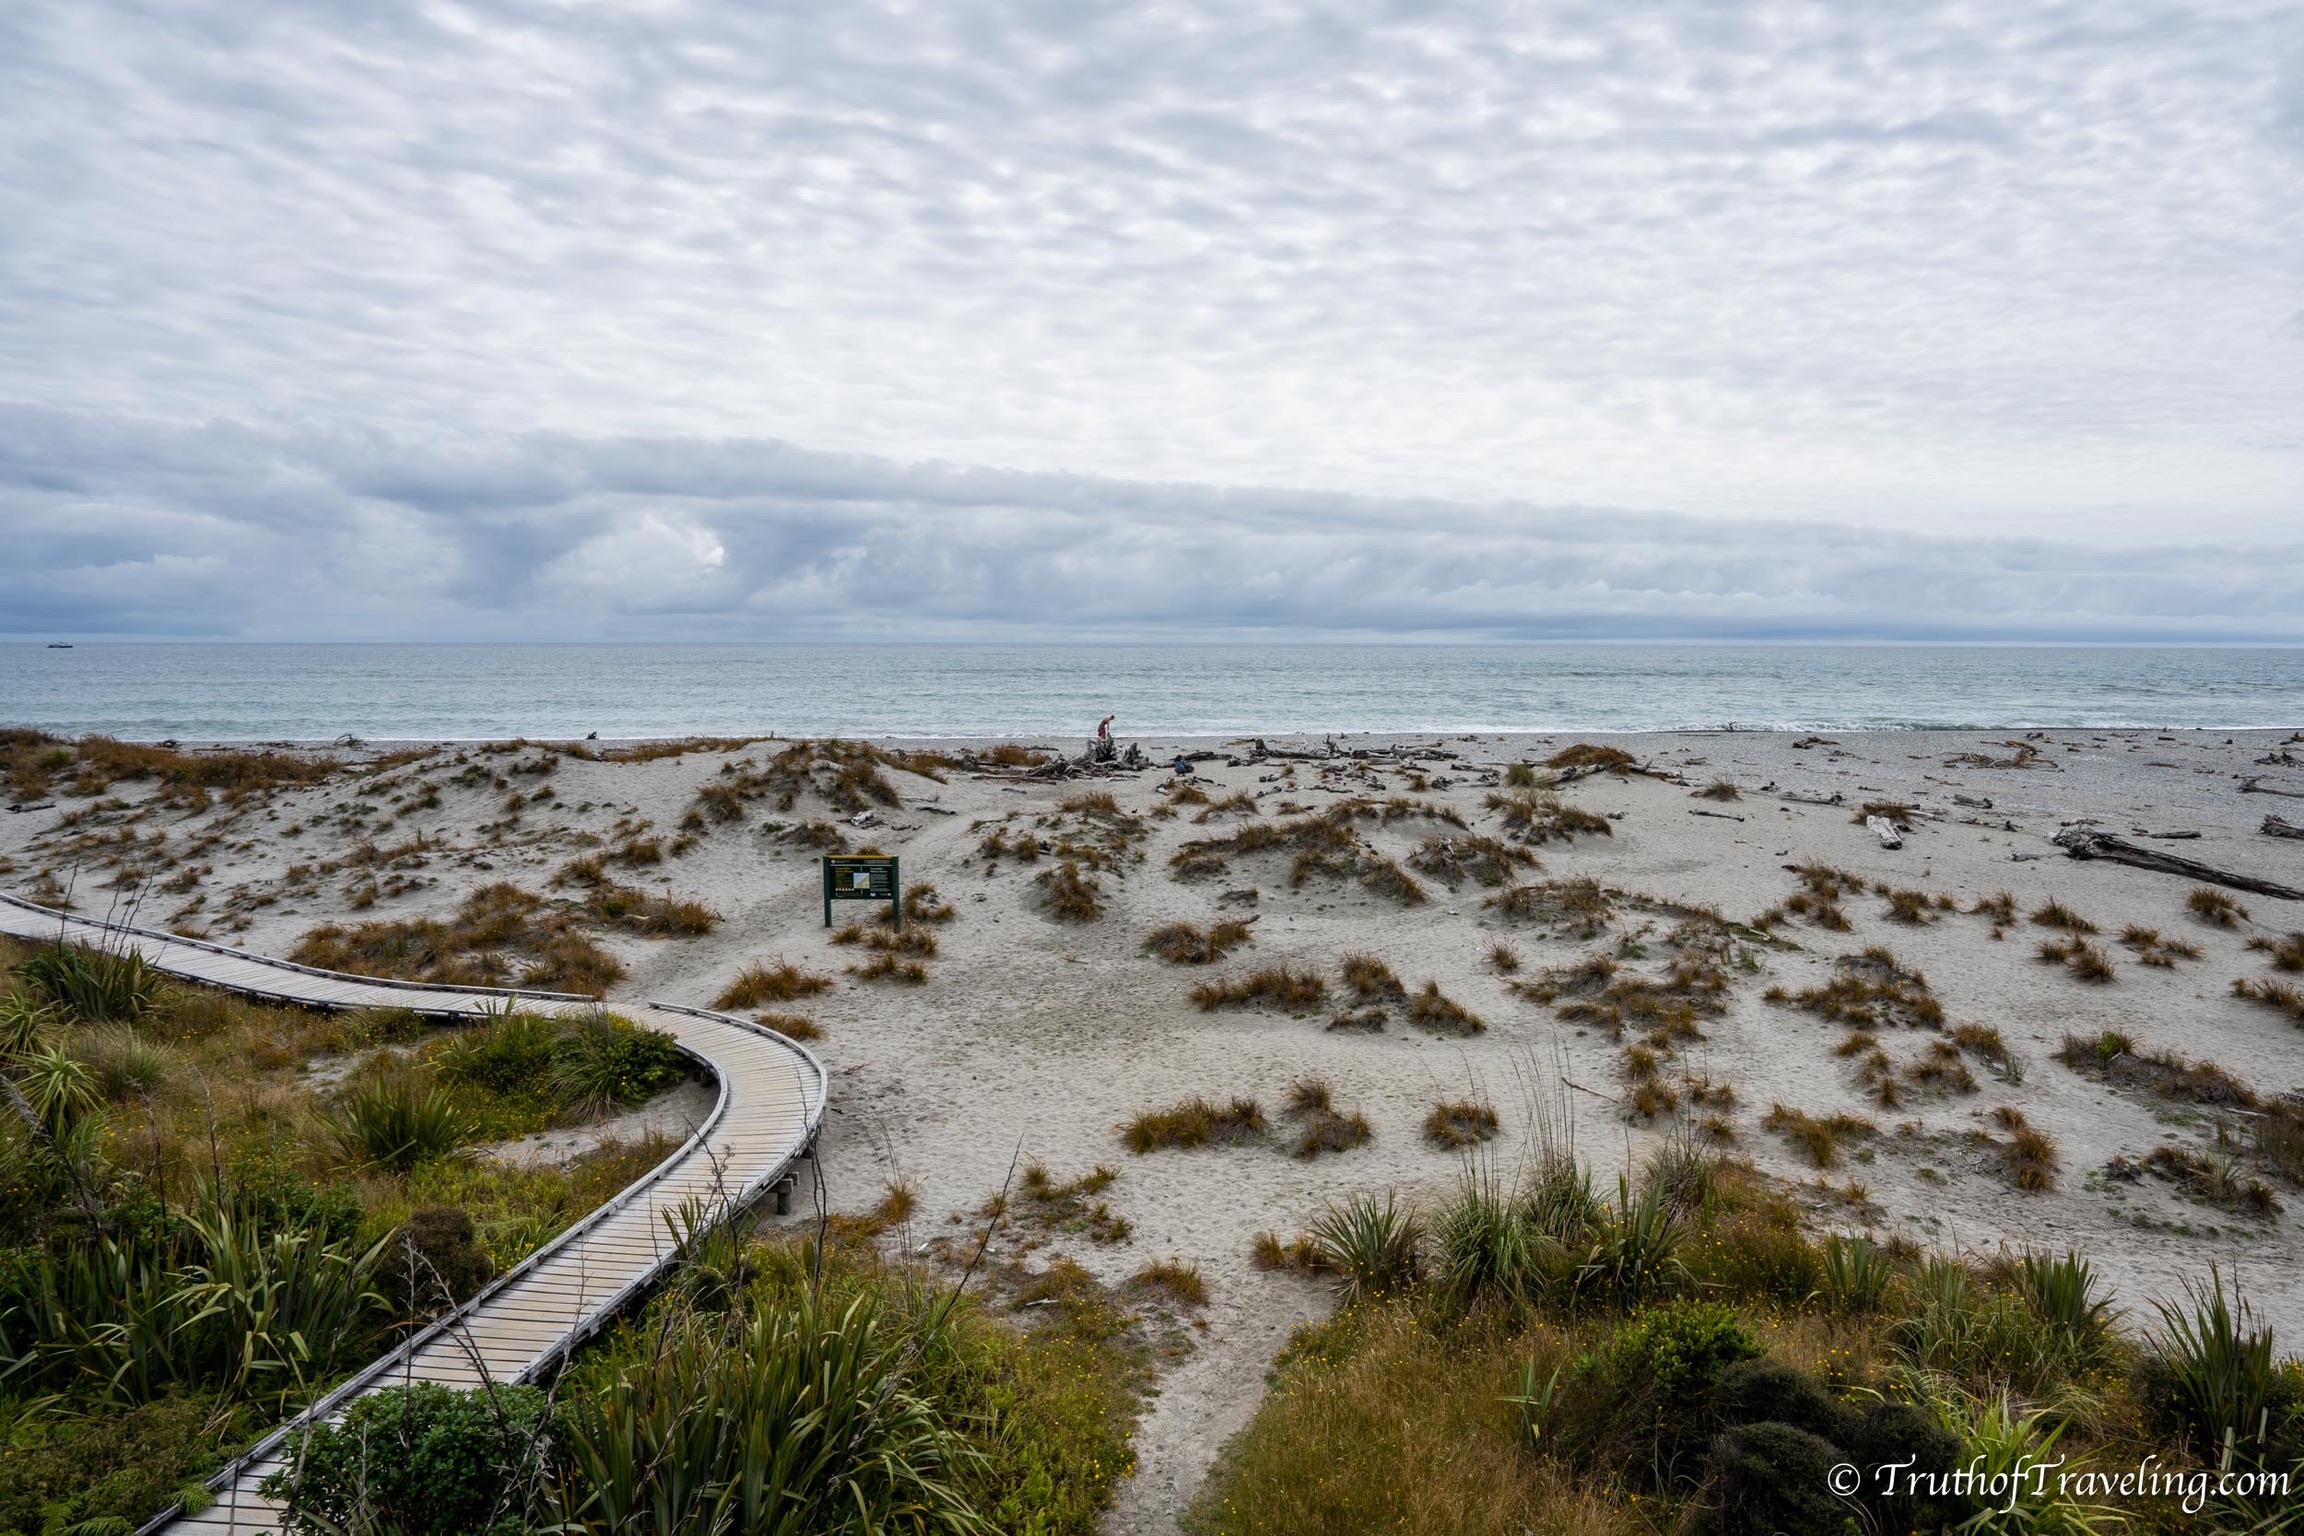
- There is food and gas in Haast so if you’re running low that is the place to get it!
- Take advantage of the toilets at Ship Creek as we didn’t pass any others for a while!
Knights Point Lookout is a really beautiful lookout! You get views of the ocean for as far as you can see and looking south you can see some rock formations in the water. From there the road goes inland for the majority of the rest of the drive. Without stops from Knights Point Lookout it’s about an hour and a half to the town of Franz Josef.
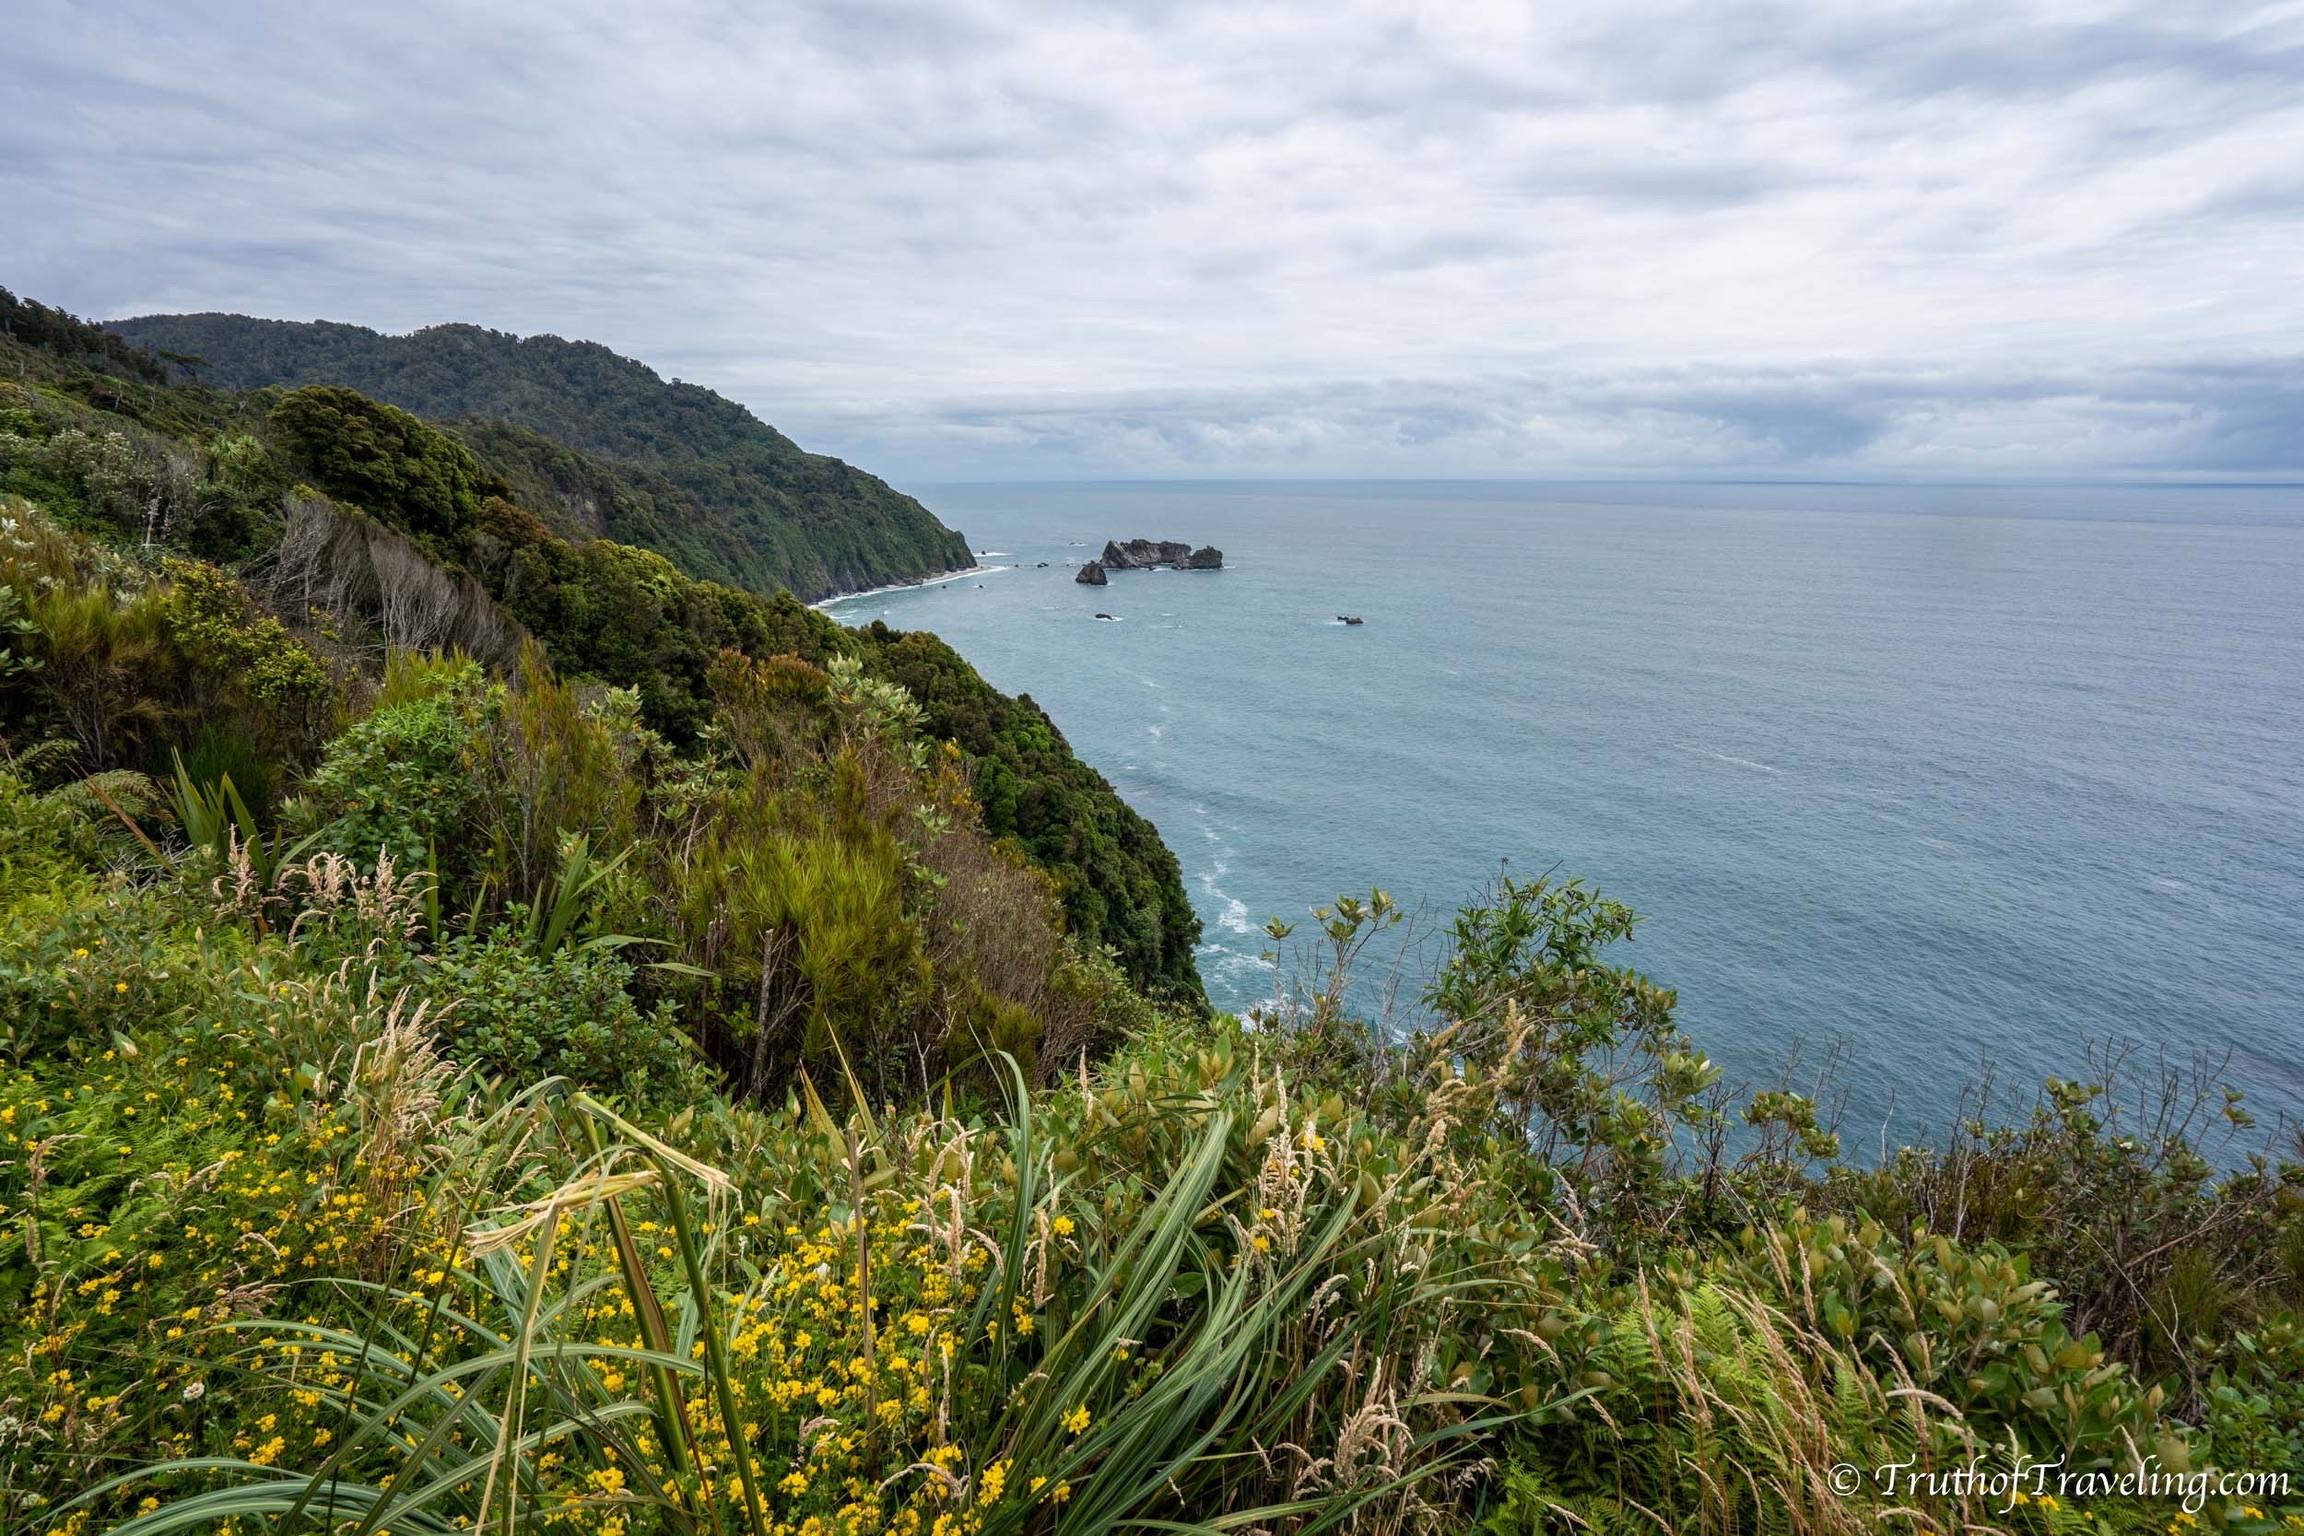
- Along the way you will pass the Fox Glacier which you can consider visiting as well as Franz Josef Glacier. They are about 25 kms apart so you can easily visit both!
There is a small town around the Franz Josef Glacier. There are a few restaurants, a grocery store, gas station and many tour companies. If you’re looking for a break from cooking in the campervan you have a few restaurant options there!
Drive: 250 kms / 3 hrs 30 minutes
Stay: Orange Sheep Campervan Park ($22-35 pp)
Day 14: Explore Franz Josef Glacier & Drive Towards Christchurch
Today is all about exploring the Franz Josef Glacier! If your budget allows there are quite a few companies that let you experience the Franz Josef Glacier from above in a helicopter! We heard a few flying throughout our time there and can’t imagine how good it looks from the sky!
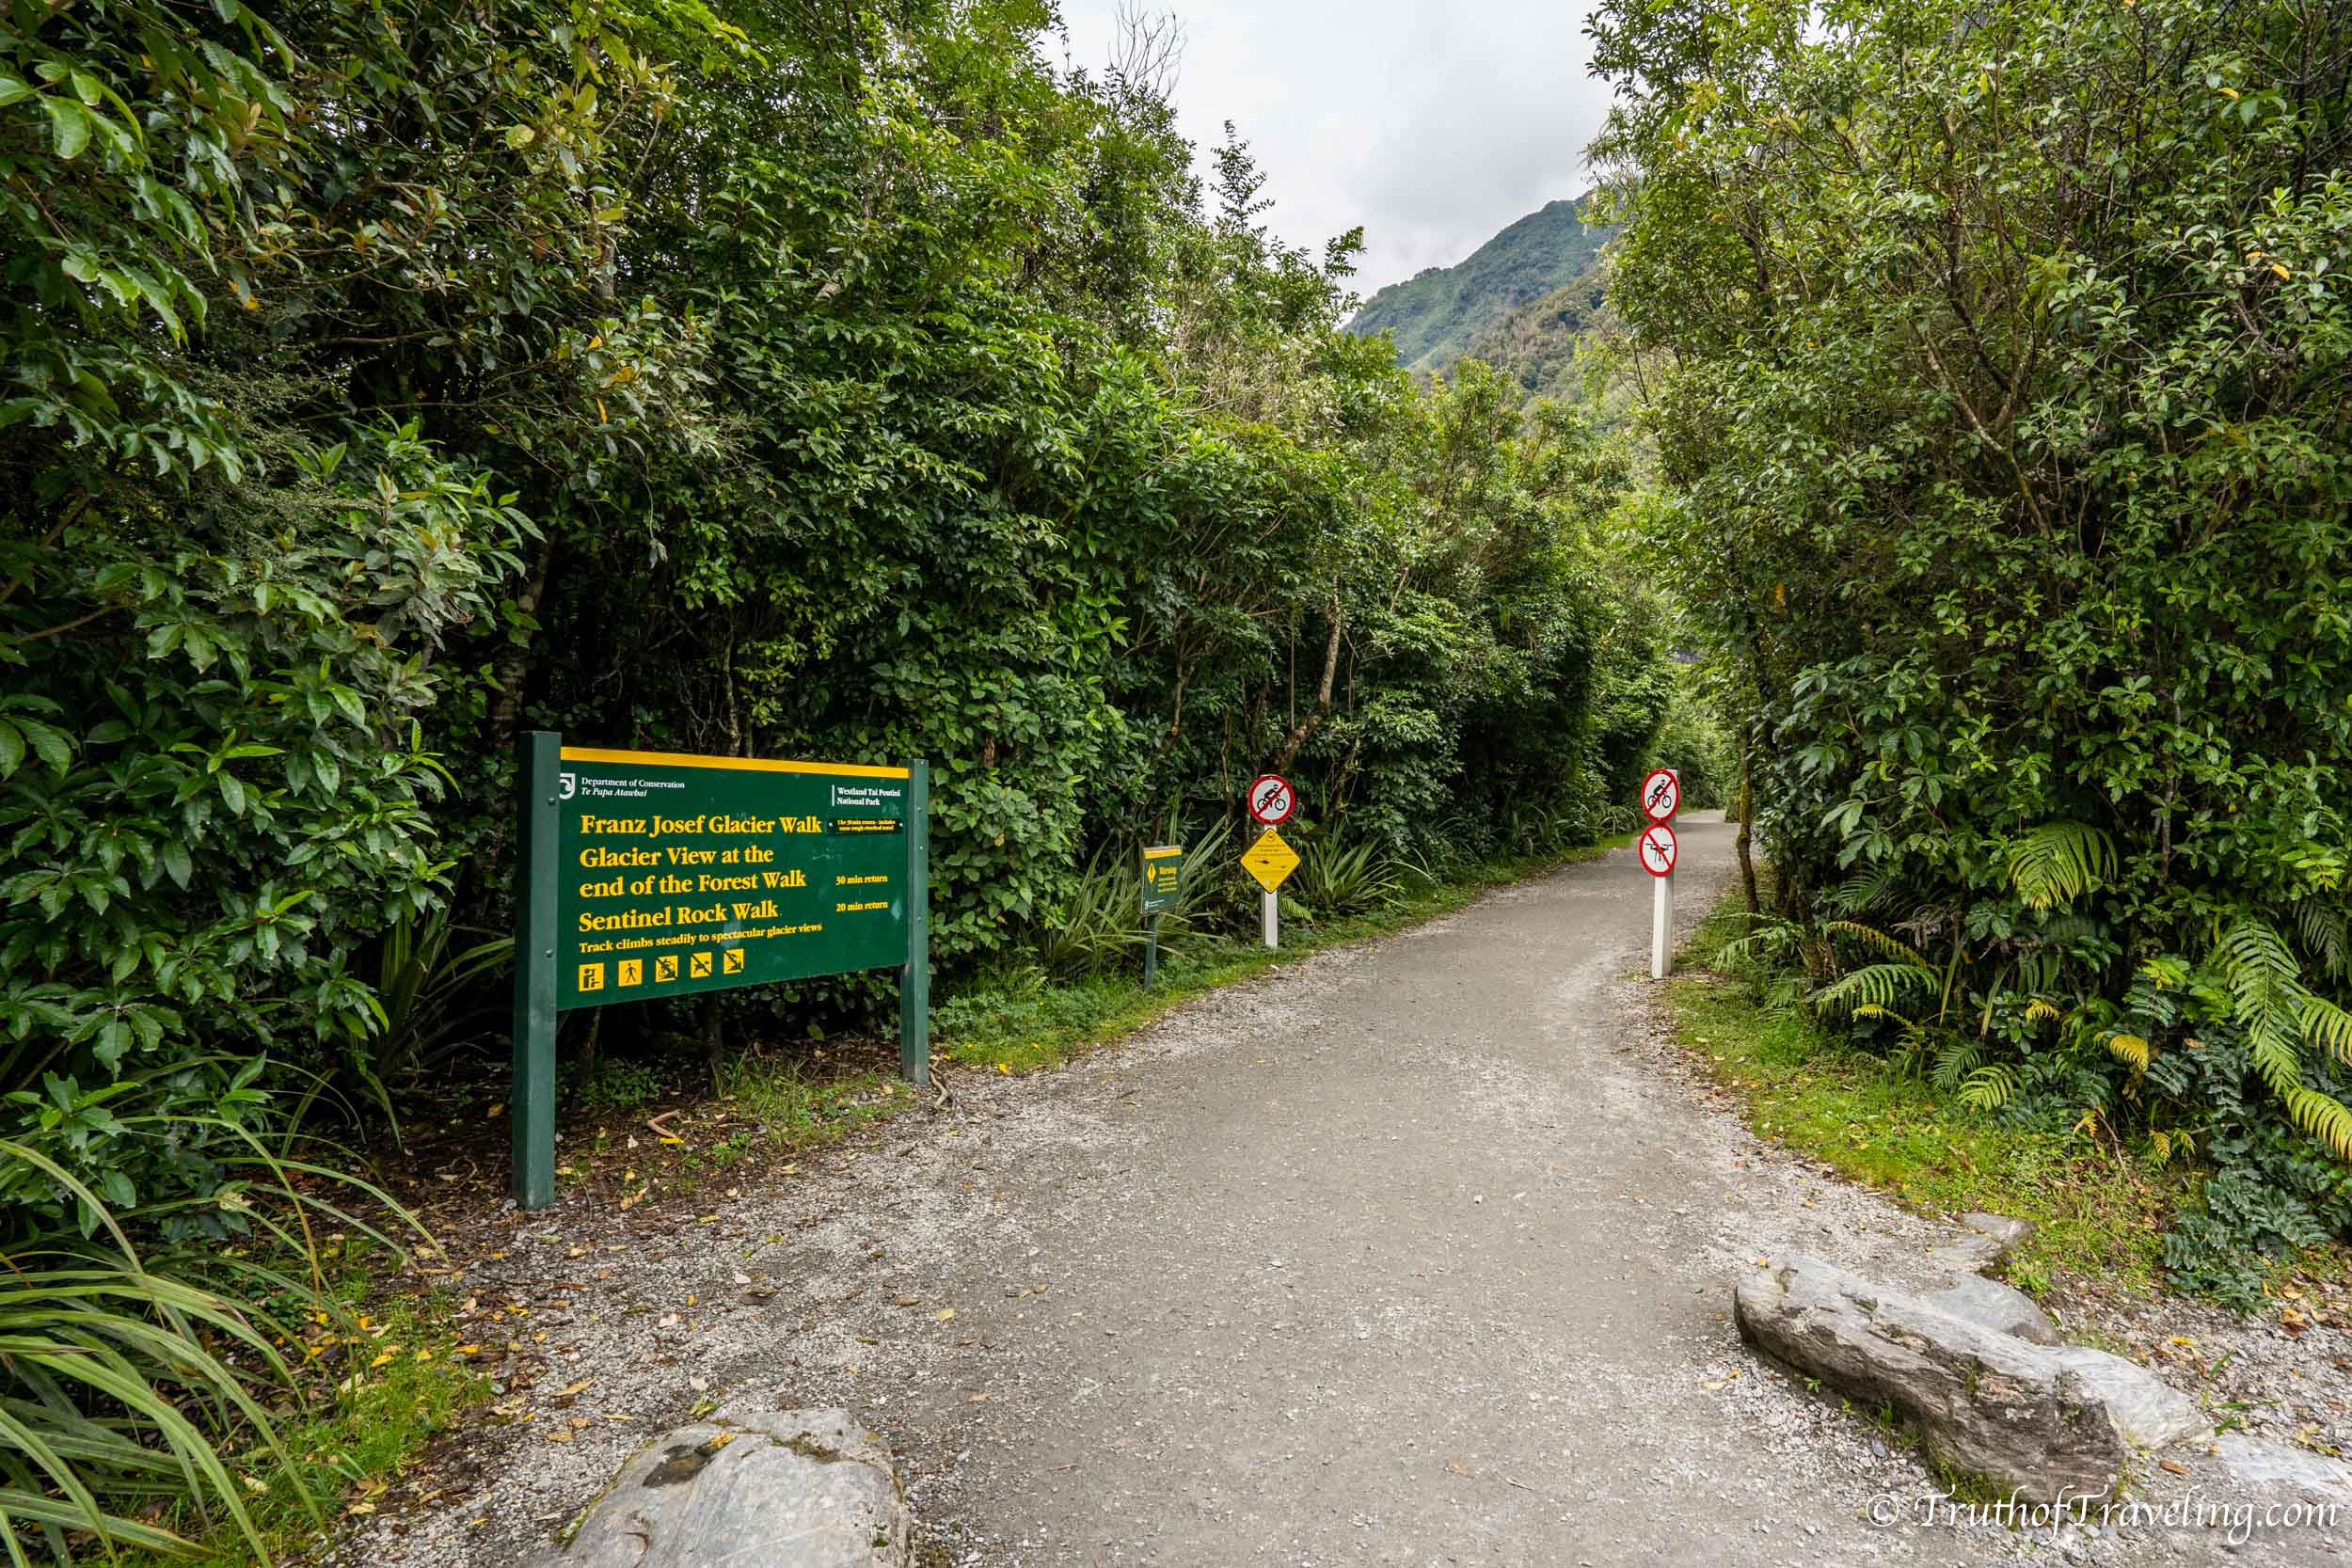
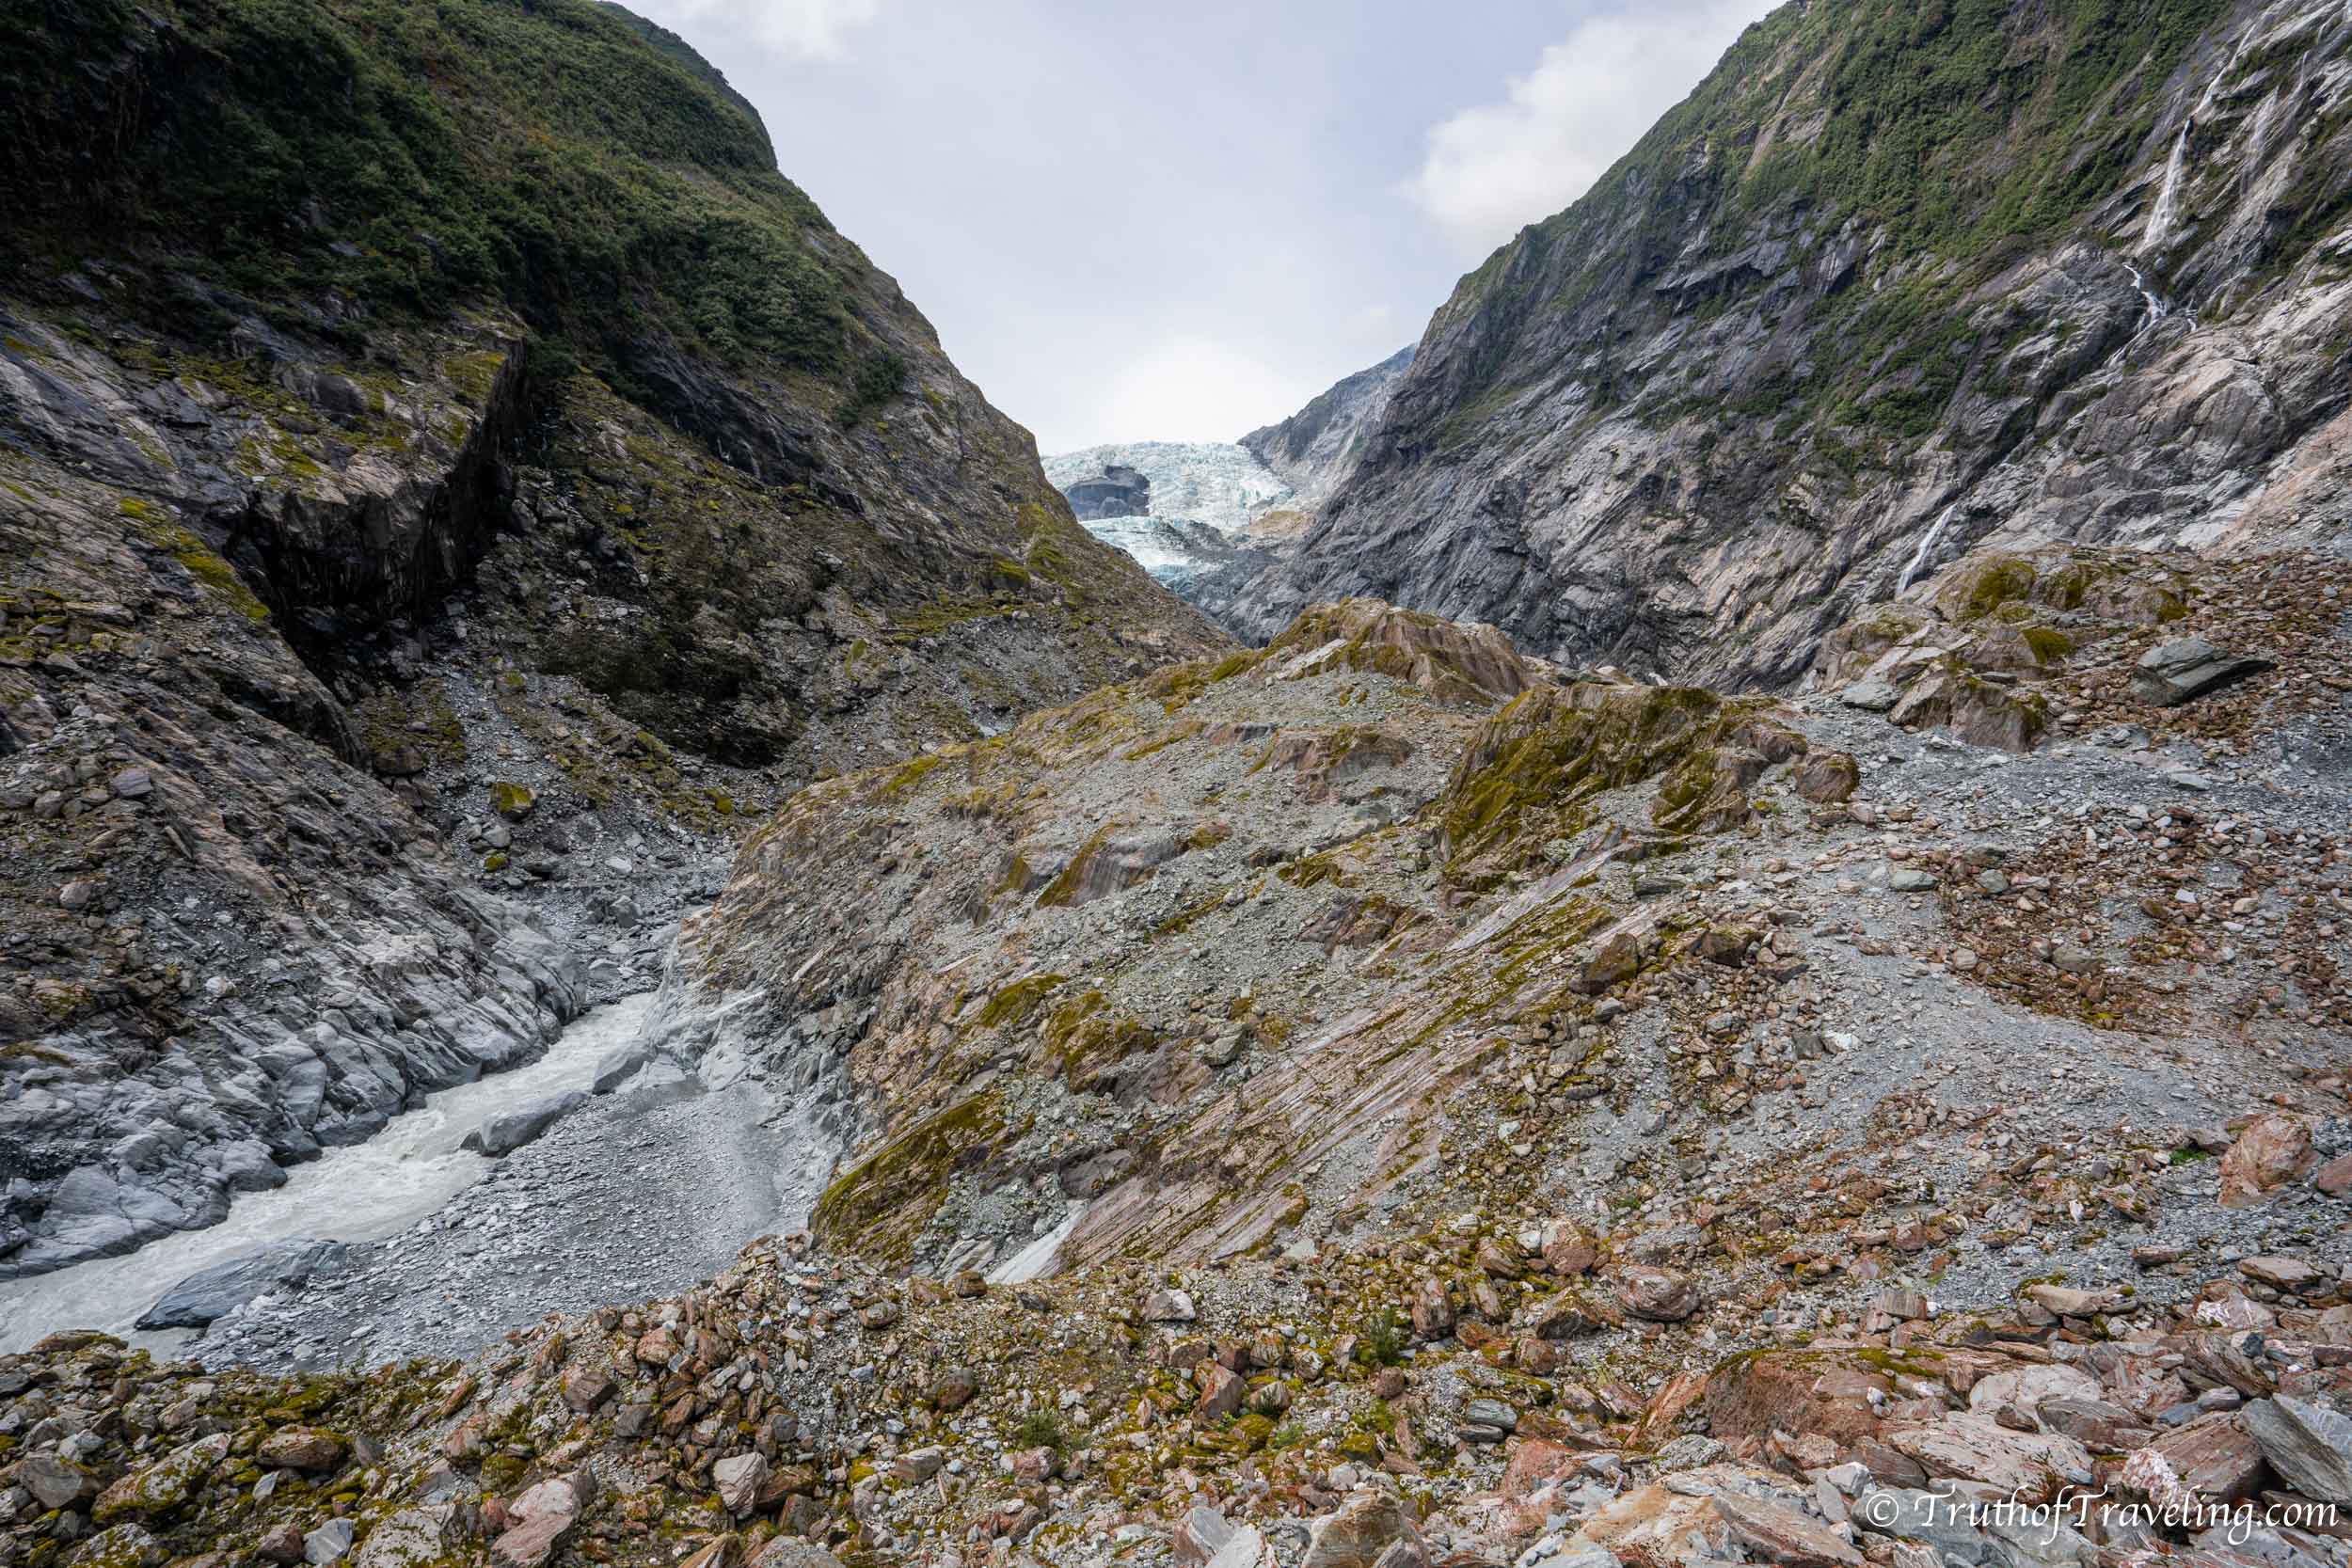
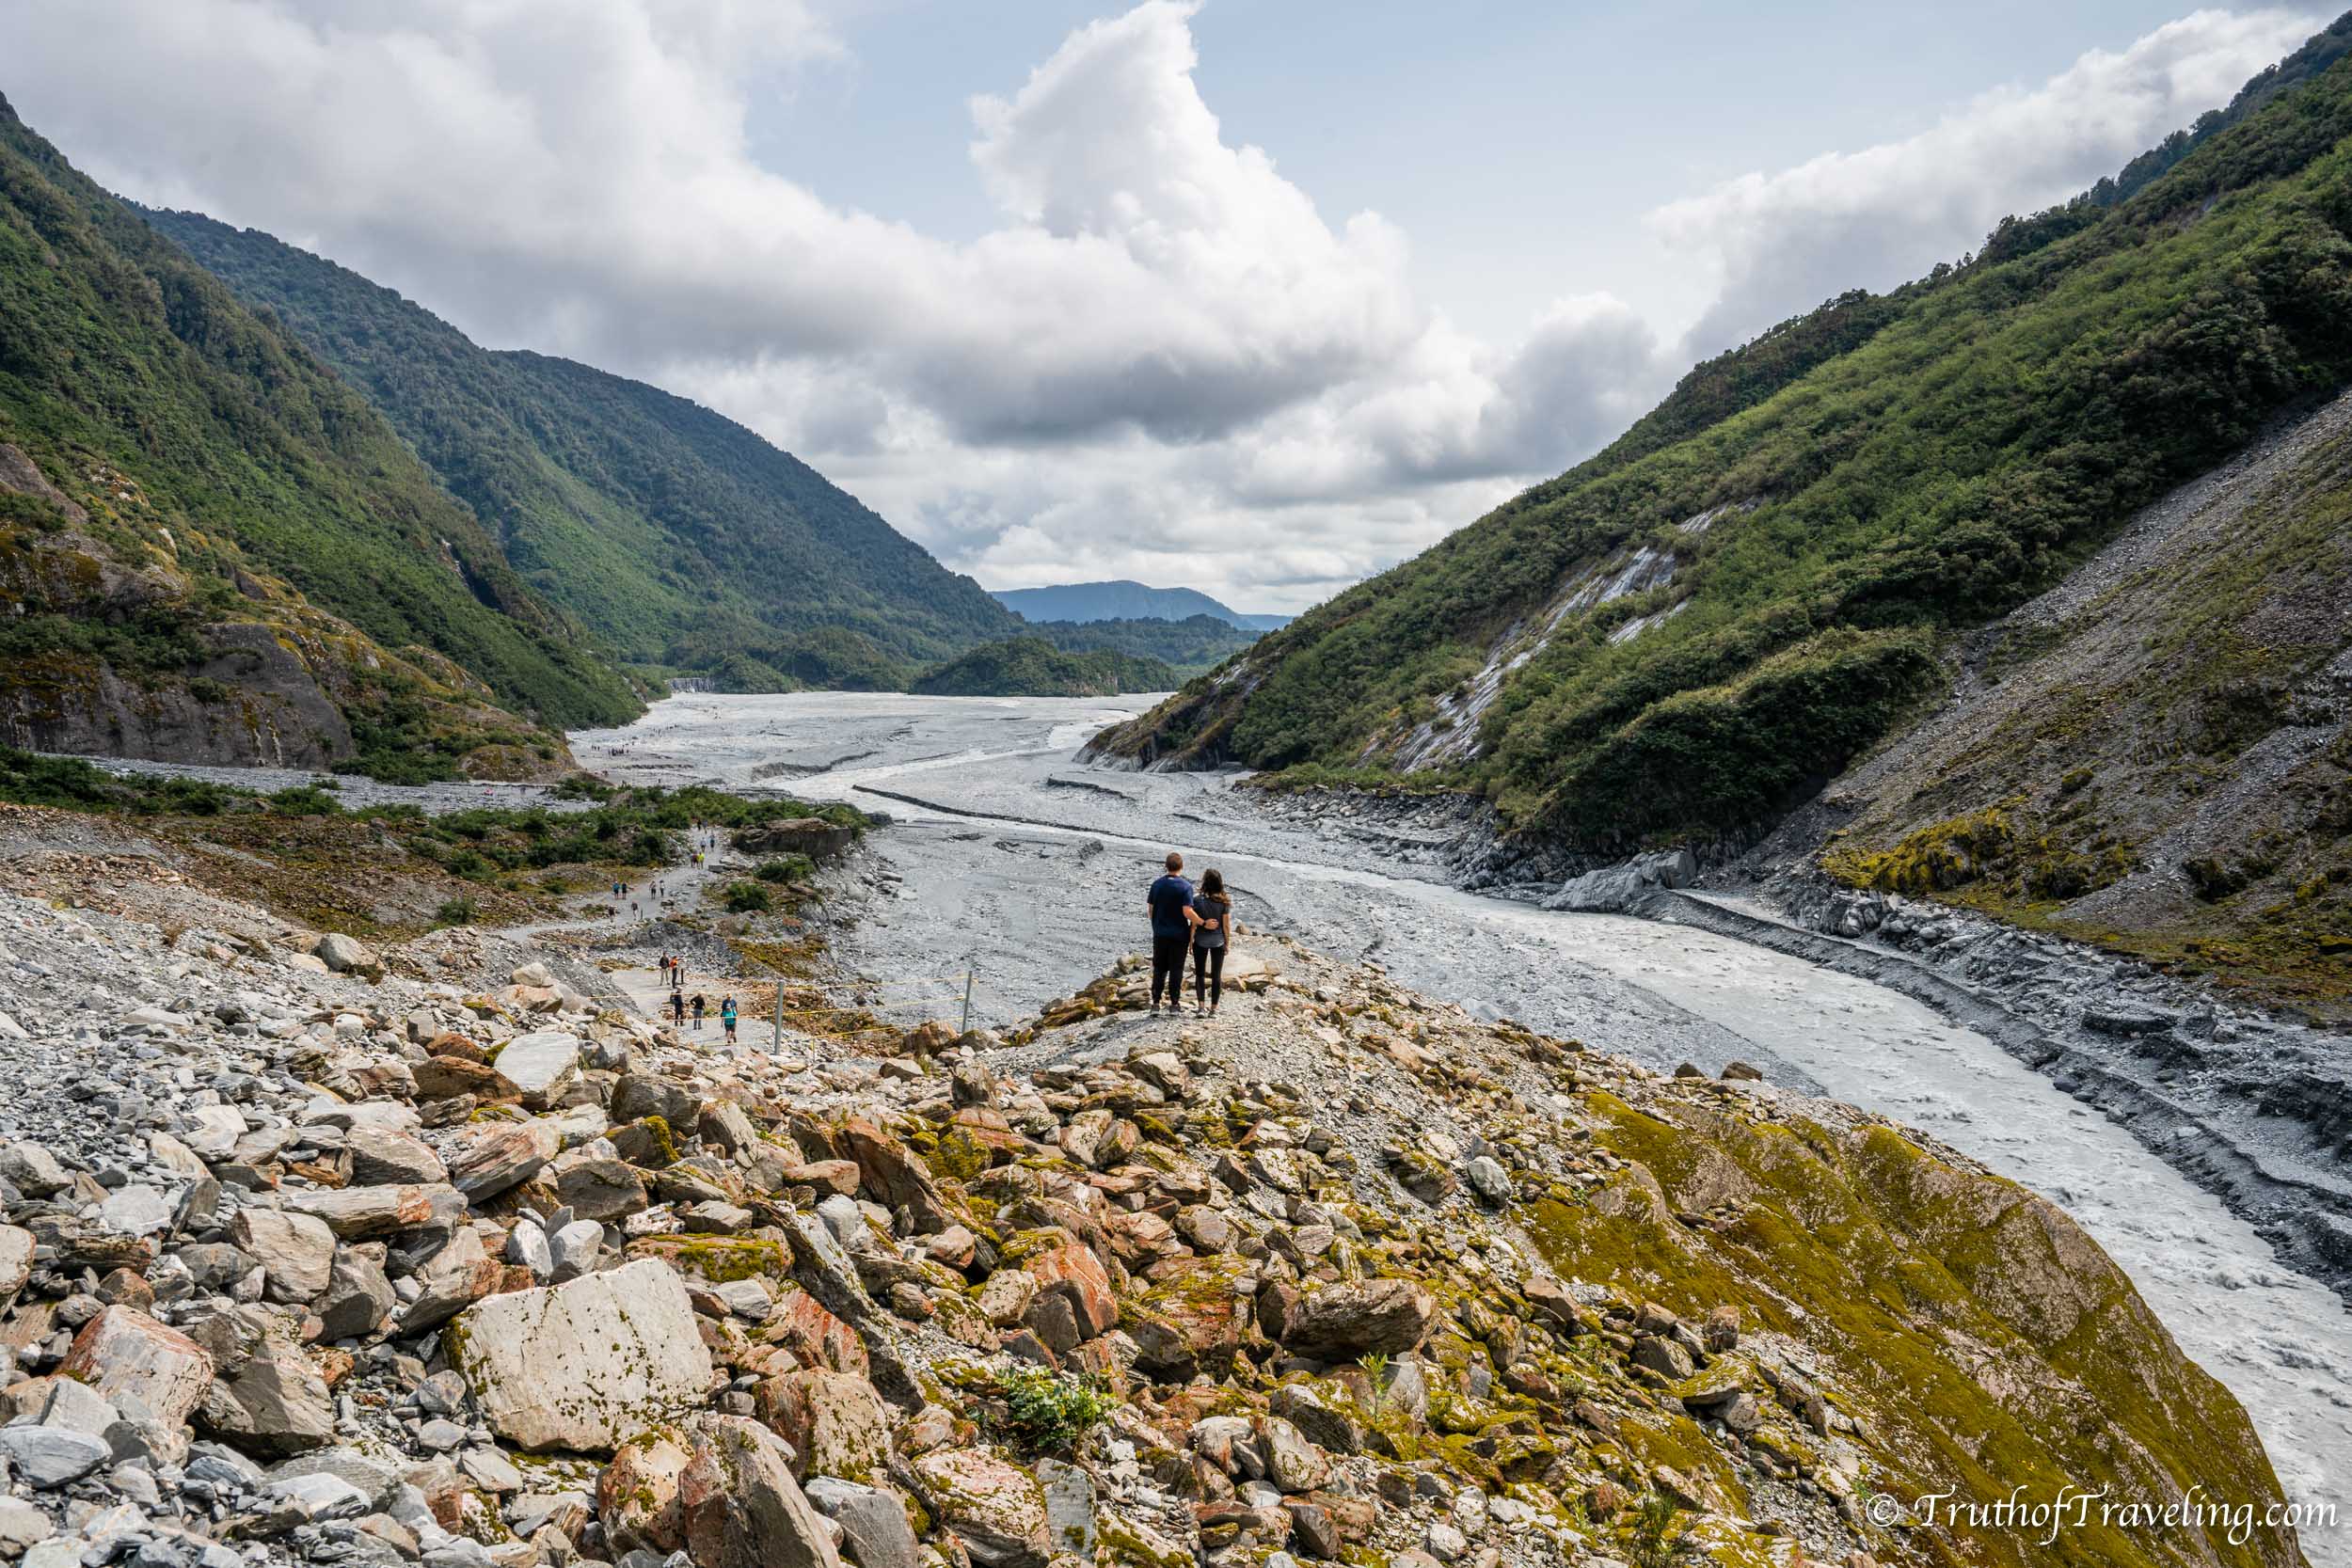
If you’re not ready to get in a helicopter there are various walks you can do to see the glacier on your own. The Franz Josef Glacier Walk is a really easy walk and rewards you with views looking up at the glacier! You can park in the Franz Josef Glacier Car Park for free and the trail starts from there. It takes about 45 minutes to get to the viewing spot and then 45 minutes back the same way.
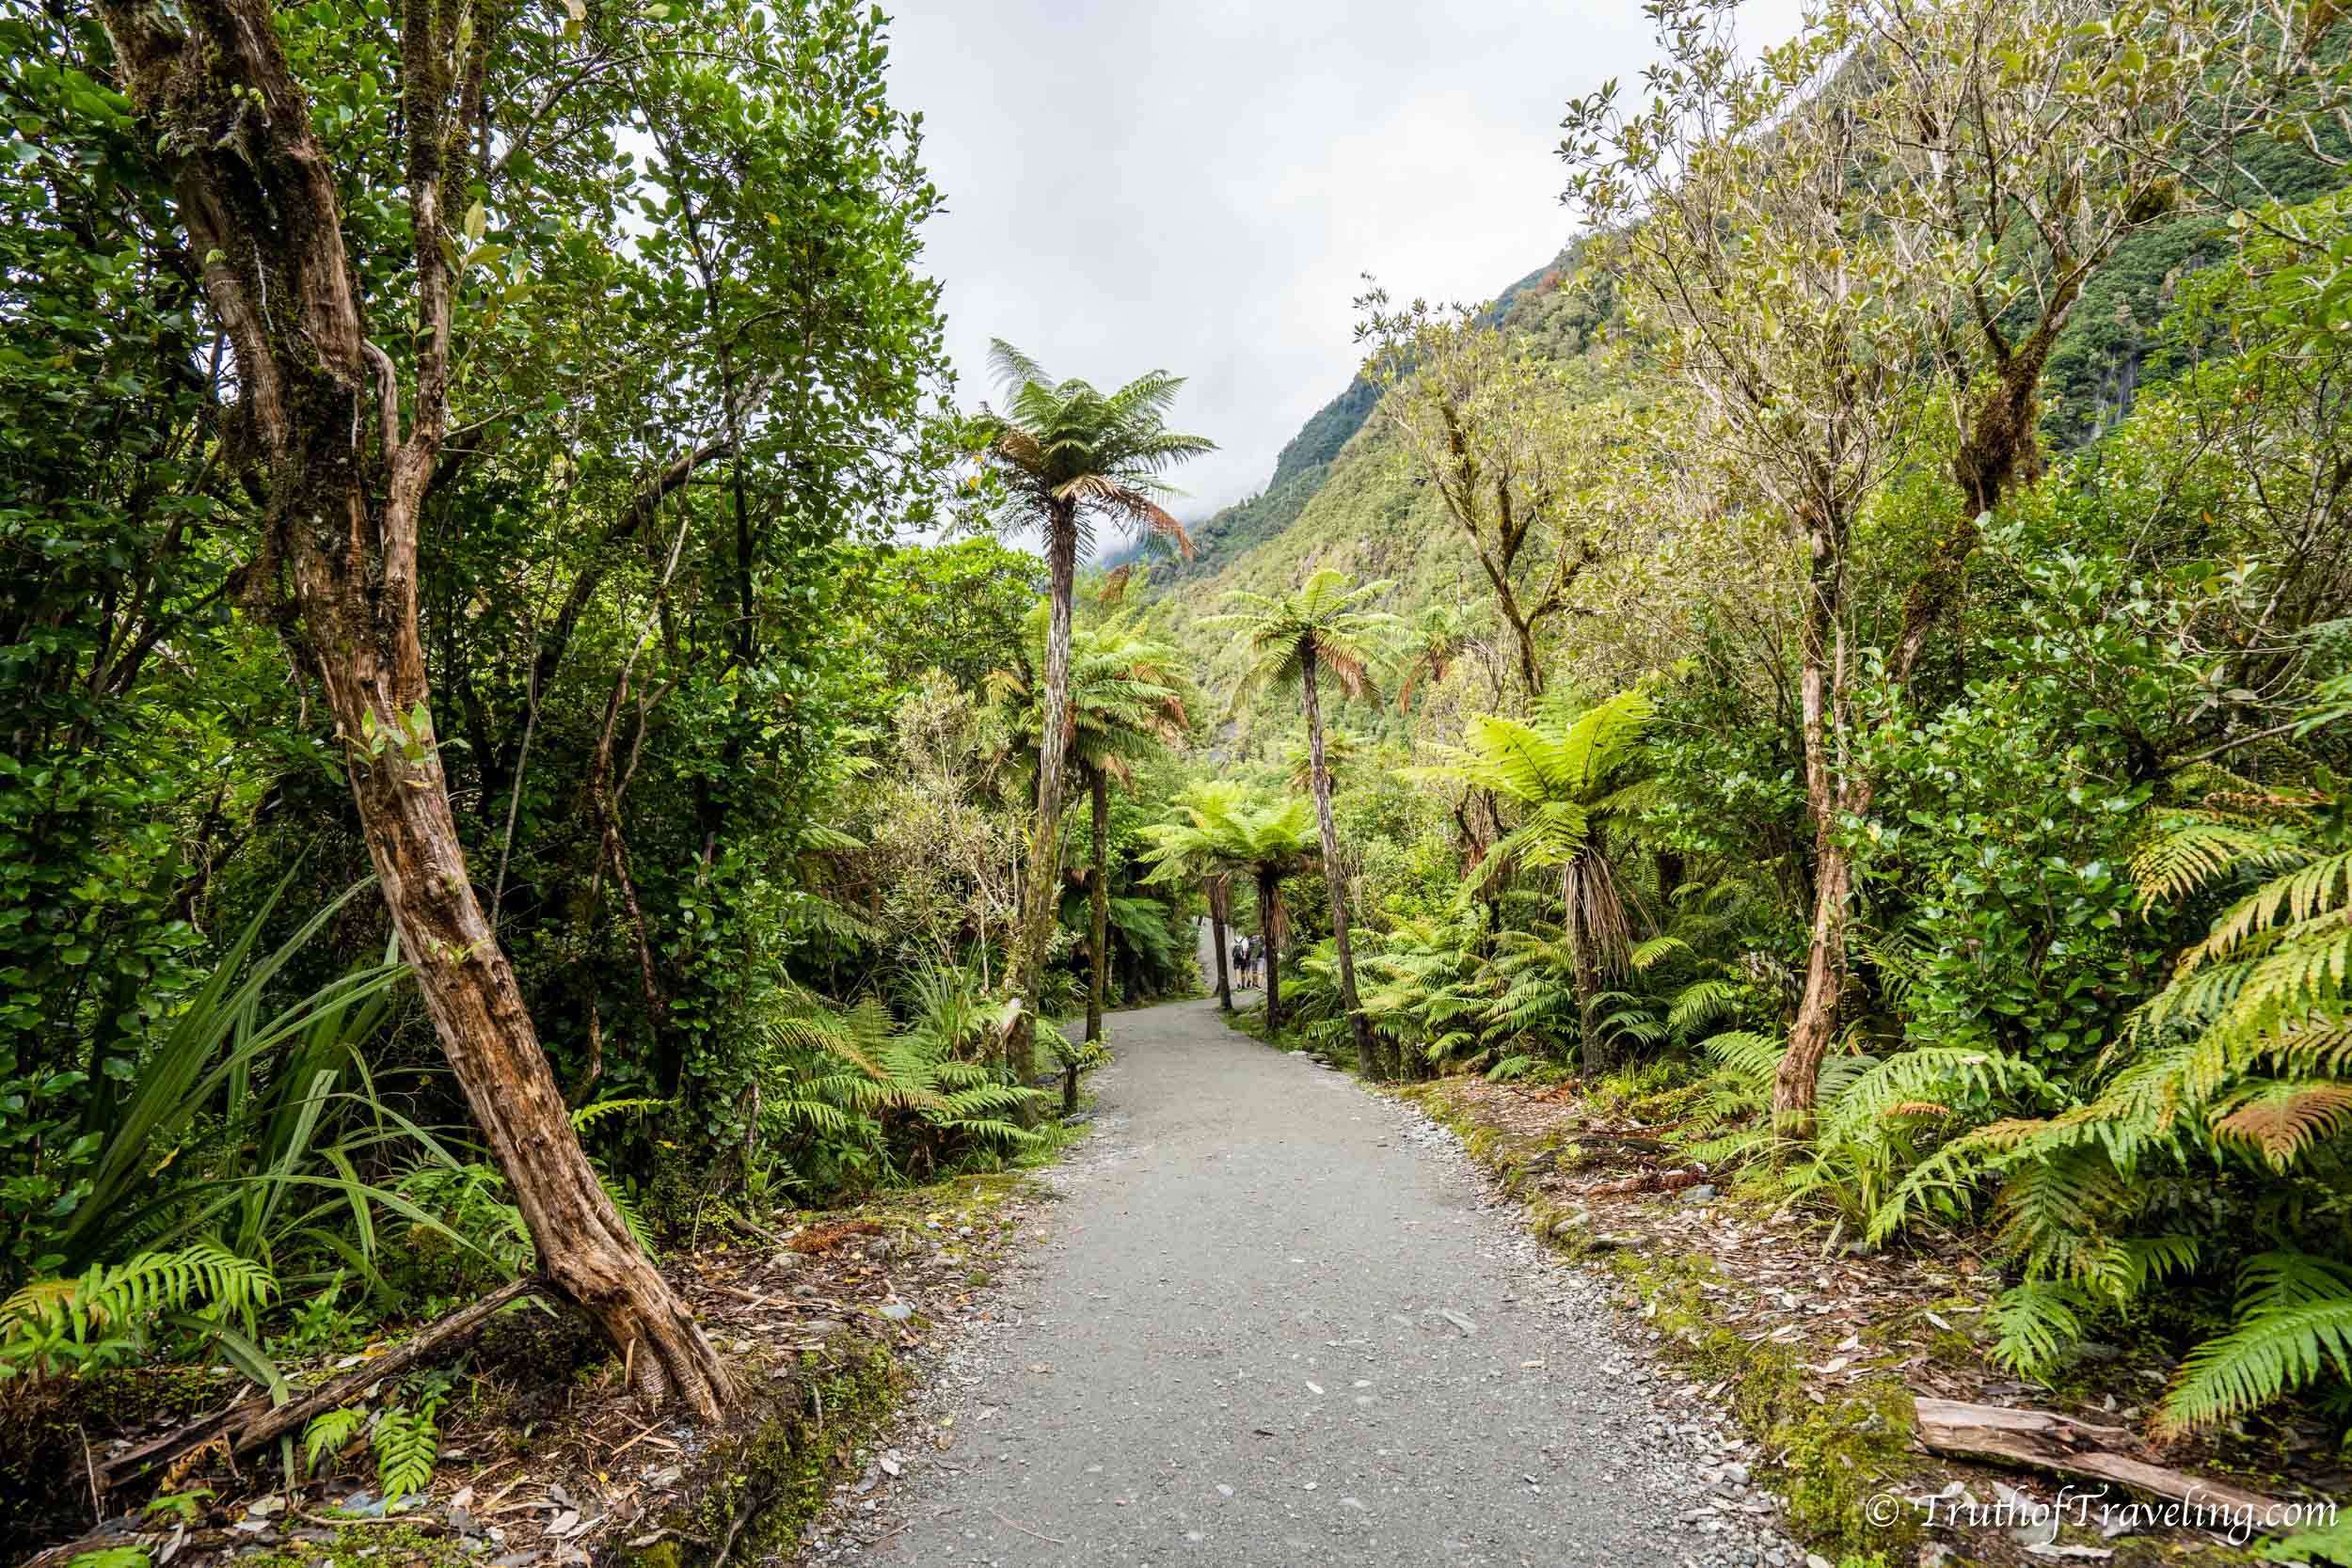
- The first 15 minutes of the trail go through a forest and then a short decline leads you to where the glacier used to be. The rest of the trail is walking down on the rocks where the glacier was over 100 years ago. We couldn’t get over that we were walking where the glacier was 100, 50, and even 10 years ago!
- It is rocky but flat and very easy to walk on.
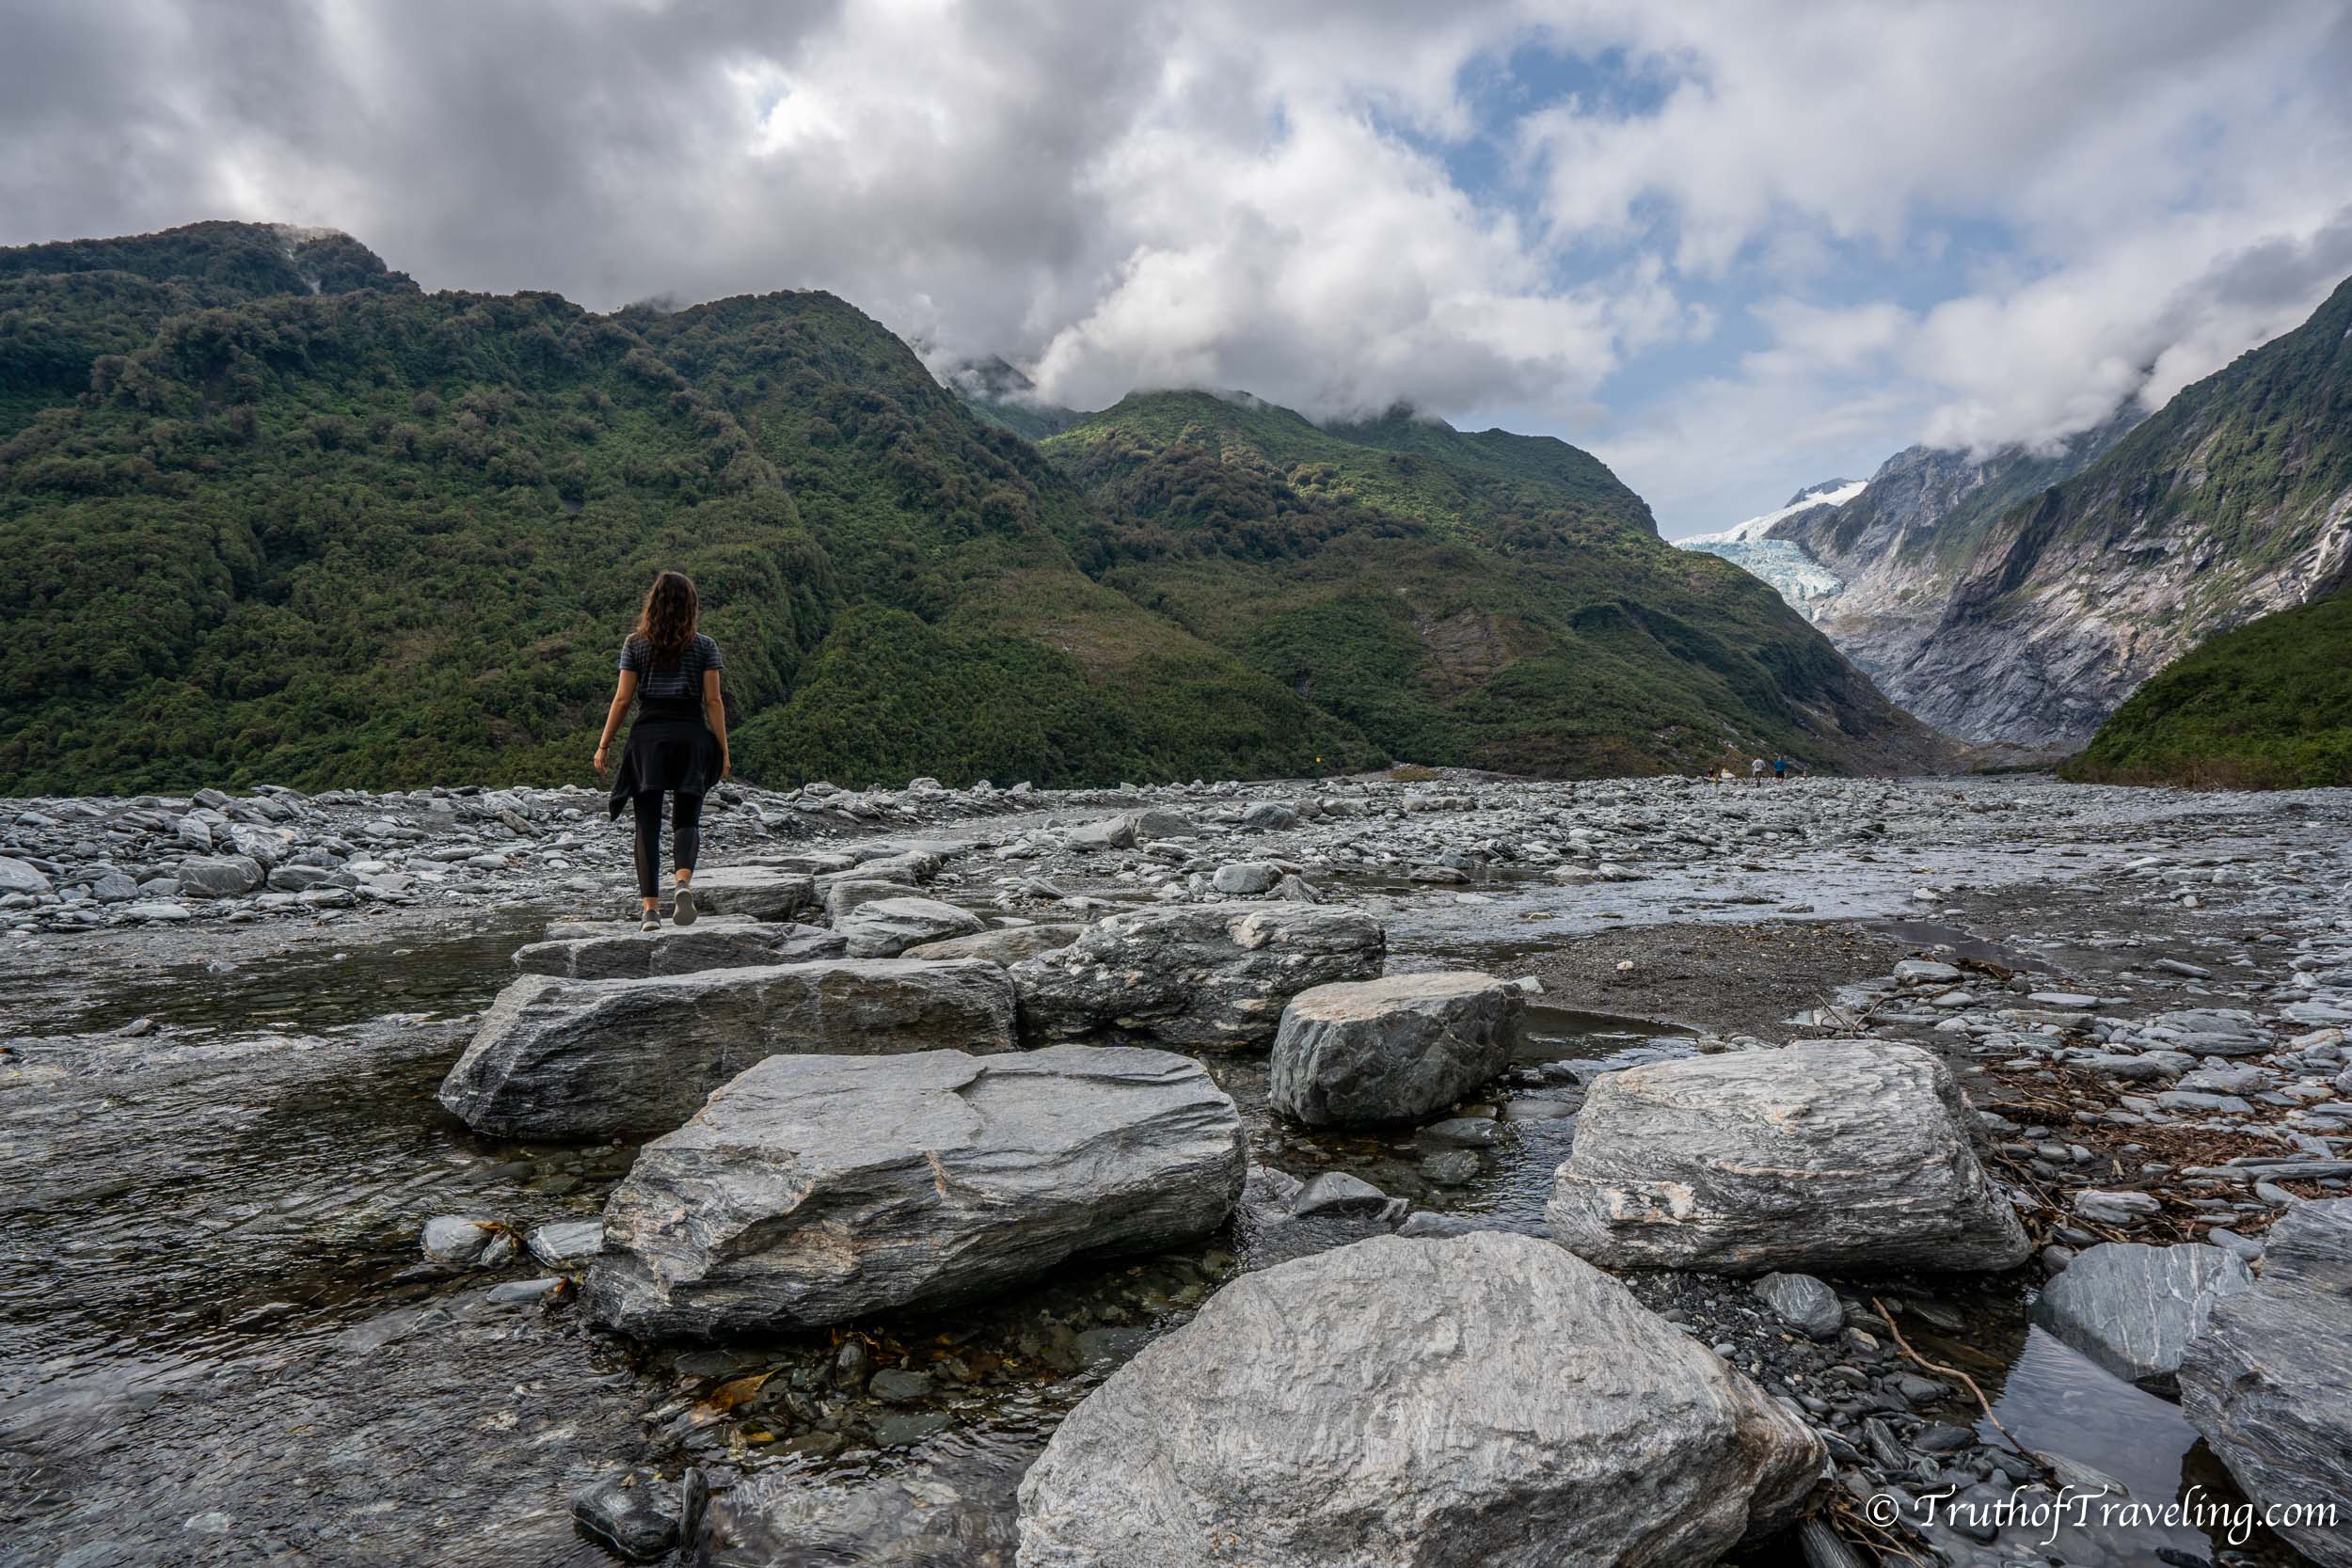
The Franz Josef Glacier Walk leads you to a viewing spot looking up at the Franz Josef Glacier. Now it has retreated up the mountain but in 2009 the glacier would have extended past where we stood to take this picture!
- If you’re looking for something longer than an hour and a half you definitely have options! There are plenty of other hikes that range in difficulty and time.
- It was a lot cooler and rainier in this area compared to other parts of the South Island so we made sure to bring rain jackets and I wore my fleece while walking.
After finishing up at the glacier we had lunch (in the glacier car park- a very van life moment) and started driving north. If you have an extra day you can choose to stay in the area for the night. But from the Franz Josef Glacier to Christchurch is a 5 hour drive and we didn’t want to drive for that long in one day, especially the day we had to return our campervan. If you’re short on time you could but it’s best to give yourself more time than that to enjoy your last day!
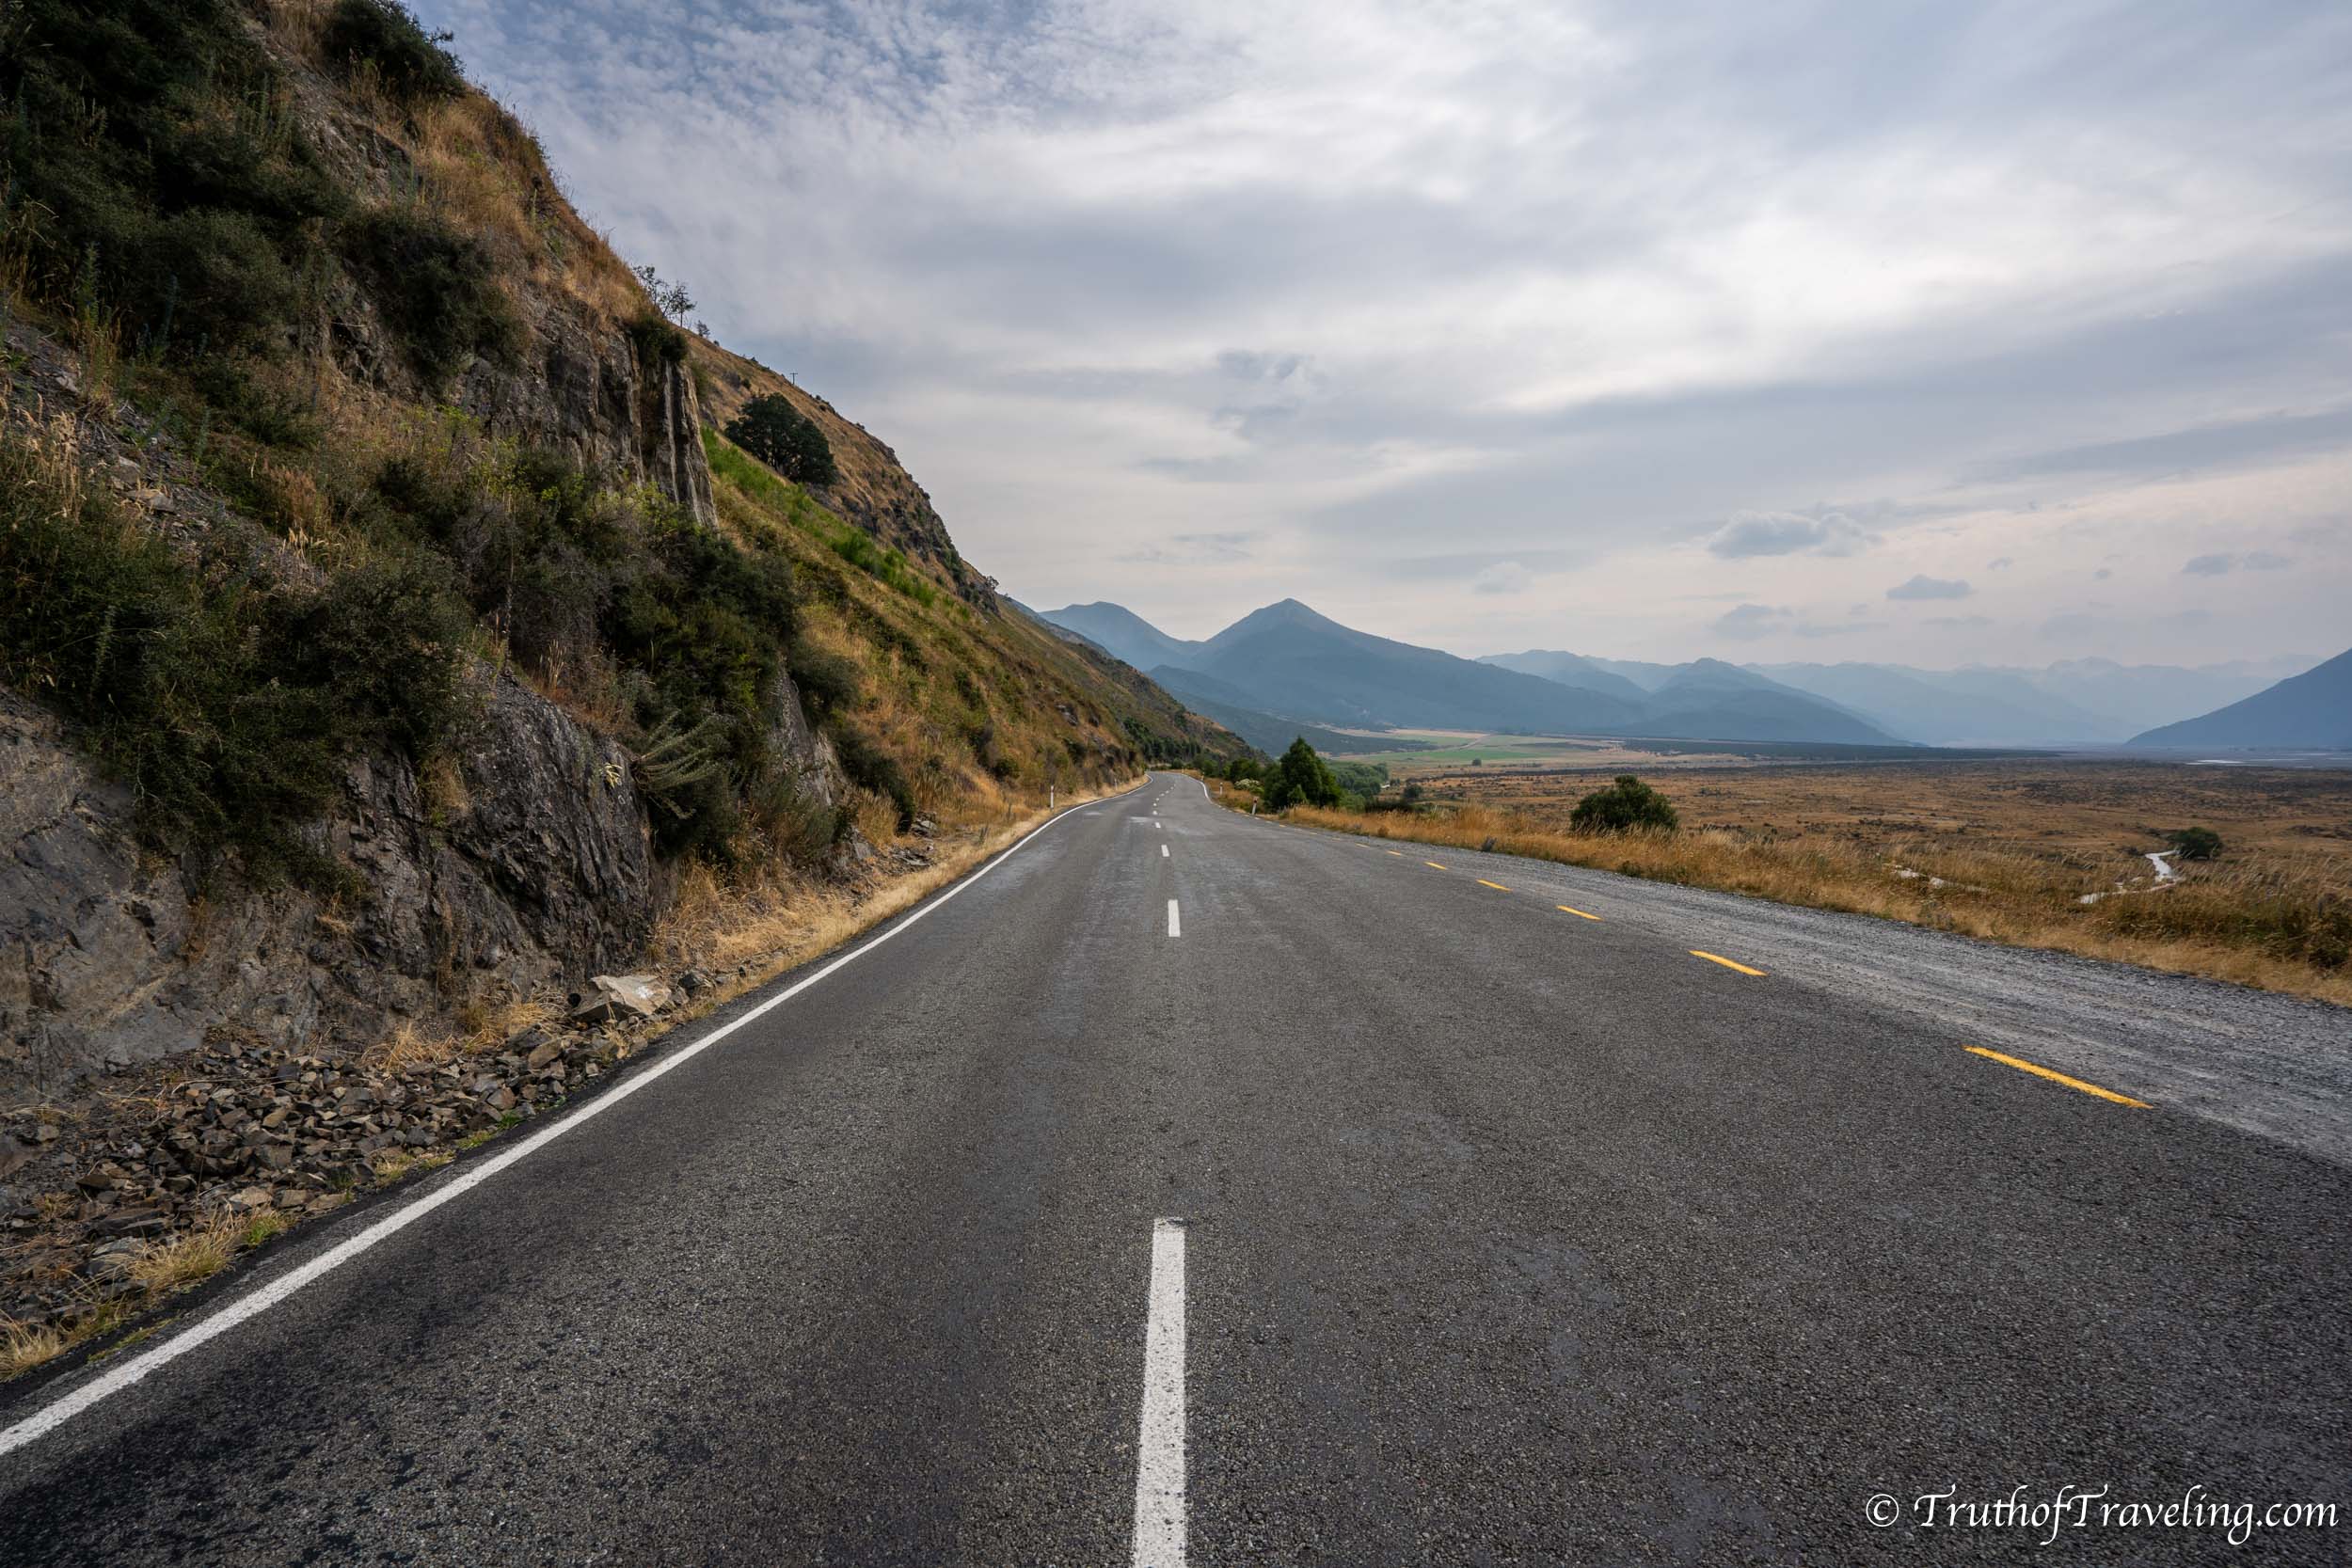
We left the Franz Josef Glacier and made our way north before turning onto State Highway 73 going inland towards Arthur’s Pass and Christchurch. This drive is really easy it’s literally two roads and then you will see the campsite on your left.
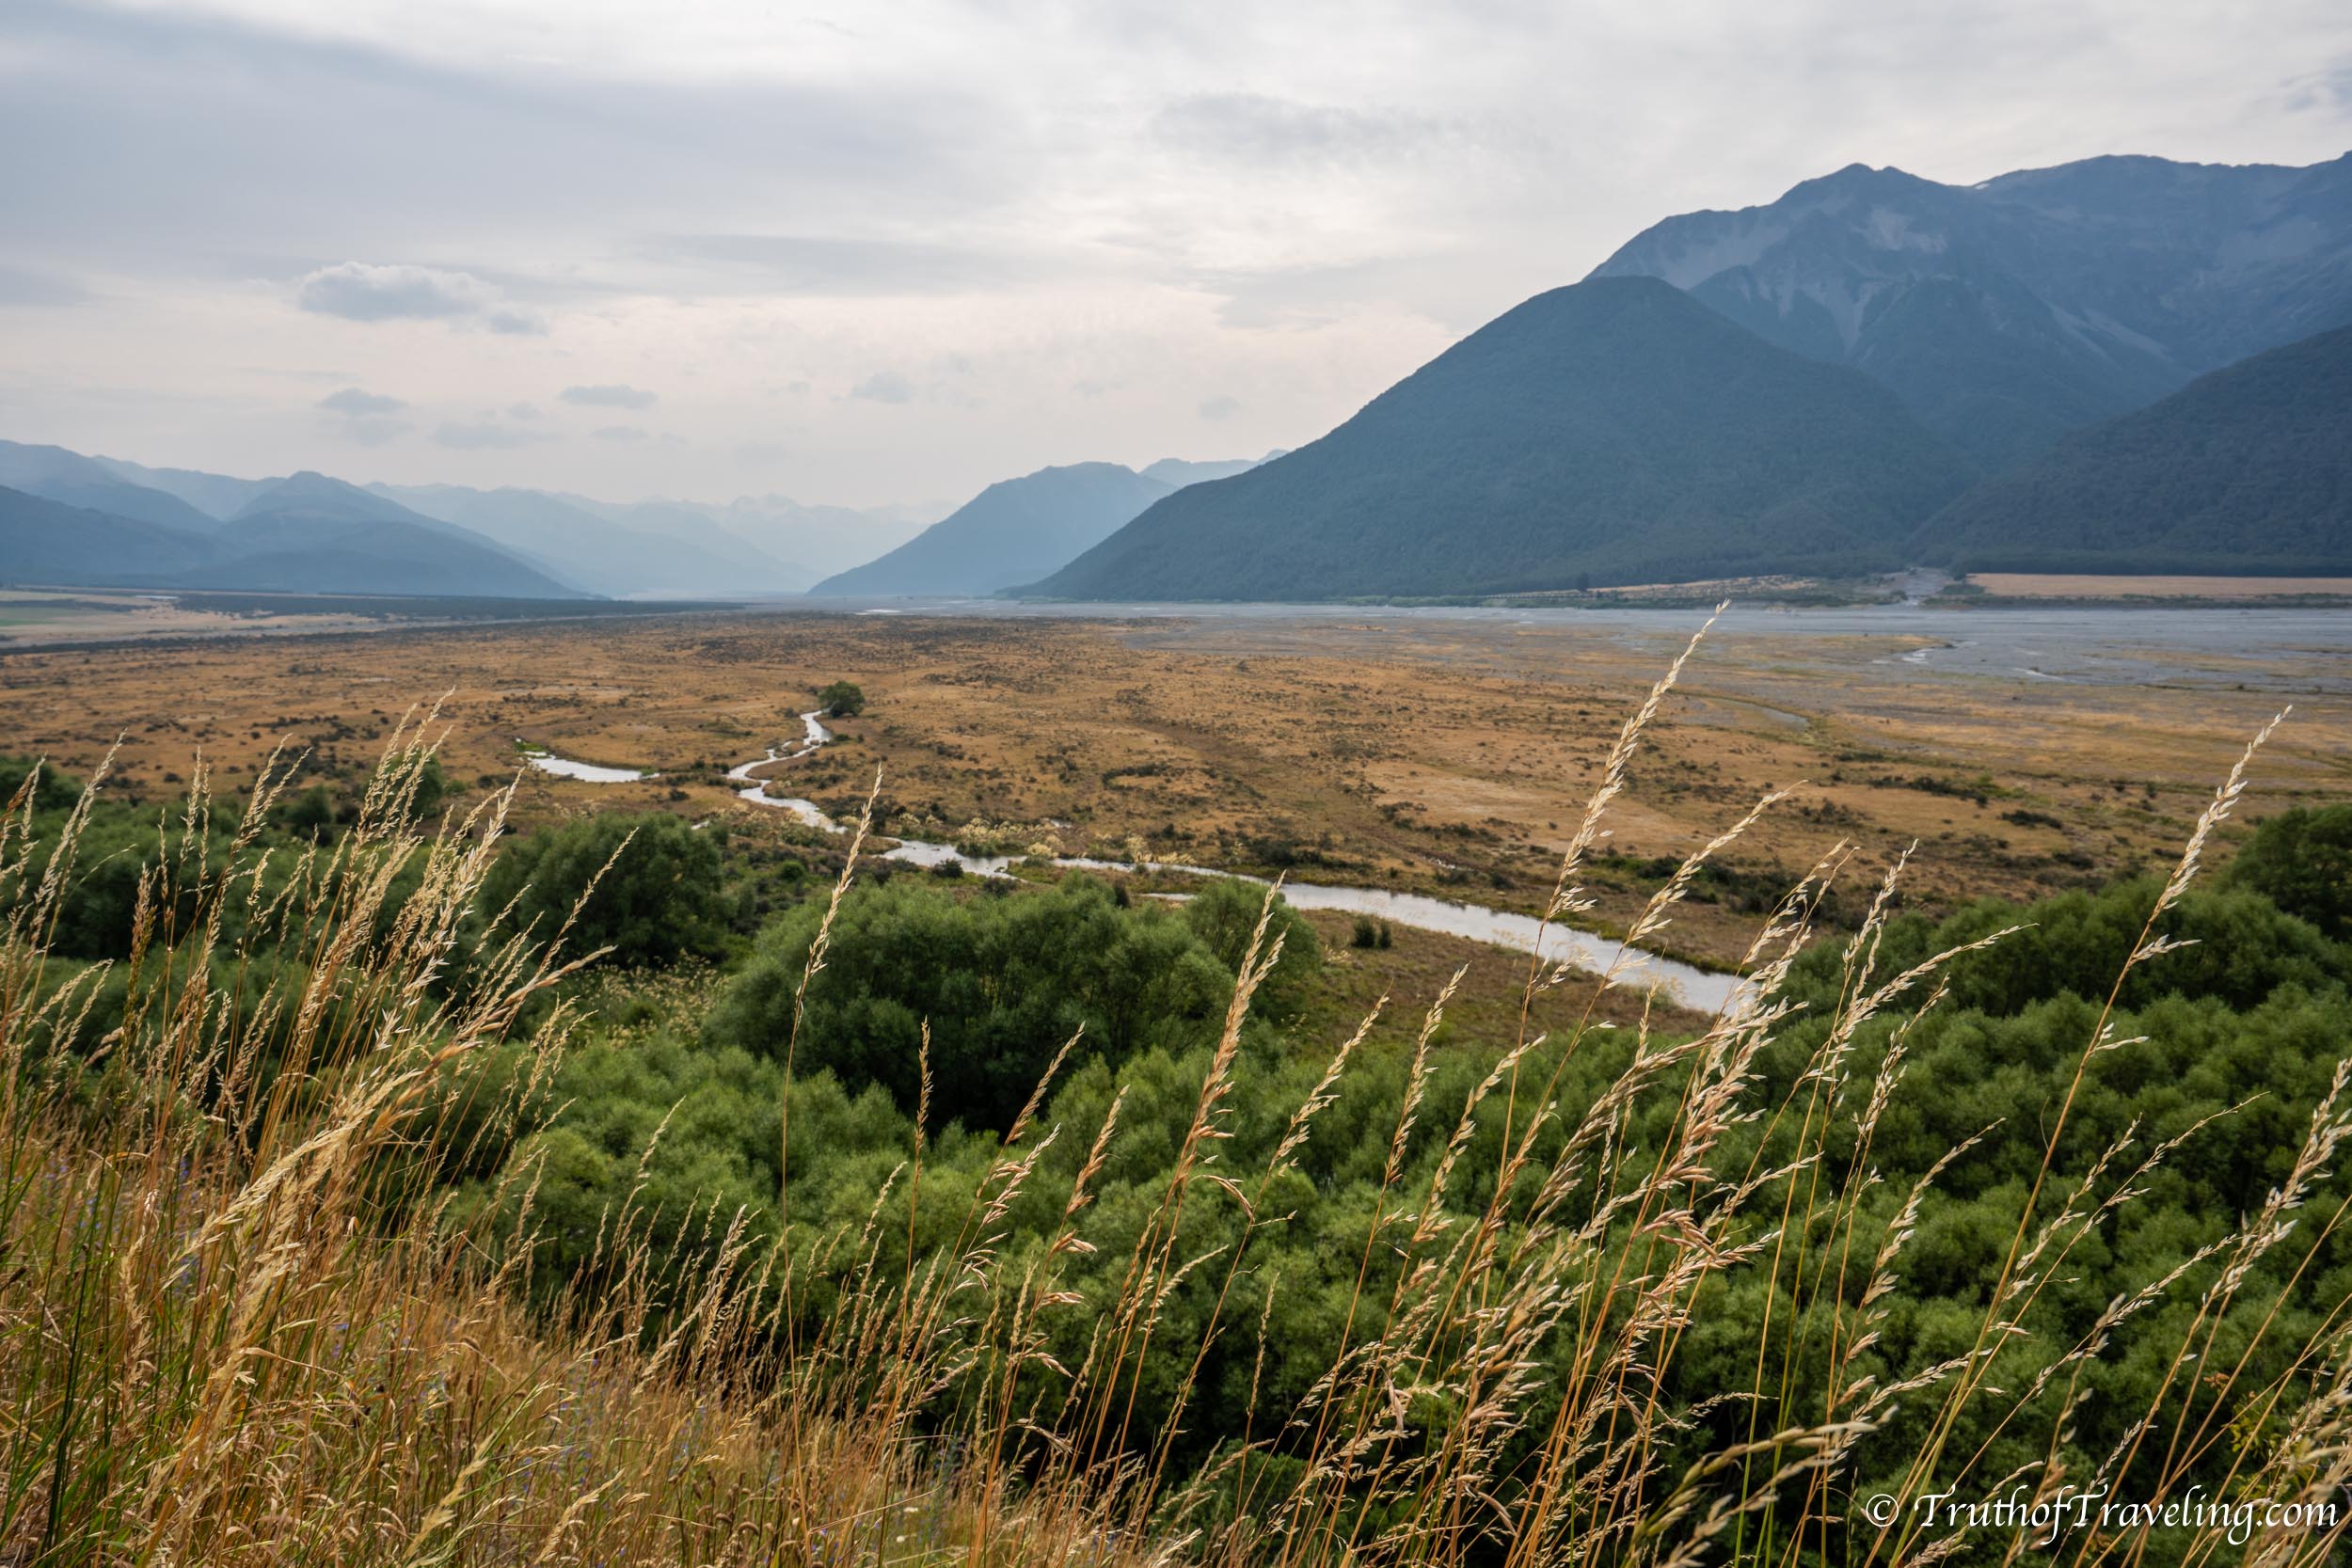
Lake Pearson Campsite is a really good campsite for your last night before returning to Christchurch because it’s only about an hour and a half away. It cost 8 NZD ($5 USD) per person a night and has toilet facilities as well as amazing lake views! This was such a nice place to spend our last night in our camper van!
- There are ducks that will greet you upon arrival and even though it’s off the road it was really quiet all night! If you’re lucky you can get a really nice sunset with the lake and the mountains.
Drive: 265 kms / 3 hours 30 minutes
Stay: Lake Pearson Campsite ($8 NZD pp)
Day 15: Return Campervan
From Lake Pearson Campsite it’s only an hour and half drive to Christchurch. We’ll be honest and say days 13 and 14 of this itinerary are heavy driving days. But we drove more on day 14 in order to be able to enjoy our last morning in the van. Make sure you know what time you need to have it back in Christchurch so you can plan ahead! The drive is much straighter as you get back closer to the city and might look familiar from 2 weeks ago when you started your road trip!
We enjoyed coffee in the van with the doors open that last morning and couldn’t have imagined having a better experience over the last 2 weeks! Hopefully this itinerary takes care of some of the planning details and we hope you love this island as much as we do!
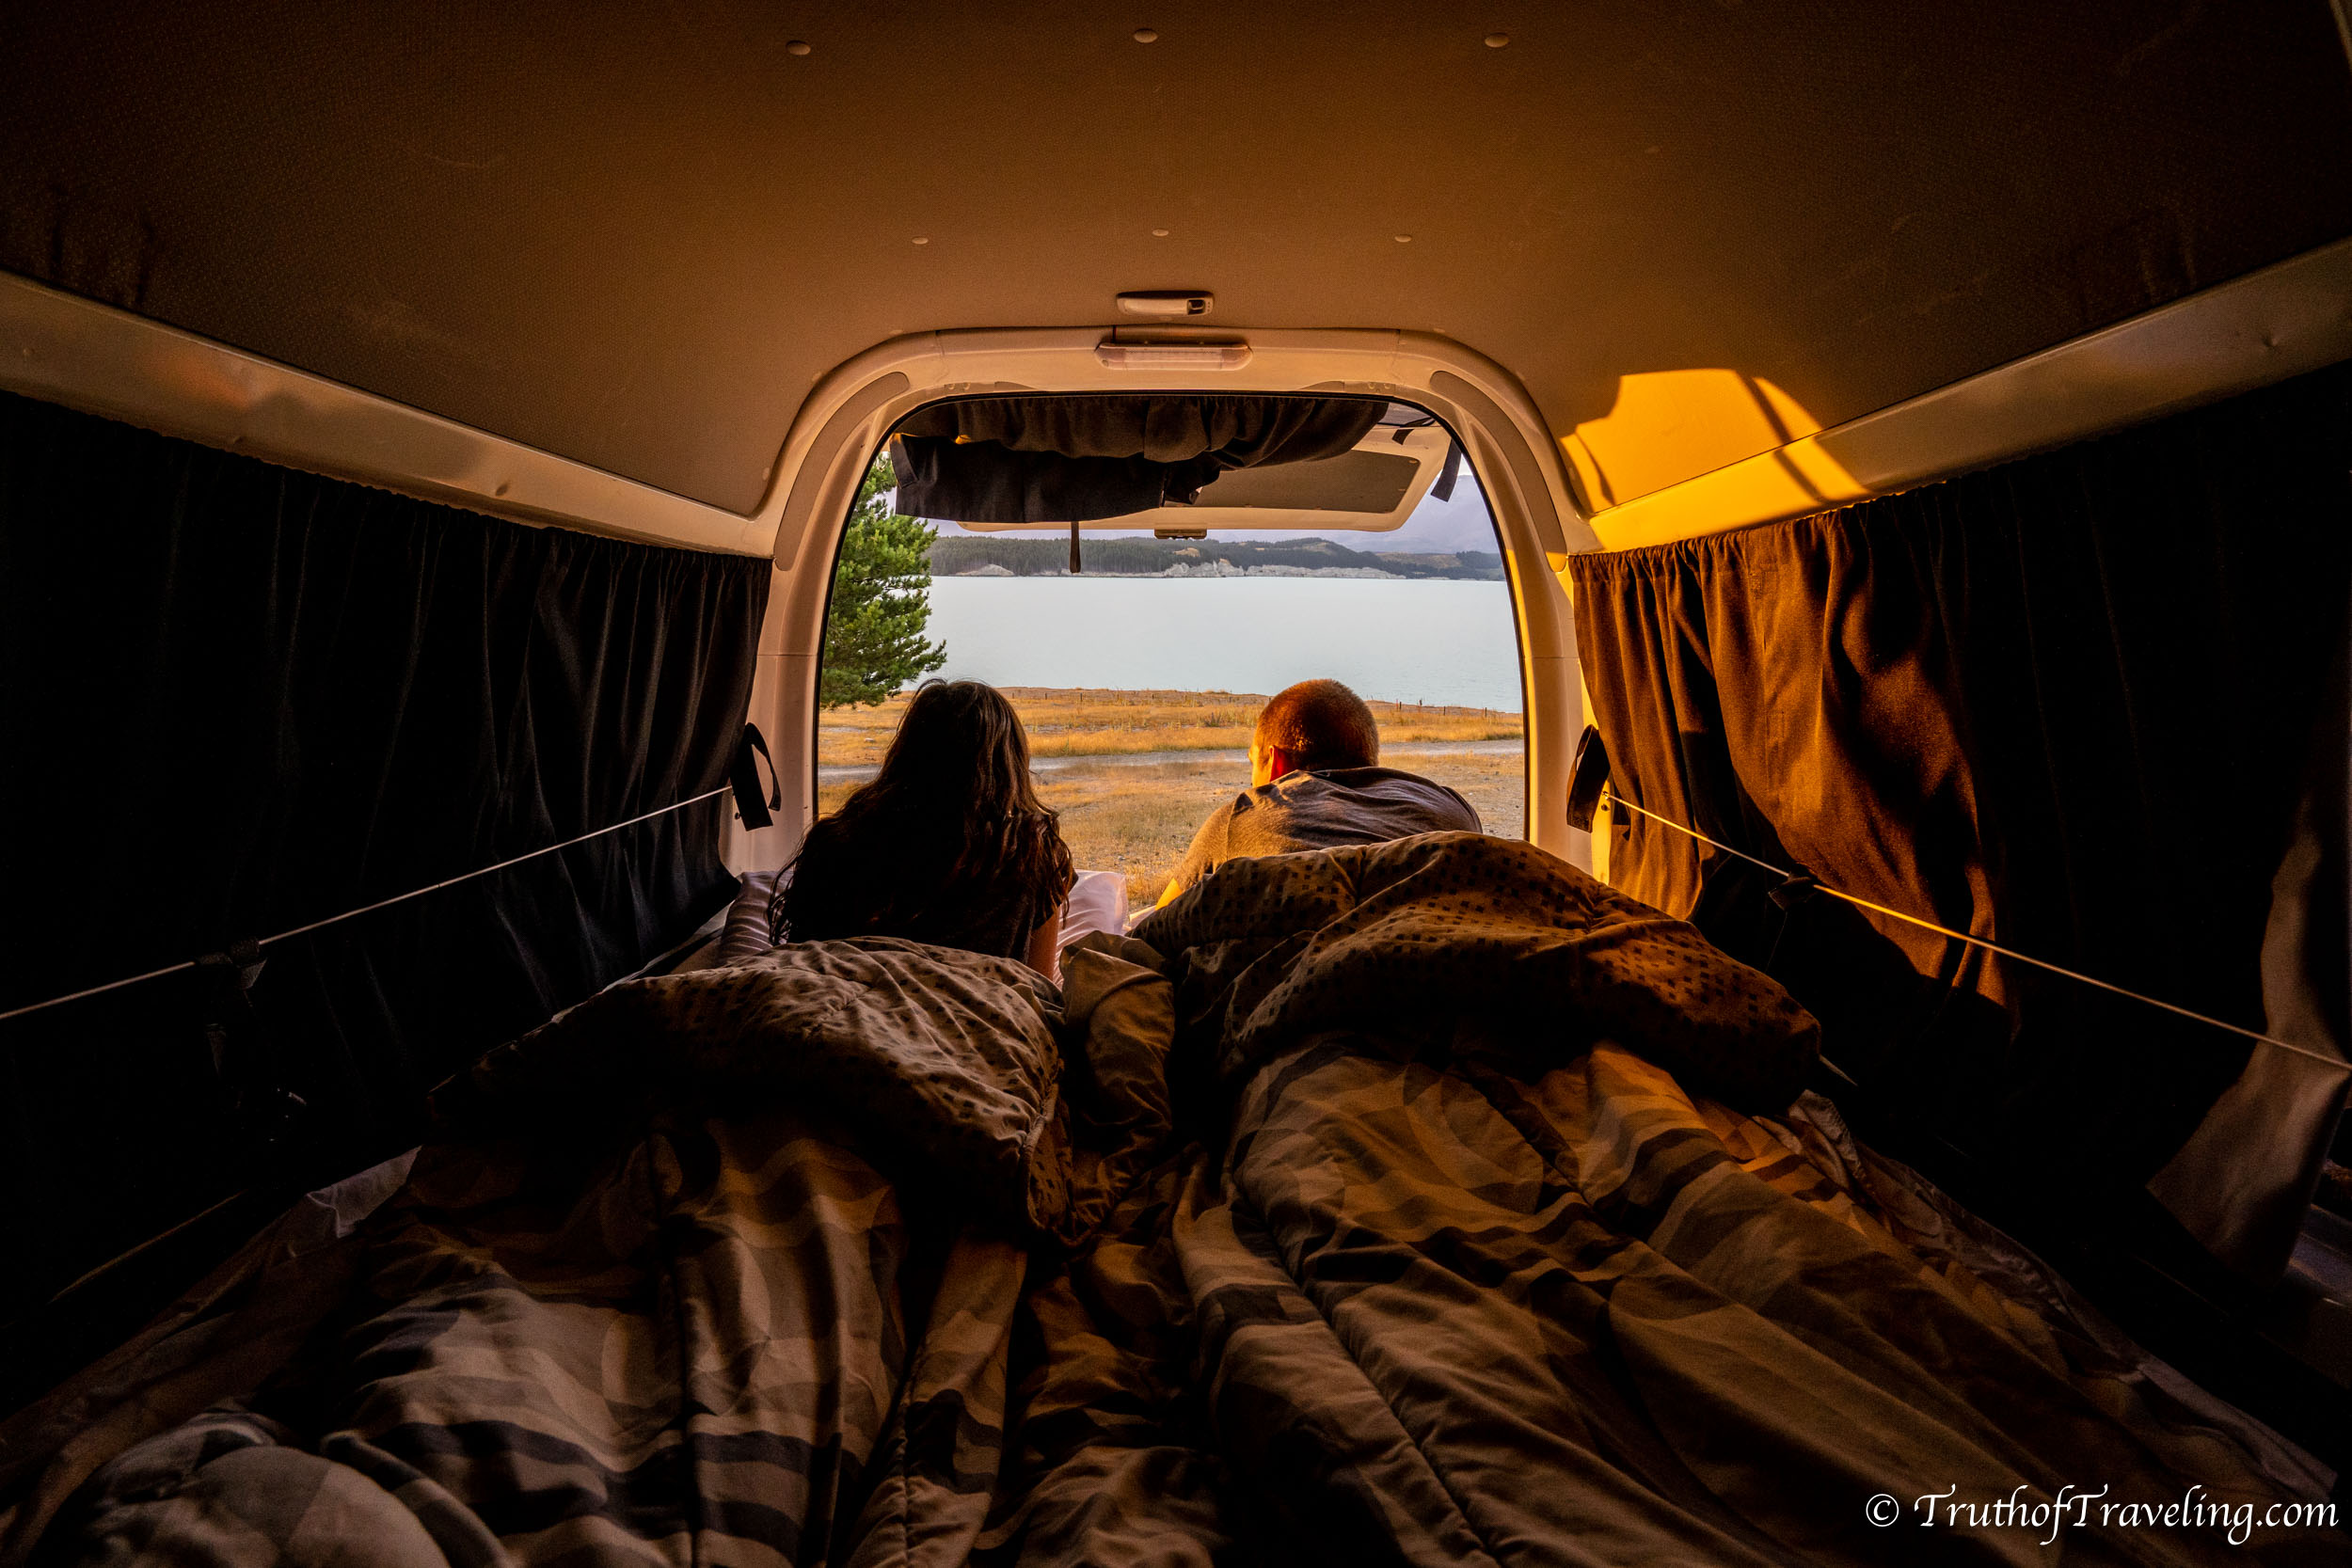
If you are flying out that same day you can take an Uber for relatively cheap or also take the bus to Christchurch International Airport. We would recommend not flying out that same day to give yourself some time after dropping off the van. We got an Airbnb and really liked knowing that we didn’t have to immediately rush to the airport. There we were able to do laundry, repack everything and most importantly shower!
Drive: 115 kms / 1 hour 30 minutes
Interested in More Posts About New Zealand? Read Here!
Pin it for later:
