Throughout the 4 months we spent working on our van build we made a trip to Home Depot almost every day. I say that and I’m not even exaggerating. The worst trips will be halfway into a project when you realize you don’t have the one thing that you need to finish. You don’t need to be a cabinet maker or professional carpenter to take on a van conversion but there are a few tools that you will find yourself using over and over. In this post we round up the tools you need for a DIY van build!
Disclosure: This post contains Amazon affiliate links. As an Amazon Associate we earn from qualifying purchases. This means at no additional cost to you, we will earn a commission if you click through a link and make a purchase. This post may also contain other affiliate links and non-affiliate links to products and websites.
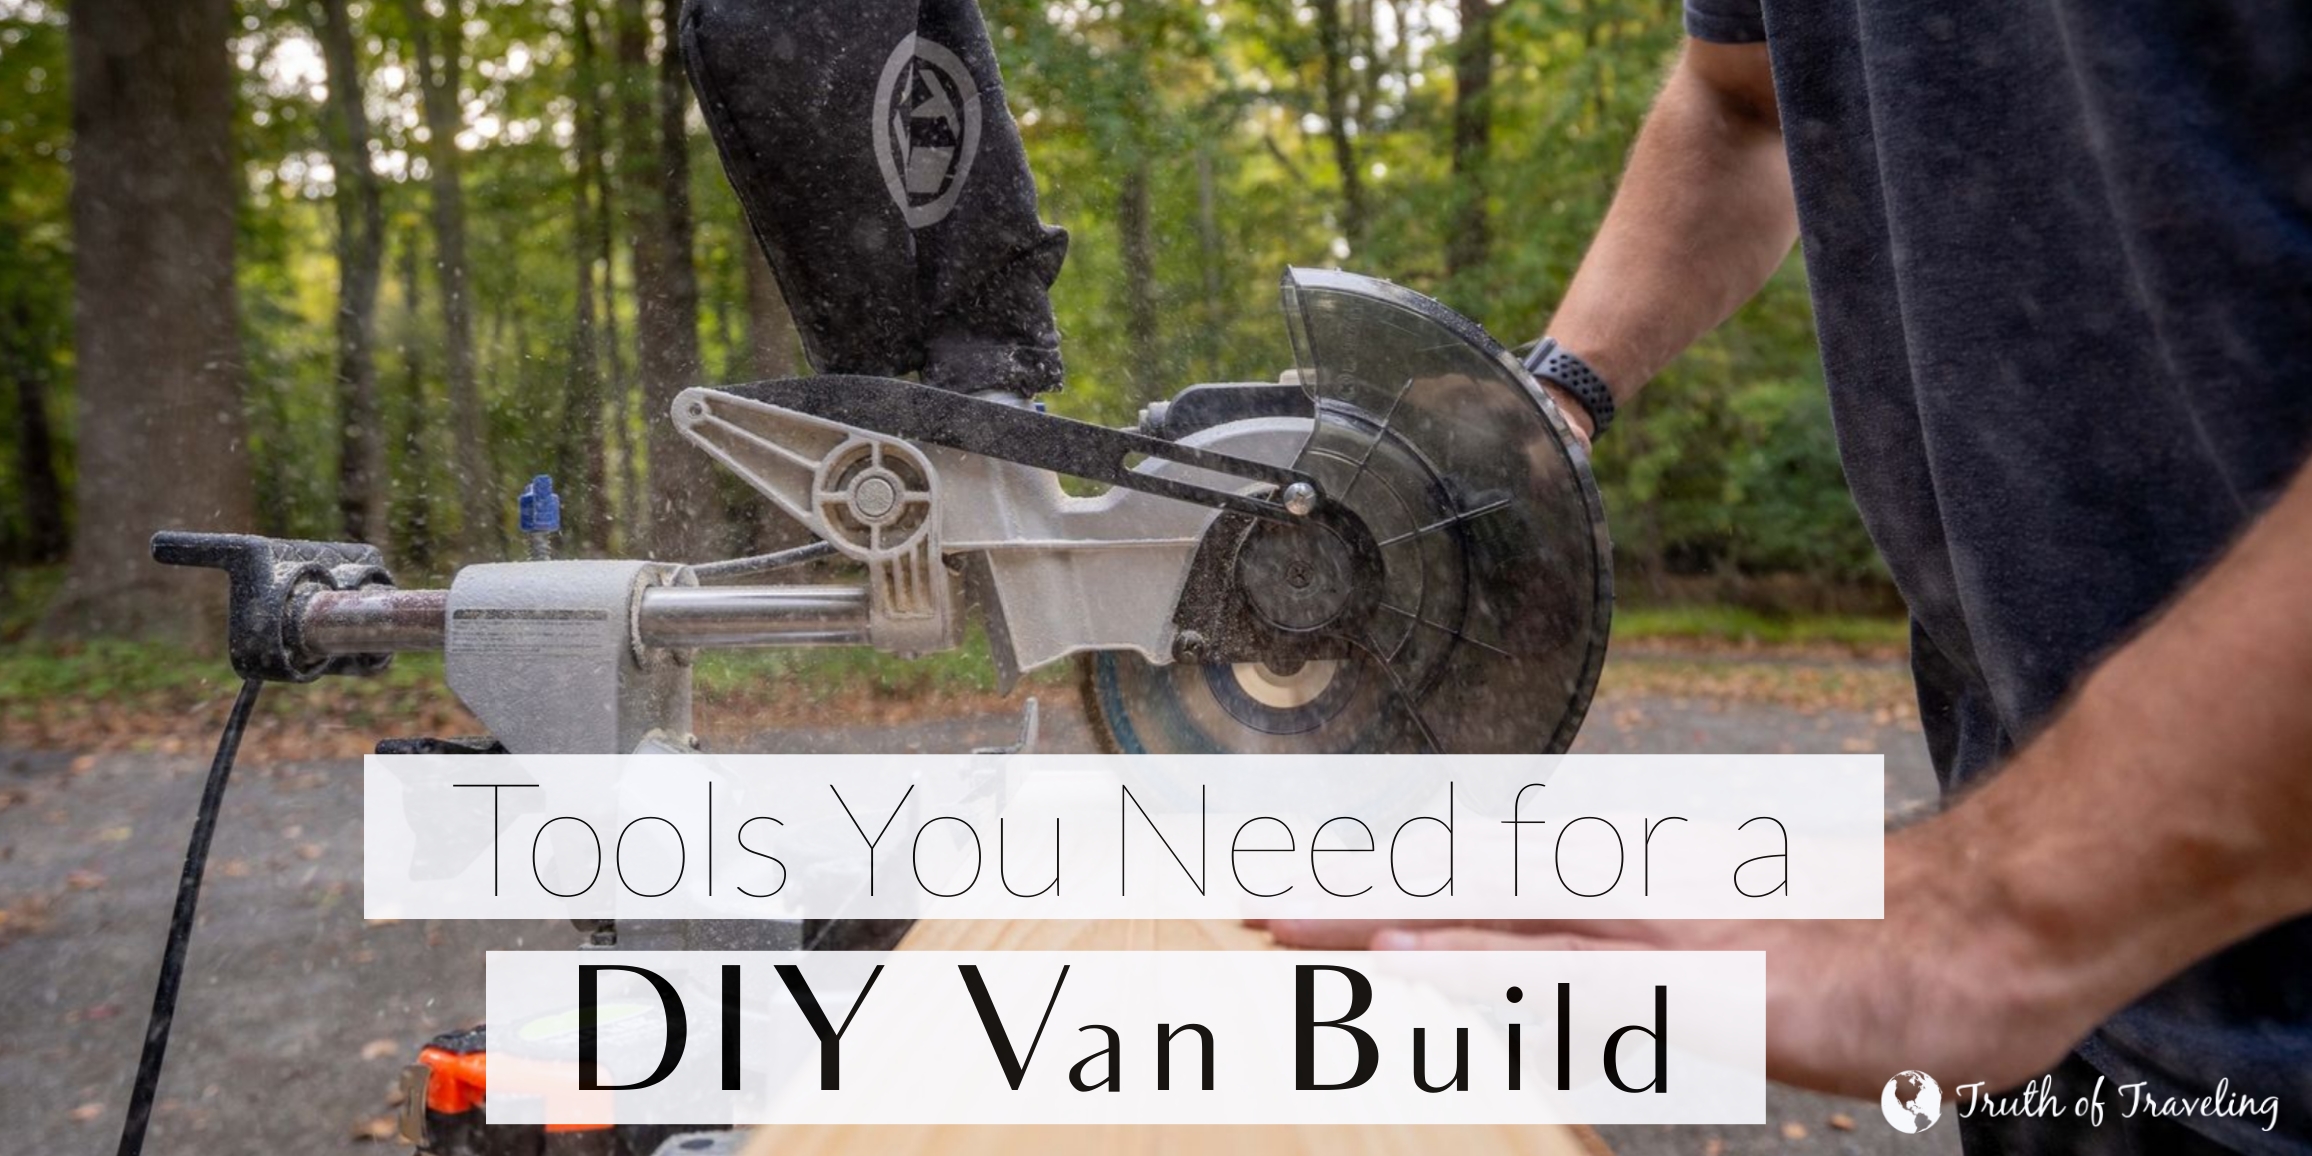
Besides the obvious wood, screws, and basic tools there are a few items that made our van build easier because we used them for so many different projects. If you already own a variety of tools then that is great! Otherwise a great way to use them without purchasing each one on your own is to borrow them from a friend or family member. Another option is looking into renting tools from places like Home Depot or other hardware stores.
- We were lucky enough to borrow some tools from Dave’s dad which was really helpful! Our whole van build would have been a lot harder (and more expensive) if we would have had to try using a circular saw for everything or go out and buy a bunch of new tools.
Miter Saw
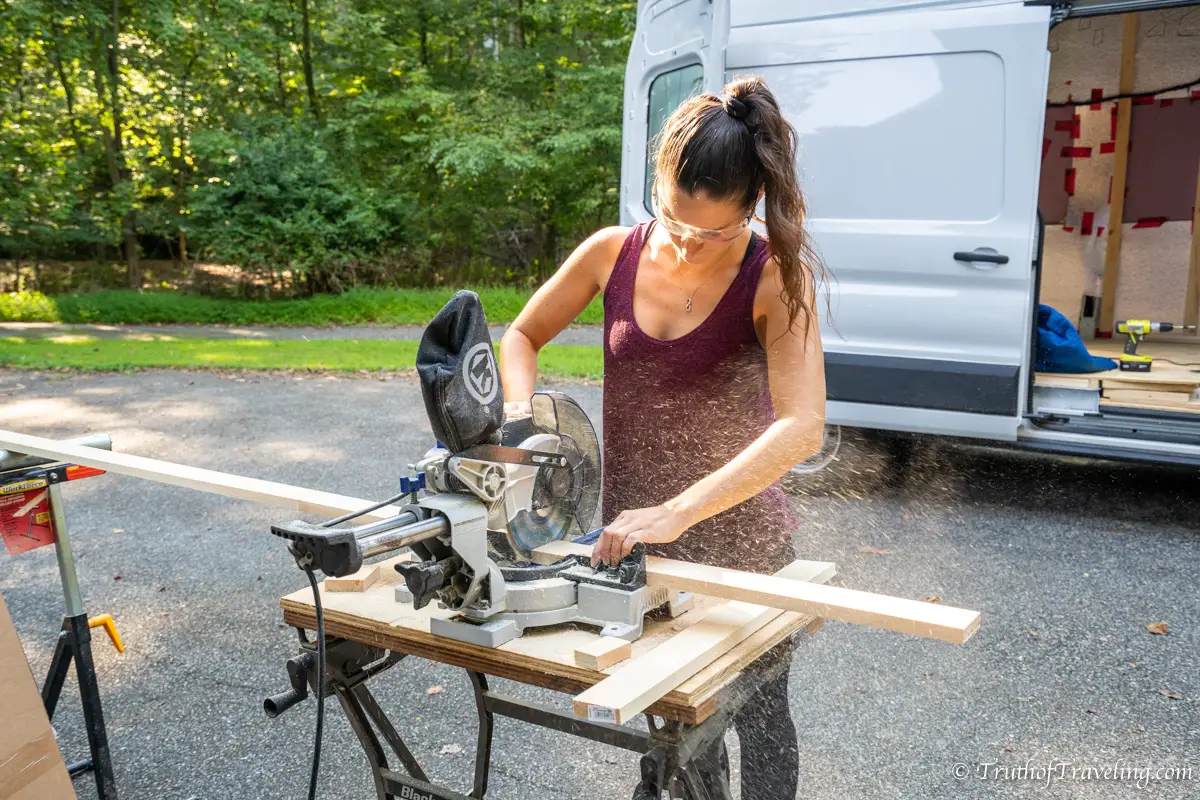
We used a miter saw for so many things during our van build. It cuts straight or at various angles that you can set which makes cutting things like 2×2’s and 2×3’s so much easier. We used it for so many different projects including our floor supports, wall studs, ceiling boards, and more. A good miter saw is definitely worth having for a van build.
- With a little practice this was a tool that I (Nicki) was able to use easily. So we got into a rhythm during projects that required a lot of cuts where I would cut the wood, bring it to Dave and he would do the installation.
Orbital Sander
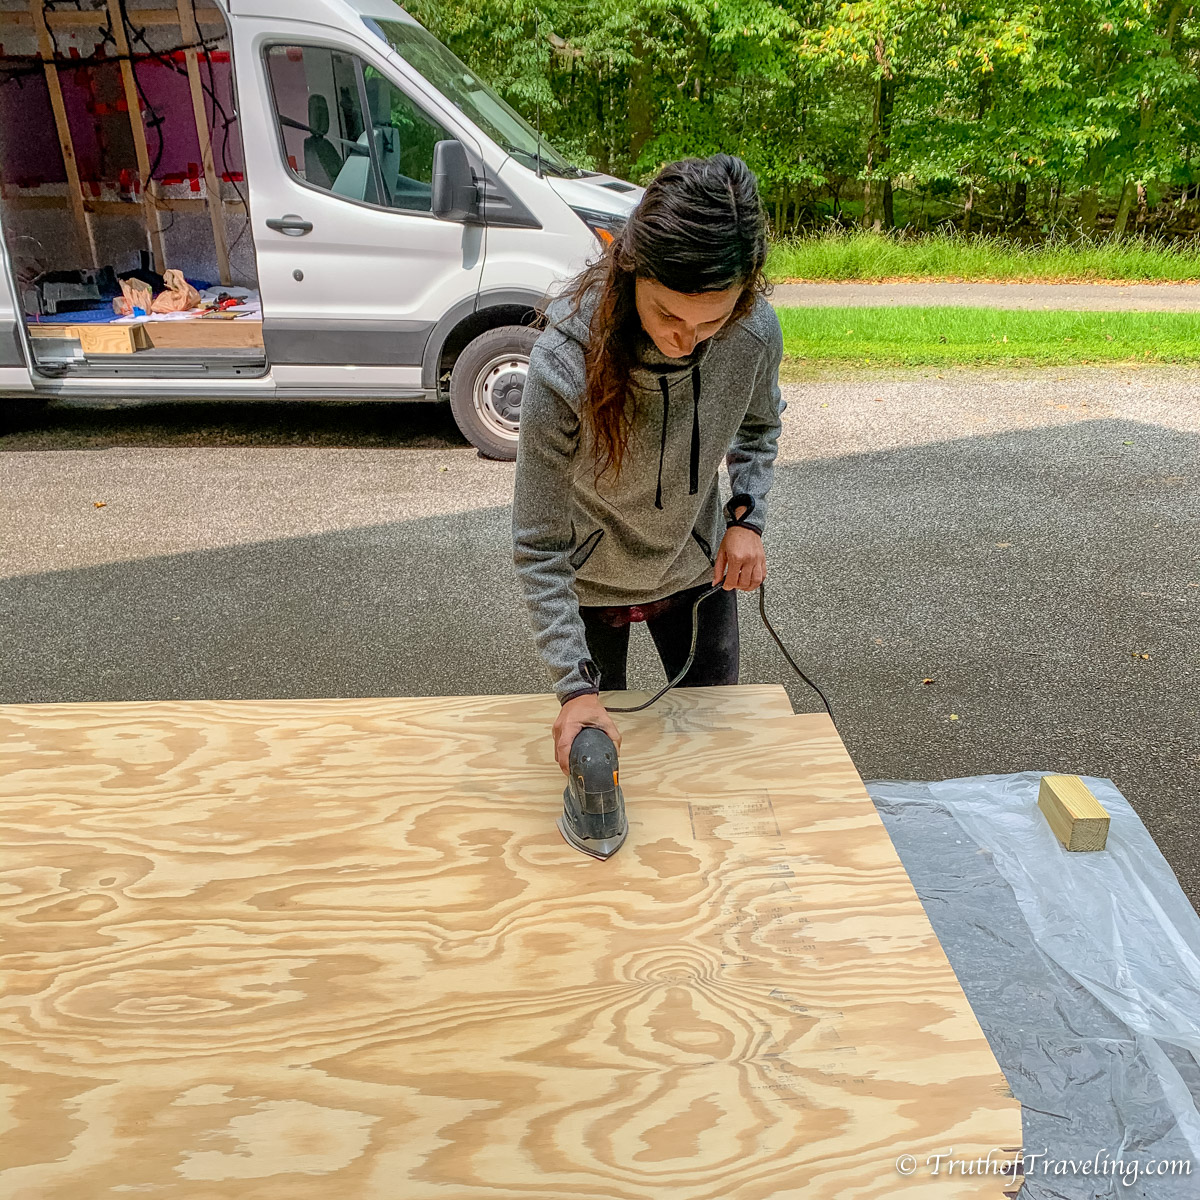
Do yourself a favor and invest in an orbital sander. You will save hours and hours of your life if you use an orbital sander versus using sandpaper and your hand. They are small and work really well! Plus it’s pretty fun to use and so much faster (and easier) than doing it by hand so it’s a win win!
- Even with a sander you are going to want a few sanding blocks for things that are hard to reach or won’t work with the orbital sander.
Read More: Why We Bought a Ford Transit Instead of a Mercedes Sprinter Van
Circular Saw
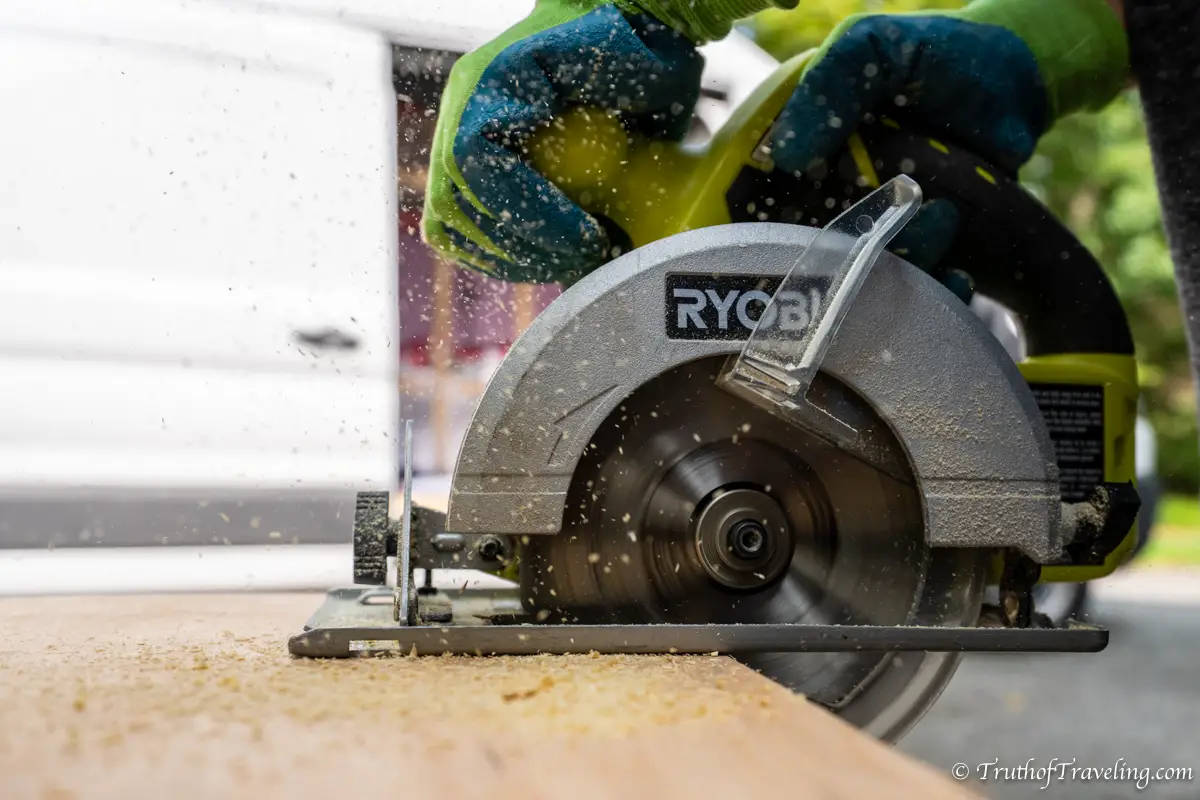
A powerful circular saw will also be really helpful! Make sure it’s one that’s powerful enough to cut through thick materials like 3/4 inch plywood. We had a few different circular saws that we used including a battery powered one as well as an electric one for thicker wood.
- We actually have a circular saw with us in the van just in case there are any projects that we need to work on. It is a little bulky to travel with so we store it in one of the benches with the rest of the tools.
Jigsaw
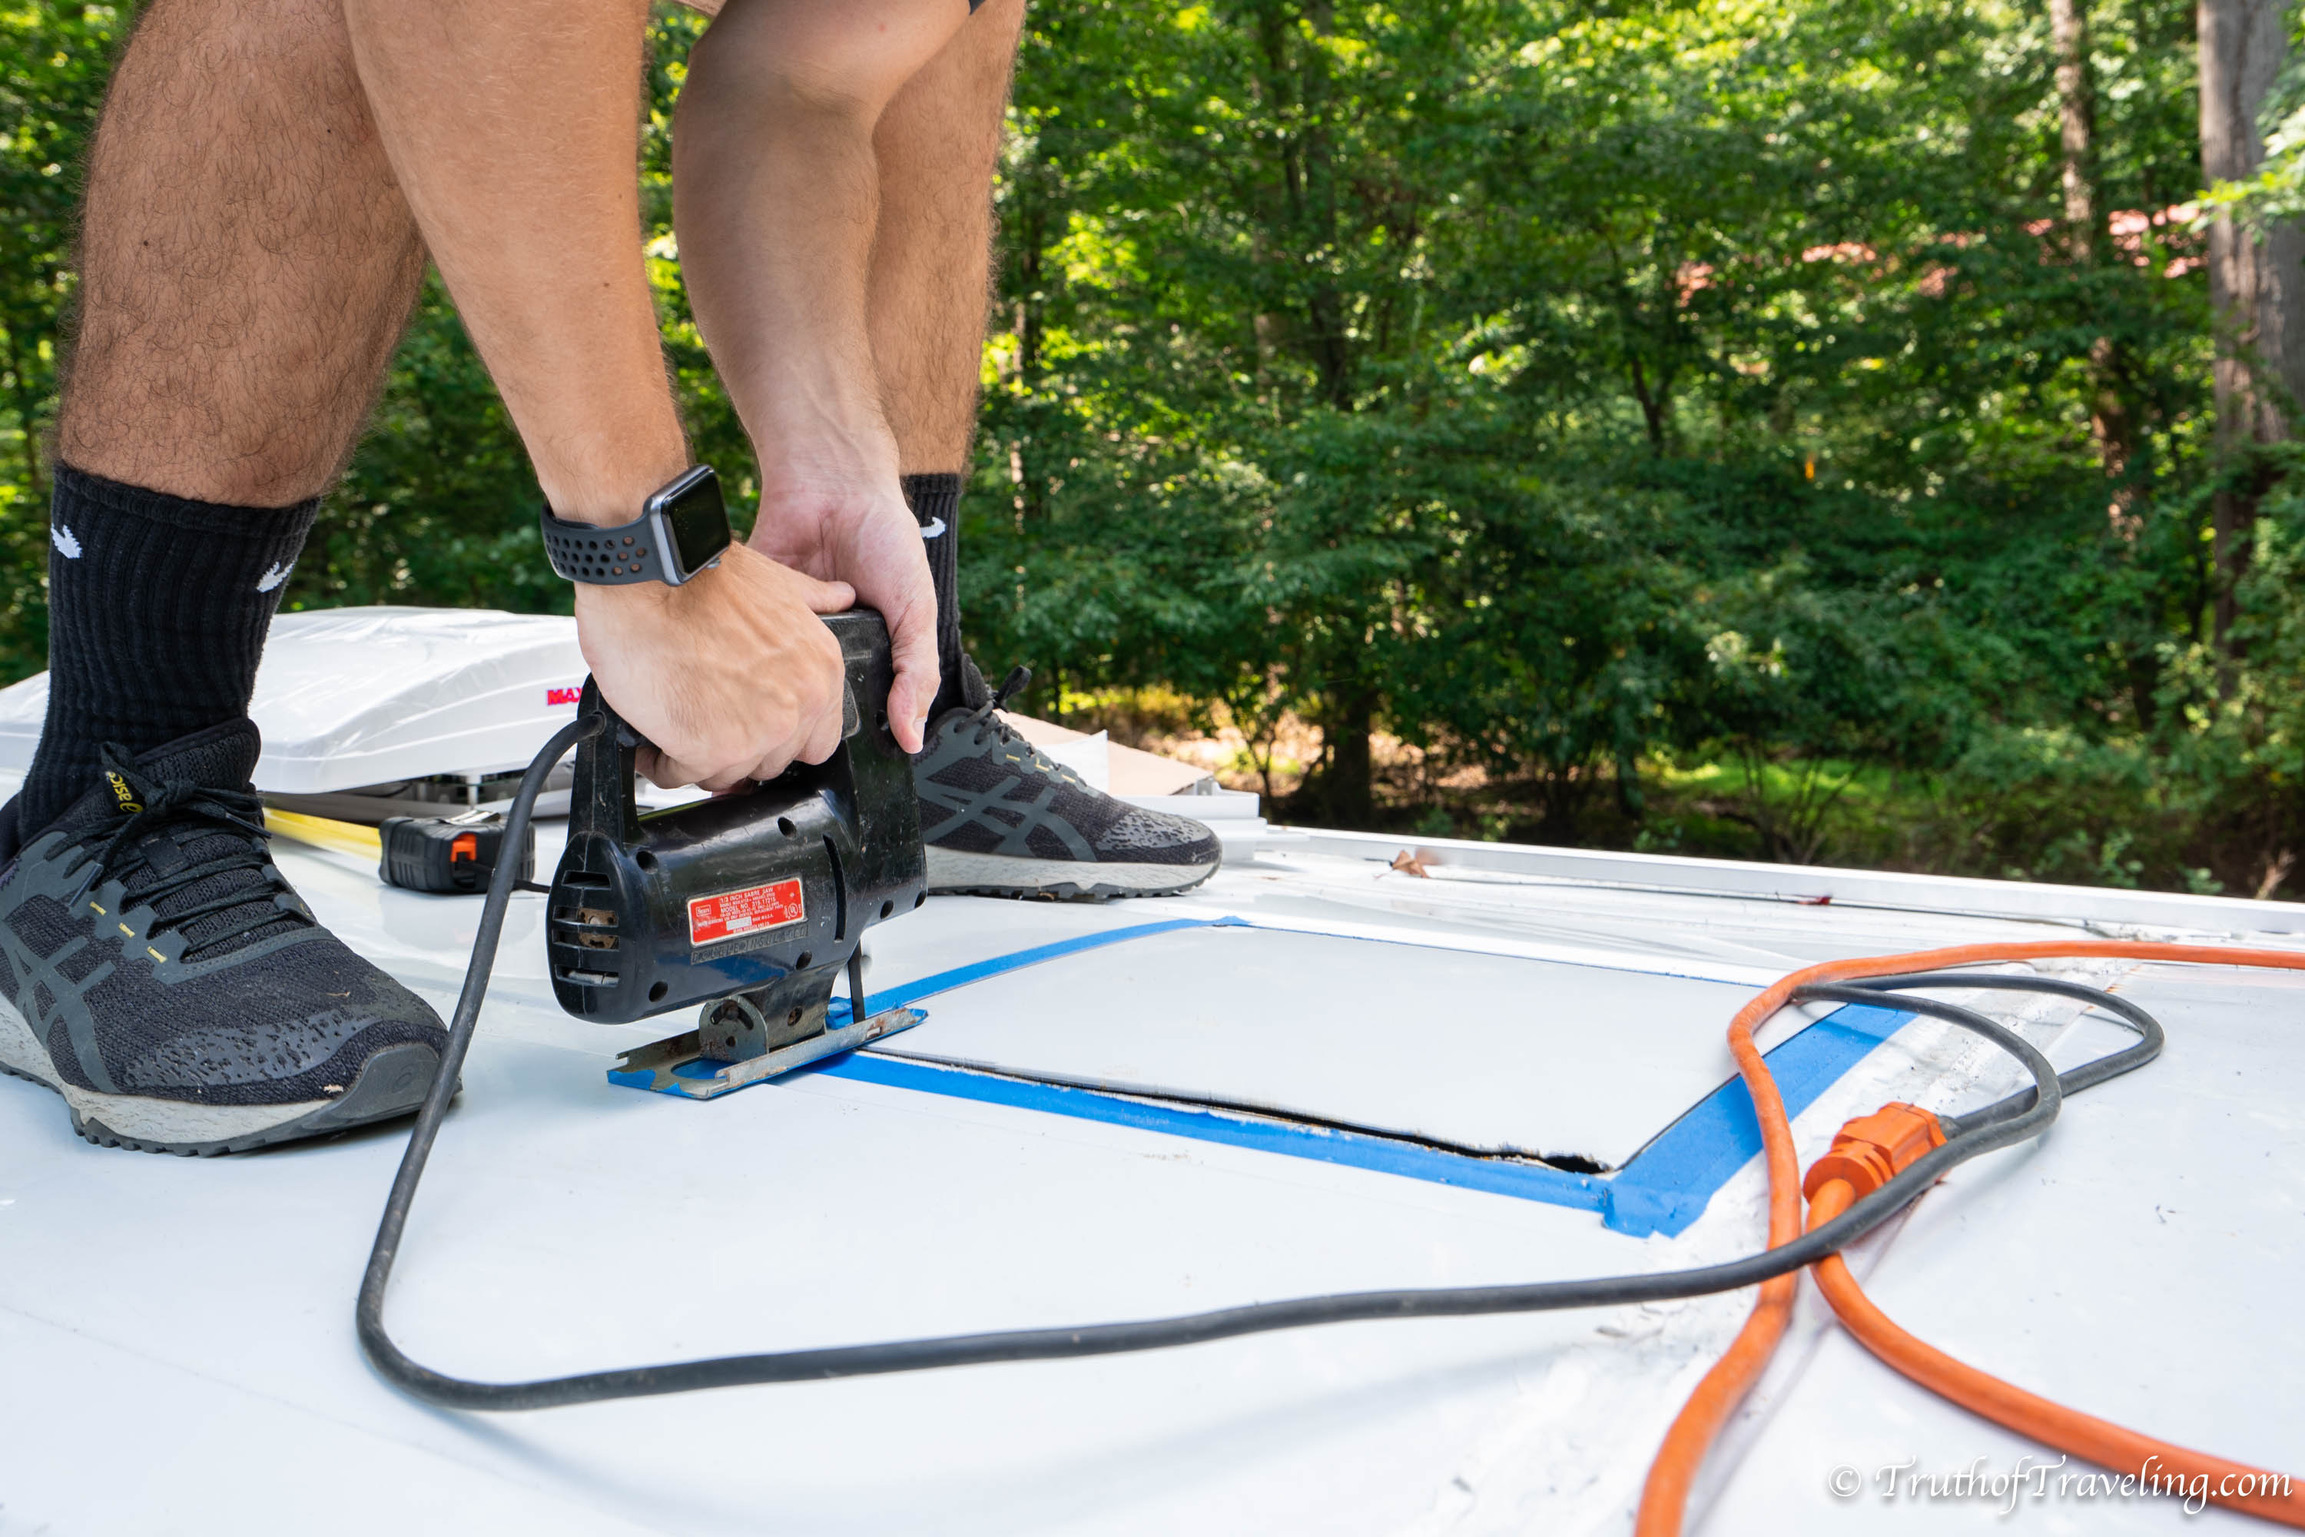
A jigsaw makes cutting wood that is not in a straight line so much easier. If you’re trying to cut wood into a curve or with a cut out a jigsaw is going to make it so much easier.
We also used a jigsaw to cut the hole on our roof for our Maxxair Maxxfan. Make sure you get metal cutting jigsaw blades so it will be strong enough to cut through the sheet metal otherwise it will leave lots of sharp edges or it could even break the blades.
Nail Gun
We used wood glue and nails to make our upper cabinets and they are super sturdy! We also nailed all the trim pieces up. Our walls are shiplap boards which are also nailed up because it looks nicer than having exposed screws everywhere. If you’re planning to use nails for a good amount of construction you are going to want a nail gun.
Straight Edge & Clamps
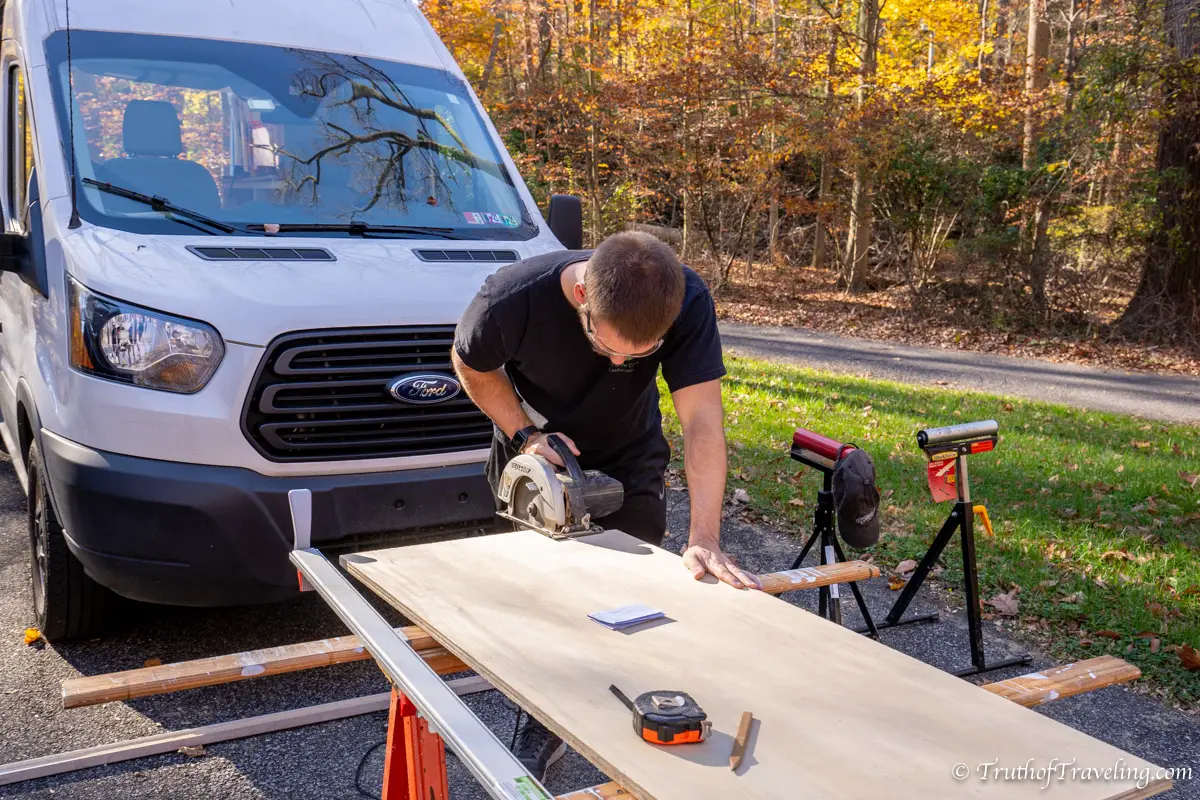
We used a straight edge and clamps probably every day of the build. Whenever we were cutting wood whether it be for our cabinets or benches or subfloor we used a straight edge and clamps to make sure the pieces came out how we wanted them to.
- We used an 8 foot clamp for almost everything because it meant it was big enough to use even when cutting big sheets of plywood. It just made it easier than using a 2 or 4 foot one!
A Good Pair of Wire Strippers
If you’re planning on doing the electrical a good pair of wire strippers is a necessity. Every time you connect wires together or put in a light switch or outlet you’re going to need to strip back the wire. So you’re going to have to use it a lot throughout the build!
- Do yourself a favor and buy a good pair that you can keep, you never know when you will want to add things to your electrical system in the future.
Read More: Guide to Insulating Your Van
Hole Saws
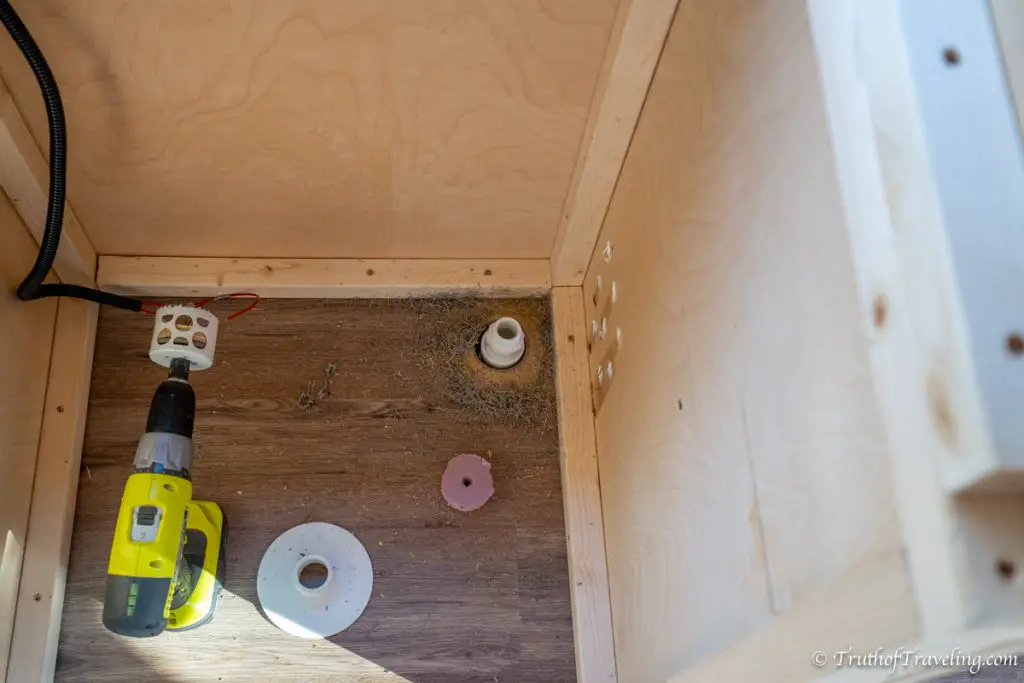
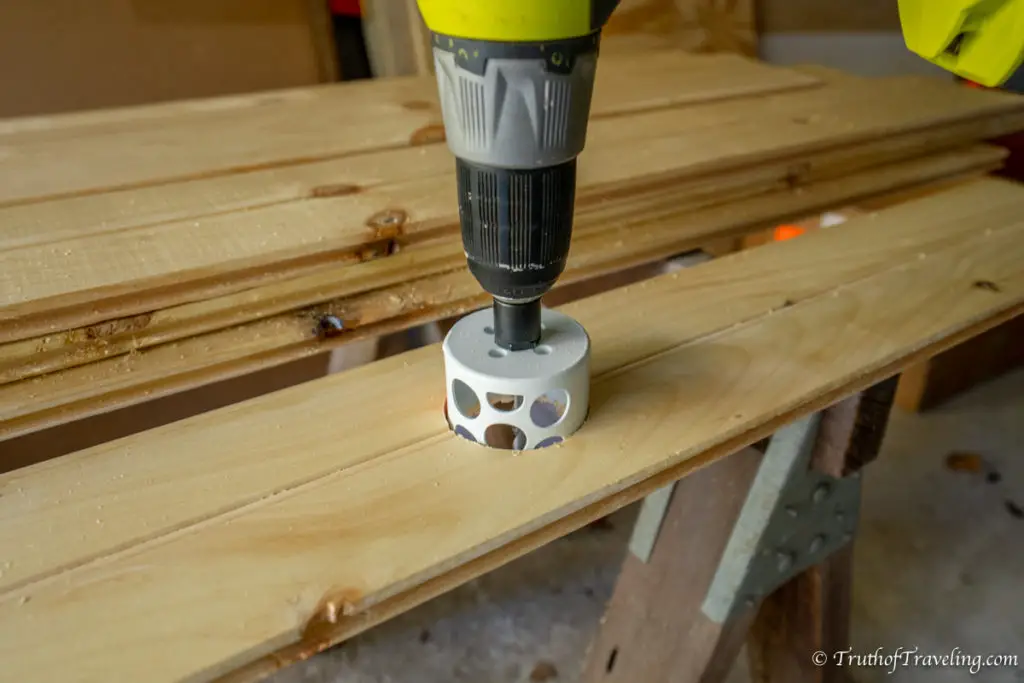
You are definitely going to want to have a variety of reliable hole saws. We used a hole saw to make the holes for the lights in our ceiling. We also used a hole saw to make a hole in the floor of the van for our Natures Head Composting toilet vent fan. Inside our benches we used a hole saw to make holes to allow the air to circulate.
- You can buy a kit with a variety of different sizes or buy them individually just for the exact size you need.
Lots of Drill Bits
Just like hole saws we bought a variety of different drill bits. Some for metal, some for wood, some teeny tiny and some large. It just made it so much easier to have the right drill bit for whatever project we were working on.
- You want at least one that is a heavy duty metal drill bit in order to drill into any of the metal on the sides of the van. Otherwise you’ll be there all day without making any progress! We learned this the hard way while trying to install our headliner shelf.
Read More: How to Install a Swivel Seat in a Ford Transit Van
Heavy Duty Wire Crimper
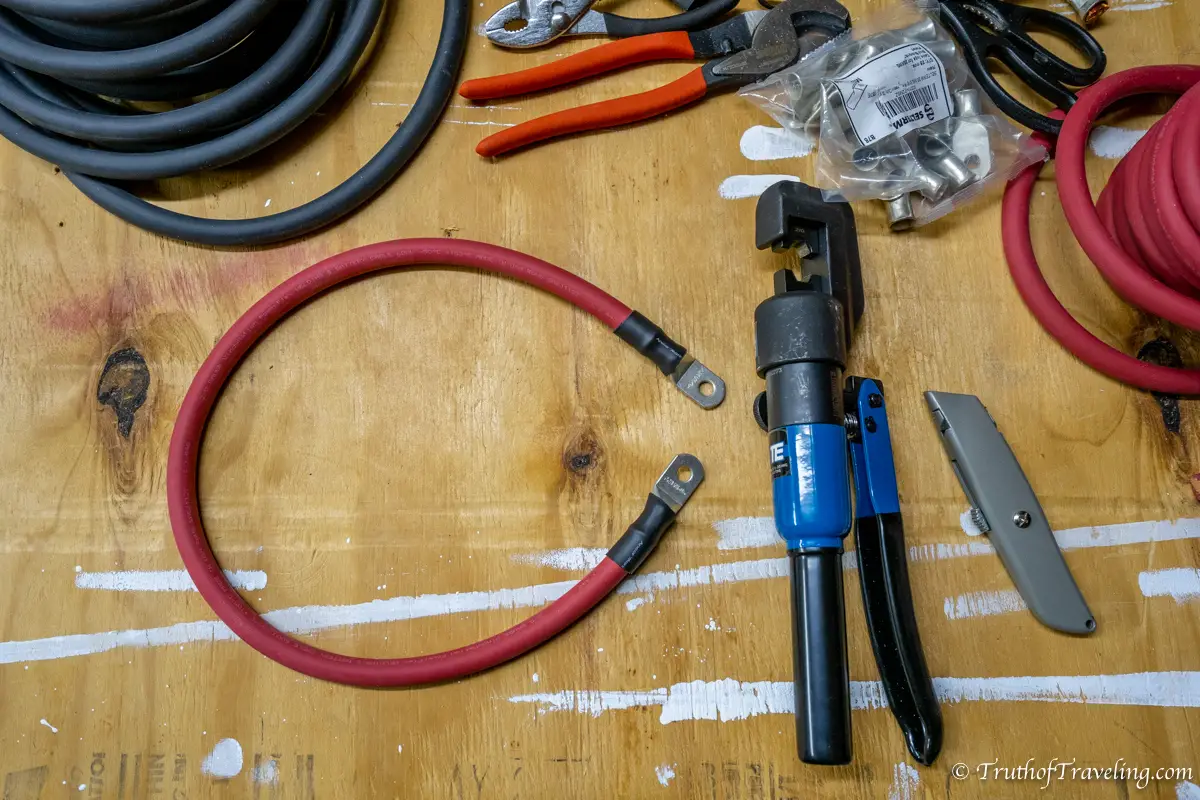
With a heavy duty wire crimper you can crimp all the wires for your electrical system on your own without having to pay someone to do it. This hydraulic cable crimper is an investment but it means you can create a reliable crimp on all your wires in a wide range of sizes. Dave used this crimper for all of our wiring and it worked great every time!
- This one can crimp wires from 12 AWG up to 2/0 which is the biggest wire we have in our electrical system so it was able to work for all of our needs! Depending on your electrical system and the size of your inverter you may need to go up to 4/0 wire which would require a larger crimper.
3 Things We Bought But Didn’t Use For our Van Build
It’s tempting to want to buy all these gadgets that will make things easier during the build. We tried our best not to buy too many that we didn’t absolutely use
Contour Gauge
We bought this with all intentions of it helping with all the weird angles and curves in the van. But we only used it a handful of times. We just didn’t find ourselves reaching for it the way we thought we would. Instead we either traced something such as brown paper (we got a lot with all of our packages) or cardboard or just made things as straight as possible.
Read More: Everything We Used in our DIY Van Build
Fuse Blocks
When we originally were designing our electrical system we thought we would have one fuse block for all our AC loads and one fuse block for all our DC loads. Well we did a little more research and determined that these fuse blocks are not intended for 120-volt (AC) applications.
Instead we returned the fuse blocks and purchased a RV distribution center which has an AC side as well as a DC side. It’s very neat and organized. We can see all of the fuses on the DC side and all of the breakers on the AC side if we want to check to make sure everything it working.
- This was just a result of us changing our electrical system. You will learn early on in the build process that your plans will change a million times! Thankfully we ordered the majority of items from Amazon which makes returns super easy!
Sliding Door Window
This is one we’re still not sure about. When we first bought the van we were 100% convinced we needed a window on the sliding door. It was one of the first things we bought after purchasing the van and it cost a lot of money. Windows are not cheap and they are definitely not cheap to ship. But then by the time we got it we had started on other projects and it felt like a big deal to cut a hole that big in the side of the van so we kept putting it off.
Then we continued to put it off as we finished the build. Well now we’re living in the van and aren’t 100% convinced that we need a window on the slider. Yes, it would let in more light but we’re still apprehensive about cutting a hole that big. So right now it’s sitting in a box at Dave’s parents house alone and sad.
- Moral of the story is to think hard about if you really really need some of those big ticket items like windows. Yes, we love the idea of more windows and those sliding ones in the back look so cool but also do you absolutely need them? It depends on you and your needs but it’s definitely something to consider!
